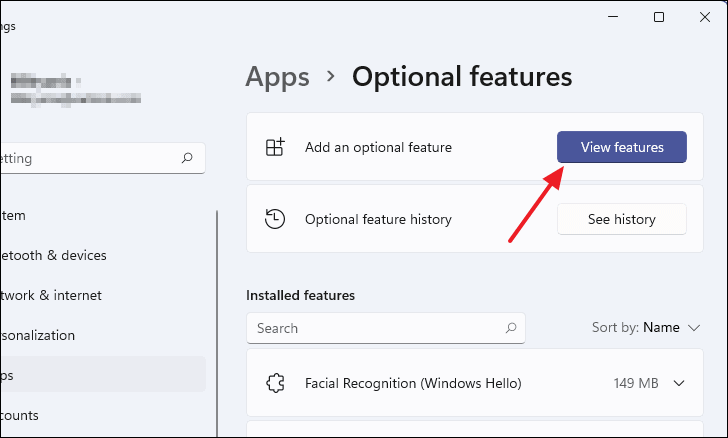
Many users wish to project other devices onto their computer’s display for various reasons, such as presentations or entertainment. Windows 11 offers a feature called Wireless Display that allows you to connect external devices and mirror their screens on your PC.
Wireless Display enables other devices to connect to your computer and display their screens wirelessly. This feature also allows you to use input devices connected to your PC to control the projected screen.
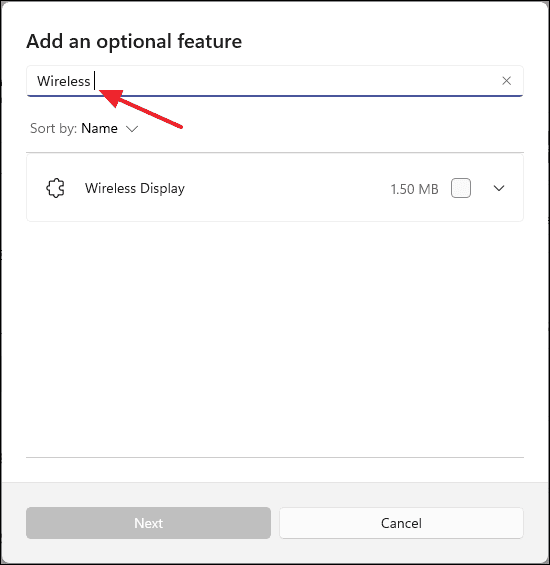
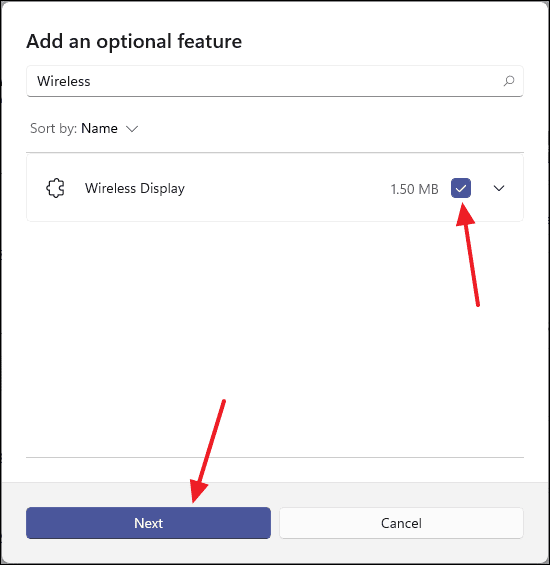
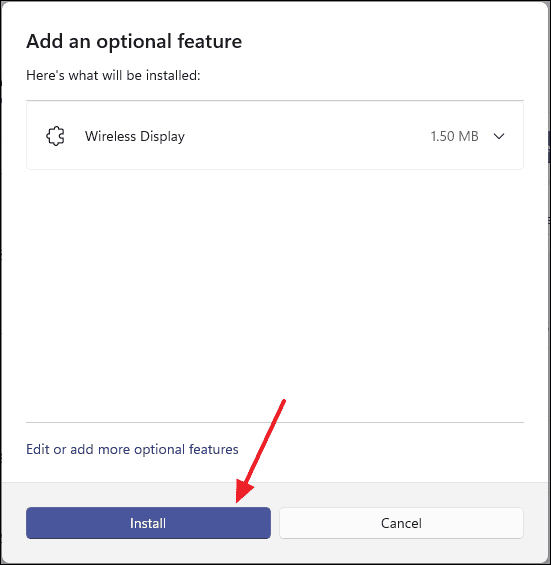
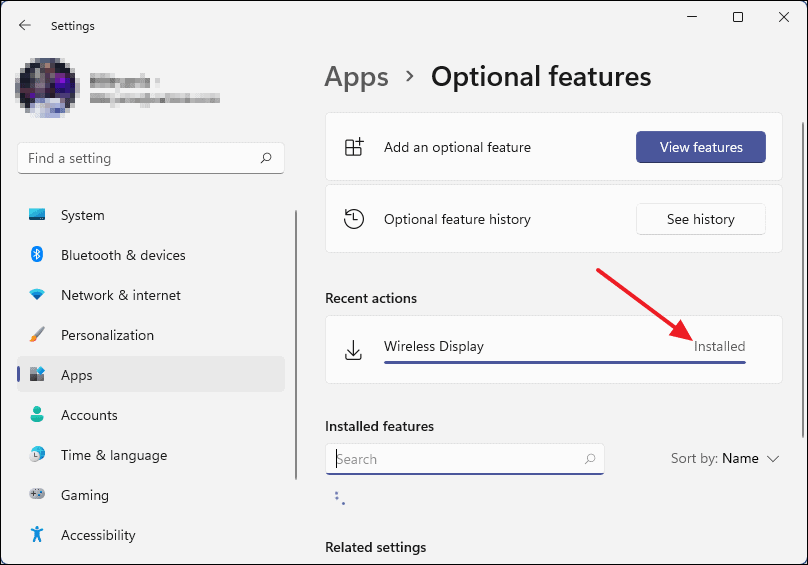
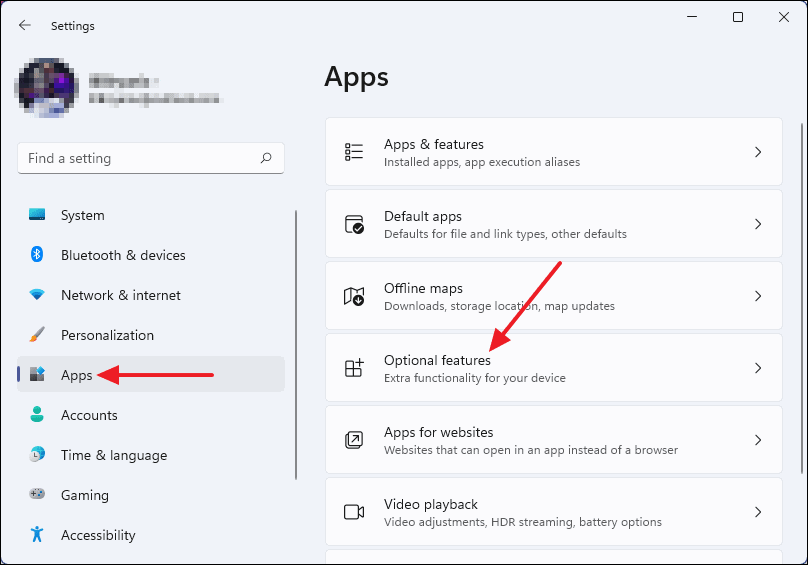
In the “Add an optional feature” dialog box, use the search bar to type Wireless Display. Once it appears in the search results, check the box next to it.
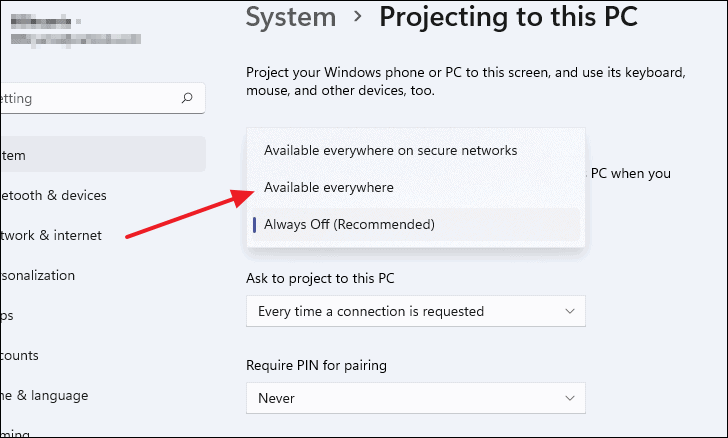
To use Wireless Display, access the projection settings. Click on the search icon in the taskbar, type Projection settings, and select it from the search results.
In the “Projecting to this PC” window, click on the first dropdown menu that says Always Off (Recommended). Change it to either Available everywhere or Available everywhere on secure networks, depending on your preference.
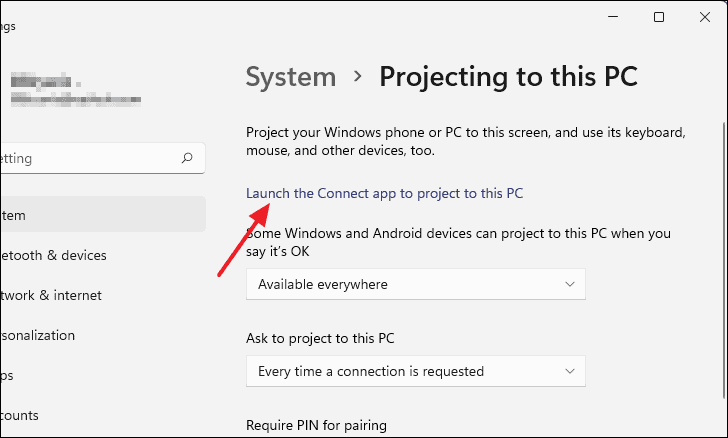
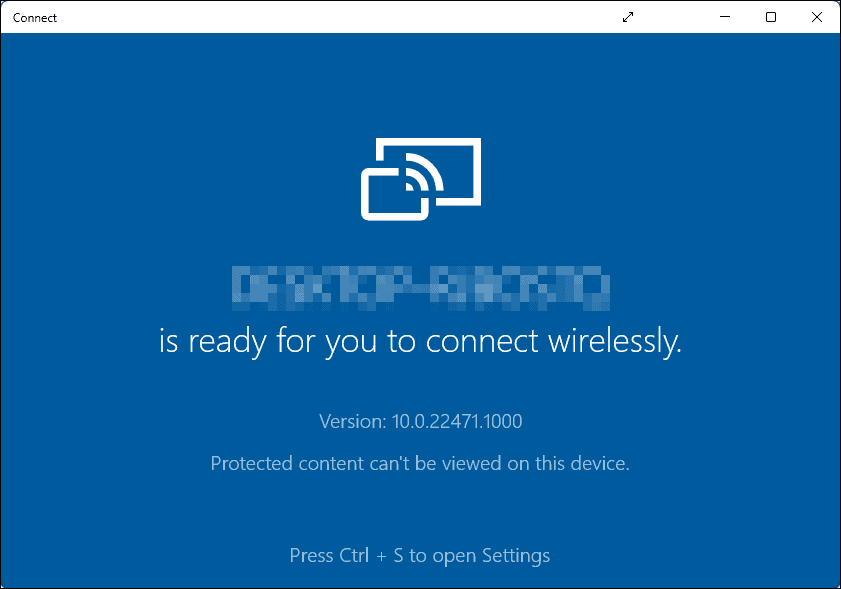
With the Connect app open, your PC is now ready to receive connections from other devices. On the device you want to project from, search for available wireless displays and select your PC from the list.
Ensure that both your PC and the device you’re projecting from are connected to the same network. This is necessary for the devices to detect each other and establish a connection.