High rounds in Black Ops 7 Zombies are less about aim and more about money. Essence and Salvage are limited, and every point spent on the wrong thing is a Perk, a Pack-a-Punch tier, or a set of armor you don’t have when the horde gets deadly. Getting the spending order right is what carries you from Round 30 to the Round 100 and Round 999 Calling Cards.
Quick answer: Buy a point-farming shotgun first, then Tier 3 armor, your first Pack-a-Punch, core Perks, and a free Wonder Weapon from its quest. Pay for armor with Salvage or Vulture Aid drops instead of Essence, save Scorestreaks for emergencies, and never equip the Dragon Relic if you plan to survive long.
The early-game buy order that sets up a high round
Reaching a high round is easy once you survive the setup rounds, and the setup is where most runs quietly fail. Spend your opening Essence in a fixed sequence so you always have damage, protection, and upgrades ready before the game starts scaling zombie health hard.
Do the Wonder Weapon quest instead of spinning the Mystery Box
The Mystery Box is one of the fastest ways to drain your Essence with nothing to show for it. Every map hands you a Wonder Weapon through a free build or quest, and those weapons carry runs thanks to their outsized damage. Chasing the Box hopes for a weapon that might never roll, while a quest guarantees it.
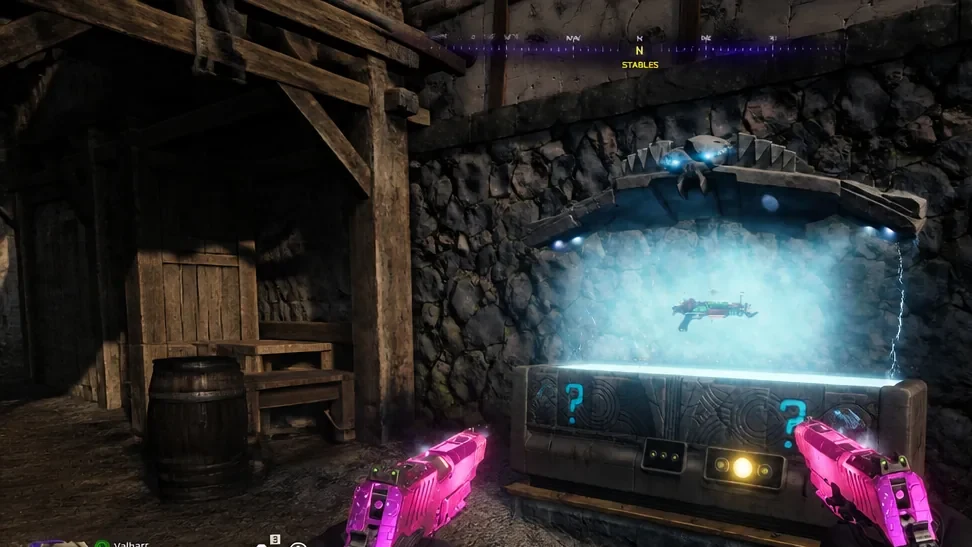
Learn the Wonder Weapon tied to your map and go get it directly:
| Map | Wonder Weapon |
|---|---|
| Ashes of the Damned | Necrofluid Gauntlet |
| Astra Malorum | LGM-1 |
| Paradox Junction | Blundergat / Sundergat |
| Totenreich | Jotunn Star |
| Kowakujo | Nekomancer |
Prioritize T.E.D.D. Tasks every time they spawn
T.E.D.D. Tasks appear roughly every four to six rounds and should jump to the top of your to-do list whenever they show up. Each one hands you a unique objective, such as killing zombies from higher ground or scoring Scorestreak kills, and the Legendary rewards directly accelerate your high-round setup.

Legendary rewards always include a Perk-a-Cola can, moving you closer to owning every Perk. Once you have all Perks, those cans convert into Eternal Perks that stay with you even after you go down. The reward pool also drops Weapon Rarity Upgrades, Salvage, and Wonder Weapons, all of which save you Essence you’d otherwise spend at machines.
Pay for armor with Salvage or Vulture Aid, not Essence
Armor Plates matter from Round 1 all the way to Round 999 because they soak damage before your health ever takes a hit. The goal is Tier 4 (Golden) armor so you can withstand the punishment of late rounds. The mistake is re-buying plates from Wall-Buys, which charges a steep Essence price for something you can get far cheaper.
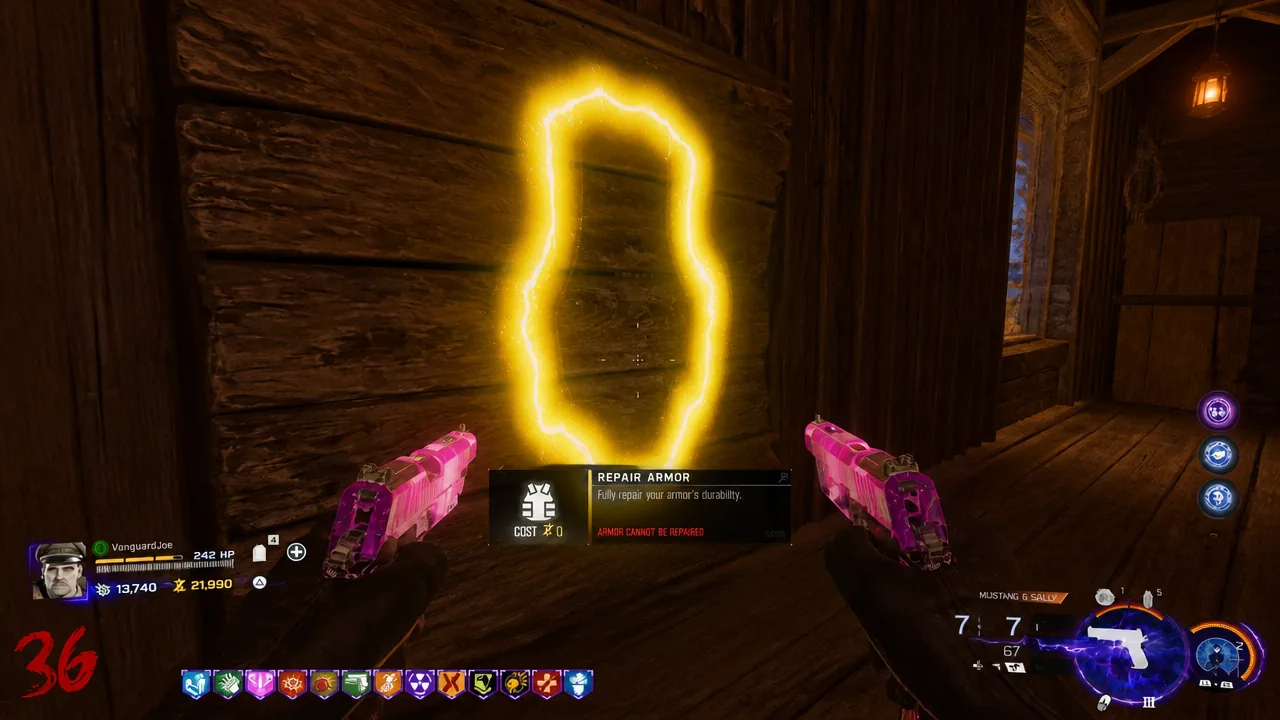
Run Vulture Aid so killed zombies drop more resources, which usually replaces your plates for free during a round. When you do need to top up, use Salvage at the Crafting Table, which is far cheaper than paying points at a wall. Keep your Essence for Pack-a-Punch and ammo instead.
Save Scorestreaks for emergencies, not clearing rounds
Scorestreaks cost Salvage at the Crafting Table, though Specials and Elites occasionally drop one for free. Burning them to speed through normal rounds wastes that Salvage. Hold them for the moments when you’re cornered and about to go down.
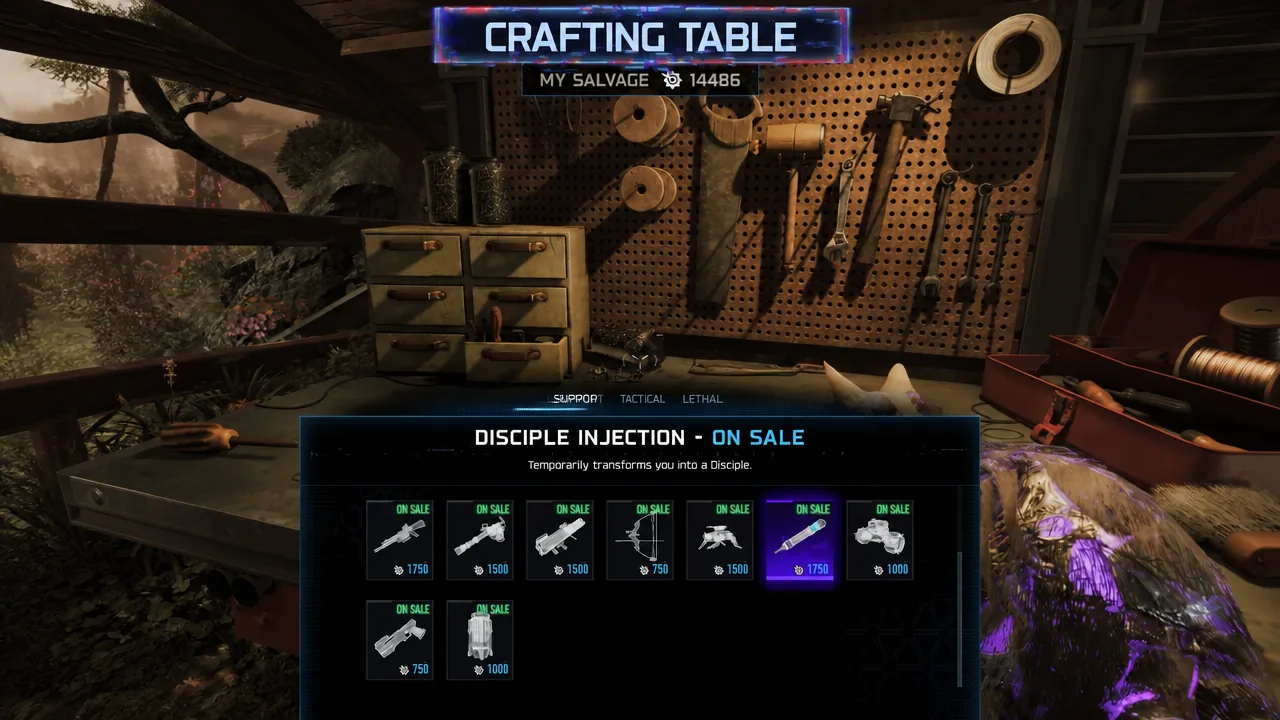
The two picks serve different roles. The War Machine wipes Special and Elite enemies in a quick burst, while the Disciple Injector keeps you alive by making you unkillable while it’s active. Choose based on whether you need to delete Elites or simply not die.
Avoid the Dragon Relic on high-round runs
The Dragon Relic comes from Ashes of the Damned and disables every Ammo Crate on the map. That sounds minor until your Wonder Weapon runs dry and you have no way to restock except Wall-Buys and Max Ammo Power-Ups.
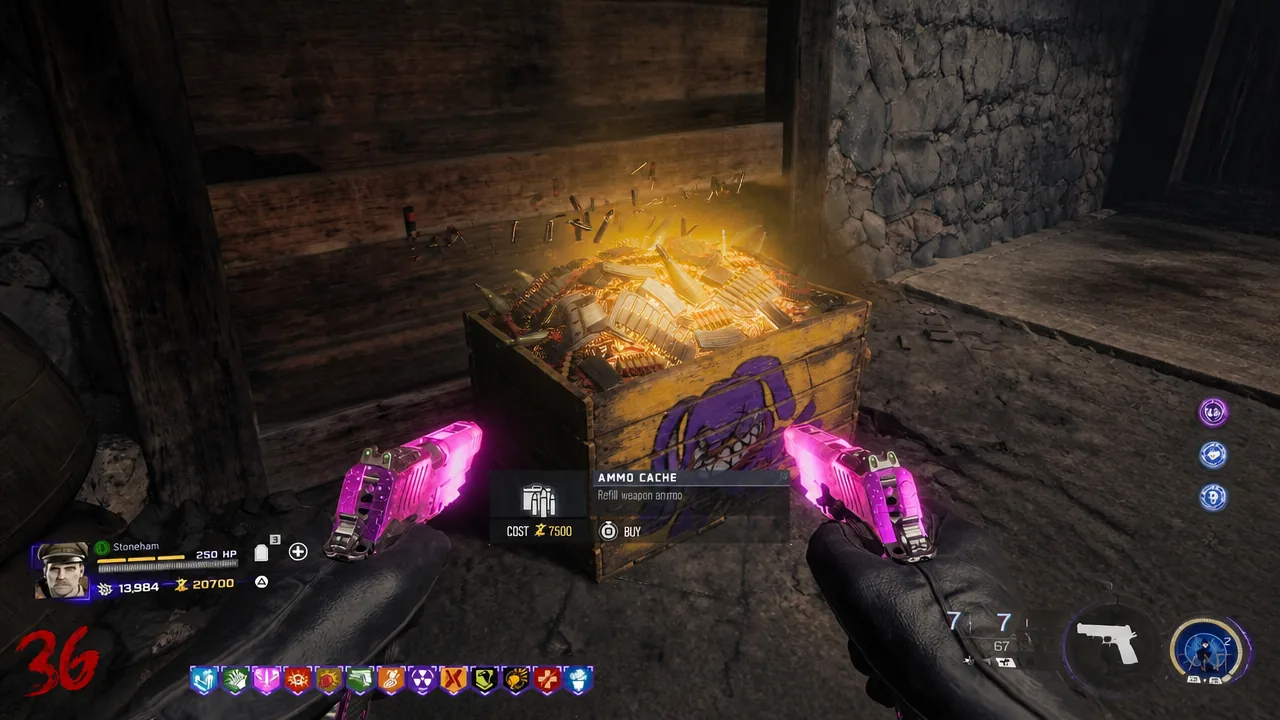
Leave this one in your pile of Wicked Relics when you’re pushing rounds. By the time you’re deep, Essence is plentiful, so it makes more sense to buy ammo for your Wonder Weapons and bullet gun than to lose your ammo economy entirely.
Farm points fast with a shotgun in Cursed Mode
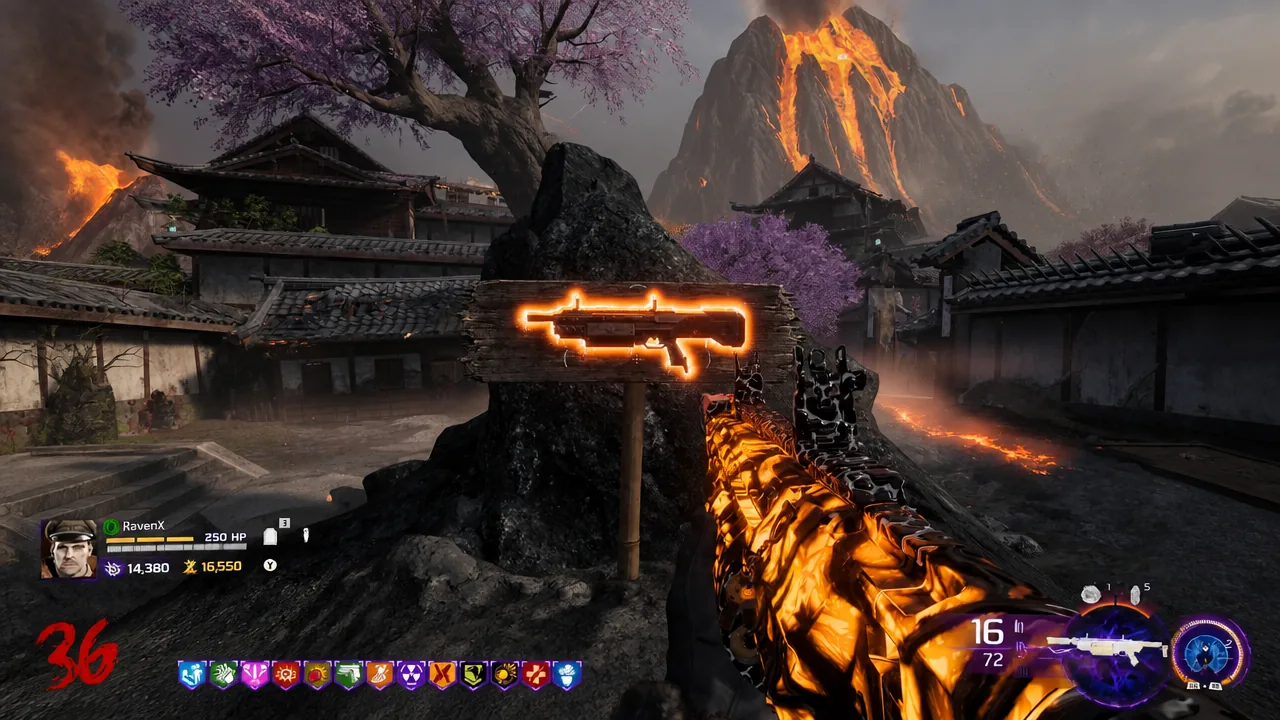
Cursed Mode brings back the classic points system, where you earn 10 points per hit rather than only on kills. A pellet shotgun with wide spread, such as the Echo-12 or Akita, turns that rule into a point machine, since each pellet that lands counts.
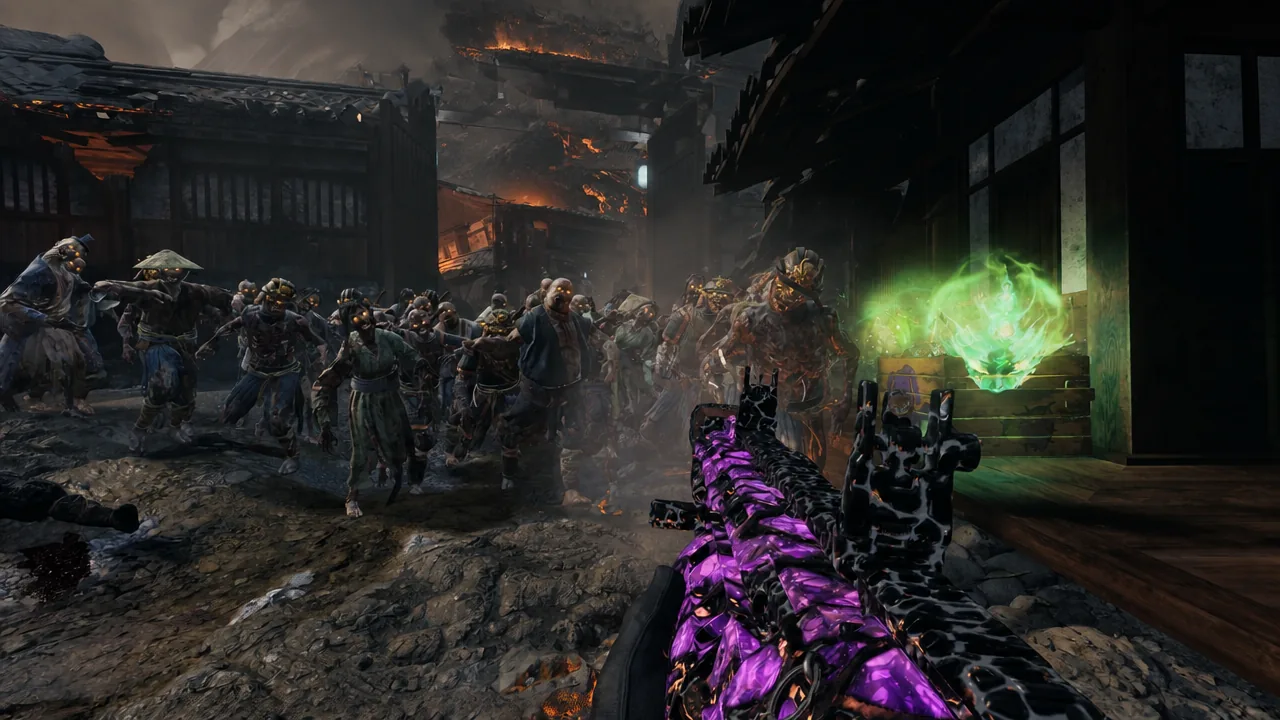
Grab a shotgun from a Wall-Buy or the Mystery Box first, herd zombies into a tight horde, and hold the trigger. Watching a full spread connect on a packed group builds Essence quickly, which means Perks, armor, and Tier 4 Pack-a-Punch upgrades come together far faster than usual.
Treat Essence and Salvage as two separate budgets and the rest falls into place. Points buy doors, Pack-a-Punch, and ammo; Salvage and Vulture Aid handle armor and Scorestreaks; free Wonder Weapon quests and T.E.D.D. rewards fill the gaps. Spend in that order and the run stops being about luck and starts being about how long your patience holds.