Abstraction is the whole point of Experience Abstraction. Your sanity bar sits in the lower-left corner, and once it fully drains your character plays a transformation cutscene and becomes an abstracted creature. The catch is that there are six different ways to force that drain, and they are not equal. Some finish fast but can get you killed mid-transformation. Others are almost bulletproof but slow. The ranking below sorts every method by how quickly it works and how likely it is to fail before the cutscene fires.
Quick answer: The bed method and standing near an AFK abstracted player are the two S-tier picks. The bed method is the safest reliable route, while standing near an idle abstraction is the fastest overall.
Experience Abstraction methods tier list
| Tier | Methods |
|---|---|
| S | Bed method, Standing near an abstraction |
| A | Abstracting outside the map, Dark room |
| B | Standing in a shadow |
| C | Isolating on the pillar |
How this was ranked: Each method is judged on three things — how fast it drains sanity, how safe it is from being killed before the cutscene, and how easy it is to keep the condition stable. This reflects the current live build, version v2026.08.07-b1463.
S-tier: the fastest and the safest
Two methods sit at the top for different reasons. The bed method wins on reliability, and standing near an abstraction wins on raw speed.
Bed method
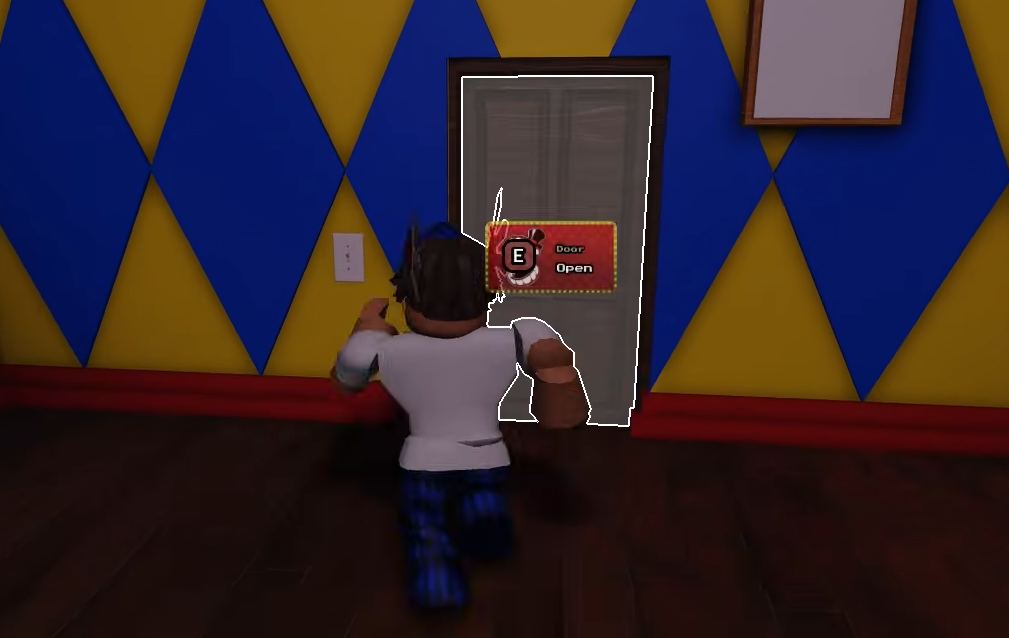
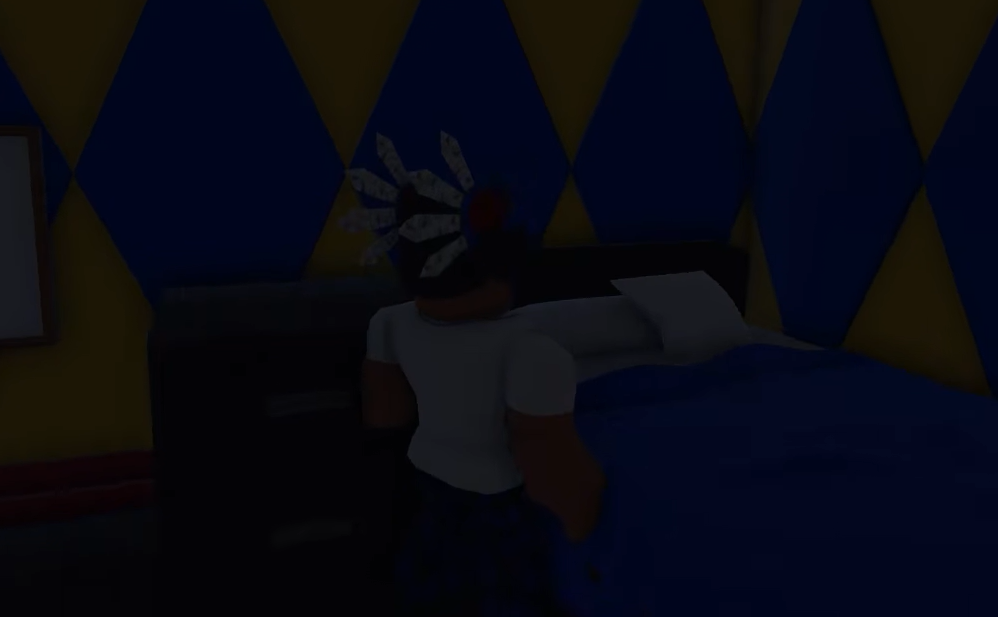
This is the most efficient route in the game because it drains your sanity in a private space and then finishes the job with a single interaction. Nothing outside your room can interrupt it, and the sleep animation removes the remaining sanity instantly instead of making you wait it out.
Standing near an abstraction
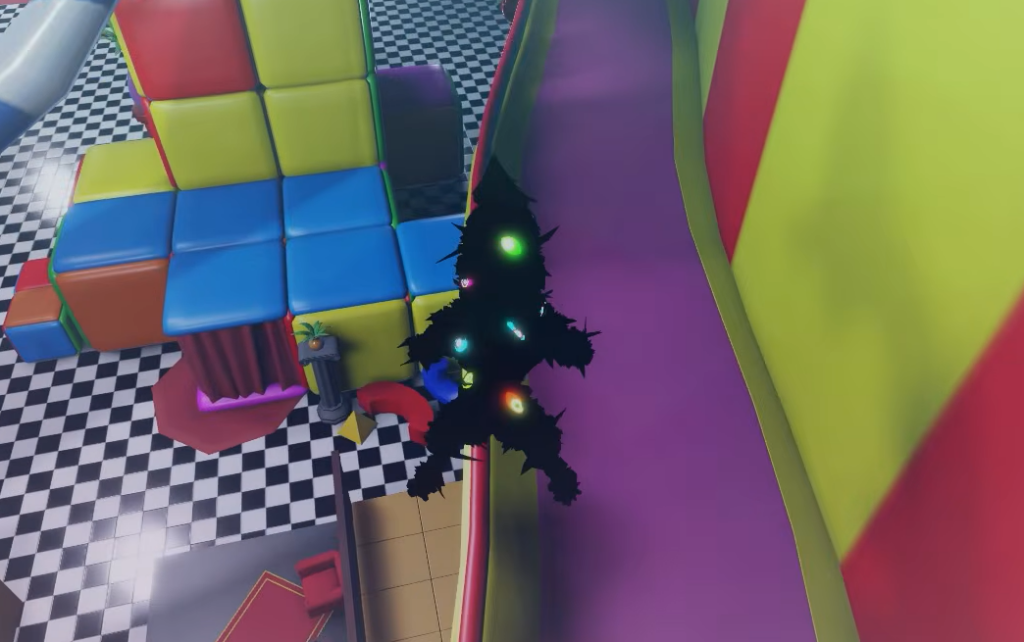
Proximity to an already-abstracted player drains your sanity faster than any other method. The best-case version is standing next to an AFK abstraction, since an idle creature cannot chase you. The risk is real, though. If the abstraction is active rather than away from the keyboard, it can attack and eliminate you before your own transformation completes. Keep just enough distance to still gain the drain while avoiding a hit.
A-tier: safe but standard speed
Both A-tier methods trade a little speed for near-total protection from other players and roaming enemies.
Abstracting outside the map
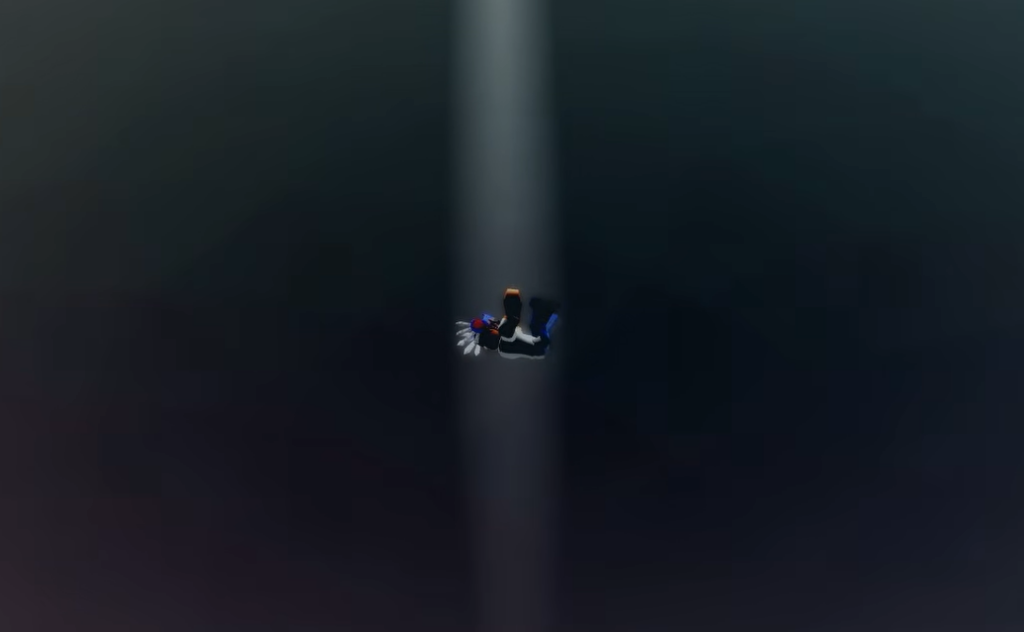
Climbing the central pillar, jumping out of bounds, and dropping to a platform behind the map puts you somewhere no enemy can reach. It is one of the most secure spots in the game. The downside is the platforming — the jump and landing need to be precise, and a missed input can send you somewhere you did not intend. Once you abstract out there, you can glitch back inside the map.
Dark room
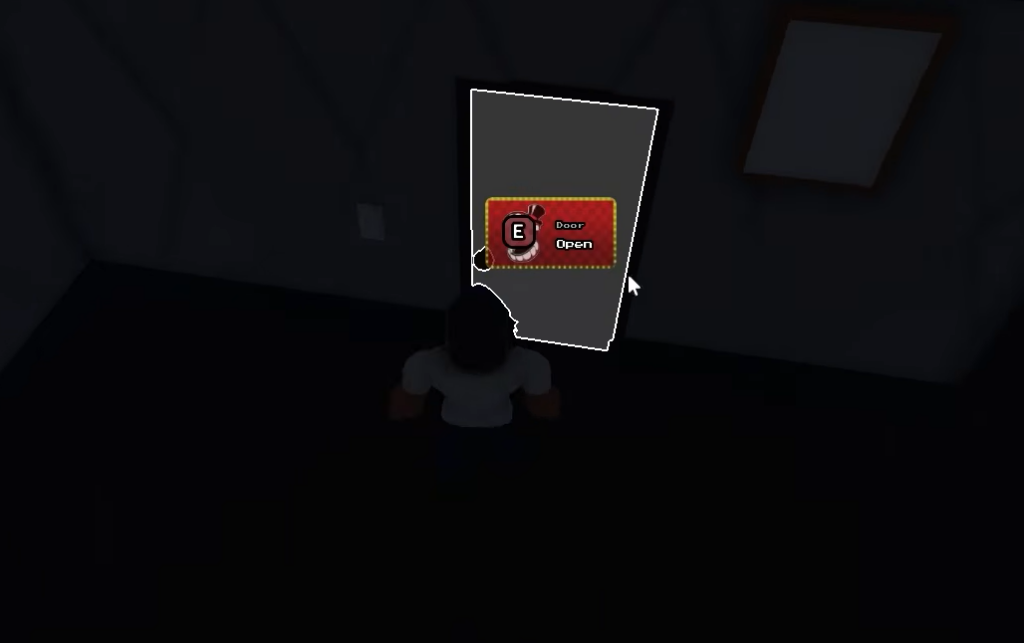
This is the standard version of the bed setup without the finishing interaction. Enter your room, close the door, flip the lights off, and wait. Because you are both isolated and in darkness, the drain is dependable and almost impossible for another player to spoil. The only reason it sits below the bed method is that you wait out the entire sanity bar instead of skipping the last stretch with a sleep animation.
B-tier: standing in a shadow
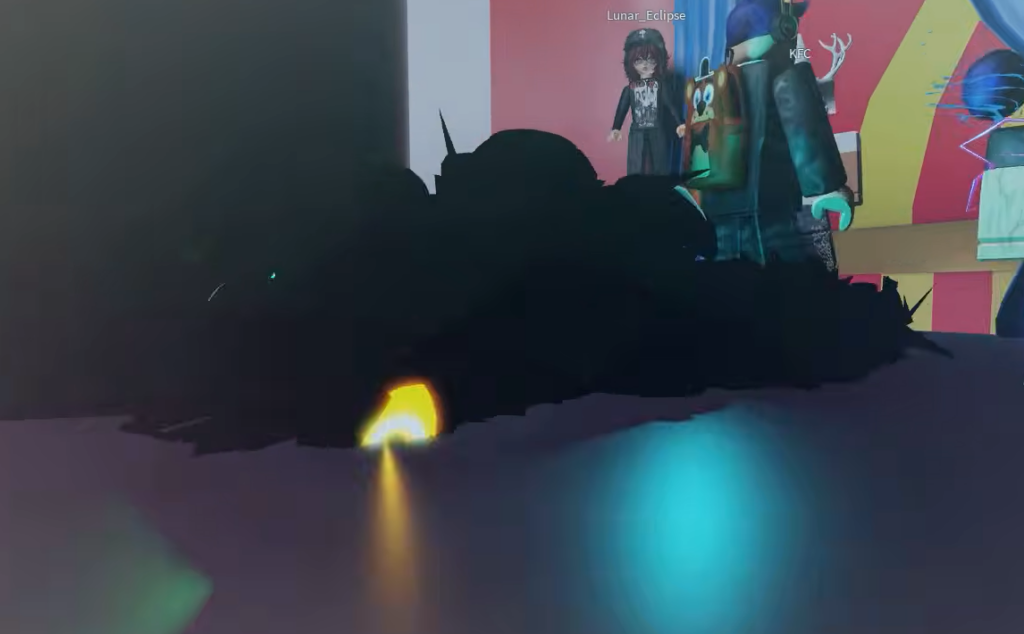
Hiding in the dark patches of the main map, such as the shaded area near the stage, drains sanity at a moderate pace. The problem is that you are still out in the open. Roaming abstractions can find you, and Caine can kill you almost immediately once you are exposed. The speed is acceptable, but the safety is not, which keeps it firmly mid-pack.
C-tier: isolating on the pillar
Climbing the red spiral pillar to isolate yourself at the top is the weakest method available. It is slow, and it falls apart the moment another player decides to follow you up. Because the drain relies entirely on staying alone, a single visitor resets your progress and you start over. There is almost always a faster, more stable option, which is why this one ranks last.
Which method to pick
If you want a route that almost never fails, use the bed method inside your own room. If you only care about finishing as quickly as possible and there is an idle abstraction nearby, stand close to it and accept the small risk. Save the out-of-bounds and dark-room approaches for crowded servers where staying hidden matters more than raw speed, and skip the pillar entirely unless the map is empty.