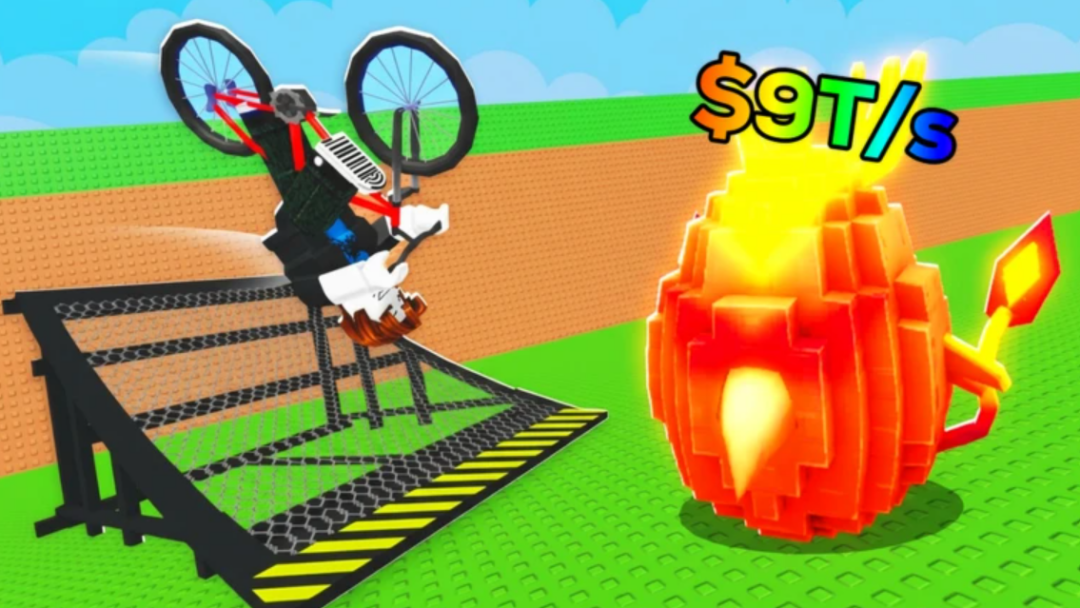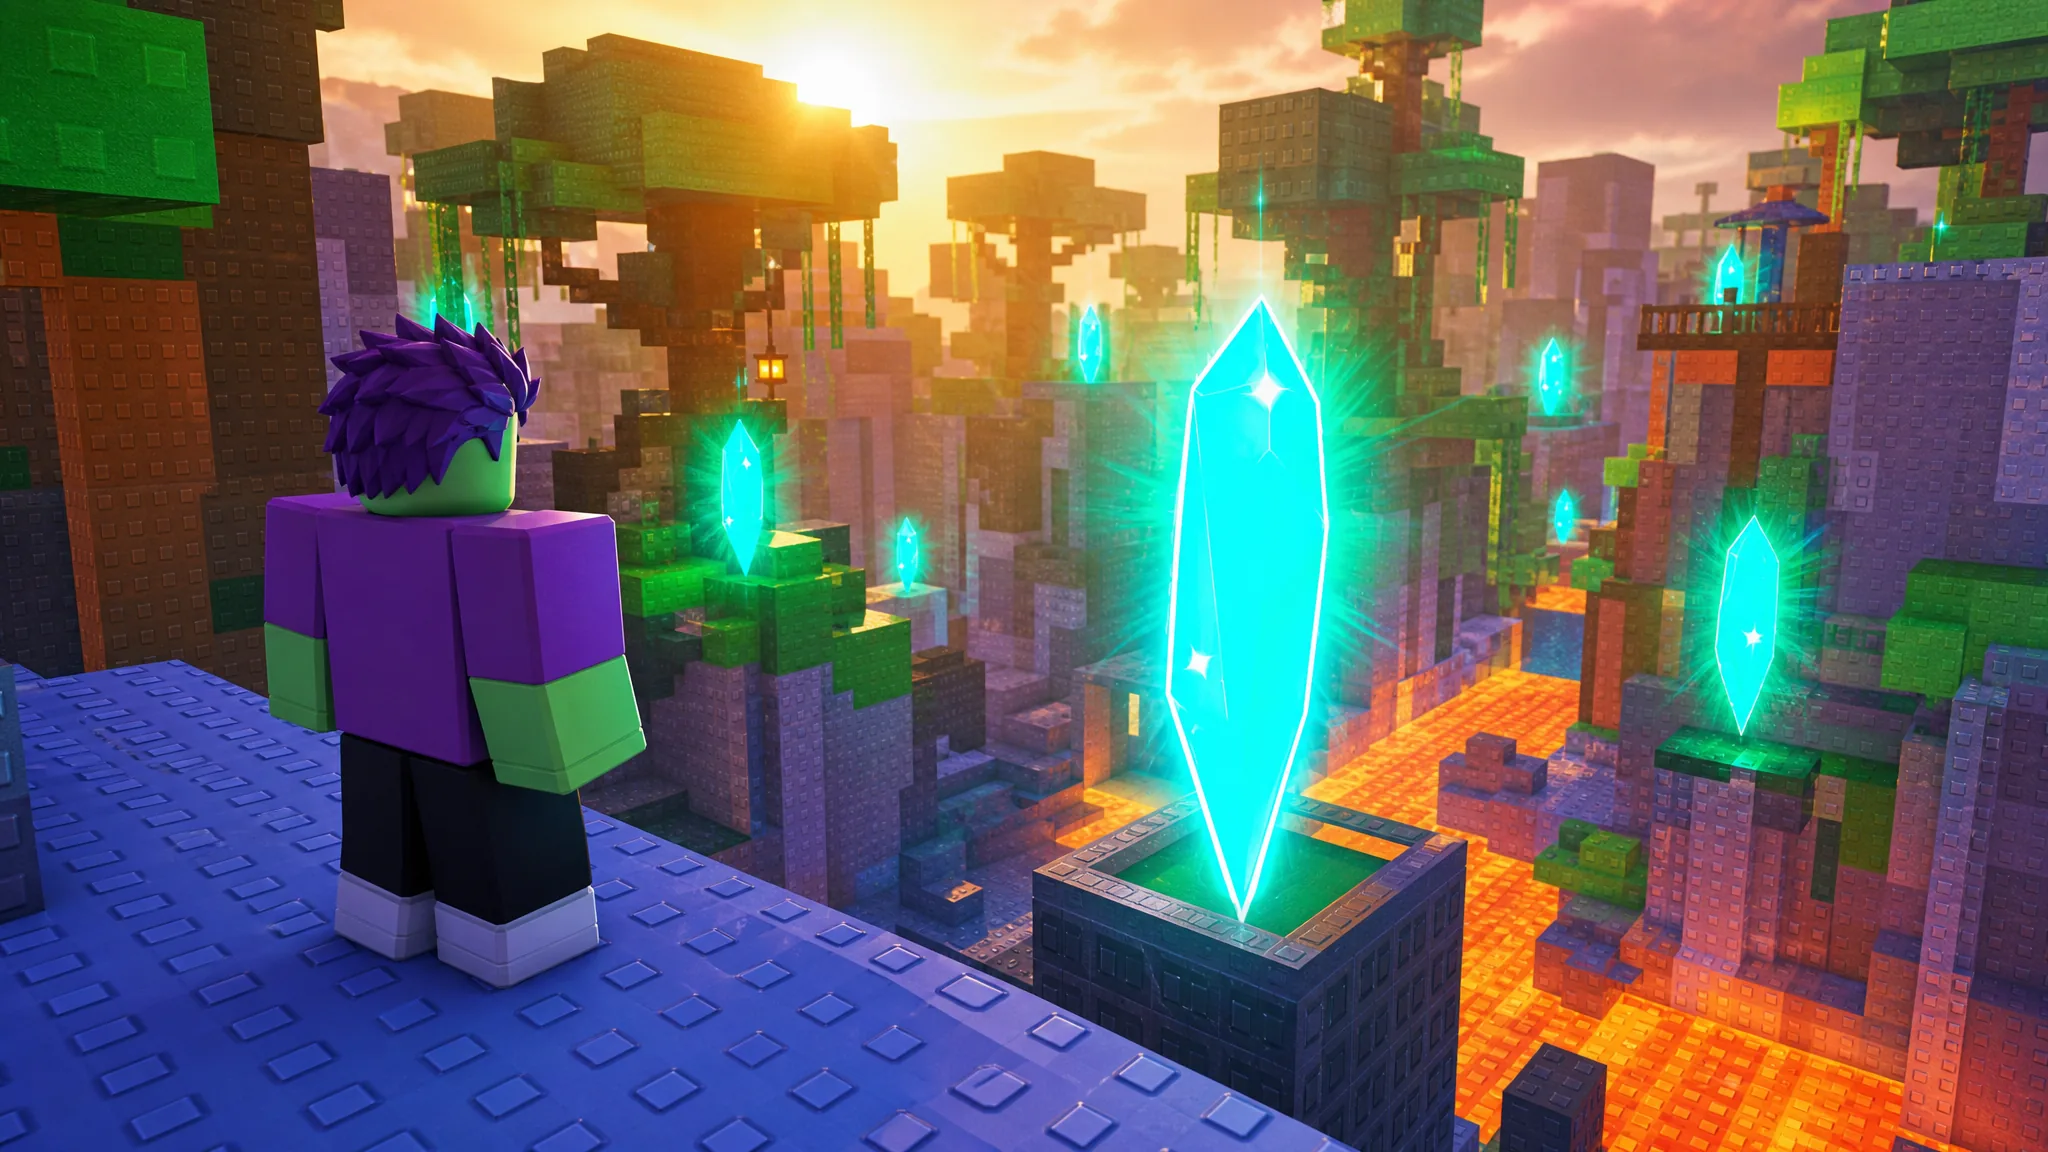
Nine Sunken Shards are tucked across +1 Speed Monkey Escape, from the main lobby all the way through Stage 9. Grab all of them and the game rewards you with a free x2 Speed Treadmill you can use to train faster, so the hunt pays off directly in speed.
Quick answer: Collect all 9 Sunken Shards (2 in the spawn lobby, then one each across Stages 2, 3, 4, 6 and 9, plus two in Stage 7) to unlock the x2 Speed Treadmill. Each shard is claimed permanently and does not respawn.
What the 9 Sunken Shards unlock
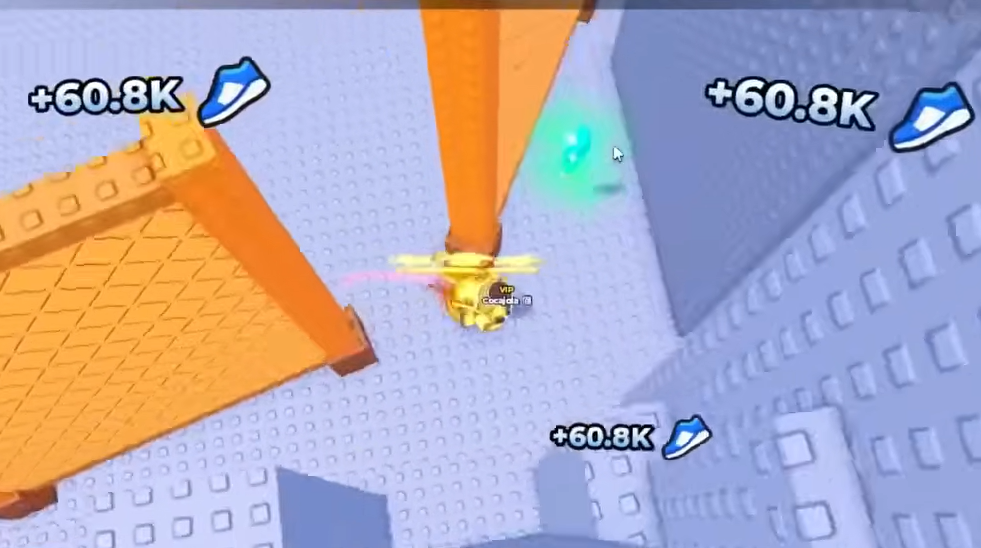
The reward for finishing the full set is the x2 Speed Treadmill, a training tool you keep for free. Some shards sit in plain view near the start, while others are deliberately hidden behind walls, off the sides of platforms, or up on ledges you can only reach with enough speed.
Shards are one-time pickups. Once you claim one, it disappears for good, so if a spot below looks empty, you have likely already grabbed it.
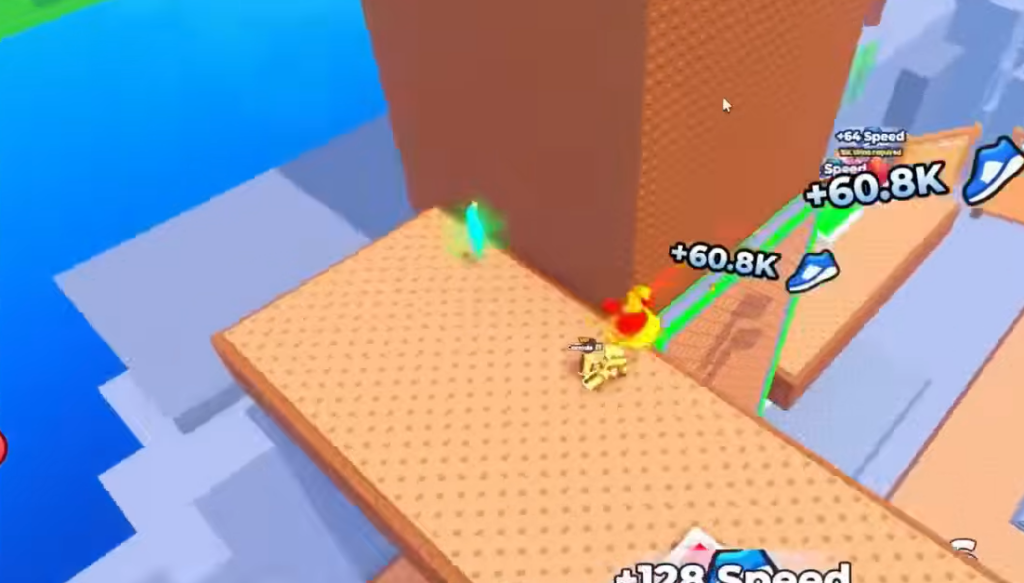
Two shards in the spawn lobby
Both of the first shards are within reach the moment you load in, which makes the lobby the easiest place to start.
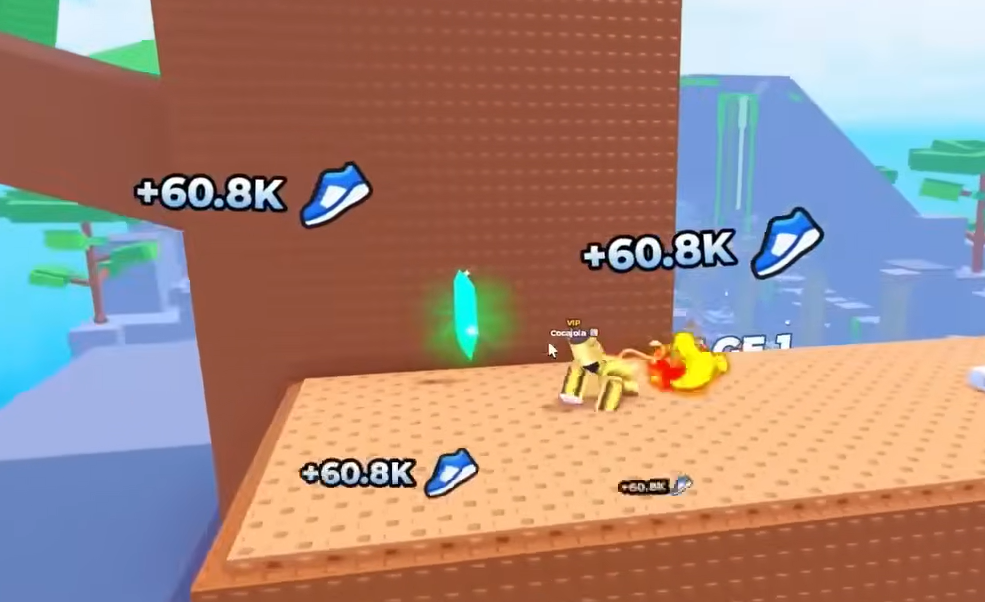
Shard locations across the stages
The remaining seven shards are spread through the obstacle course. A few require you to intentionally drop off the main path, so expect to fall to your death on a couple of them to reach the pickup as you go down.
| Shard | Stage | Where to look |
|---|---|---|
| 3 | Stage 2 | Near the center, look off the left side at a small pillar. Dive down to the lower block to collect it as you fall. |
| 4 | Stage 3 | At the end of the stage, behind a large wooden block on the right. You need enough speed to climb the right booster, then fall to the other side. |
| 5 | Stage 4 | Use the vertical boosters at the start to reach the top, then go to the top-left corner near the entrance to Stage 5. |
| 6 | Stage 6 | Jump forward to the first center platform, then to the second. Go to the back edge of that second platform, avoiding the shark obstacle. |
| 7 | Stage 7 | Follow the path to the right toward the green platforms, jump up the grassy ledges, and find it in the corner. |
| 8 | Stage 7 | On the left side, use the swing rope to gain height and drop into the enclosed brick pit. |
| 9 | Stage 9 | Jump to the third central platform while dodging the tsunami waves, then check the right-side corner. |
Stage 7 holds two shards, so clear both the right-side grassy ledges and the left-side swing before moving on. It is easy to leave one behind if you only check one side.
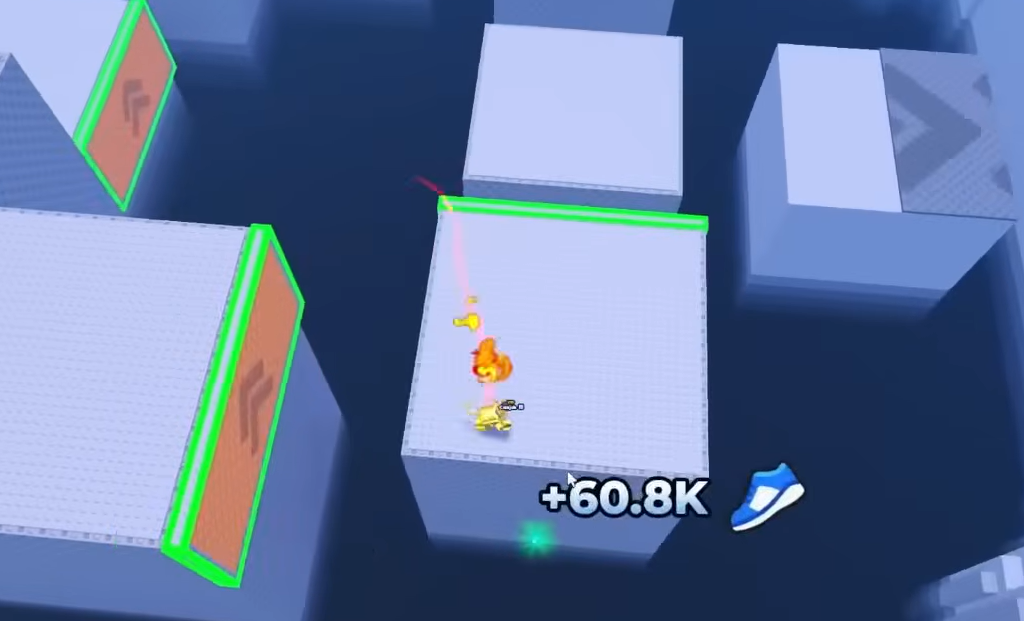
How to confirm you collected all 9
You will know the hunt is complete when the x2 Speed Treadmill becomes available to you. If it has not unlocked yet, retrace the stages where a shard slot looks empty, since claimed shards no longer appear. The most common reason players fall short is Stage 7, where the second shard on the opposite side gets skipped.
Speed is the real gatekeeper on a few of these, especially the Stage 3 booster climb and the lobby brick tree. If you cannot reach a ledge yet, keep training and rebirthing to raise your movement speed, then return to finish the set.