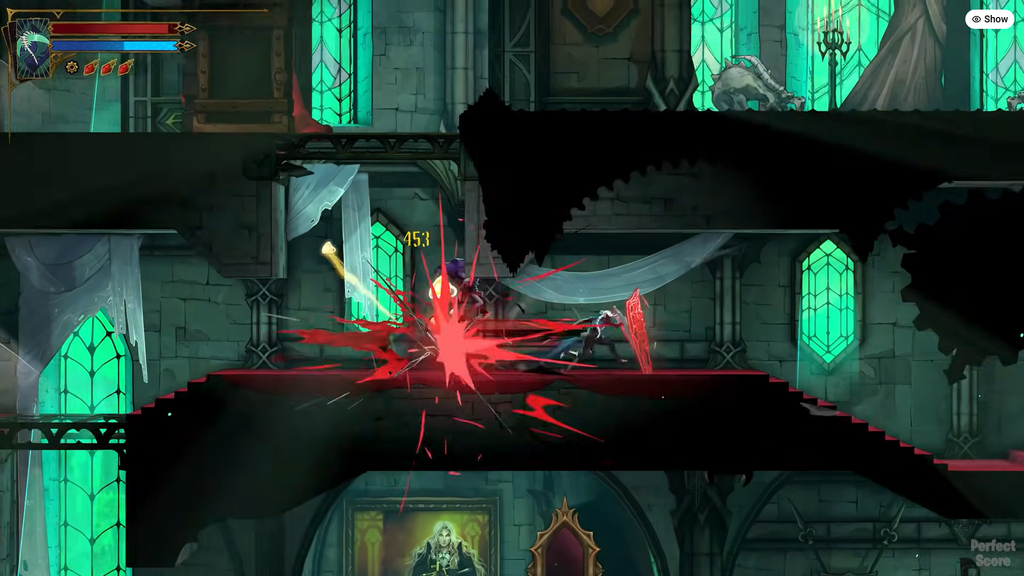
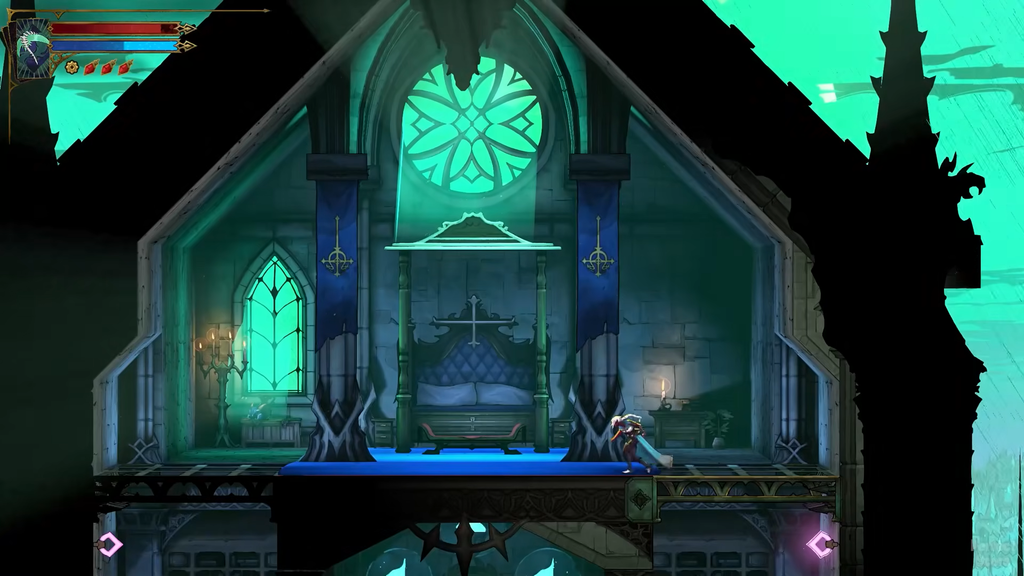
Alucard’s Sword and Shield is a tier 4 Legendary weapon in Castlevania: Belmont’s Curse. It is found in Alucard’s Tower, a hidden district in the Main Hall’s upper-right corner, directly over the Library entrance. Two obstacles stand in your way: a lengthy ascent through Dracula’s castle and the blue flames sealing Alucard’s room.
Quick answer: In the Entrance Corridor, use the concealed red doorway positioned above Alucard’s portrait, then climb to the Grand Hall. Cross the Bridge of Knowledge, extinguish all five blue flames, and collect the weapon from the tower’s highest room.
Abilities required for Alucard’s Tower
The route is gated by movement abilities rather than by a key or a boss. If you try it too early, you’ll hit gaps you can’t clear and hooks you can’t reach. Push the main story forward until Rose has all of the following:
- Double Jump, which you need for several gaps along the climb.
- Use the Arcane Whip against grapple hooks and the Luminous Anchors on the route to the final flame.
- A dash, which the Armoury’s spike shafts call for in the form of mid-air dashes.
| Ability | Area | District |
|---|---|---|
 Double Jump Double Jump | Notre-Dame | Choir |
 Arcane Whip Arcane Whip | Paris Streets | Abandoned Sewers |
 Aerial Rush Aerial Rush | Library | Observation Tower |
Rose receives Double Jump in the Choir after defeating Death, giving her the ability to leap again while airborne.
Arcane Whip lets you aim and latch onto luminous anchors or enemies to reach new areas. You’ll lean on it throughout the climb and for the final flame.
Aerial Rush propels Rose forward while she is in the air.
Route from the Entrance Corridor to Alucard’s Tower
The tower is near the top of the Main Hall, but the way in starts near the bottom, at the Mirror of Life in the Entrance Corridor. From there, the path loops north through four areas before it reaches the Grand Hall.
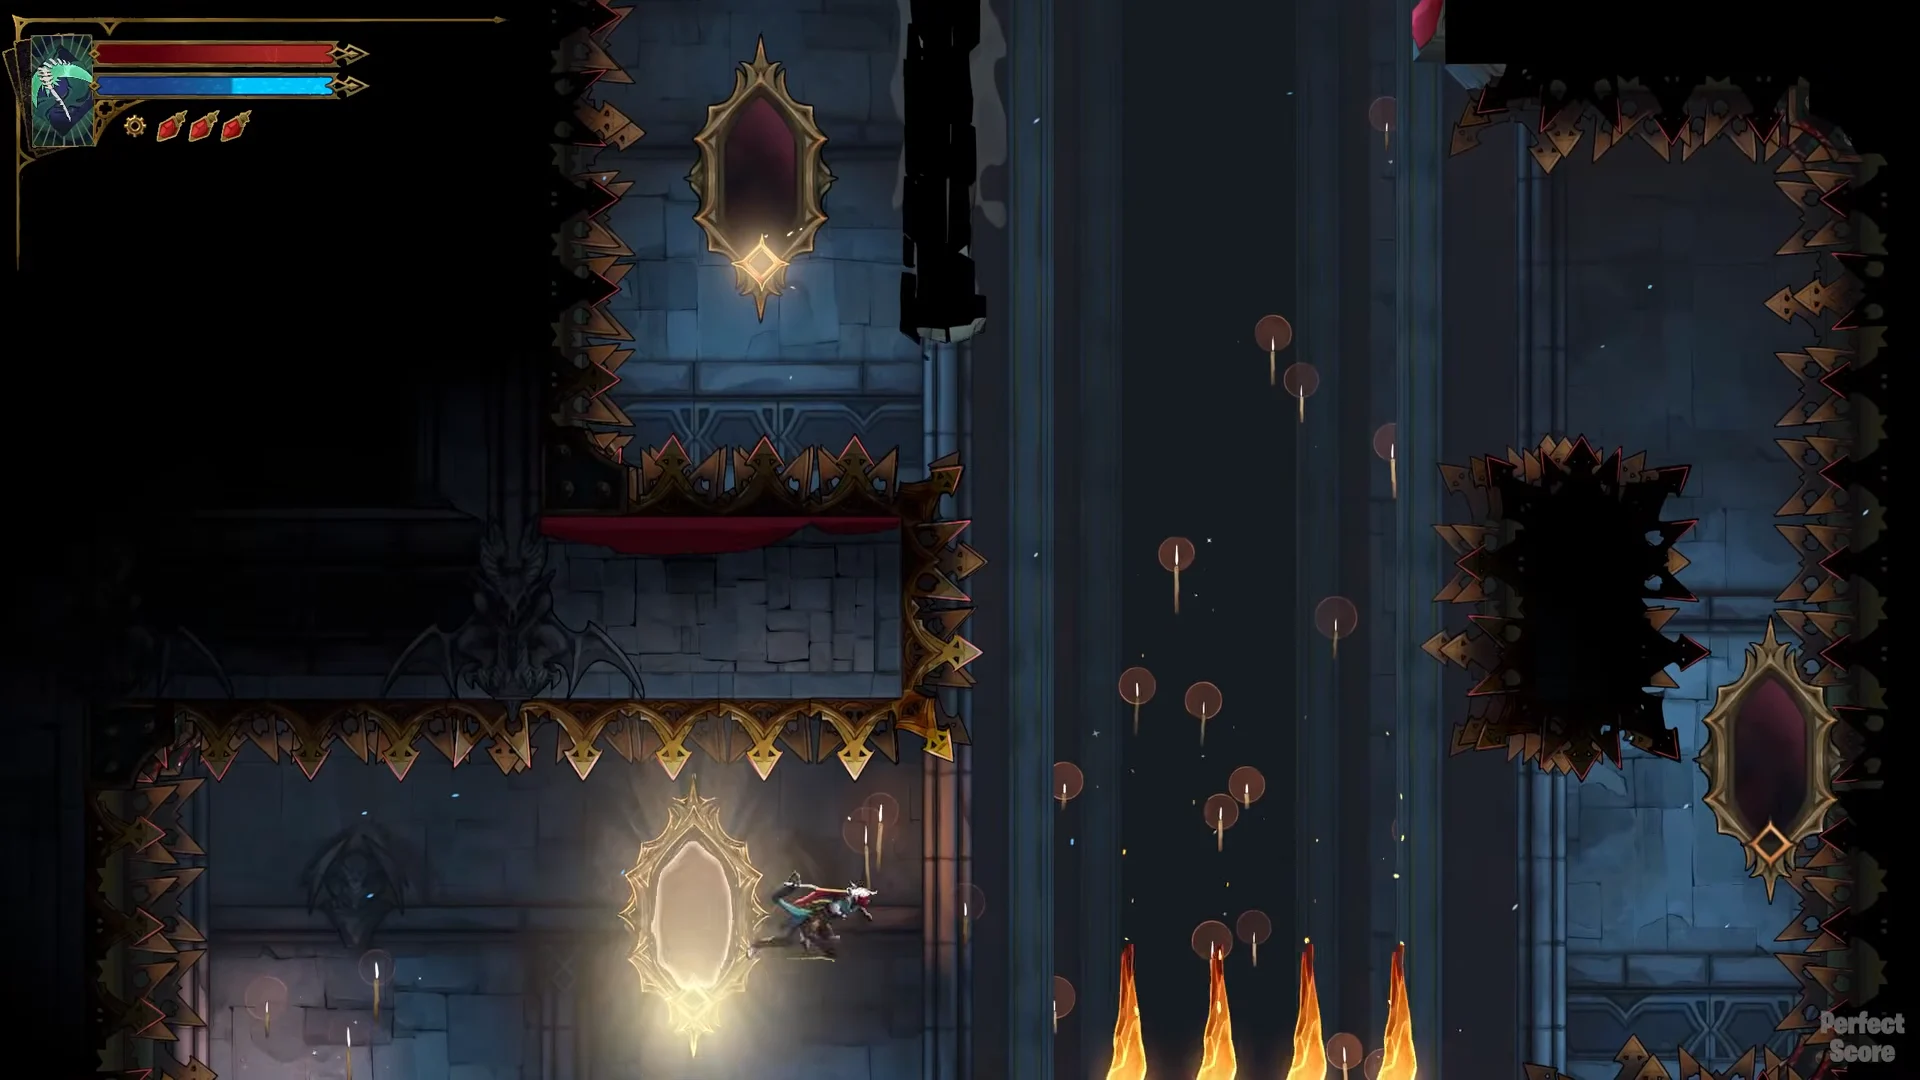
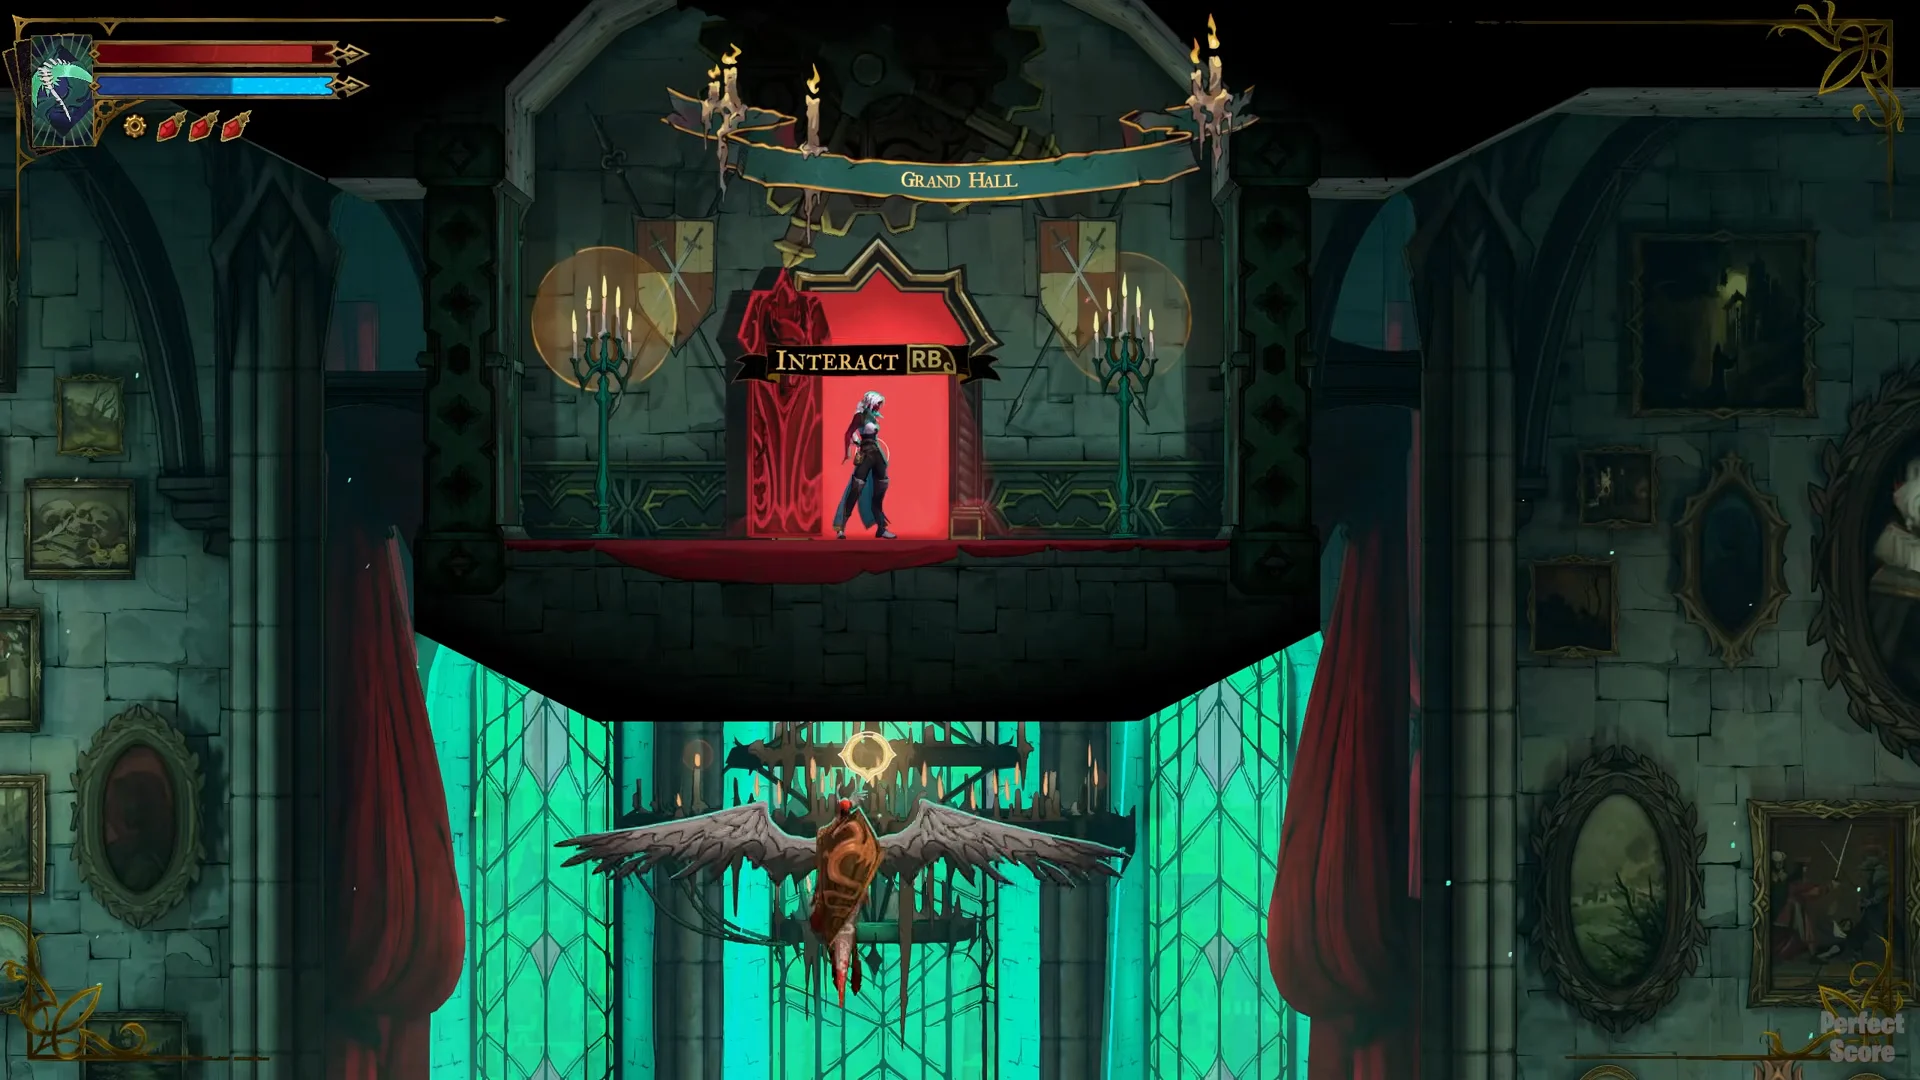
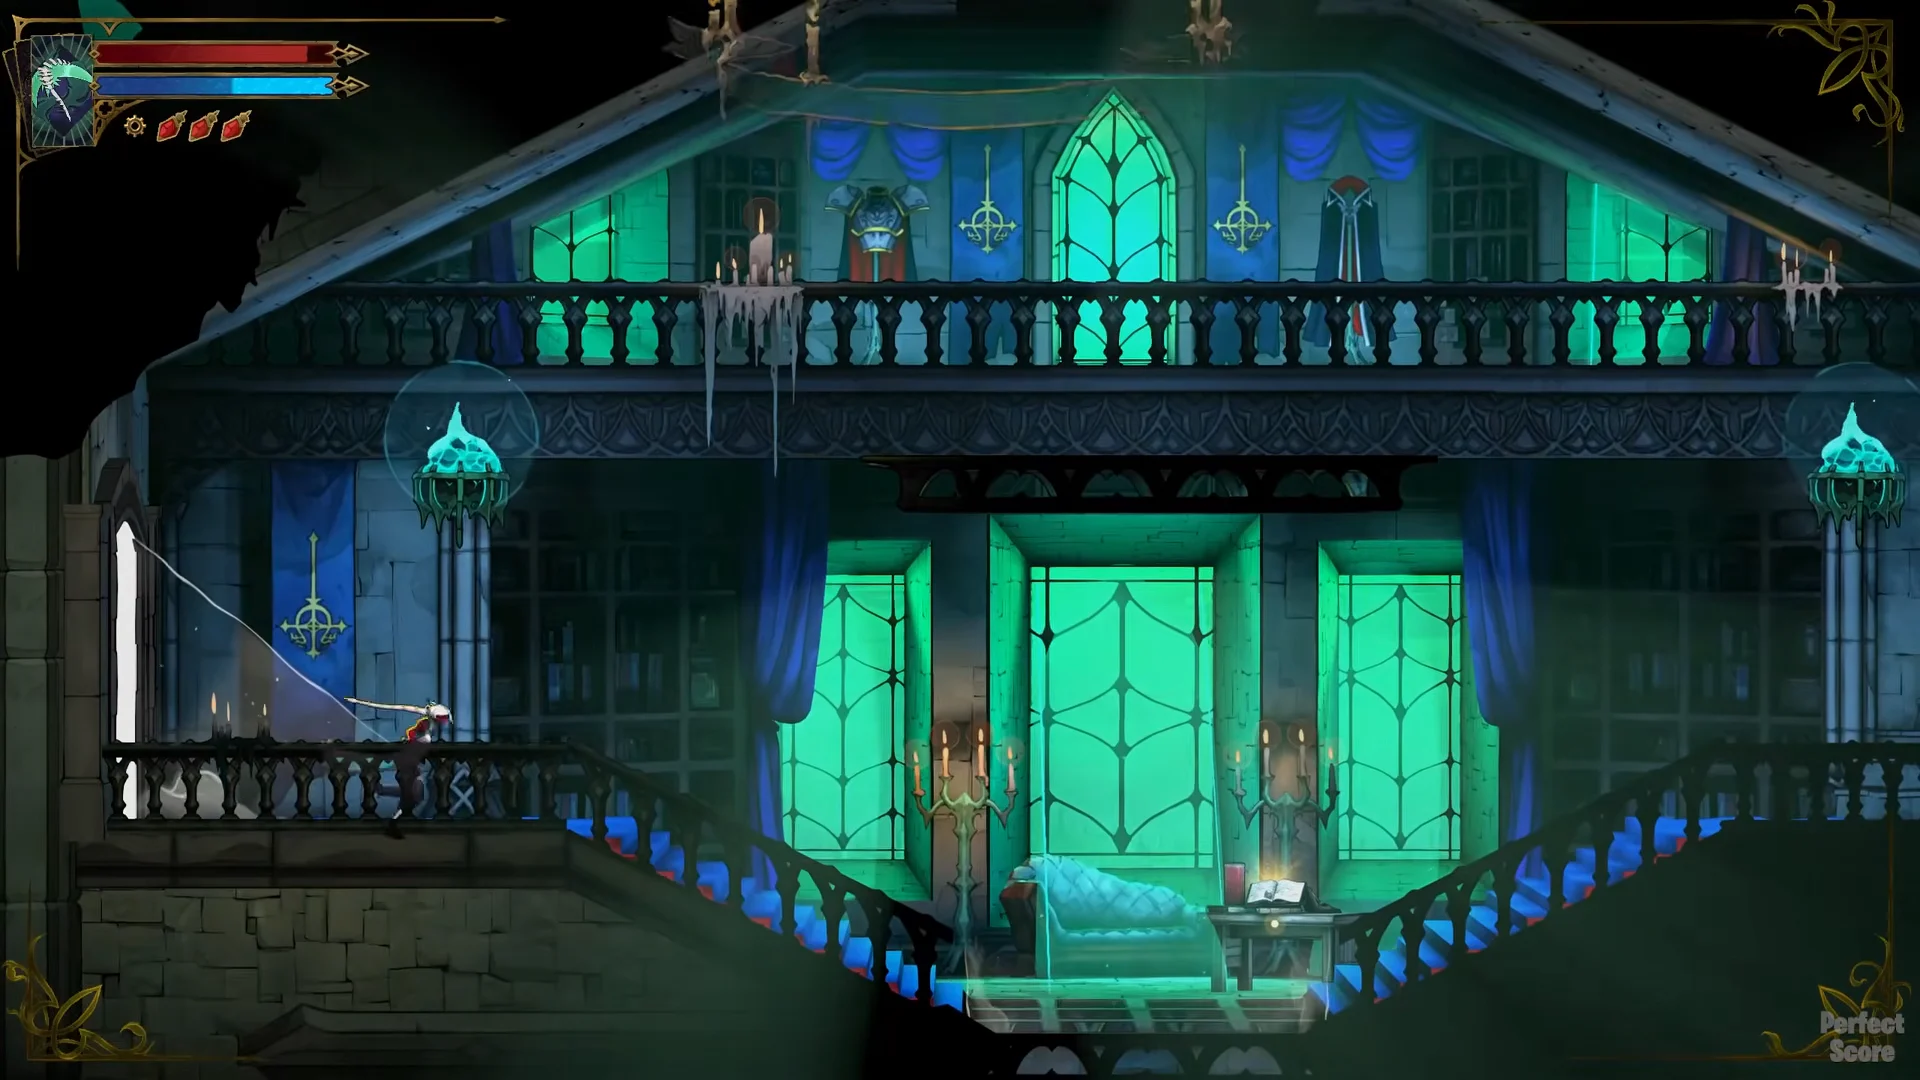
The Mirror of Life in the Ballrooms is nearest to the tower. Use it to exit the area, then return later.
All five blue flame locations
A desk at the tower holds a letter from Adrian to his father. In it, he says he lit blue flames around his chambers to keep the castle’s evil out. Those flames are the lock on his room. Reading the letter isn’t required, but it explains the puzzle.
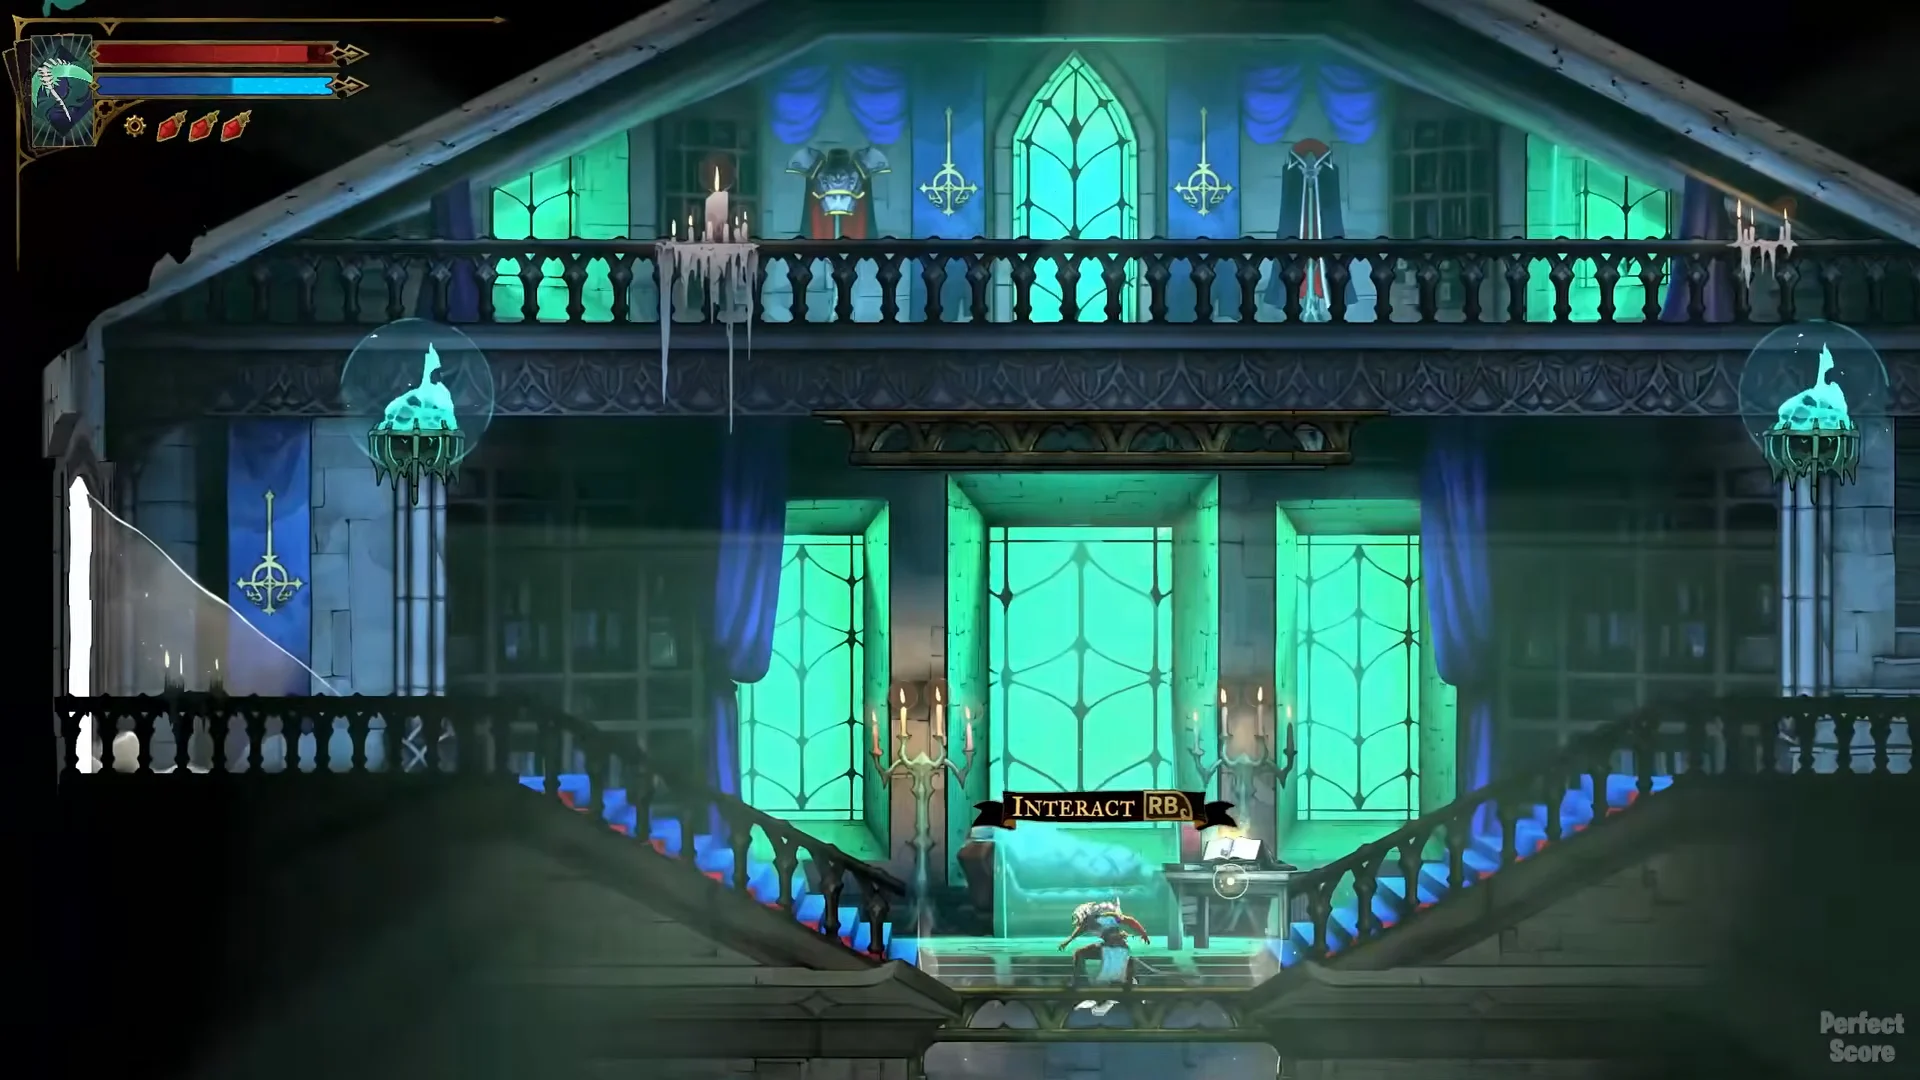
You must extinguish five blue flames to open the room. Each one sits in a brazier or lantern and goes out with a single weapon strike. All five are near the route into the tower.
| Room | Flames | Position |
|---|---|---|
| Hidden stair room | 2 | Upper left and upper right |
| Bridge of Knowledge | 2 | By the desk, and by the portrait below |
| Lower chamber | 1 | Beneath the Bridge of Knowledge |
The stair room is symmetrical, with a writing desk under its two braziers. That makes it easy to hit one flame and walk past its twin, so put out both before you leave. You reach this room through the upper corridors on the Grand Hall side of the route.
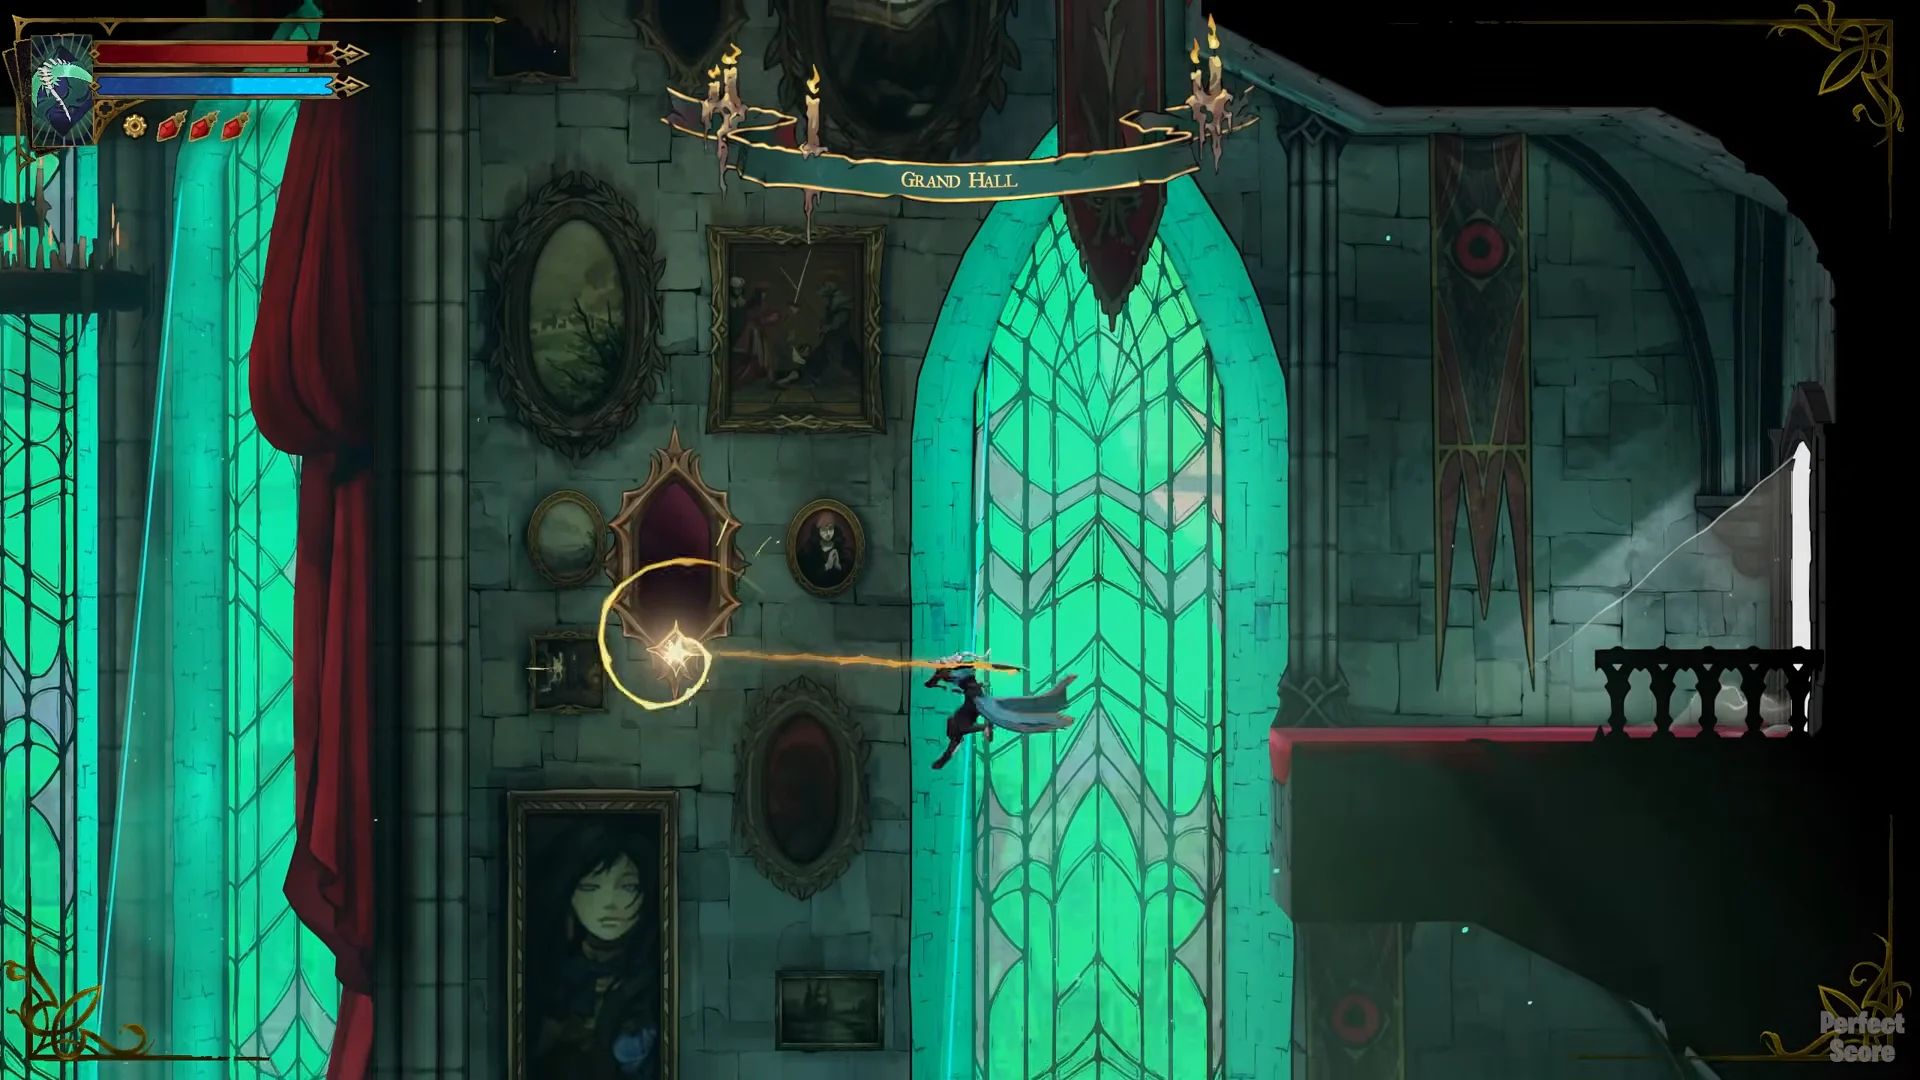
Two flames sit one above the other on the Bridge of Knowledge: one beside the desk above, the other alongside the portrait below.
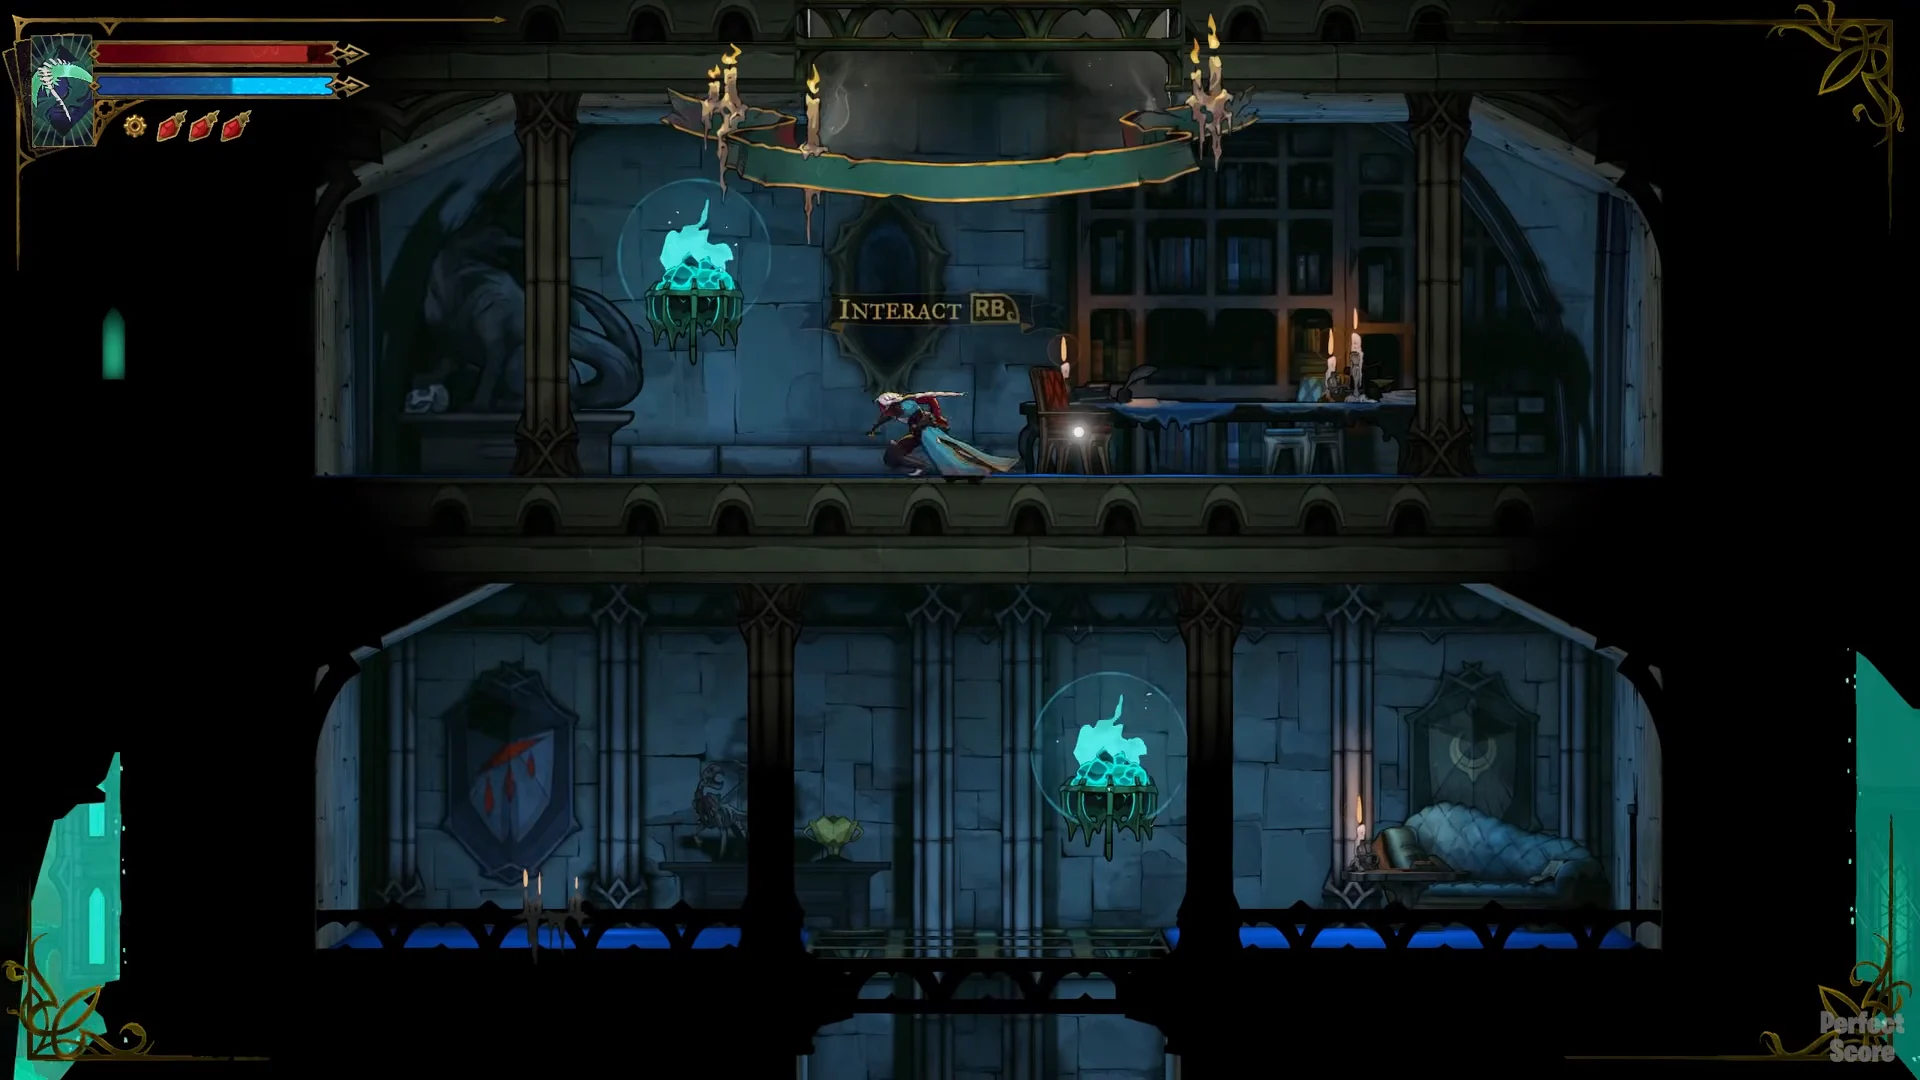
Reaching the lower chamber flame
To reach the fifth flame, make a short trip outside. Climb back up, go left to the far end of the Bridge of Knowledge, and drop into the gap. As you fall, swing right across the open sky with the Arcane Whip on the Luminous Anchors. Go through the opening, climb into the chamber under the bridge, and destroy the flame inside.
Collecting Alucard’s Sword and Shield
You’ll know it worked when the weapon card appears, showing Legendary rarity and ATK 100. Rose then adds, “I’m sure they won’t mind I borrow for a while.” After that, the weapon sits in her inventory as a Legendary sword and shield, ready to equip.
The Alucard Style Costume from the pre-order offer is a separate cosmetic. It doesn’t unlock the weapon or skip the flame puzzle.
Alucard’s Sword and Shield stats compared
Two other weapons help put the set in context. The Fleuret and Tower Shield from the Library is its tier 2 counterpart in the same weapon type. The Vampire Killer from Notre-Dame is the other tier 4 Legendary.
| Stat | Alucard’s Sword and Shield | Fleuret and Tower Shield | Vampire Killer |
|---|---|---|---|
| Rarity / tier | Legendary / 4 | Refined / 2 | Legendary / 4 |
| ATK | 100 | 50 | 100 |
| Attack power | 33 | 25 | 40 |
| Stagger power | 30 | 30 | 30 |
| Mana per hit | 4 | 4 | 3 |
| Combo finisher | Shield bash | Shield bash | Whip Drag |
Alucard’s Sword and Shield shares traits with the Fleuret and Tower Shield: its combos end in a shield bash, and holding Attack brings up the shield to guard against frontal hits. Each hit costs the same mana, while the Alucard set inflicts more damage. Its ATK matches the Vampire Killer’s, but the whip has higher attack power.
Teleportation is this set’s unique effect. Rose warps toward foes when she attacks, and can hit distant targets if they’re within her field of view. This gives the weapon substantial damage potential. Its unpredictable landing spots can make it less controllable than a regular sword and shield. The lore describes it as the arms of a dhampir whose mother was murdered and whose father was terrifying.
Fleuret and Tower Shield is found in the Library and shares the same frontal block and shield bash finisher.
Vampire Killer is found in Notre-Dame. It deals extra damage at the far tip of each lash.