Tocotoco is a Neutral-type Pal whose Eggbomb Launcher partner skill turns it into a handheld weapon. When you activate it, the Pal equips to your character and fires explosive eggs, scaling from 100% damage at level 1 up to 200% at level 5. Stacked with attack passives, elemental batons, and the right party buffs, it becomes a burst-damage tool that shreds groups of enemies and bases.
Quick answer: Condense Tocotoco to 4 stars, run Twin-Edged Holy Blade, Demon God, God of Destruction, and Musclehead, equip three Pal Attack Up Lv. 4 batons plus the Dogen Emblem, and back it with Xenolord, Lapure, and Orserk. Set the Pal to Peaceful and fire manually. It clears mid-game content and oil rigs, but the raw damage is not enough for Hard Mode tower bosses.
How the Eggbomb Launcher partner skill works
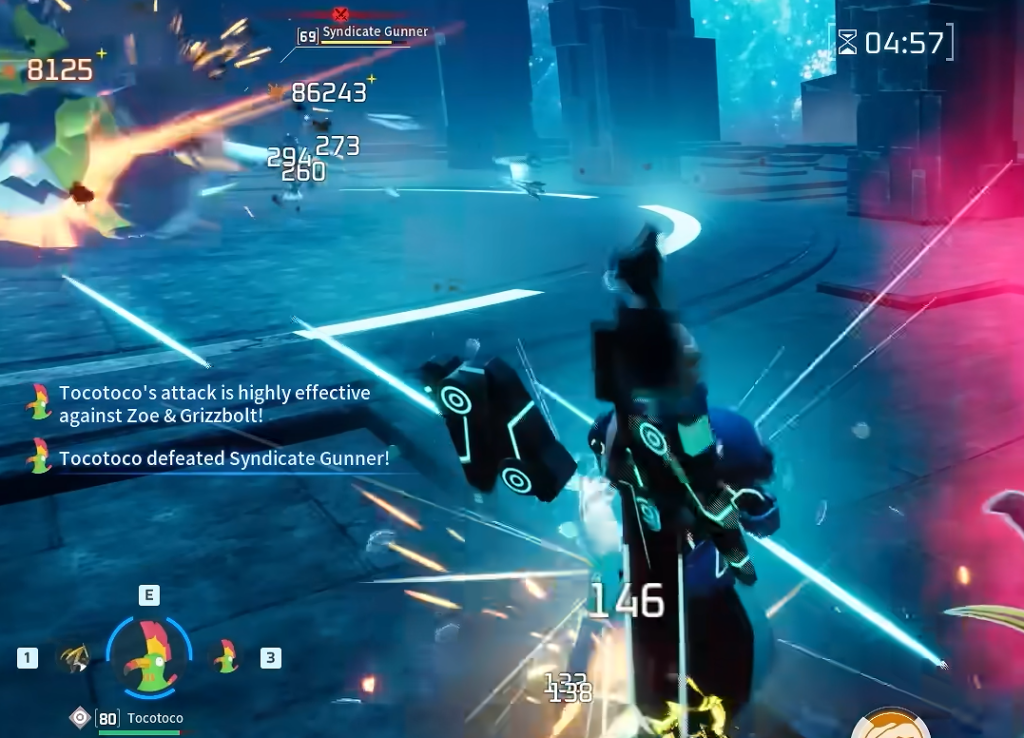
When activated, Eggbomb Launcher equips Tocotoco to the player and transforms it into an egg launcher that fires explosive projectiles. The skill’s damage multiplier grows with its level, so a maxed partner skill matters as much as the Pal’s raw stats.
| Partner skill level | Damage multiplier |
|---|---|
| Lv. 1 | 100% |
| Lv. 2 | 110% |
| Lv. 3 | 130% |
| Lv. 4 | 160% |
| Lv. 5 | 200% |
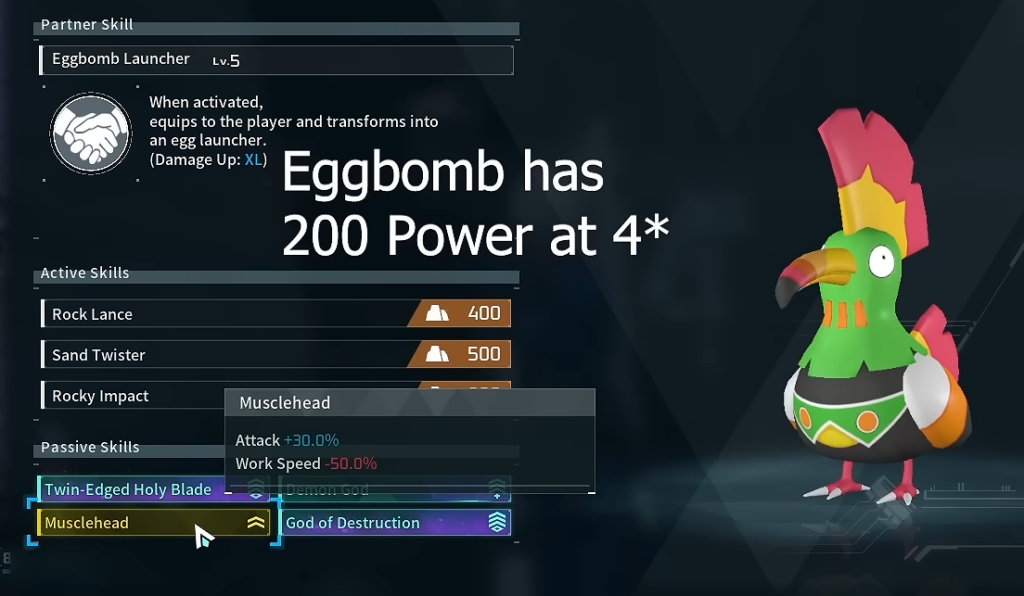
Raise the partner skill with Starfruits, or condense duplicate Tocotocos in a Pal Essence Condenser to rank the Pal up to 4 stars. At 4 stars, the Eggbomb attack itself reaches 200 base power. Two behaviors make the launcher stronger than it looks. The Pal takes no damage from enemy attacks while it is being held during the launcher animation, and you can carry more than one Tocotoco to swap between them and skip individual cooldowns.
Passive skills for maximum attack
The build stacks four attack-focused passives. Each accepts a downside because the Pal spends most of the fight in your hands, where defense and work speed barely matter.
| Passive | Effect |
|---|---|
| Twin-Edged Holy Blade | Attack +50%, Defense -20% |
| Demon God | Attack +40% |
| God of Destruction | Attack +20%, Max HP -15% |
| Musclehead | Attack +30%, Work Speed -50% |
Accessories that stack Pal Attack Up
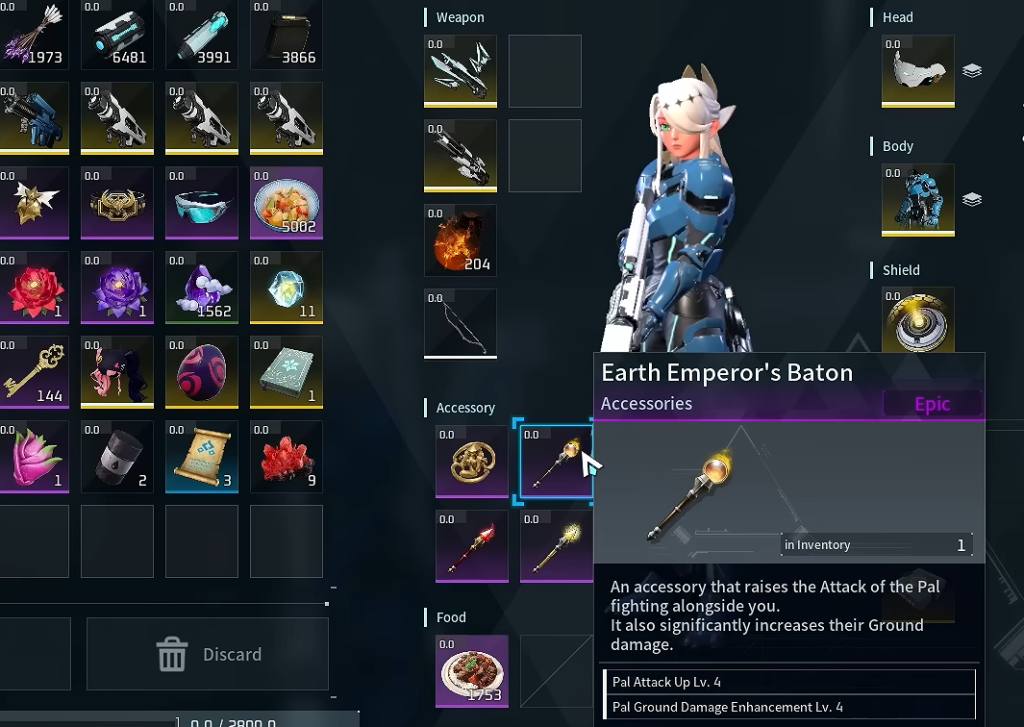
Three elemental batons each grant Pal Attack Up Lv. 4, and the effect stacks when you equip all three together. The Dogen Emblem fills the final accessory slot.
- Earth Emperor’s Baton — Pal Attack Up Lv. 4
- Lord of Lightning’s Baton — Pal Attack Up Lv. 4
- Flame Emperor’s Baton — Pal Attack Up Lv. 4
- Dogen Emblem
Support Pals for the party
Three support Pals sit in the party and multiply the launcher’s output without firing themselves. Their partner skills cover damage, cooldowns, and a large conditional attack boost.
| Support Pal | Partner skill (Lv. 5) | Effect |
|---|---|---|
| Xenolord | Meteor Wings | +50% partner skill weapon damage |
| Lapure | Long-Sleeved Hurray | -50% partner skill cooldowns |
| Orserk | Ferocious Thunder Dragon | +150% Pal attack when you land bullet hits |
Orserk’s boost is the reason to keep a ranged weapon handy. Landing bullet hits during the fight triggers the +150% attack window, which lifts the eggs’ damage considerably.
How to fire and cooldown-swap
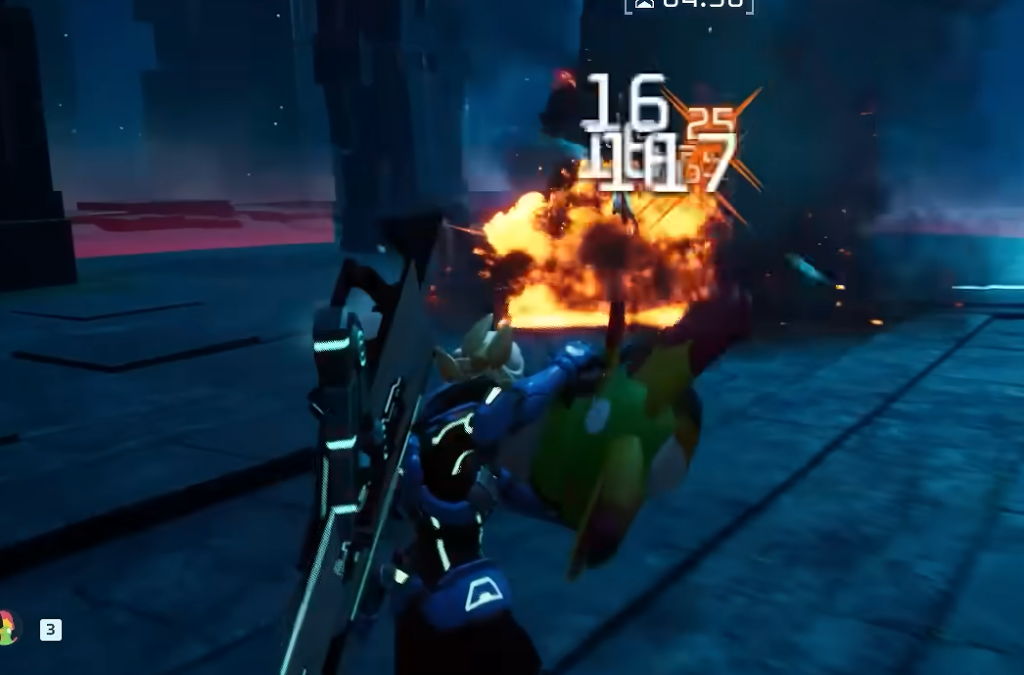
Tip: On mobile bosses, a gliding bomber run works well. Set the Pal to Peaceful, drop bombs from above, and reposition without letting the launcher auto-fire off target.
Where the build shines and where it stalls
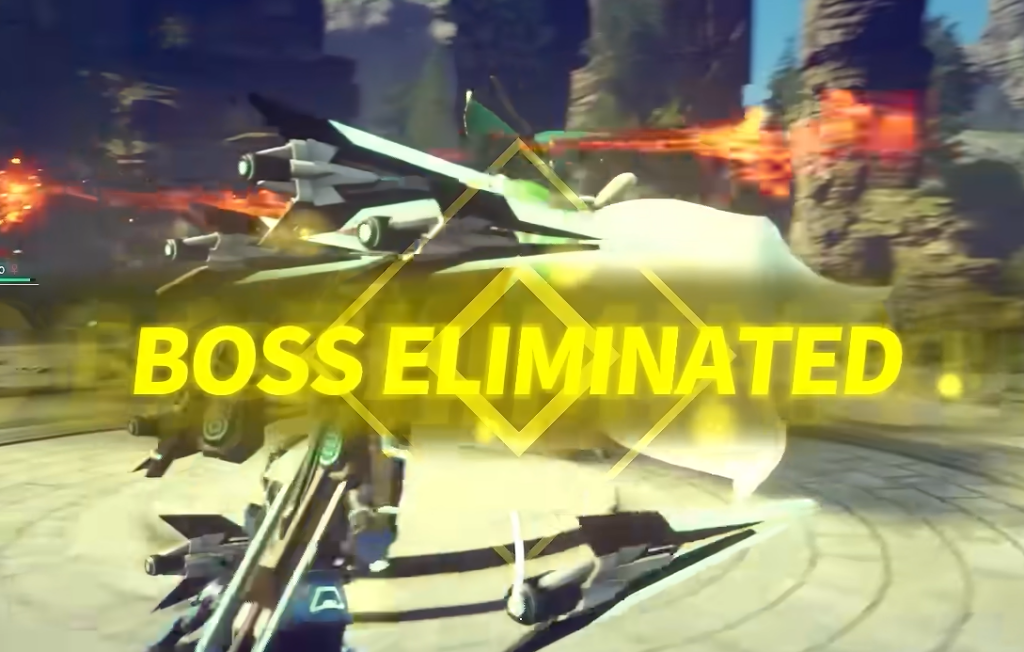
Against grouped enemies on the Rayne Syndicate Oil Rig and mid-game targets, the explosive spread clears fast and stays fun to play. The problem is Hard Mode tower bosses. Their health pools sit near half a million, and the eggs simply cannot burn through that inside the five-minute timer.
| Boss | Normal HP | Hard Mode HP |
|---|---|---|
| Zoe & Grizzbolt | ~12,900 | ~464,000 |
| Lily & Lyleen | ~42,500 | ~480,000 |
| Bjorn & Bastigor | ~310,000 | ~560,000 |
Even with maxed passives, three stacked batons, and the full support trio, the Tocotoco Eggbomb setup does not close those bars quickly enough to beat Hard Mode rematches. Treat it as a specialist for base clearing, oil rigs, and general mid-game combat, where its burst and mobility pay off, and switch to a dedicated high-DPS carry when you take on the toughest endgame towers.