The Toe Biter Buggy is the first mount in Grounded 2 built for the water. It rips through Skunk Pond far faster than swimming, handles fine on land, and swings a heavy sweep attack that knocks bugs back. Getting one is a long chain, though, and it ends with one of the toughest fights in the Into the Abyss update.
Quick answer: Grab the recipe data item from inside the Gnarly Bark tree, kill Papa Toe Biter in the hidden Memorial cave to collect a Toe Biter Egg, then incubate the egg in a Hatchery for 12 in-game hours to hatch the Buggy.
What you need before the egg run
Two things gate the Buggy. First, you need its recipe, which unlocks after you pull a data item out of the Gnarly Bark tree. Second, you need a Hatchery already built at base, plus the materials to run the incubation once the egg is home. Bring everything back before you commit to the egg run, because the cave turns hostile the moment you take the egg.
| Requirement | Notes |
|---|---|
| Toe Biter Buggy recipe | Unlocked from the data item found inside the Gnarly Bark tree. |
| Hatchery | Needed to incubate the egg back at base. |
| Toe Biter Egg | Dropped by Papa Toe Biter in the Memorial cave. |
| 2 Horsetail Stem | Hatchery incubation material. |
| 1 Koi Fish Scale | Hatchery incubation material. |
| 3 Sunken Bone | Hatchery incubation material. |
| 4 Pond Moss | Hatchery incubation material. |
Get the recipe in the Gnarly Bark tree
The recipe path runs through the Gnarly Bark region, up inside the tree itself. This is the same climb people use to reach the Aquatic Optical Disk, so you may already know the route.
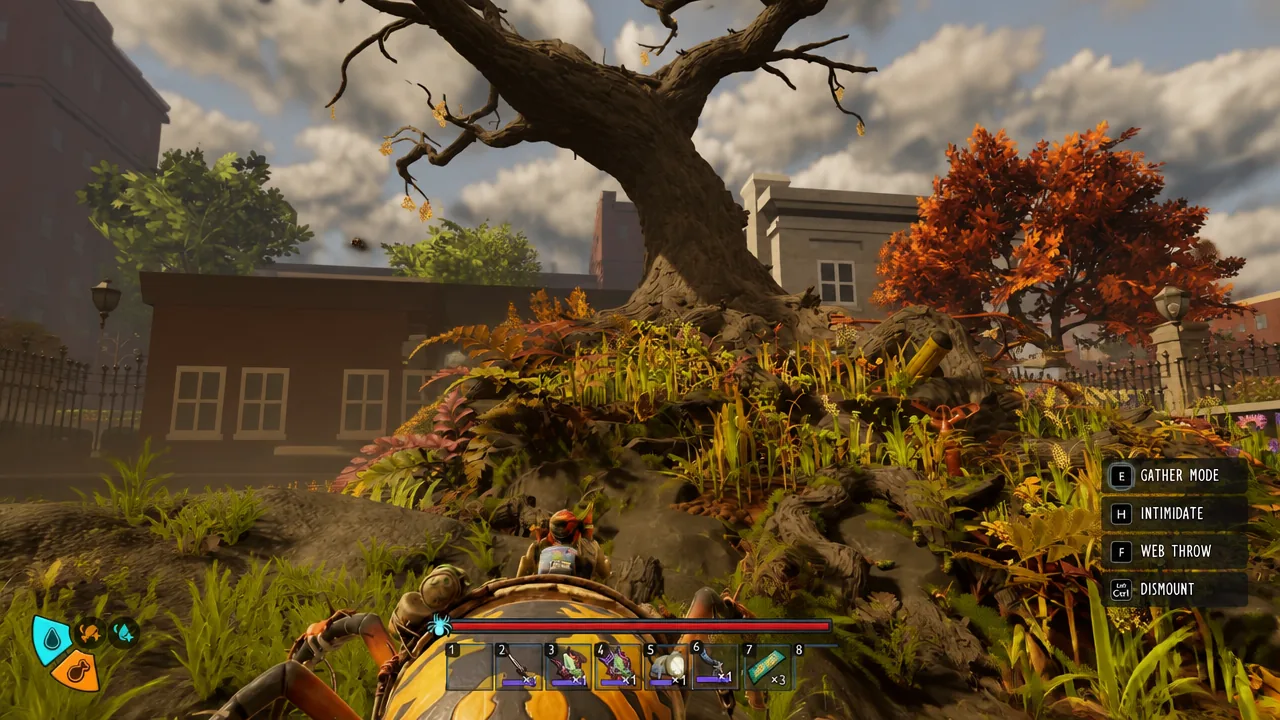
Note: Remember this spot. The candles and the framed “missing children” photo sit right above the hidden boss room you’ll return to for the egg.
Reach Papa Toe Biter’s hidden cave
The egg only comes from a secret boss, Papa Toe Biter, tucked behind the Memorial in the Gnarly Bark zone. Getting there means the same vertical climb.
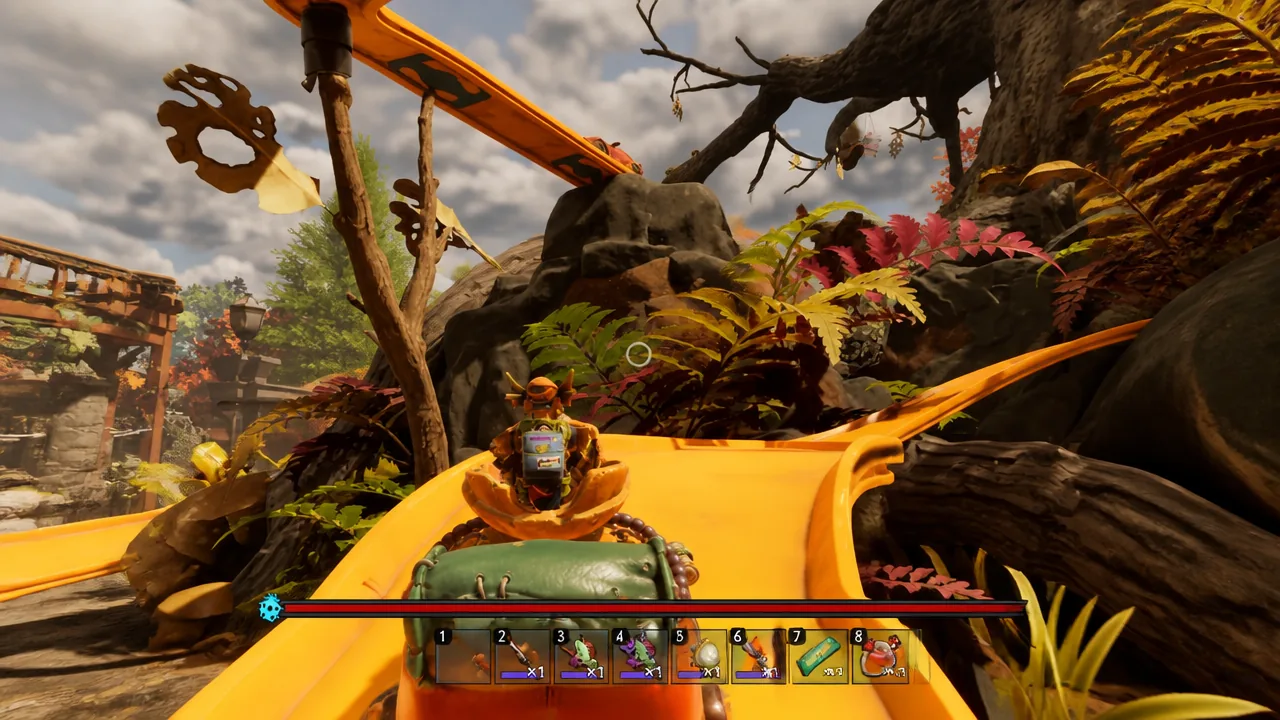
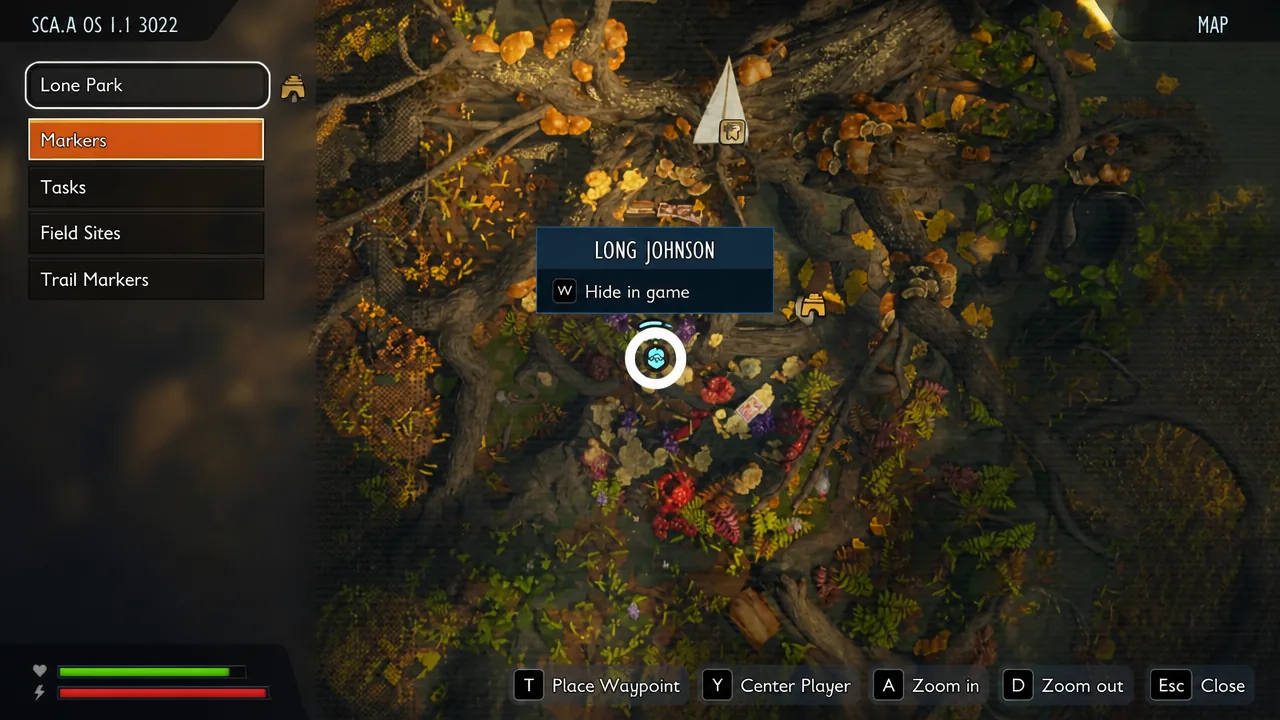
Beat Papa Toe Biter
This fight is a grind because the boss never fights alone. It constantly spawns Toe Biter Nymphs, and if you ignore them they swarm you. Bring healing and keep your blocks tight, since Papa Toe Biter’s hits and its Sweep attack can launch you across the room.
| Trait | Detail |
|---|---|
| Weakness | Spicy |
| Resistances | Gas Immunity, Fresh, Slashing, Venom, Water |
| Weak point | Rump |
| Best weapon type | Spicy stabbing or spicy smashing |
| Added threat | Toe Biter Nymphs that spawn throughout the fight |
Lean into Spicy damage and target the Rump. Skip Fresh and Slashing weapons, since they fight against the boss’s resistances. Ranged attacks barely scratch the carapace, so don’t try to kite it down from a distance.
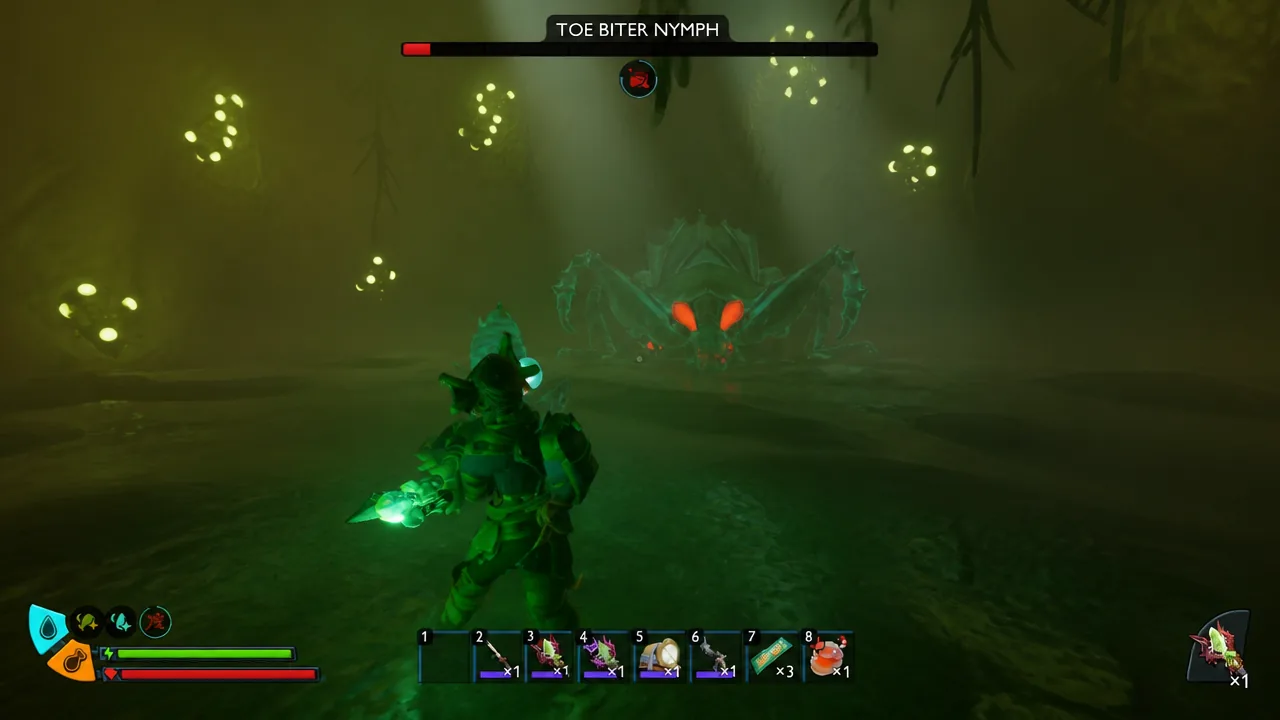
For crowd control, Tang Staffs work well because the Nymphs take extra damage inside the puddles they leave behind. Other staffs with area effects help for the same reason, so a Mage-style loadout is a strong pick here. Don’t overextend your combos, either. Long strings of attacks leave you open to the Sweep, which also punishes you if you’re hitting the boss from behind. If you want a Buggy to tank aggro while you flank, call in the Ladybug Buggy, since it soaks hits better than the others.
Grab the egg and get out
Once Papa Toe Biter drops, its eggs scatter across the floor. Each player can carry one, and the egg is heavy enough that it takes up your hands. You can order an Ant Buggy to haul it back to base so you’re not stuck lugging it yourself.
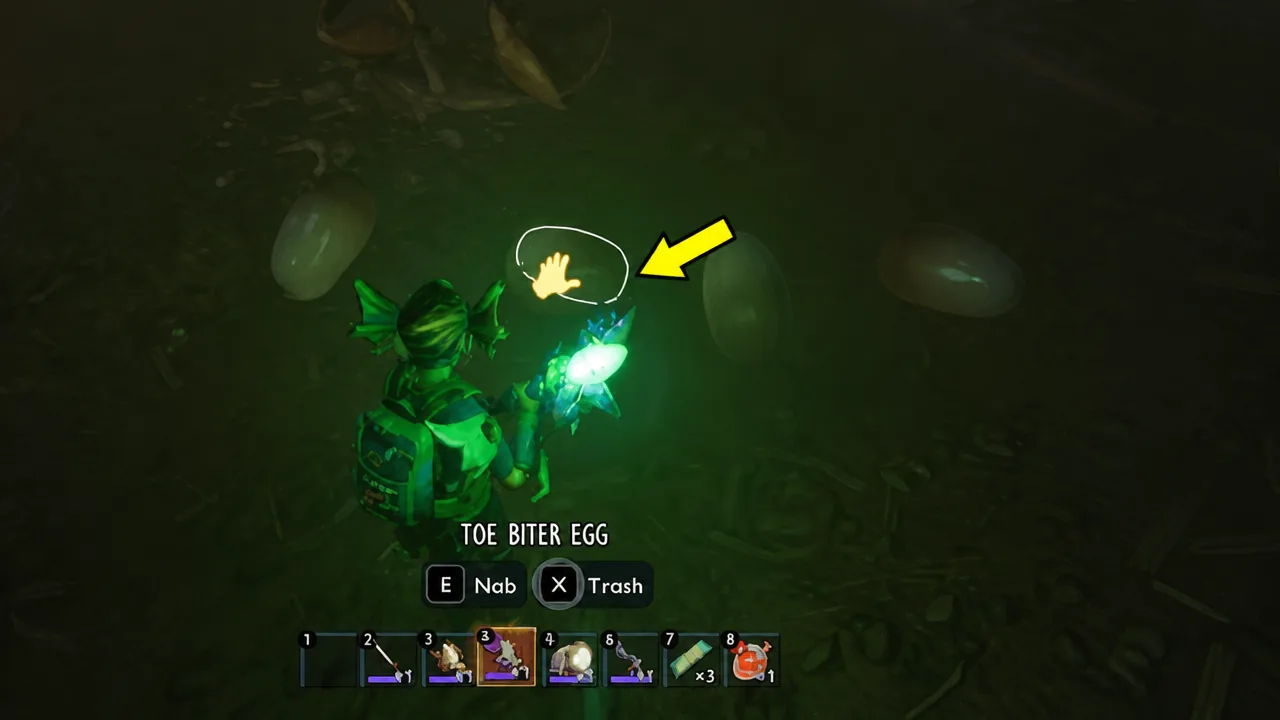
Expect the nearby Toe Biters to turn hostile the second you pick up the egg. To leave, take the side tunnel to the left of the entrance and drop to a lower level of the Gnarly Rotten Tree. Having a Buggy staged nearby lets you load the egg and sprint out instead of hauling it through the escape route on foot.
Hatch the Buggy at your base
Back at base, dismount and interact with the Hatchery. Place the Toe Biter Egg inside along with its incubation materials, then start the timer. The hatch takes about 12 in-game hours, so sleep it off or build something while you wait. When the timer finishes, you can claim the Toe Biter Buggy from the Hatchery.
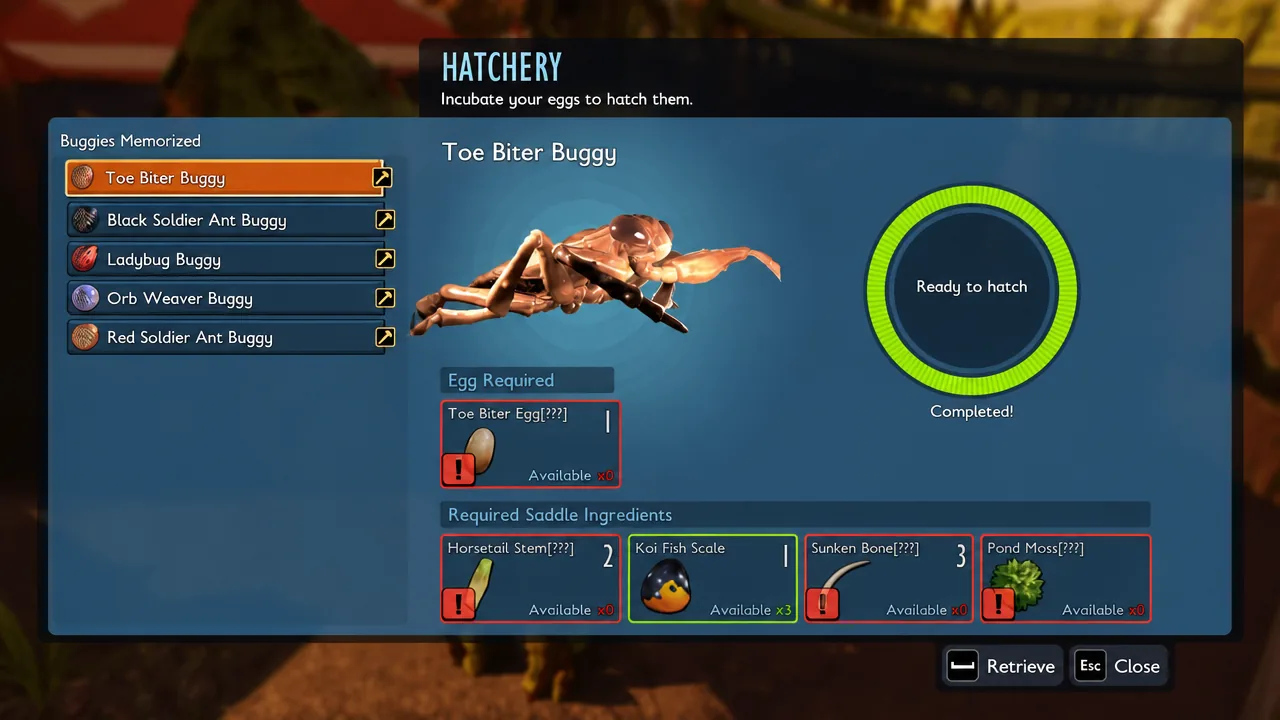
The Toe Biter Nest is separate from hatching. The Hatchery handles the egg, while the nest gives the hatched mount a permanent home. Build it after the Buggy hatches using the materials below.
| Toe Biter Nest material | Amount |
|---|---|
| Horsetail Stem | 8 |
| Sunken Bone | 4 |
| Cattail Fluff | 6 |
| Lint Rope | 3 |
| Algae | 5 |
What the Toe Biter Buggy does
The payoff is a mount that shines in the water. In Skunk Pond it’s the fastest way to travel by a wide margin, and its Sweep attack does heavy damage while knocking bugs back, which is handy when creatures crowd you underwater. Its three-hit combo also applies venom, then chill on the final hit.
| Use | Detail |
|---|---|
| Water travel | Very fast across Skunk Pond, well beyond swim speed. |
| Land travel | Rideable but slow-ish, with low jump height. |
| Combat combo | Three-hit combo applies venom, plus chill on the final hit. |
| Sweep attack | 360-degree knockback, strong against grouped bugs in water. |
| Harvesting | Can clip Eelgrass Strands, Purple Jelly Fungus, and Pond Moss. |
| Oxygen | Does not add oxygen while riding, so carry your own supply. |
| Diving boots | Wearing them sinks the Buggy to the pond floor. |
Treat it as a pond mount first and a fighter second. The speed and harvesting alone make it worth bringing on underwater trips, and it’s a solid pickup before you push deeper toward the Abyss. Just remember it gives you no extra oxygen, so pair it with a Gill Tube or similar before long dives.