Puzzles in Wonderland exist for one reason: they buy you time. Zippy points this out early, and the payoff is real, since clearing a puzzle extends the clock on a level and drops a shiny Lumin. The catch is that a botched attempt costs you more seconds than it returns, so knowing the exact mechanic before you start is what keeps a puzzle from becoming a trap.
Quick answer: Open your Map, find the puzzle-piece symbol, head to that room, and complete the puzzle type shown below. When you finish, the clock gains time and a shiny Lumin appears. Mistakes never reset your progress, so keep going until it registers.
Find a Puzzle on the Map first
Every level holds at least one puzzle, and the count climbs on higher levels and after you clear your first Mole Chase. When several are active, all of them show on your Map at once, so you can plan a route instead of stumbling into them.
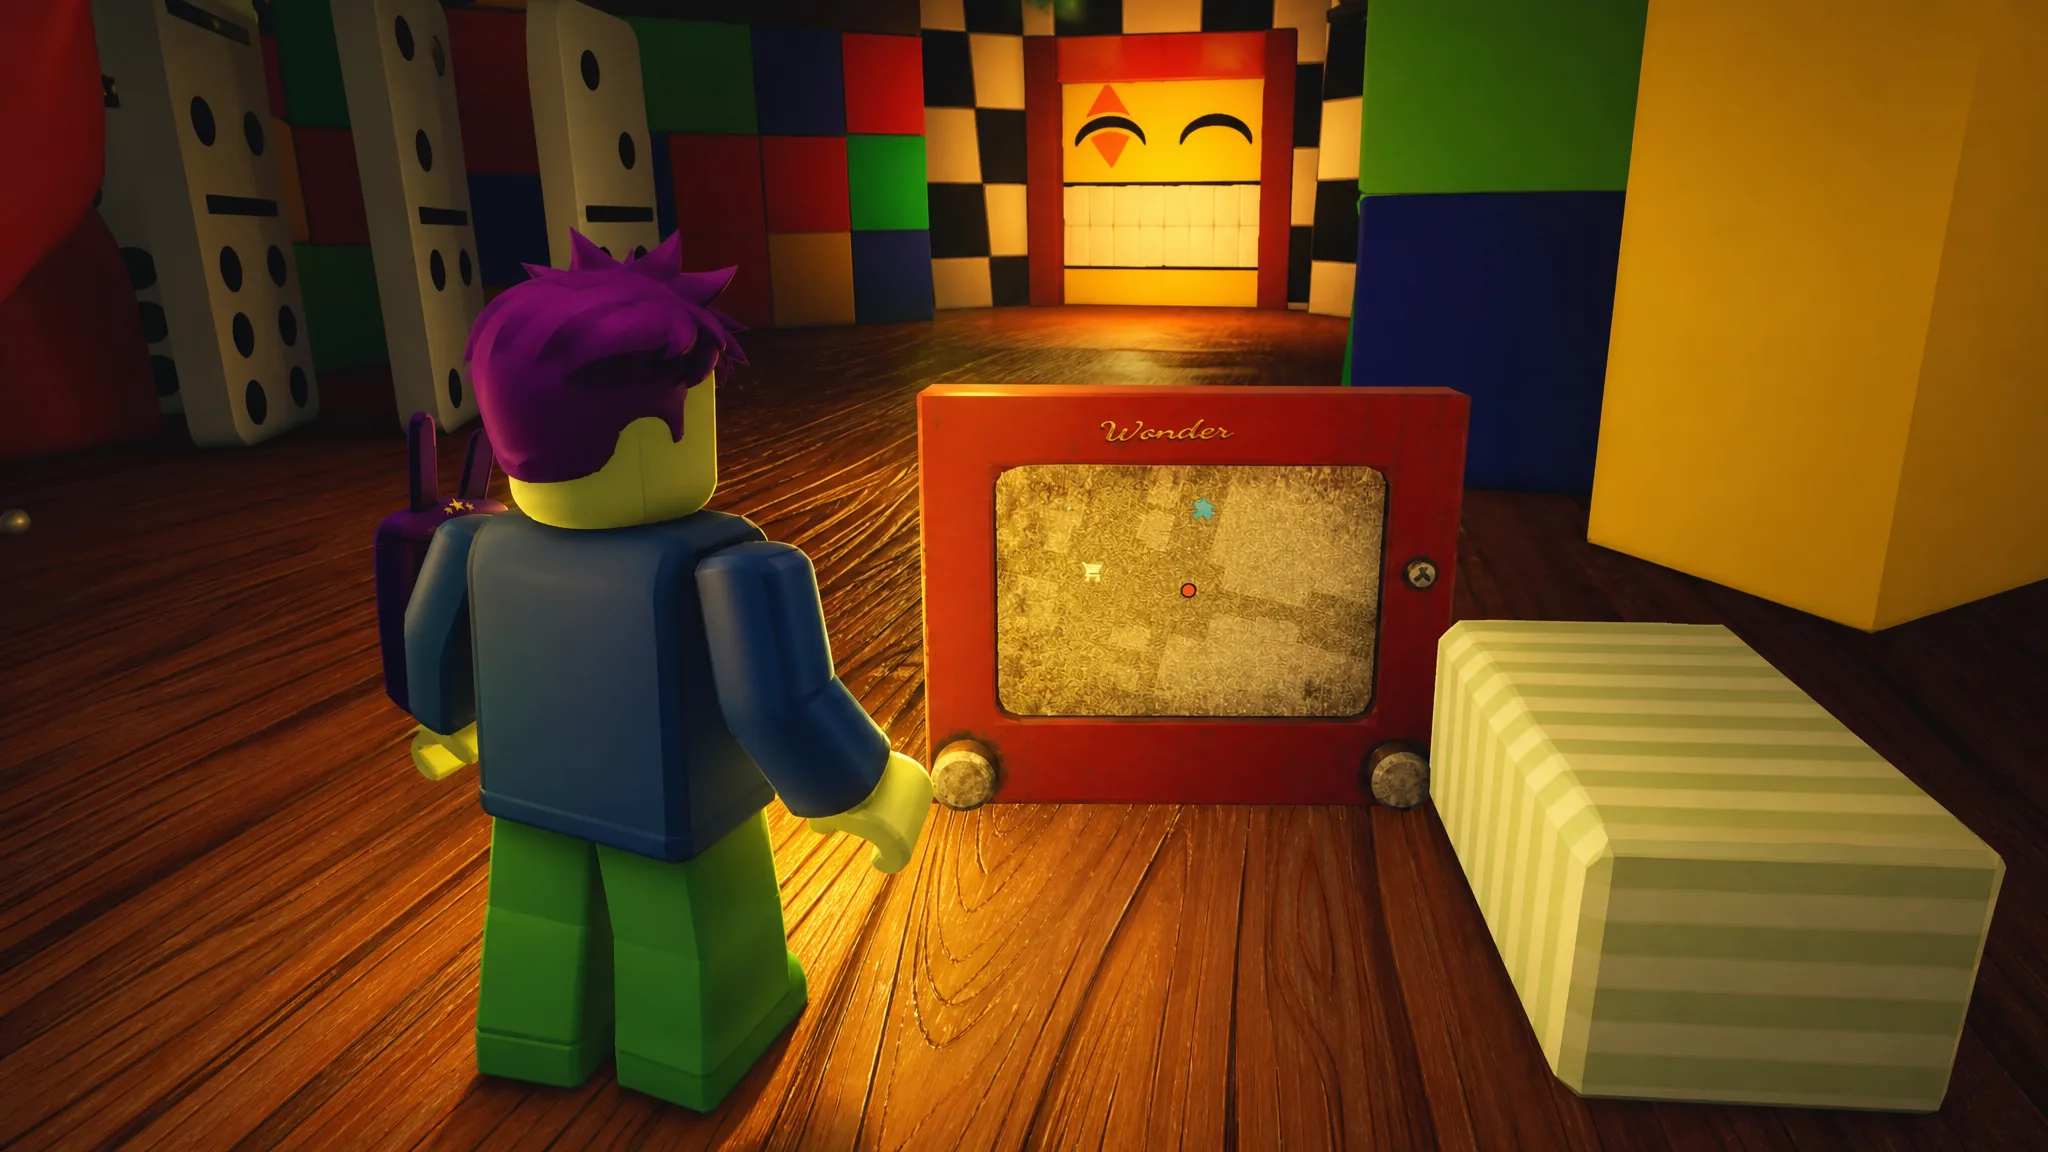
To locate one, open your Map and look for the small puzzle-piece symbol. The puzzle sits either right on that marker or somewhere in the same room, so treat the icon as a room pointer rather than a pixel-perfect spot.
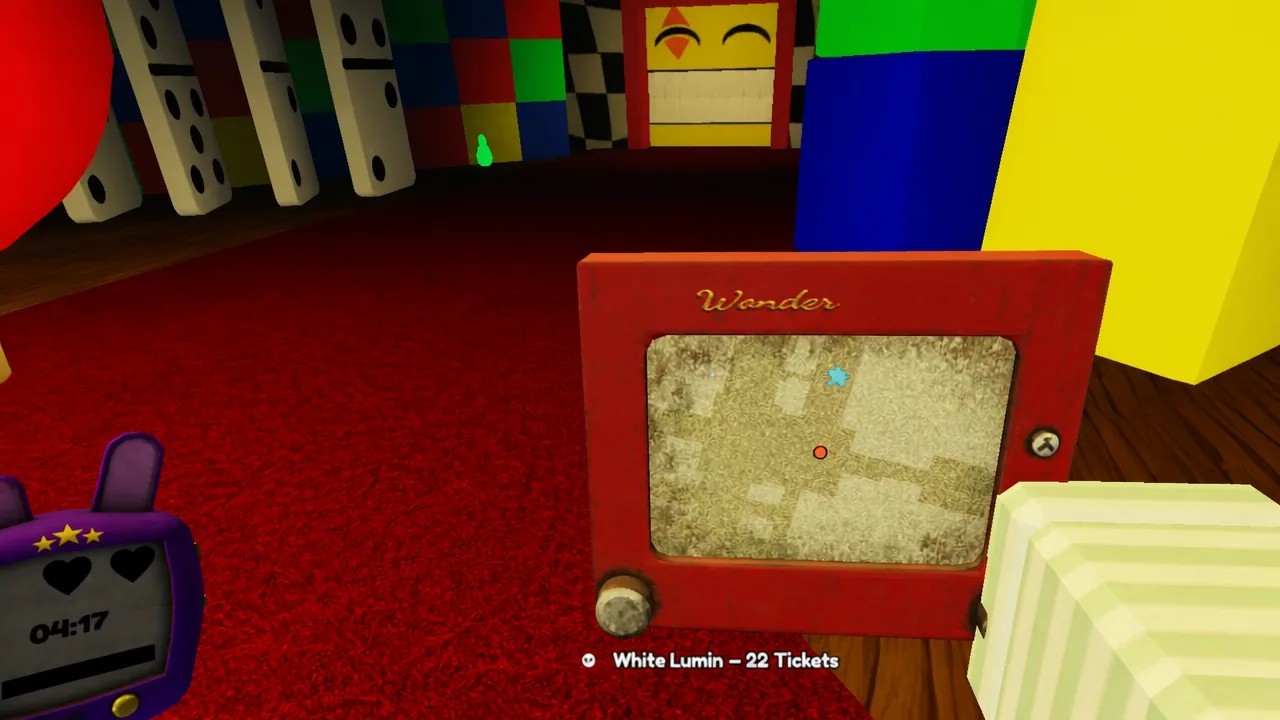
One rule applies across every puzzle. Your progress does not reset when you make a mistake. Whether you hit a wrong tooth or miss a note, you can pick up where you left off and still earn the reward.
Every puzzle type and how it works
Six puzzle types are confirmed so far. Use this as a quick reference before jumping into the detailed method for each.
| Puzzle | Core task | Main hazard |
|---|---|---|
| Piano | Repeat four key sequences by jumping on keys | Enemies and Lumins can trigger keys |
| Shape Matching | Collect floor shapes and place them on the center block | Train that ragdolls and shoves you |
| Teeth | Press teeth without hitting the wrong one | Luck-based bite that costs a life |
| Levers | Flip every lever on walls and block sides | Timer runs out and resets the levers |
| Color Gauges | Fill gauges using wall machines the right number of turns | Overfilling forces a reset |
| Memory Sequence | Beat two mini-games near the Merry-Go-Round | Distracting attraction and mixed game formats |
Piano Puzzle
The Piano Puzzle is one of the friendlier ones. The piano plays a short run of notes, and you copy it by pressing the same keys. You cannot activate a key by walking across it, so you have to jump onto each one.
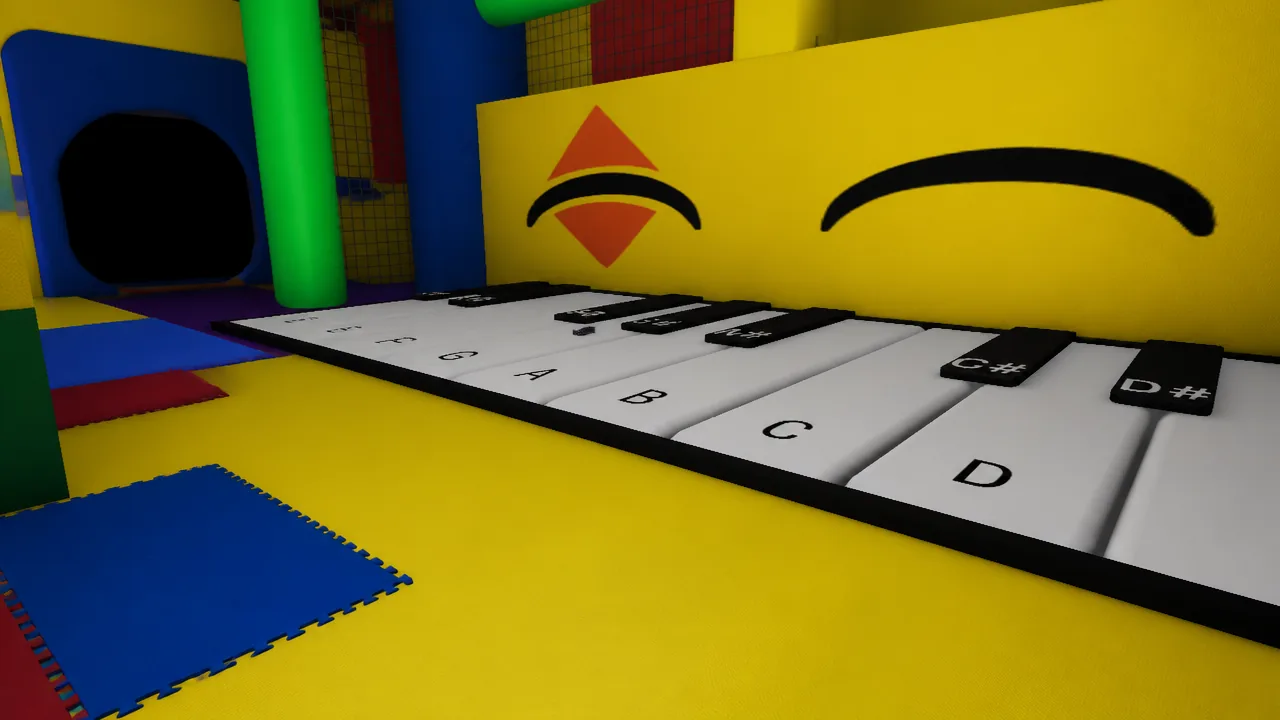
You need four correct key sequences to clear it and claim the extra time and shiny Lumin. Watch for enemies and Lumins nearby, since they can walk over the keys and trigger them, throwing off your input. Clear the area if you can before you start playing.
Memory Sequence Puzzle
The Memory Sequence marker leads you to a Merry-Go-Round. The ride itself is a distraction and plays no part in the puzzle. Instead, you need to find two separate spots where the memory game plays.
From the entrance, hug the right-hand walls and avoid going down. The first game is there. The second sits on a wall to the left of the Merry-Go-Round. You must finish both to earn any reward.
Each location can serve up a different format. You might get a follow-the-sequence version much like the piano, a match-the-pairs board, an odd-one-out pick, or a track-the-shuffled-card game. Read which variant you are handed before making a move.
Shape Matching Puzzle
Shape Matching sounds trivial, but the pressure of the Evil Wonder makes it harder than it looks. You have to gather a set number of shapes and place each one onto the block in the middle of the room.
Every shape you need is lying on the floor. Skip the bouncy castles, since they are not hidden there. Look on the open ground and inside the purple sections with the ball pits. They sit flat but stay colorful enough to spot once you know where to search.
Mind the train circling the tracks in this room. It cannot kill you, but a hit will fling you off course and ragdoll you, wasting seconds you cannot spare.
Levers Puzzle
The Levers Puzzle is a straightforward hunt compared to the lever wall in the first chase. When you enter the room, flip one lever and then move left to work your way around.
After you clear the wall levers, head toward the center and check the sides of the blocks, where a few more are tucked away. If the timer runs out before you finish, the clock stops and the levers reset, so keep a steady pace.
Color Gauges Puzzle
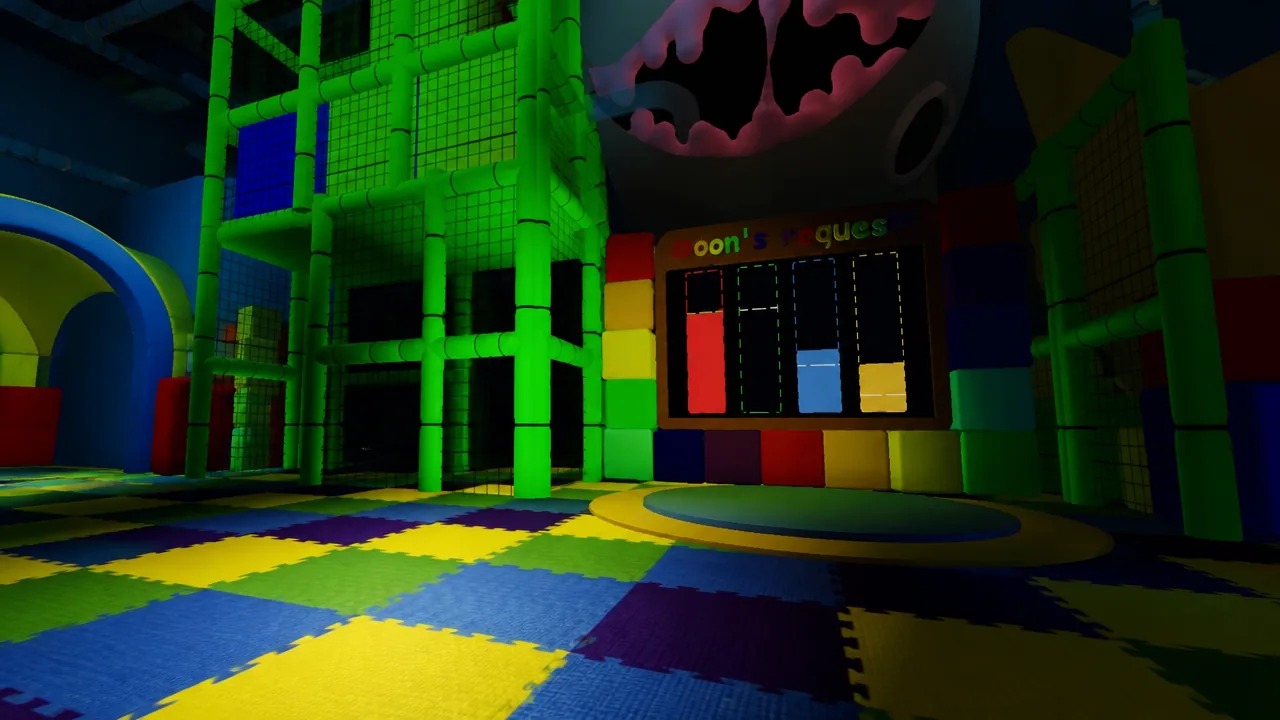
Inside a large room you will find Color Gauges that you fill using machines mounted on the walls. Pipes run from each gauge to its machine, so trace the lines to figure out which machine feeds which gauge.
Turn the first machine once, then run back to the middle and read how far that single turn moved the gauge. That gives you the exact number of turns needed to reach the line on each one. Overshoot and you can reset a gauge by clicking on it from the center. Fill them all and the puzzle is solved.
Teeth Puzzle
The Teeth Puzzle plays out like Crocodile Dentist. You stand inside the mouth and press teeth, and pressing the wrong one snaps the jaw shut and costs you a life. There is no reliable tell for which tooth is safe, so it comes down to luck.
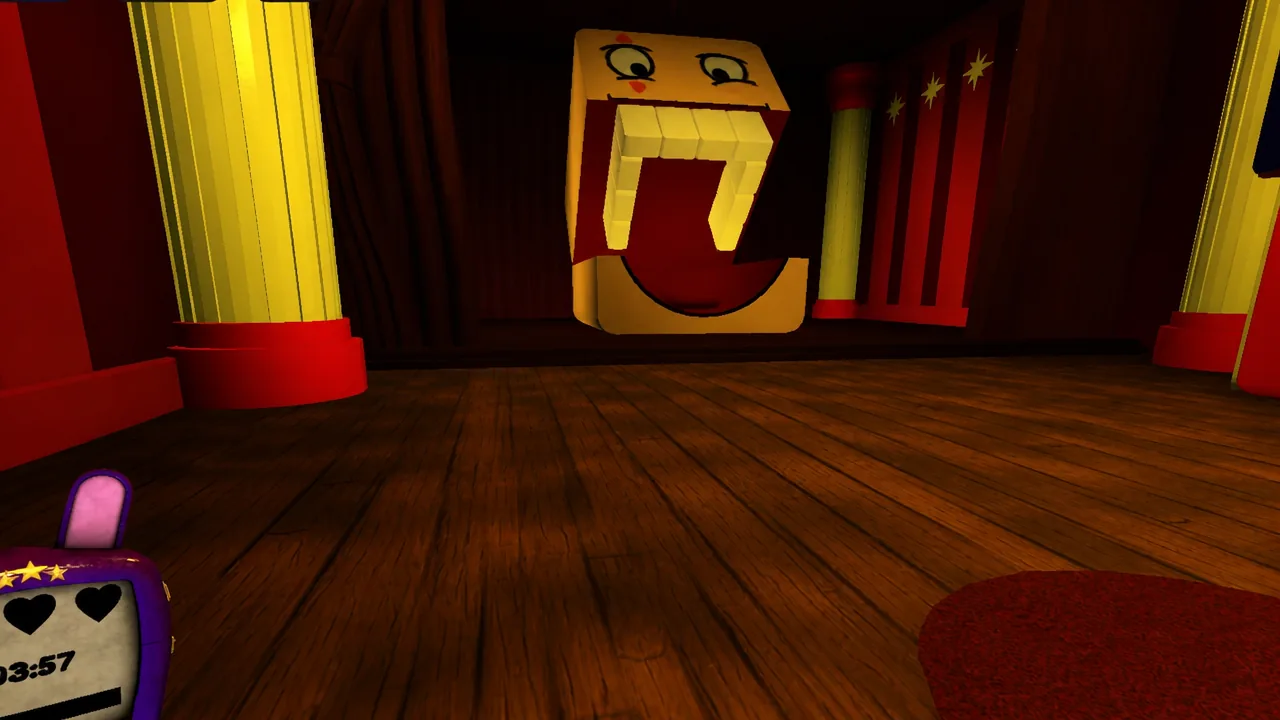
One habit helps. If the whole thing starts groaning, shift to the side farthest from the tooth that made the sound. The mouth also cannot bite you twice in a row, so after a bad press you can return and finish it off for the time bonus and shiny Lumin.
How to know a puzzle worked
A completed puzzle confirms itself in two ways. The clock gains extra time, and a shiny Lumin appears for you to collect. For multi-part puzzles like the Memory Sequence, no reward drops until both games are done, so do not walk away after the first one.
The most common reason a puzzle fails to pay out is running out of time mid-attempt, which stops the clock and resets machines like the levers and gauges. Clearing puzzles quickly is what pushes you past the Worm quota and leaves room to spare for Tickets on tougher levels.