The Great Martyr’s Blade is one of eight melee weapons in Mortal Shell 2, and it is among the strongest picks you can grab in the opening hours. It is a heavy greatsword with a punishing moveset, and its running heavy attacks can one-shot most standard enemies. You claim it from a pedestal deep inside the Martyr’s Prison dungeon.
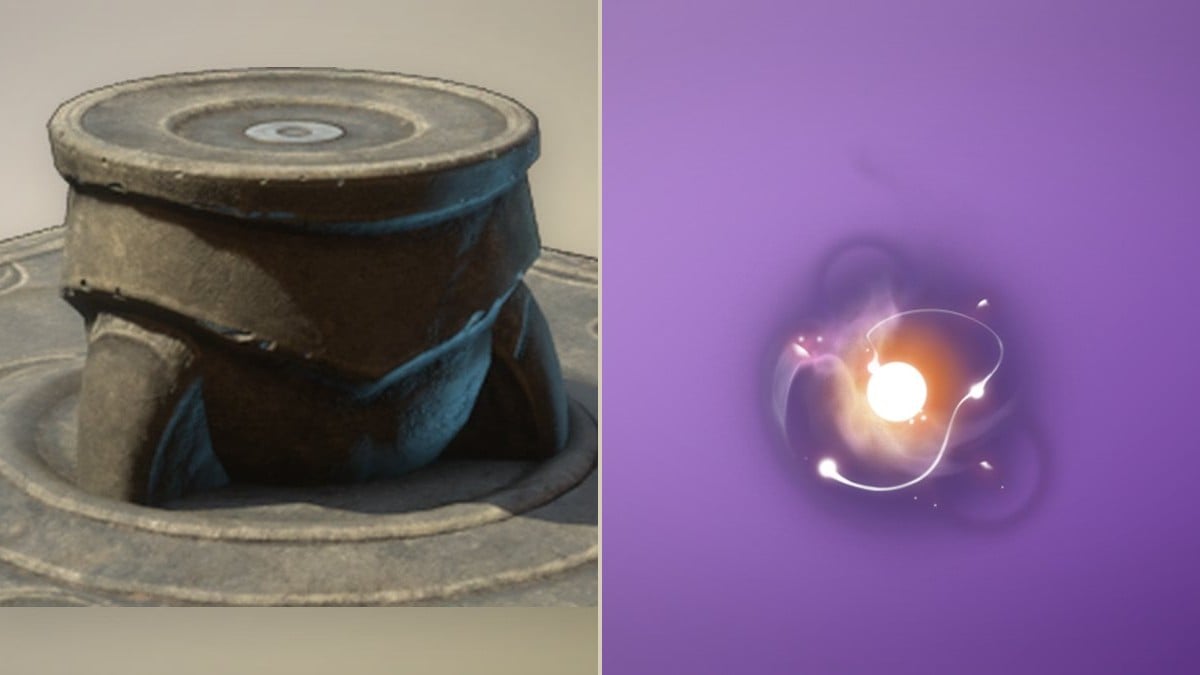
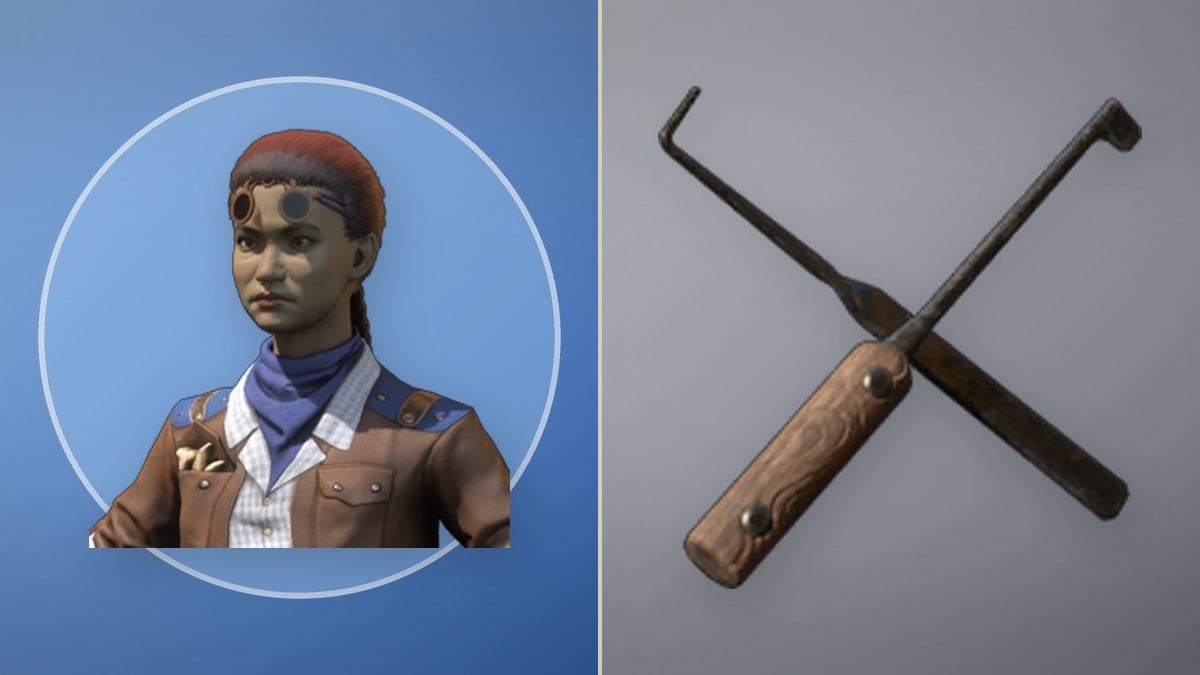
Quick answer: Travel to the Martyr’s Prison in Gloomshade Grove, Fainweald (next to the Citadel of Penance). Take the elevator down, interact with the “???” object on the shelf, clear the two locked cells, press the wall plate to raise the gate, defeat the enemies in the main prison hall, then interact with the pedestal behind the side gate to receive the weapon.
What the Great Martyr’s Blade is and what you need first
The Great Martyr’s Blade is a two-handed sword that trades swing speed for high damage at medium range. Its upgraded weapon ability is Spiral Surge. Because the running heavy hits so hard, it works well for clearing regular enemies quickly and for aura-focused shell builds.
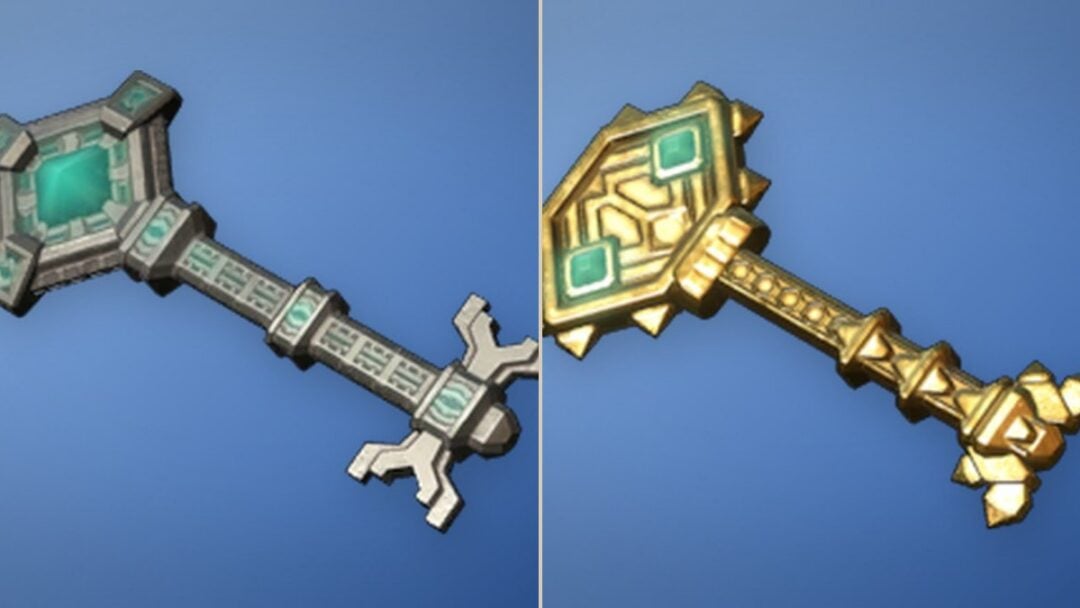
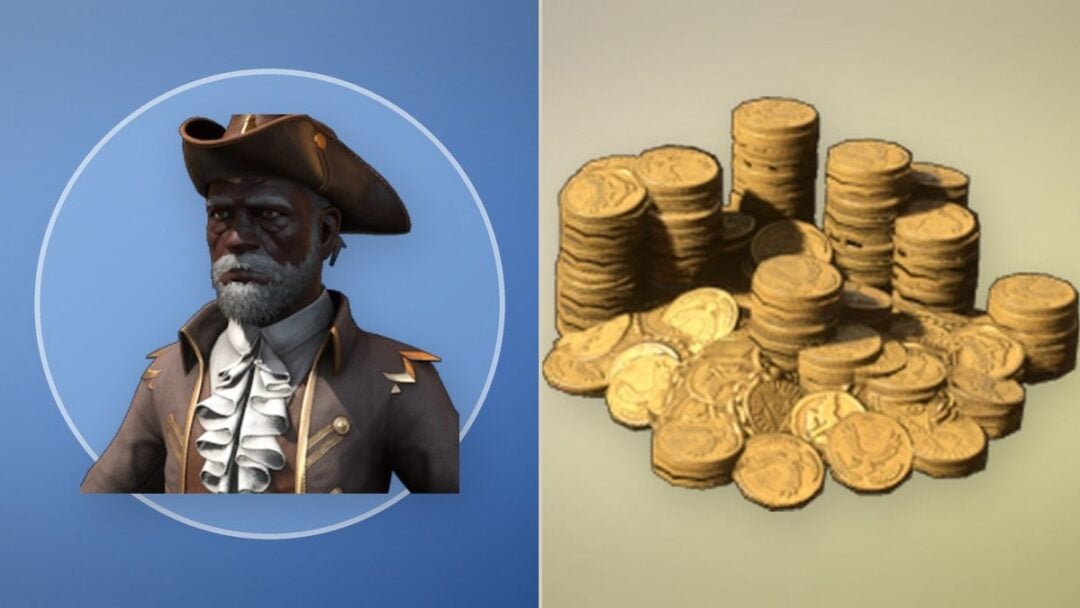
Before you set out, one gate blocks the direct path. You need the Citadel Gate Lever to open the Citadel gate on the way in, so make sure you have already cleared the Ravaged Hideout and picked up that item. If you want the map marker for the weapon in advance, the Location: Great Martyr’s Blade map can be bought from Merrick in Marrow Keep for 500 Coins.
Route to the Martyr’s Prison in Gloomshade Grove
The Martyr’s Prison sits in the northwestern part of the map, right beside the Citadel of Penance. Do not confuse it with the Martyr’s Tomb, which is a separate dungeon.

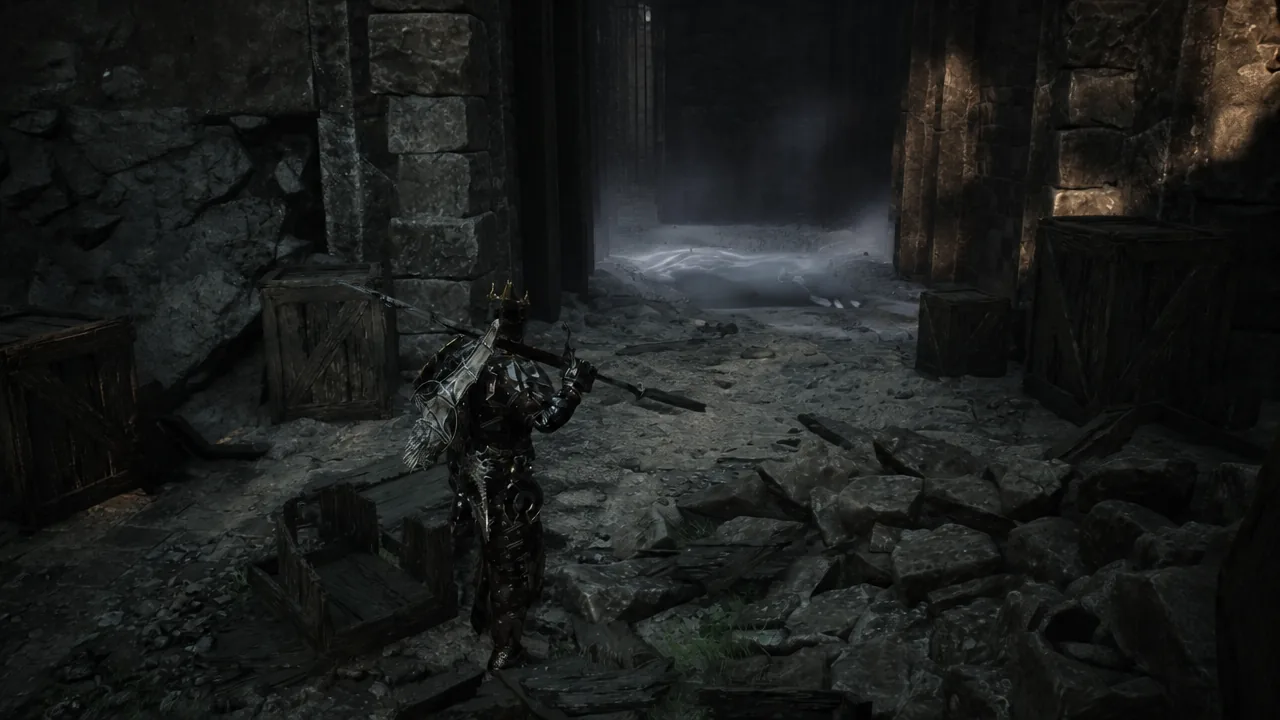
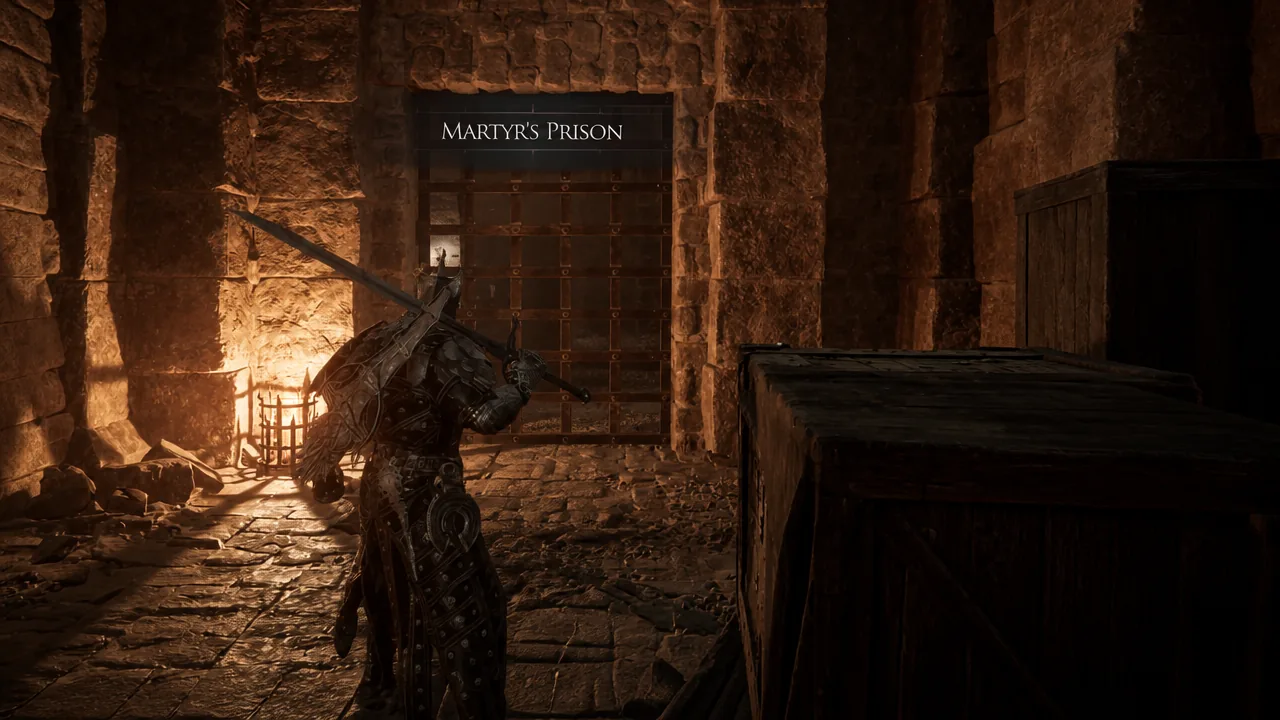
Martyr’s Prison walkthrough
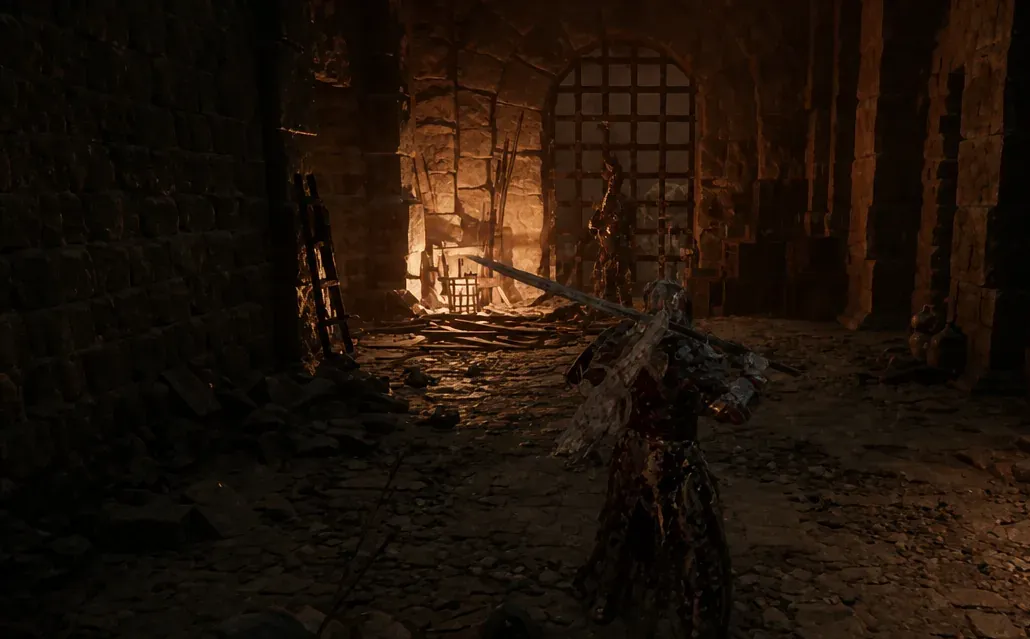
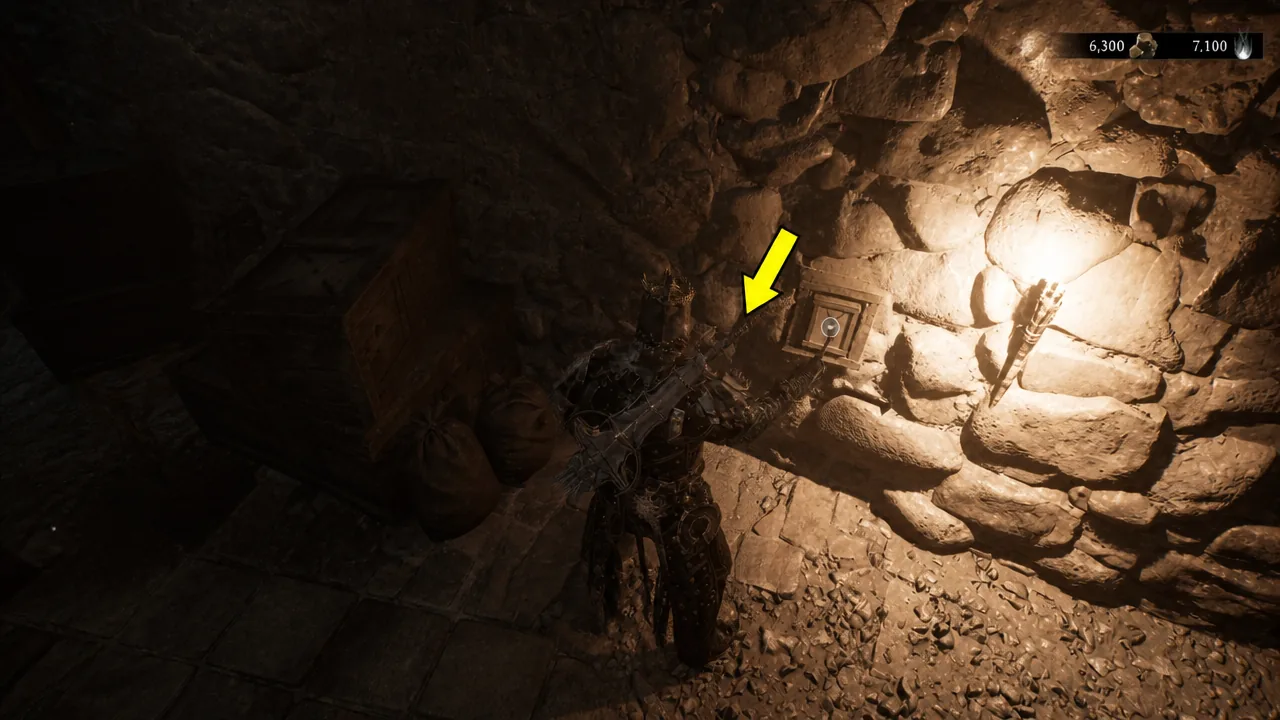
Tip: If you have the Troubadour’s Lute sidearm, use it on the enemies here to turn them against each other. That makes clearing the hall far easier.
Claim the Great Martyr’s Blade and confirm you got it
Once the last enemy in the main hall is dead, the metal gate on the side of the room opens on its own. Step through it and interact with the pedestal to pick up the Great Martyr’s Blade. The weapon lands in your inventory as soon as you interact with the pedestal, which confirms the pickup.
If the side gate has not opened, at least one enemy in the hall is still alive. Sweep the room again and finish any stragglers to trigger it. After the weapon is yours, you can take it to the Tarforge in Marrow Keep to upgrade it further with Coins and smithing materials.
| Detail | Info |
|---|---|
| Weapon type | Two-handed heavy greatsword |
| Dungeon | Martyr’s Prison, Gloomshade Grove (Fainweald) |
| Nearest beacon | Gloomshade Grove |
| Requirement to reach | Citadel Gate Lever |
| Weapon ability | Spiral Surge |
| Map marker | Buy from Merrick in Marrow Keep for 500 Coins (optional) |
| Extra loot on route | Two Laterite, one Common Moonshine |
With the Great Martyr’s Blade equipped, lean on the heavy-into-running-heavy pattern to drop most regular foes in a single hit, and save it for tight corridors where its wide sweeps punish grouped enemies.