The Shrine of Trials is one of the earliest dungeons you can fully clear in Mortal Shell 2, and it hides a fast melee weapon behind a short run of block-and-pressure-plate puzzles. Getting in requires the Chapel Key, and getting out with the prize means beating a healing pack of cultists, three puzzle rooms, and a single Knight.
Quick answer: Enter with the Chapel Key near Mushroom Village, kill the four cultists, face the king statue and walk backward to open the hidden wall, push the stone blocks onto every pressure plate, then defeat the Knight to loot the Axe & Dagger from the slab.
Reaching the Shrine of Trials with the Chapel Key
The dungeon sits behind a locked tower door near Mushroom Village, so you cannot enter it until you hold the Chapel Key. The key is easy to miss because it is hidden by an illusion.
Clearing the healing cultists in the entrance
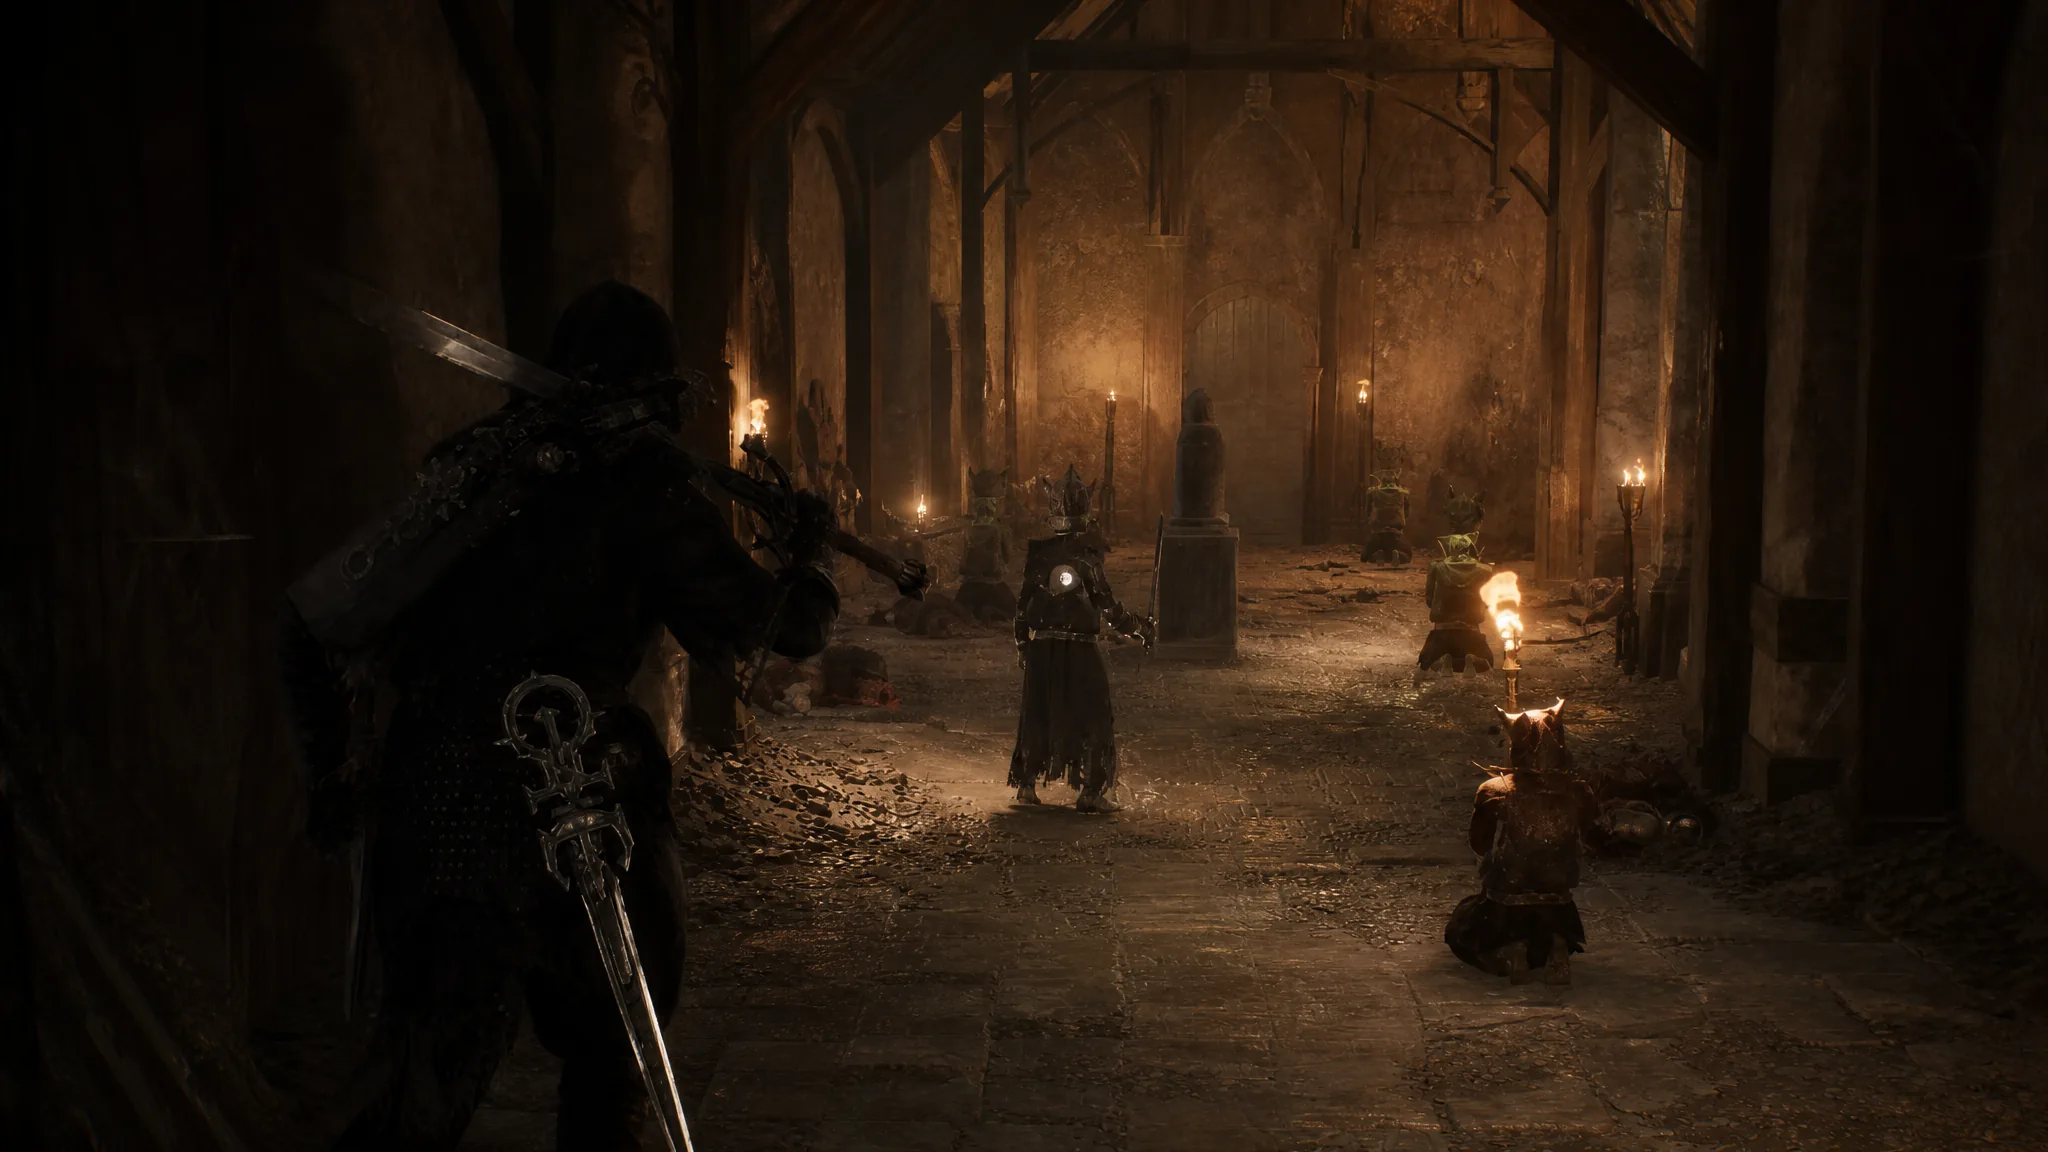
Four cultists greet you as soon as you step inside. They deal Poison and Fire damage, but the real problem is their healing. Whenever one raises its staff, it restores the others, which can stretch the fight out far longer than it needs to be.
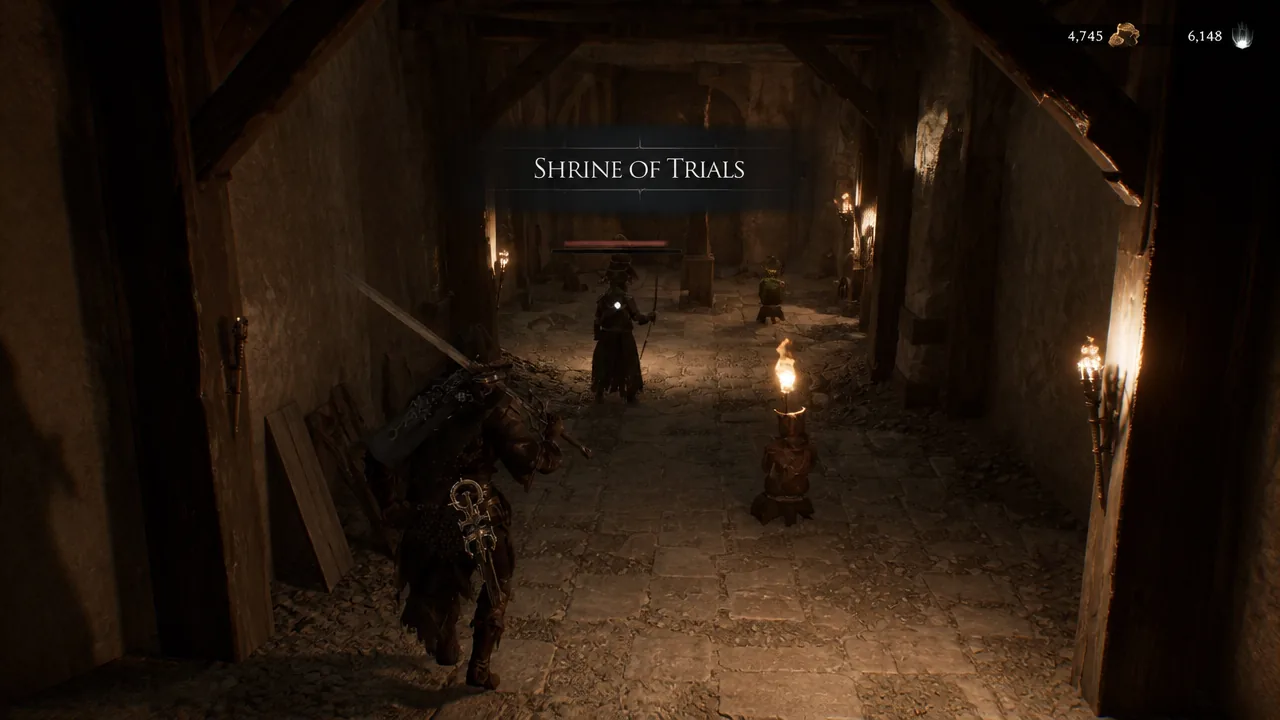
Target any cultist that starts a heal animation first, then mop up the rest. Once all four are dead, the room is safe and you can look for the way into the main hall.
The king statue wall: Walk backward to pass through
The starting room looks like a dead end. Find the statue with the interactable note. The clue reads, “Gaze upon your king so true, back and back you shall pass through.”
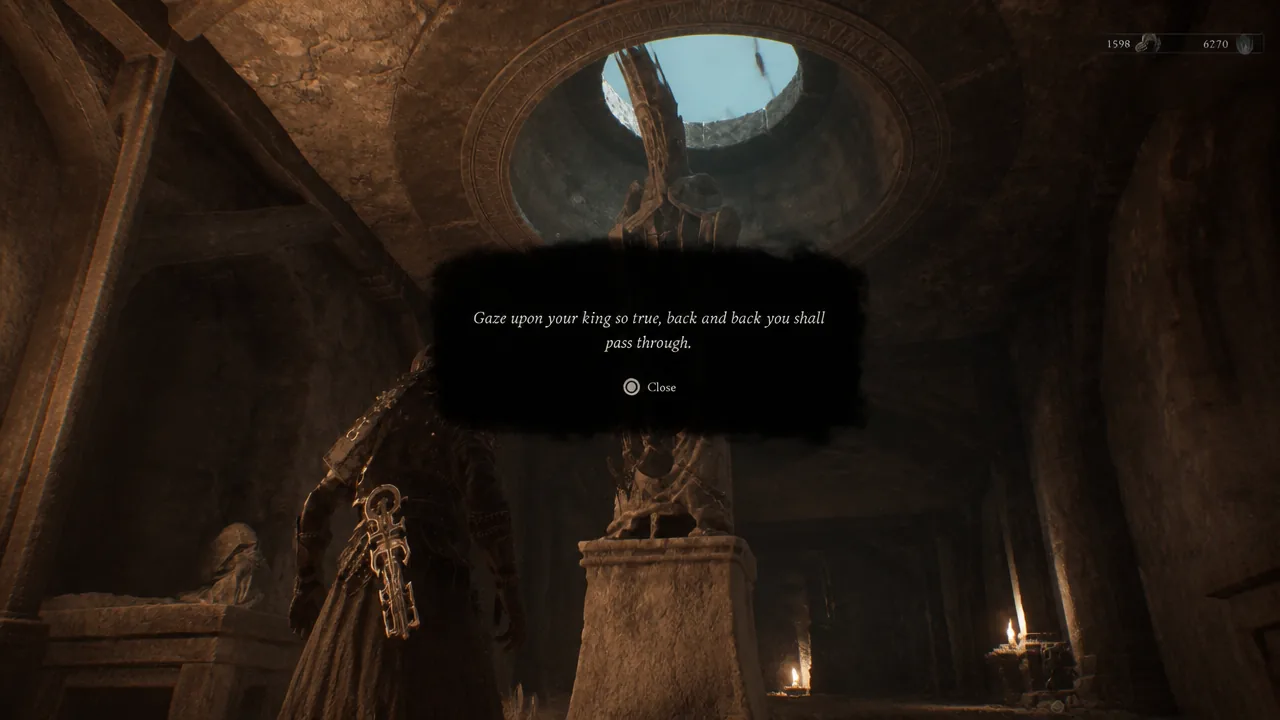
Move to the doorway on the opposite side of the statue and turn around so you are facing the king. Keep your eyes on the statue and walk backward. The wall behind you vanishes, opening the path forward. You will know it worked when the solid wall is simply gone and you can step through.
Stone block puzzles: Getting every pressure plate active
Two rooms use movable stone blocks and floor pressure plates. Each time you attack a block, it slides in a set direction, so clear the enemies in each room first to avoid getting knocked off your rhythm.
First room: One block, one plate
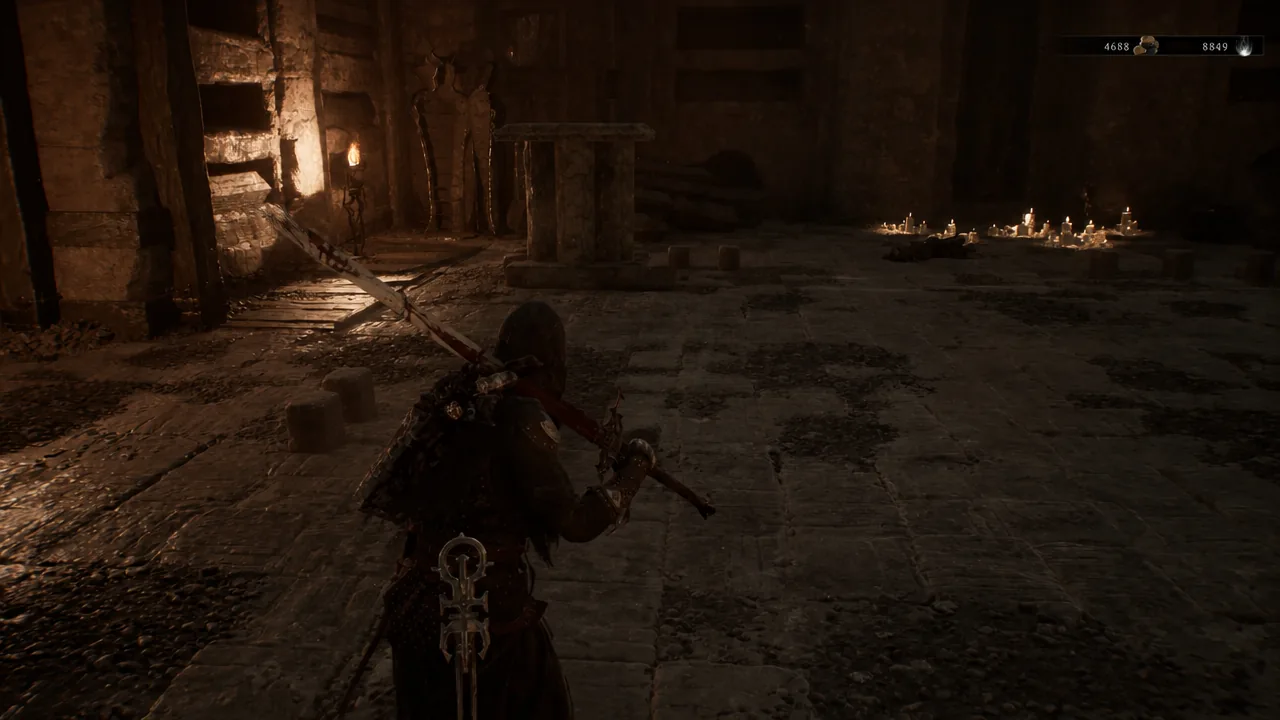
Kill the Wraiths, then walk behind the single stone block. Attack it once, then hit it again to push it to the left and onto the pressure plate. The mechanism triggers and the doorway opens.
Second room: Two blocks, two plates
The next room has two stone blocks and two pressure plates. Deal with the enemies, then follow this order exactly.
Note: If the door stays shut, one block has stopped short of a plate. Check both plates and re-hit whichever block is not sitting neatly on top.
Beating the Knight and claiming the Axe & Dagger
Beyond the final door, a single Knight guards the reward slab. This is a straightforward duel if you play defensively.
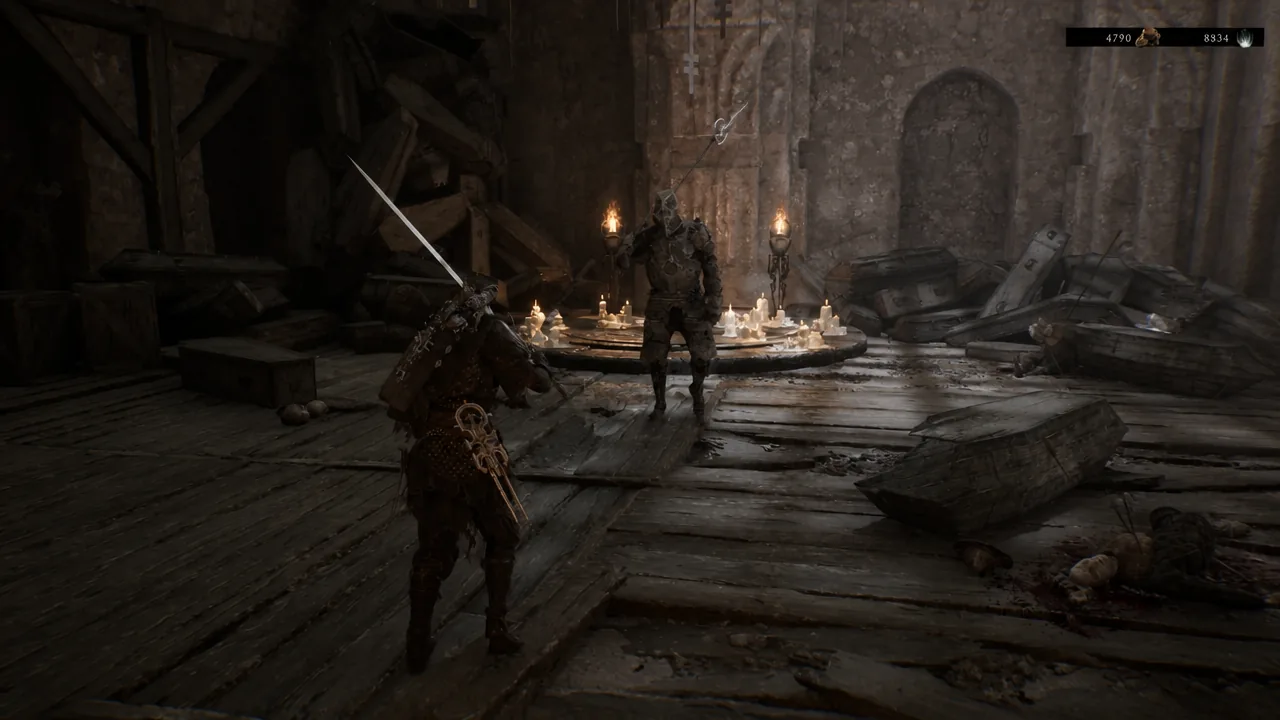
Deflect or parry its swings, punish the openings, and keep whittling it down until it falls. Once it is dead, walk to the slab and interact with it to receive the Axe & Dagger weapon.
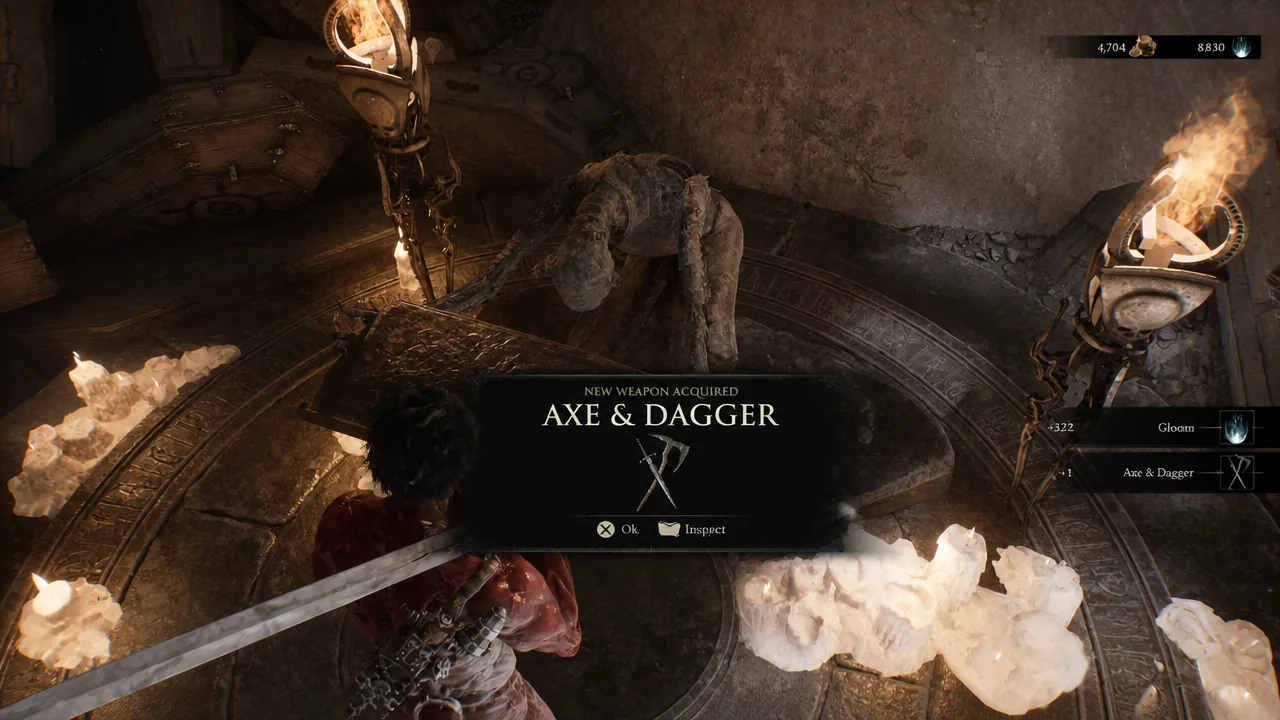
A “New Weapon Acquired: Axe & Dagger” prompt confirms the pickup. After that, the dungeon is done. Leave the Shrine of Trials and it will register as completed on your map. The Axe & Dagger is a fast weapon that pairs especially well with the Tiel Shell if you have already unlocked it.