Chapter 2 of The Sinking City 2 scatters 16 pieces of evidence across four main areas as you work toward rescuing the woman at the Devil’s Reef Hotel. Everything here is missable, and once the chapter ends, you cannot return, so it pays to sweep each location before moving on.
Quick answer: The 16 clues are spread across the Church grounds and crypt, Sentinel St., the Printing House, and the Devil’s Reef Hotel. The chapter’s investigation group closes when you connect the “Baby, One More Tide” Lyrics with the Safe Code Letter on the board.
All 16 evidence locations at a reference
Use the table to jump straight to the piece you’re missing. The order follows a clean collection route, starting at the Church and finishing inside the hotel.
| # | Evidence | Where to find it |
|---|---|---|
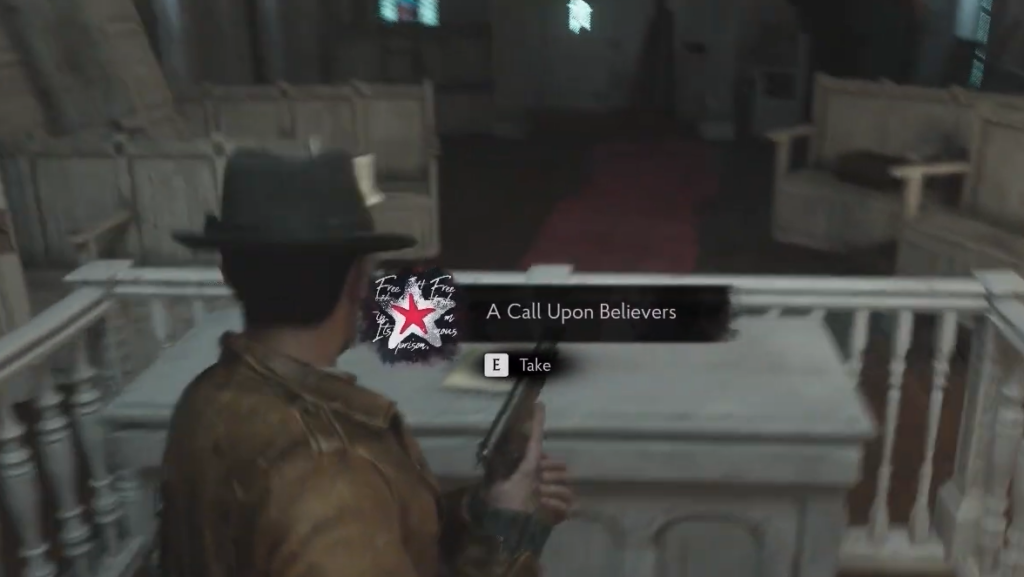
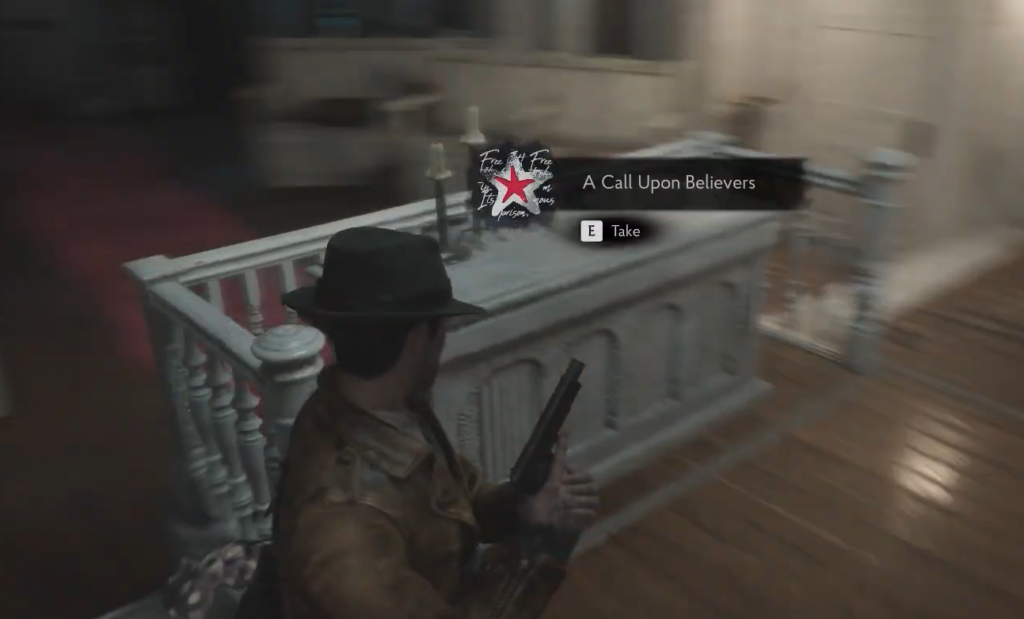
| 1 | A Call Upon Believers | Church, upstairs on the altar |
| 2 | Origins of the Redemption Church | On a stand on the Church balcony |
| 3 | Floodgate Lock | Wooden table outside, west of the Church |
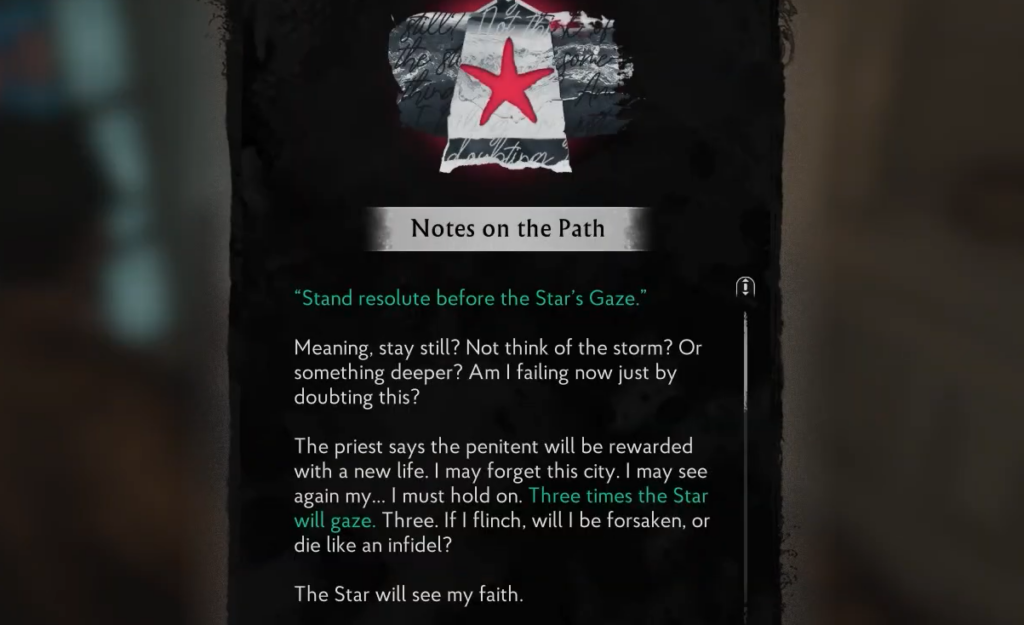
| 4 | Notes on the Path | Round table in a side room north of the Church |
| 5 | The First Vision | Red casket in the crypt east of the Church |
| 6 | Letter to Boss | Stone sarcophagus in the crypt (with Printing Plate C) |
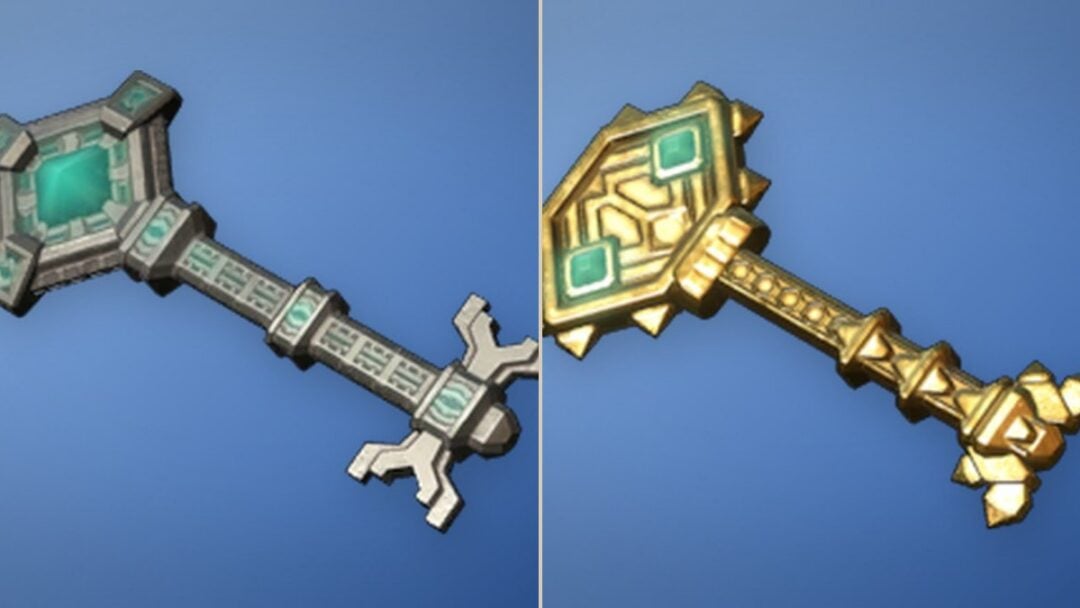
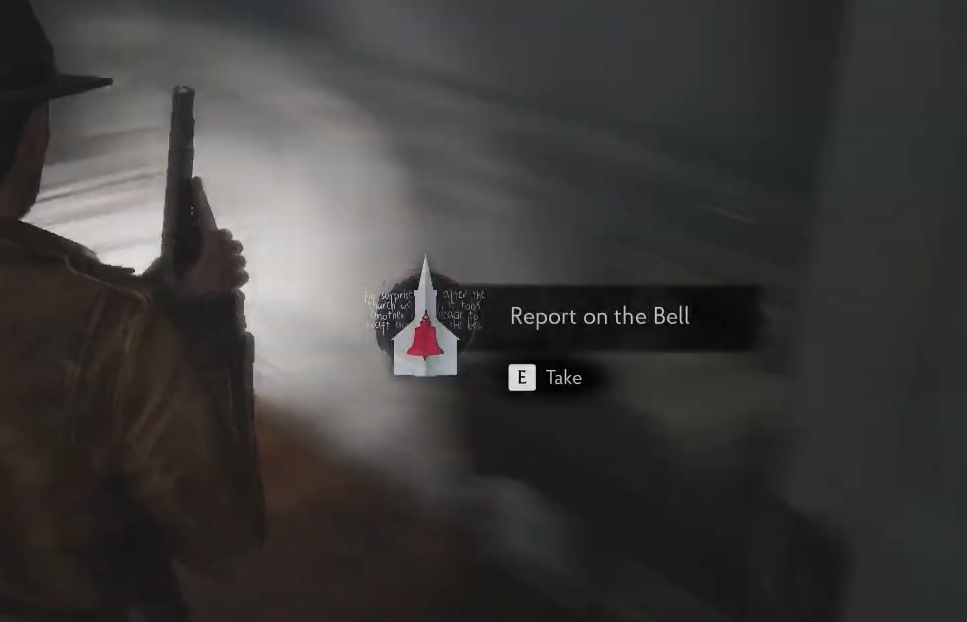
| 7 | Report on the Bell | Star Key door in the Church balcony (with the Trident) |
| 8 | A Broken Crane | Shoot the monster on a roof near Sentinel St. |
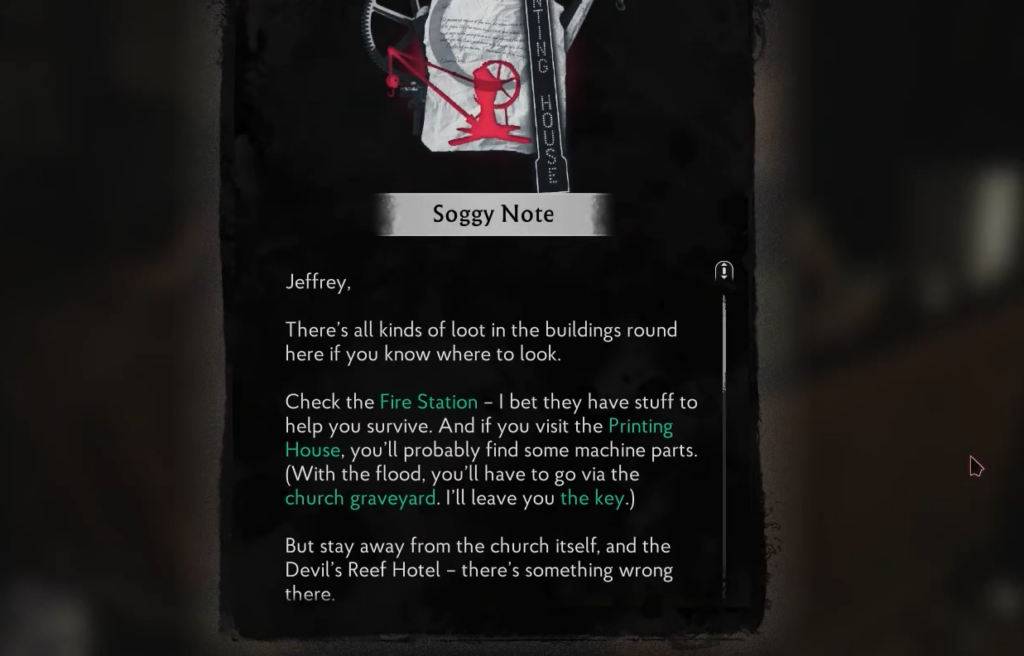
| 9 | Soggy Note | Saloon counter on Sentinel St. (with the Graveyard Key) |
| 10 | Incident During Study | Printing House basement |
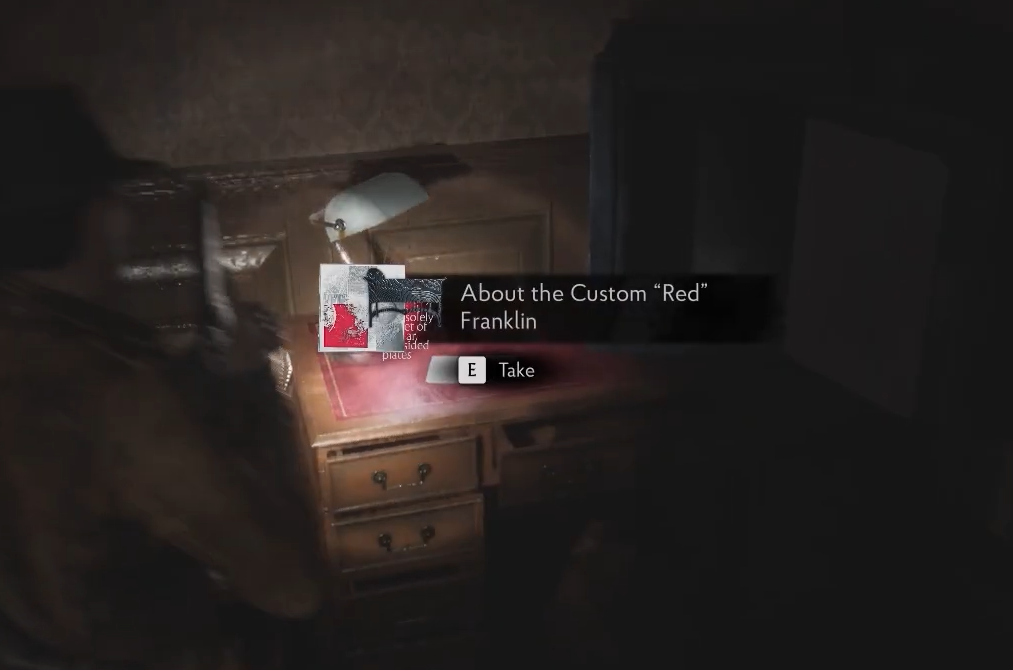
| 11 | About the Custom “Red” Franklin | Top of an outdoor ladder near the Printing House (with Printing Plate B) |
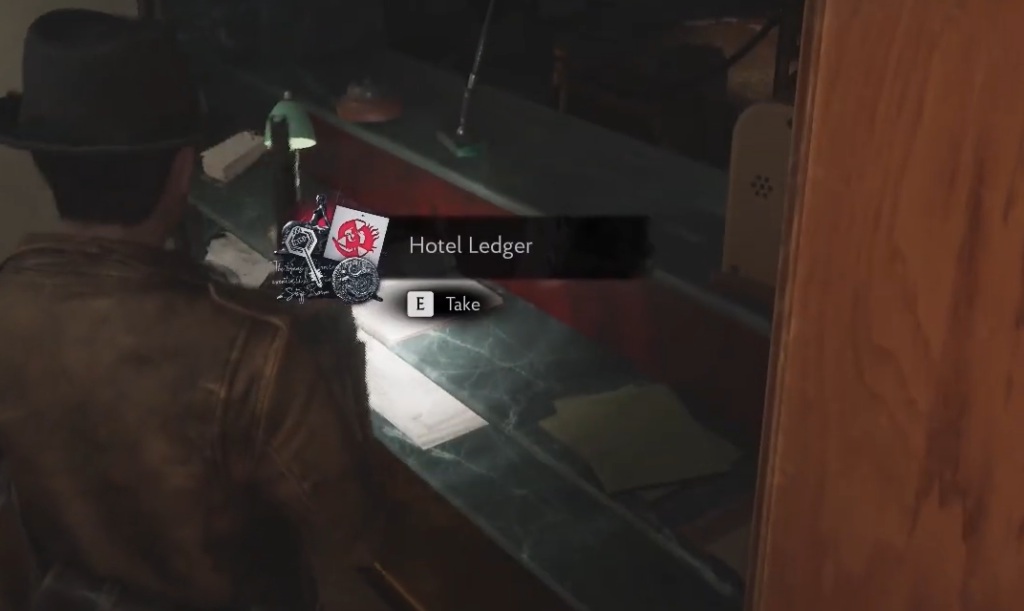
| 12 | Hotel Ledger | Front desk of the Devil’s Reef Hotel lobby |
| 13 | Baby, One More Tide Lyrics | A first-floor room inside the hotel |
| 14 | The Lorelei Lock | Inspect the locked door in the hotel basement |
| 15 | Lorelei Chests | Hotel Staff Room (with the Lorelei Token) |
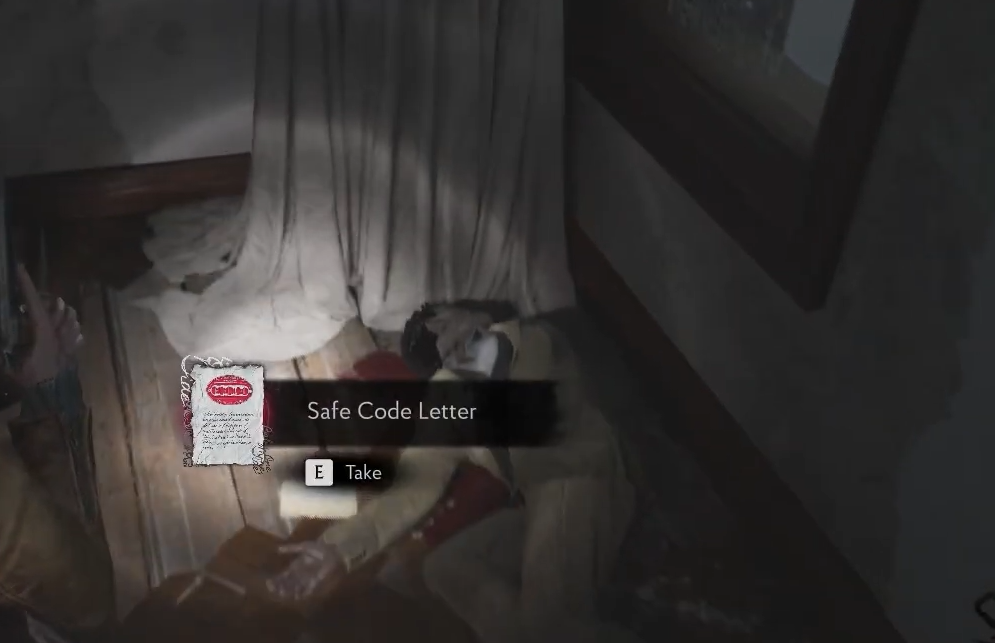
| 16 | Safe Code Letter | On a corpse in Room 303 |
Church grounds and crypt (evidence 1–7)
The Church holds the densest cluster of clues. Start inside, then sweep the surrounding block and the crypt before heading north.
Sentinel St.: The rooftop and Saloon (evidence 8–9)
Printing House (evidence 10–11)
Devil’s Reef Hotel (evidence 12–16)
The final five clues are all inside the hotel, moving from the lobby down to the basement and up to Room 303.
Key items you collect along the way
Several evidence pickups come bundled with items you’ll need for Chapter 2’s puzzles. Keep these in your inventory rather than dropping them.
| Item | Where you get it |
|---|---|
| Star Key | Beside the locked floodgate, west of the Church |
| Printing Plate C | Crypt sarcophagus (with the Letter to Boss) |
| Trident | Star Key door in the Church attic |
| Graveyard Key | Saloon counter on Sentinel St. |
| Printing Plate B | Top of the outdoor ladder near the Printing House |
| Lorelei Token | Hotel Staff Room |
Closing the investigation group
Once you have all 16 pieces, open the investigation board and connect the “Baby, One More Tide” Lyrics to the Safe Code Letter. The two link together and complete the chapter’s evidence group.
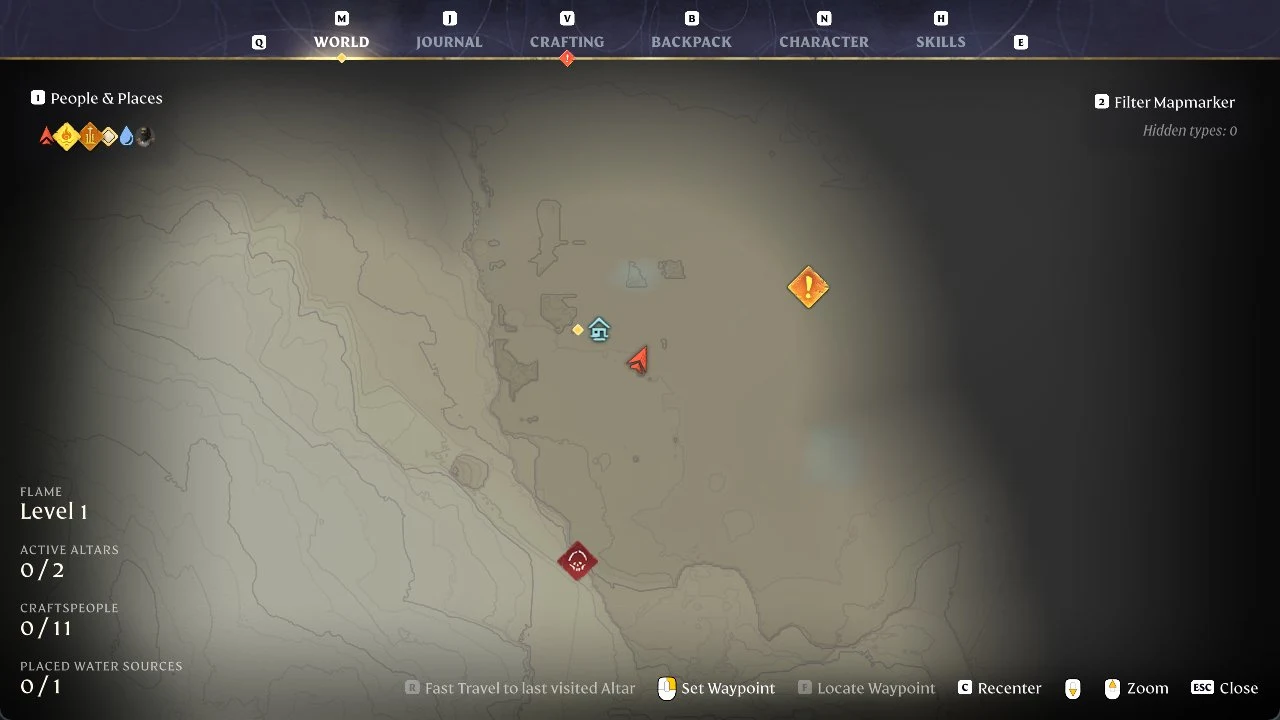
Before you leave the area, open the map and confirm every location marker is filled in. There is no chapter select, so anything you skip is gone for that playthrough. New Game Plus only carries over learned talents, meaning any missed evidence has to be recollected from scratch. If a clue looks absent, backtrack while you still can within the current chapter.