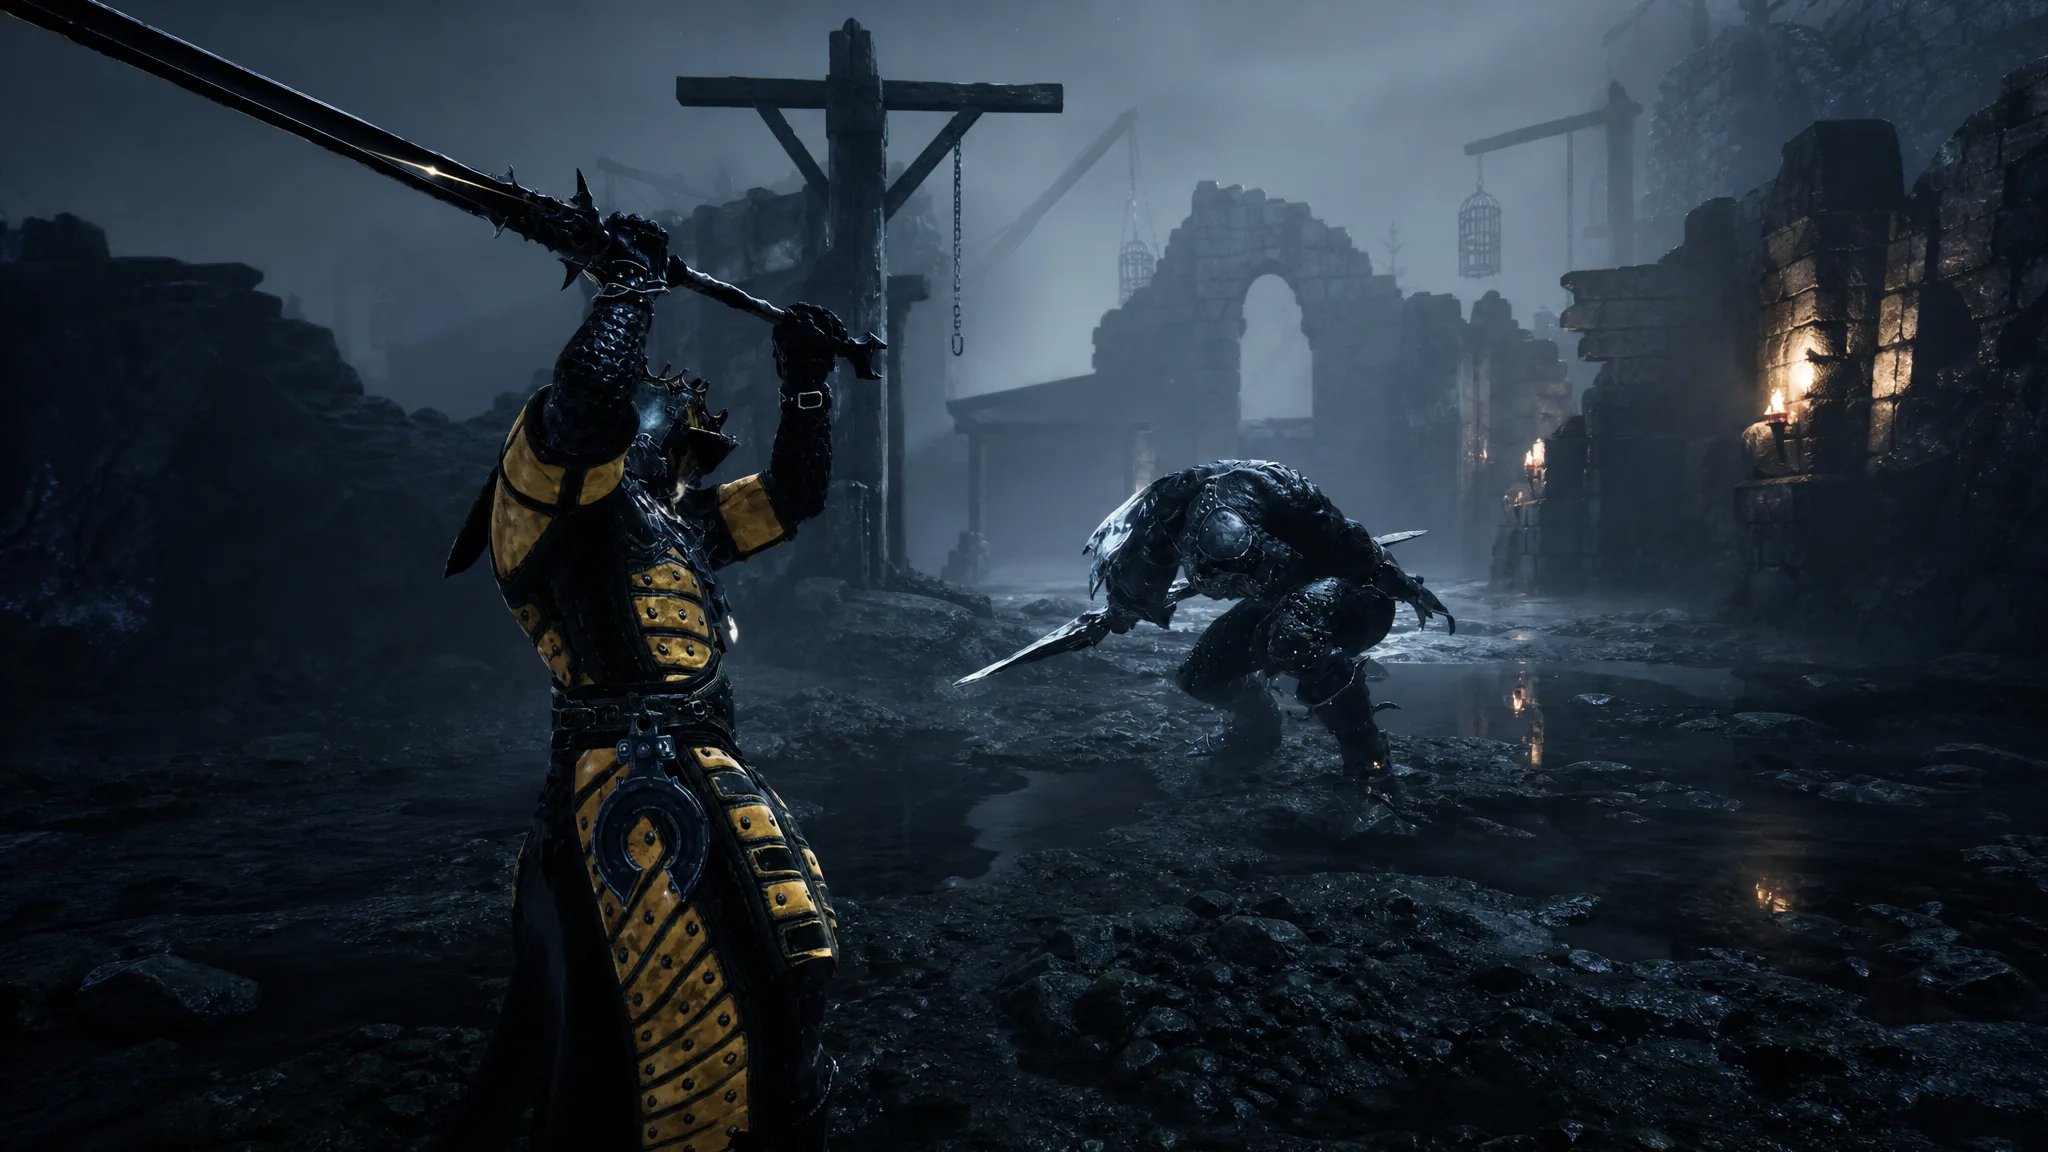
Mortal Shell 2 spreads its bosses across two regions, six sealed dungeons, and a final area that only opens once you’ve hoarded enough Ova. Some of them block the campaign outright. Others just sit in a clearing, waiting for you to wander in and get grabbed. Knowing which is which saves a lot of pointless dying.
Quick answer: Follow the beacon chain from Village Outskirts through Sunken Village, Blackridge Pass, and Sanguine Shoreline for the story bosses; the six Corrupted Gate dungeons in Fainweald and Mammon hold the major bosses that drop Ova, and the Unfound Path holds the last four fights.
How boss progression works in Mortal Shell 2
The campaign is gated by Ova, and Ova come from major bosses. Each of the six Corrupted Gate dungeons ends in a fight, and when that fight is over a beacon appears in the arena holding 26x Ova. That’s your confirmation the gate is cleansed and the story can move on.
Several boss arenas also let you summon a Shell warrior as a permanent spirit ally, but unlocking that summon costs 1x Glimpse. Glimpses are also spent raising Shell Bond, so don’t burn them casually. The Harbinger’s upgrade currency, Gloom, drops on death and can be picked back up from the spot you died, which is why it’s worth leveling at a beacon before a serious attempt.
Note: the prologue fight against the Tar Golem is scripted. You can deplete its health bar for an achievement, but the cutscene plays out the same either way.
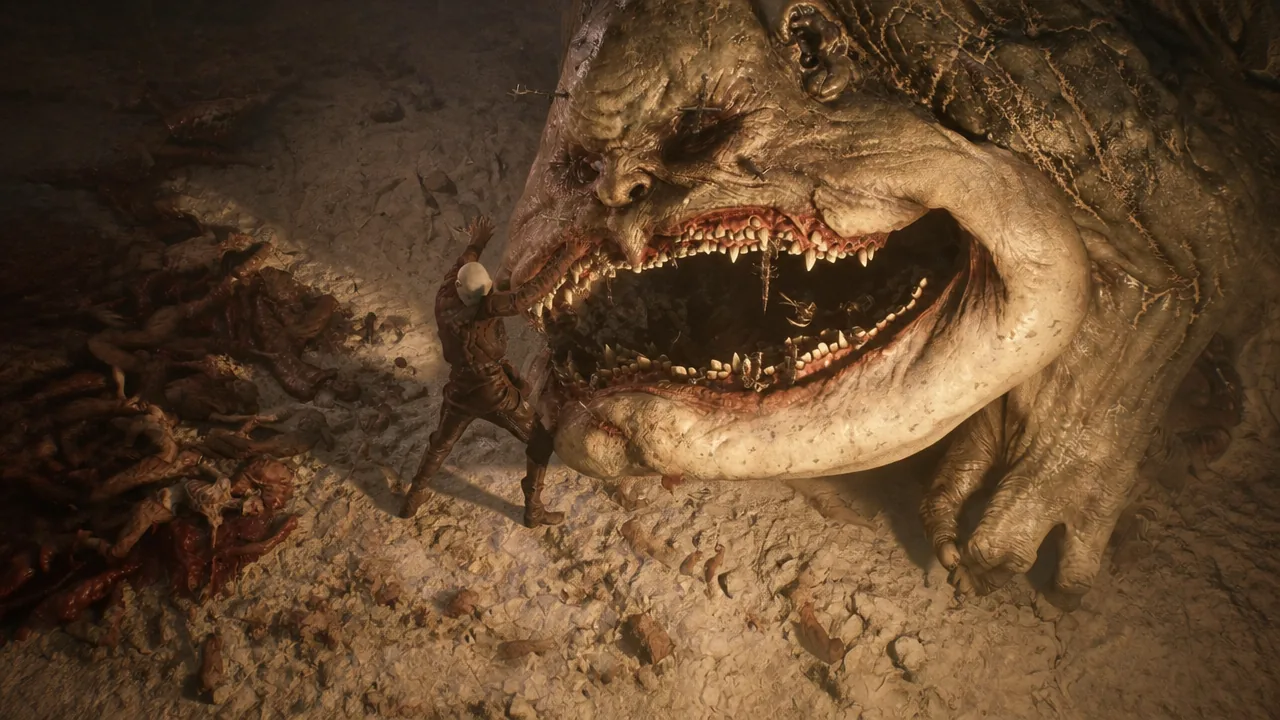
Story boss locations in Fainweald, in order
These are the fights you meet by simply pushing forward. Every entry is anchored to the nearest beacon, since fast travel is the fastest way back if you die and want a rematch.
| Boss | Where to find it |
|---|---|
| Gloombound Ritualist | Prologue fight. Cross the bridge from the Village Outskirts Beacon and keep going until you can drop into the sunken arena. |
| Tar Golem | Head down the slope from the Disciple’s Grotto Beacon, ride the air current up, then follow the path past Ruk to the Bone Gate. |
| Vrannic, the Grand Illusionist | Final boss of the Hall of Illusion, which unlocks after you cleanse the Mushroom Village Gate Beacon. |
| The Wandering Shepherd | Cross the bridge past the Sunken Village Beacon into the fenced pasture with the grazing sheep. |
| Magdalena, the Lady of the Woods | Squeeze through the gap at the back of the Shepherd’s arena, continue until Ruk stops you, then push ahead into the Glutted Mire arena. |
| Broodshell Swarm | Travel north from the Blackridge Pass Beacon through the spider-infested stretch, then north-east past the graveyard into the snail nest. |
| Grisha | South of the Blackridge Pass Beacon, at the end of the Flooded Village dungeon. |
| Lucian, the Thirsting Knight | Guards the Hidden Keep dungeon near the Stonebled Gate Beacon. |
| Tarblighted Stoner | Late-game fight near the Sanguine Shoreline Beacon. Take the transporter to the cave entrance. |
| The Lost Child | Continue from the Tarblighted Stoner into the cavern, ride the current up to the platform above, then walk into the Sanguine Caverns arena. |
After the final beacon in the Lost Child’s dungeon, walk to the innermost chamber for the Blackmarrow Key. It opens the sarcophagi in Marrow Keep, which hand over an alternate colour scheme for Shells you’ve already unlocked.
Optional bosses you can skip
None of these three block the campaign. They exist for loot and achievements, and two of them sit close enough to the main route that you’ll probably trip over them anyway.
| Boss | Where to find it |
|---|---|
| Tainted Vestige | Turn left from the Disciple’s Grotto Beacon and take the cave exit out into the grove. |
| Great Arbiter of Flesh | From the Widow’s Overlook Beacon, head down the slope to the south-east toward Mushroom Village. It patrols a dirt clearing. |
| Circle of the Grasping Root | Cleanse the Sleeping Mire Beacon in the Sunken Village to open Rootwater Hollow. The fight is in the swamp arena. |
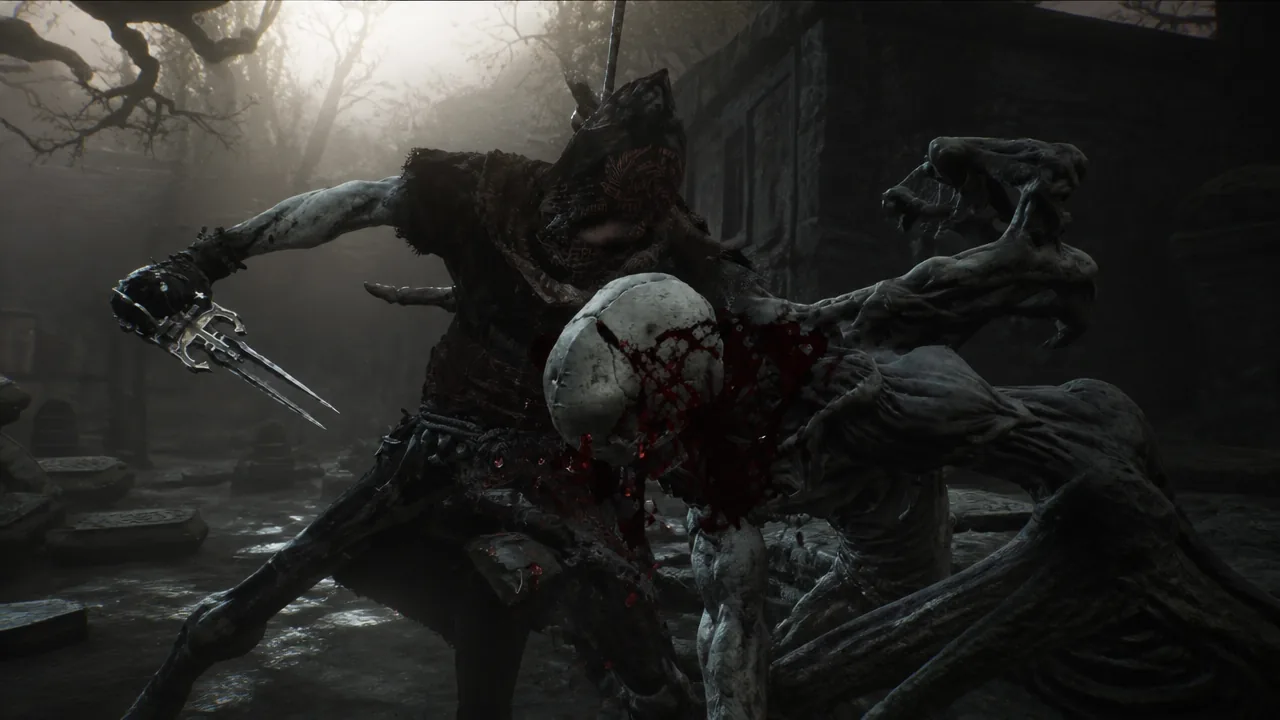
Corrupted Gate dungeon bosses in Fainweald and Mammon
Six Corrupted Gates sit in the overworld, three per region. You can leave them alone and comb the rest of Fainweald and Mammon for gear first, which is the sensible order given the Ova requirement only bites later.
| Dungeon (region) | Boss | Shell summon |
|---|---|---|
| Glutted Mire (Fainweald) | Magdalena, Lady of the Woods | Smert |
| Sanguine Caverns (Fainweald) | The Lost Child | Tiel |
| Prisoners’ Domain (Fainweald) | The Nameless Captive | Eredrim |
| Conquered Temple (Mammon) | Droeg the Conqueror | Gragu |
| Withered Shoals (Mammon) | Hexapod | Proxima |
| Faded Citadel (Mammon) | Isaac, the Scholar Prince | Lazlo |
Each of these drops a weapon ability stone alongside the Ova beacon, so the order you clear them in shapes your build.
| Boss | Reward |
|---|---|
| Magdalena | Magdalena’s Memento (Axe & Dagger) |
| The Lost Child | Lost Clotstone (Obsidian Hammer, Veteran’s Battle Axe) |
| The Nameless Captive | Captive’s Scabstone (Great Martyr’s Blade) |
| Droeg the Conqueror | Conqueror’s Reward (Black Needle) |
| Hexapod | Hexapod Core (Axatana) |
| Isaac, the Scholar Prince | Scholar’s Wormstone (Clockwork Scythe) |
Tip: after grabbing the Ova in the Conquered Temple, keep going down the far hallway. The area beyond is cold enough to chip away at your health on a timer, and surviving to the end nets the Frostshard Stone.
Unfound Path bosses and the final boss
The Unfound Path is the endgame dungeon, and it unlocks once you’ve collected enough Ova. The platform at its centre is sealed off by tendrils. Three branching segments each hold a guardian, and only after all three are dead can you destroy the tendrils and reach the last fight.
| Area | Boss | Notes |
|---|---|---|
| Bridge of Procession | Orrem, the Discarded Golem / Orrem, the Reclaimed | Two phases. Sariel can be summoned. Orrem’s Head sells for 5,000 coins. |
| Obsidian Vault | The Monolith | No Shell summon. Monolith Fragment sells for 5,000 coins. |
| Faithful’s Shelter | Malborn Offspring | Two phases and the hardest of the three, with five- and six-hit chained combos. |
| Centre platform | Zmey the Unbidden | Final boss of the campaign. |
Minibosses tied to Shell unlocks
Four more fights exist outside the story route and guard Shells rather than Ova. None are missable, and you can still collect them in free roam after the final boss, before you commit to New Game+.
| Boss | Where to find it | Unlocks |
|---|---|---|
| The Warden | Citadel of Penance Beacon. Drop to the lowest level, ride an elevator to the top middle, and it drops you into the arena. | Eredrim |
| Sester Secundus | Revenant Graves, south-east of the Outskirts of Mammon Beacon. Touch the red glowing item the Genessa illusions are facing. | Genessa, via Sester’s Censer |
| Vellen, High Lord of Mammon | West of the High Lords Courtyard Beacon, down the large stairwell into the underground area. | Lazlo |
| Sariel, the Endless | South-east of The Silent Steps Beacon on the stone platform, then again inside the Chamber of Becoming. | Sariel |
Sariel is the fiddly one. Beating him on the platform opens the wall to the south; in the final room of the Chamber of Becoming you have to smash all four tombstones or he simply keeps reviving. Only after the fourth is broken can you finish him and take the body.
Finding these fights is rarely the hard part. Fainweald’s route practically funnels you into most of them, and the Corrupted Gates are marked out in the world. The real cost is the learning tax on each moveset, so spend Gloom before you walk through a gate, and treat every Glimpse you drop on a Shell summon as one you can’t put toward Shell Bond later.