The obelisk outside the Redemption Church in The Sinking City 2 is a four-part rotating pillar that only accepts one arrangement of symbols. Each of its four sections has four possible faces, which means 256 combinations. Trying to force it is a waste of time, so the fix is to set the correct order and validate.
Quick answer: Place the Trident on the obelisk, then rotate the sections so the order reads Snake on top, three-headed spear second, arrow third, and the horn-shaped (womb) sign on the bottom. Validate, stand clear of the lightning, wait for three strikes, then collect the charged Trident.
Get the Star Key and the Trident first
You cannot start the obelisk until you are holding the Trident, and the Trident sits behind a locked door on the church’s upper floor. Reaching it takes two quick pickups near the church grounds.
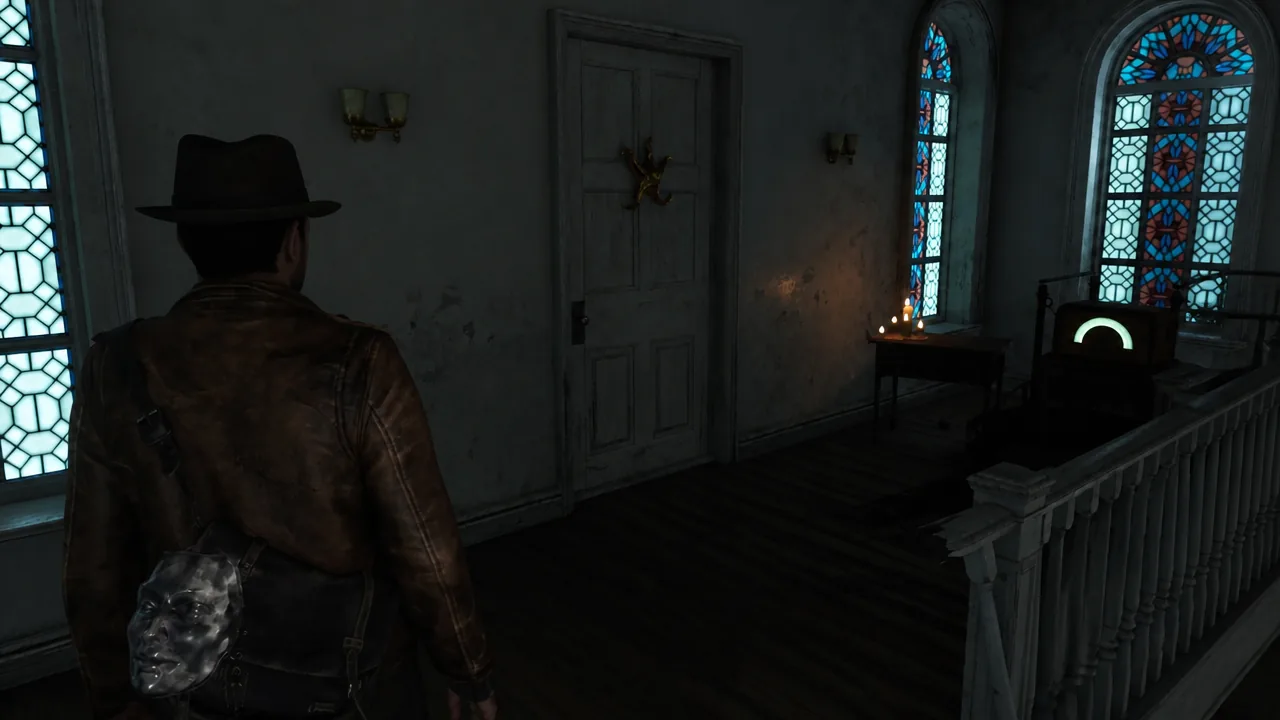
Find the obelisk in the church yard
The obelisk sits in the graveyard area to the north of the church. From the Safe House door, step outside and turn right, then hug the church wall until you reach the tall statue with four rotating signs on it. Approach it and place the Trident on top.
Correct symbol order for the obelisk
Rotate each section so the four faces line up from top to bottom in the order below. The names in brackets are how the clue notes refer to each symbol.
| Position | Symbol | Named in the notes as |
|---|---|---|
| Top | Snake | The serpent form of Yig |
| Second | Three-headed spear / cross | The crooked cross of Tsog-Nar |
| Third | Arrowhead | The rhombic spearhead of Gyrh |
| Bottom | Horn / circle | The splayed womb of Cthylla |
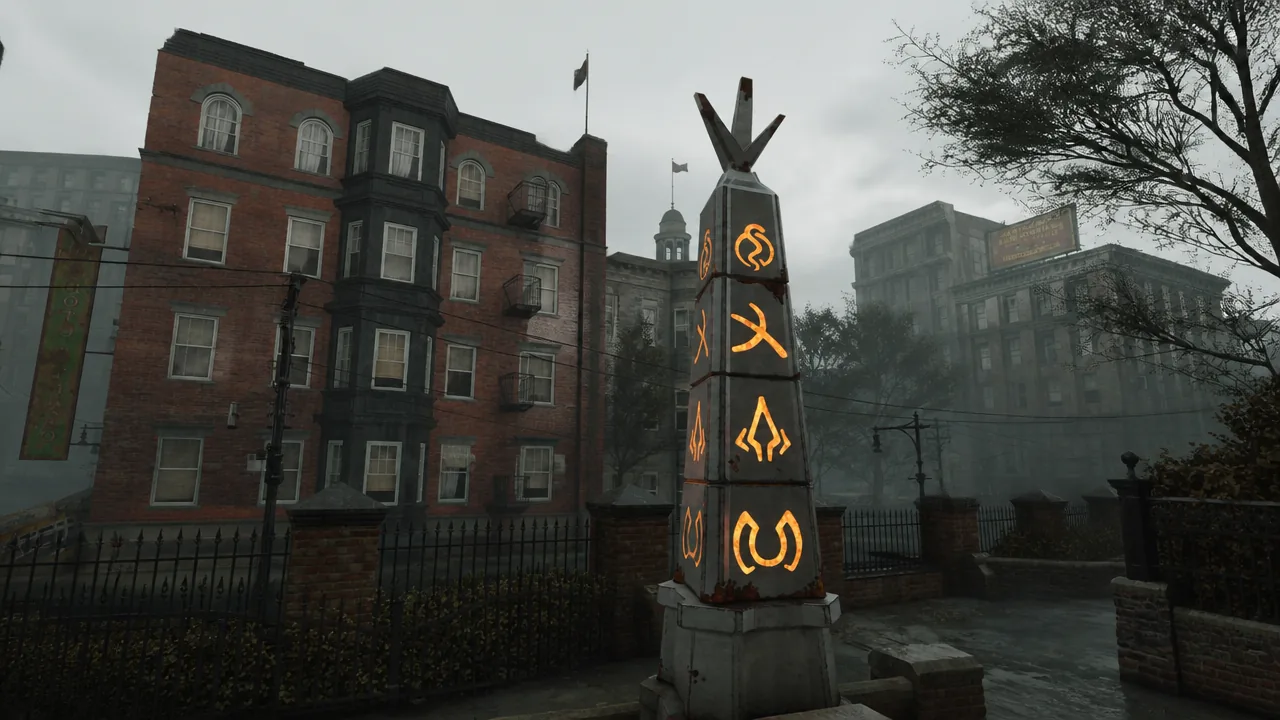
Once the four sections match, hold to validate the selection.
Tip: If you want to work it out yourself, the “A Call Upon Believers” note on the church pulpit names the order from the depths (bottom) to the heights (top) as Cthylla, Gyrh, Tsog-Nar, Yig. The “The First Vision” evidence, found in the small locked building east of the church, explains what each symbol looks like.
Charge the Trident with three lightning strikes
After you validate, lightning starts striking the obelisk. Step back so the bolts do not hit Calvin. Standing back through the small gate you entered by is a safe spot. Wait for three strikes, each of which lights up one of the Trident’s points.
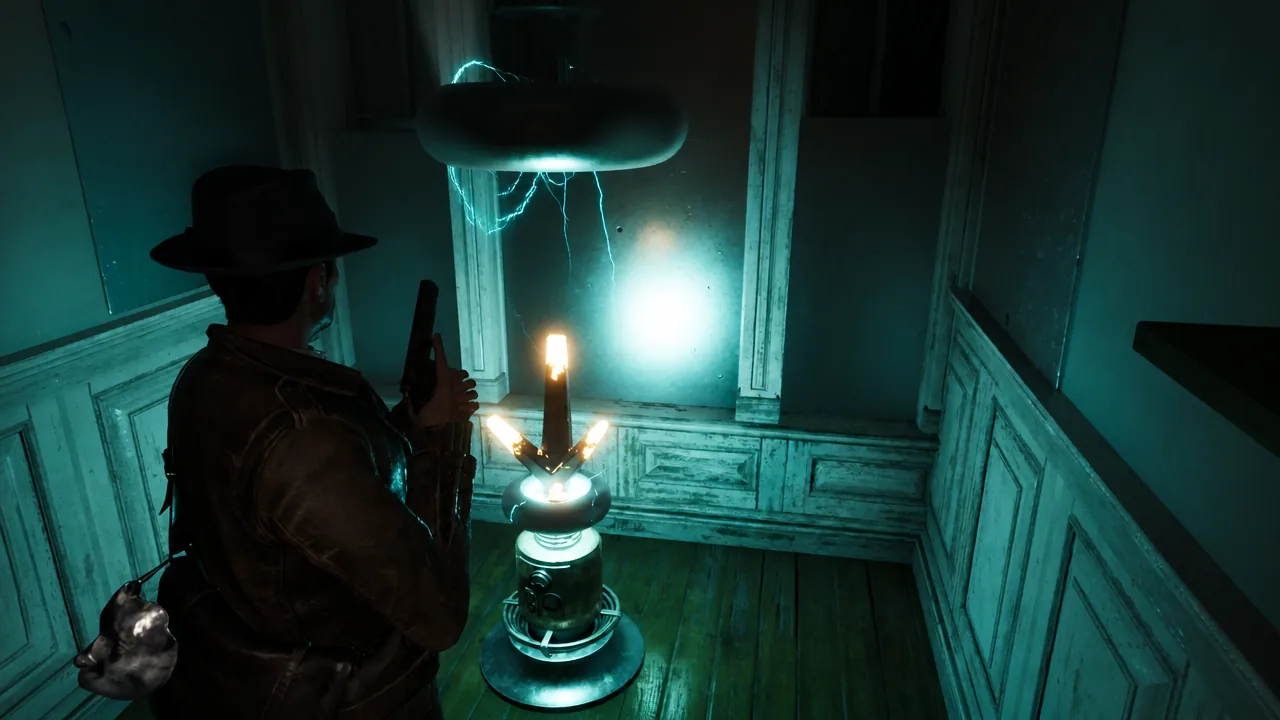
Do not leave the area while it charges. After the third strike, the Trident’s spikes glow orange, confirming it is fully charged. Collect it from the top of the obelisk.
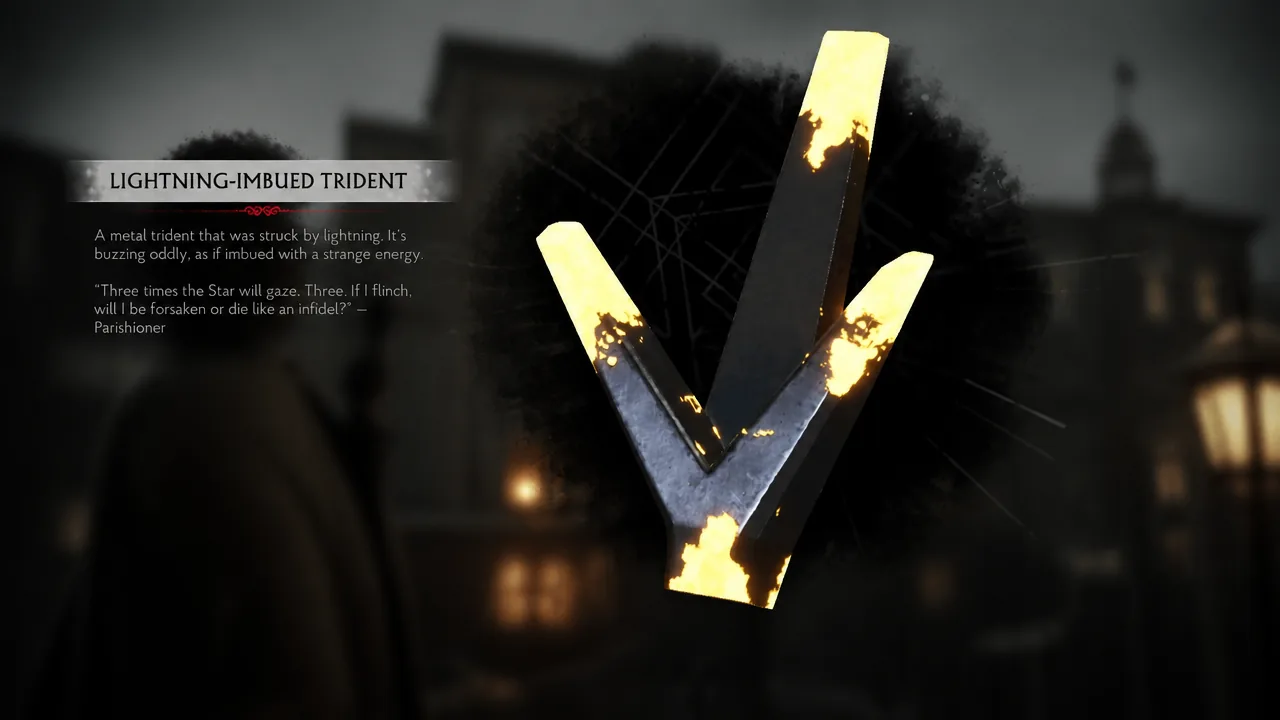
Return the Trident and open the basement
The charged Trident has to go back where you found it to progress the story.
Back upstairs, your reward waits on the altar in the form of Dream Essence, which you spend on unlocking new Runes. Collecting it confirms the sequence is complete, and the campaign objectives update so you can move on.
Common reasons the obelisk won’t activate
- The Trident is not placed on the obelisk. It must be on top before any section will do anything.
- One or more sections are on the wrong face. Recheck the top-to-bottom order: Snake, three-headed spear, arrow, horn.
- You didn’t hold to validate after setting the symbols, so the lightning sequence never starts.
- You walked off before the third strike. Stay in the area until all three land, or the Trident won’t finish charging.
While you are on the church grounds, it is worth clearing the yard for loot. An E.R.C. box sits in a small shrine cell in the churchyard and holds inventory packs that add stash slots, and basic crafting materials like Chemicals, Herbs, and Metal Scraps are scattered around. If you miss anything, you return to the yard later to open the graveyard door, so you get a second pass.