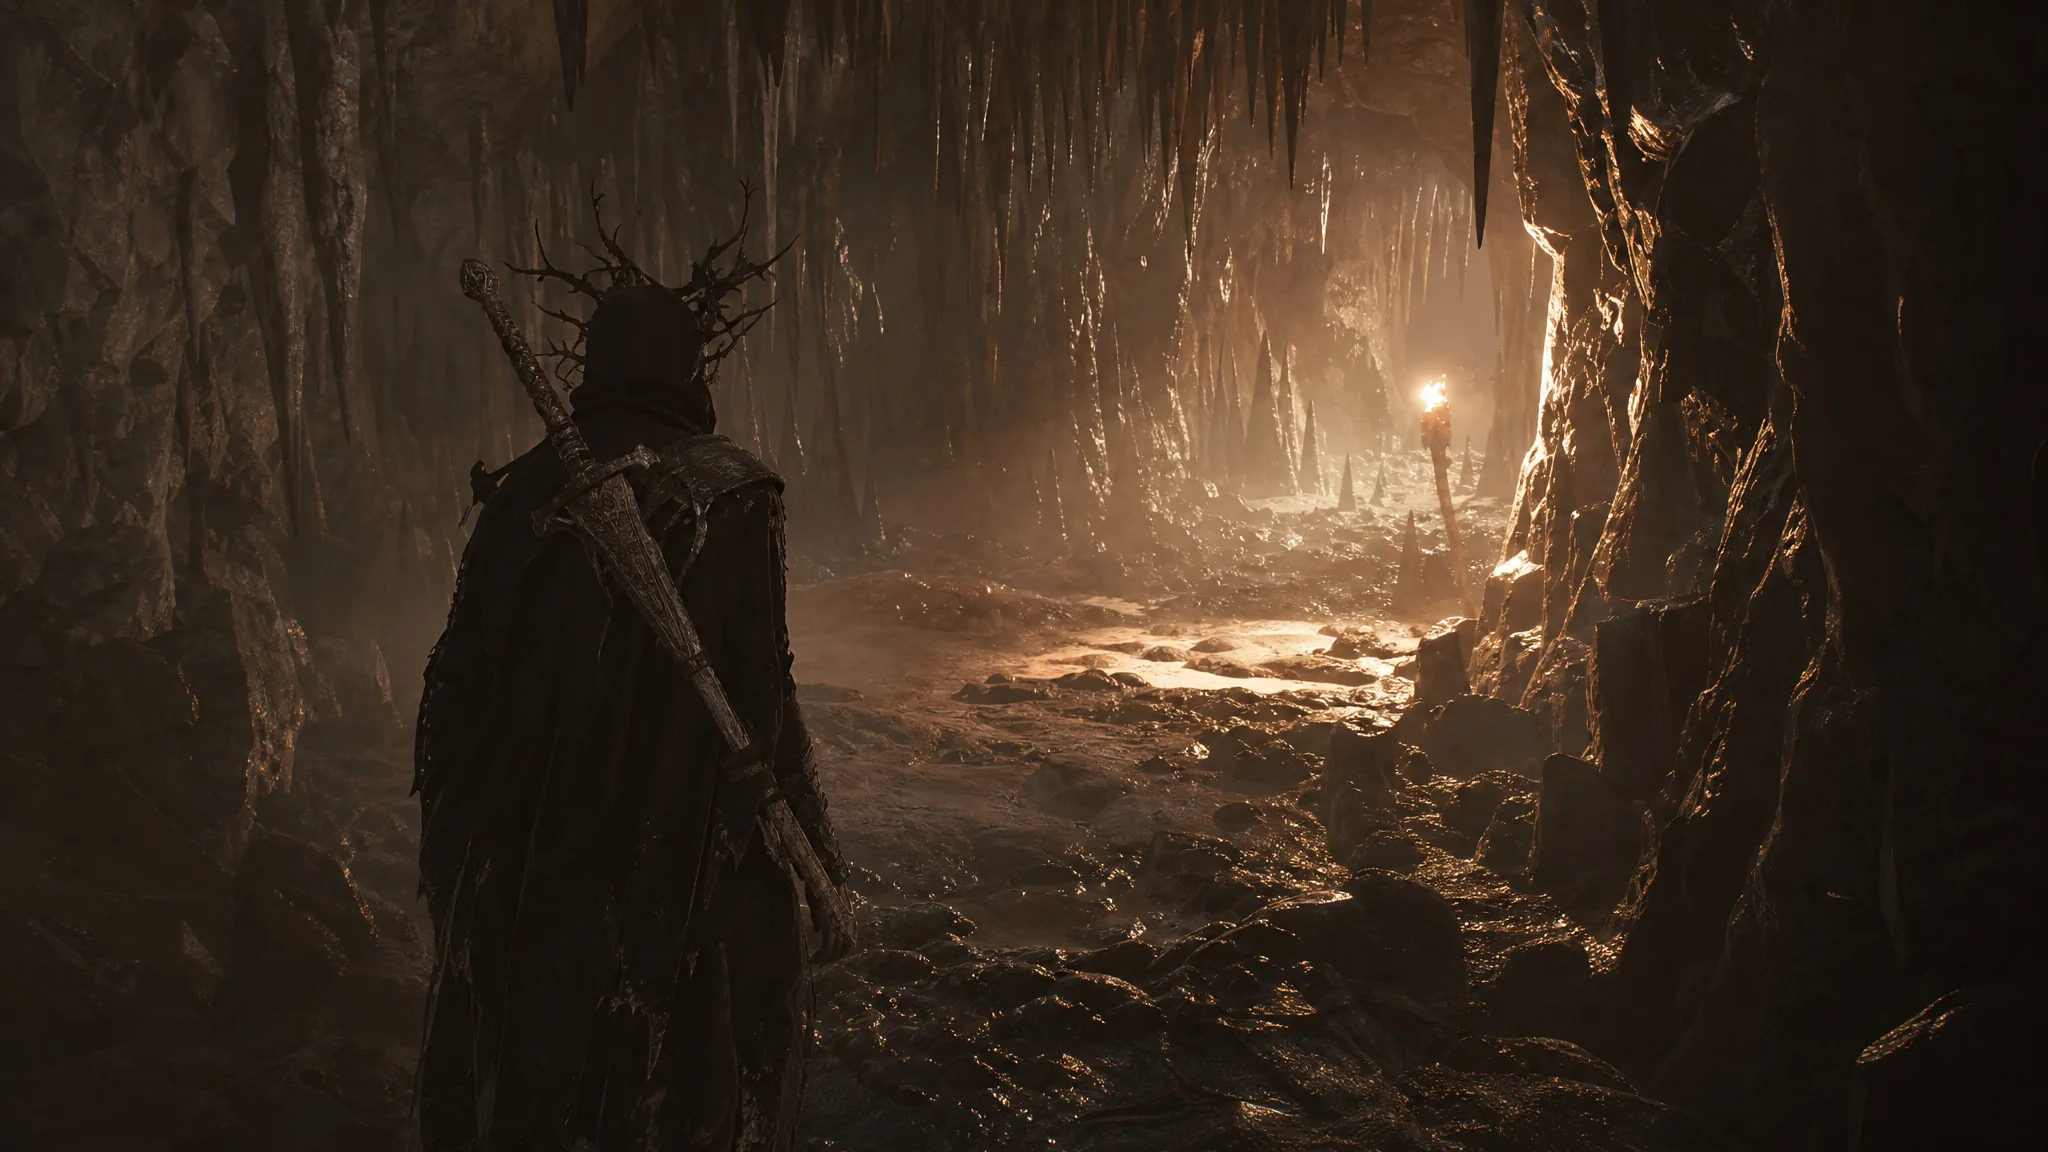
The Pulsing Caves Beacon sits inside the Sanguine Caverns region, and interacting with it opens a challenge dungeon set in the Mawbreak Cavern. Cleansing it clears the corruption, sets a fresh respawn point, and hands you an Ovum needed for campaign progress. The route is short but packed with flying and ground enemies, plus one optional pickup worth grabbing on the way through.
Quick answer: Select “Cleanse Beacon” at the Pulsing Caves Beacon, fight through the Mawbreak Cavern to the end, use “Cleanse Corruption” on the corrupted structure, then collect the Ovum to teleport back to the now-cleansed Beacon.
What cleansing the Pulsing Caves Beacon gives you
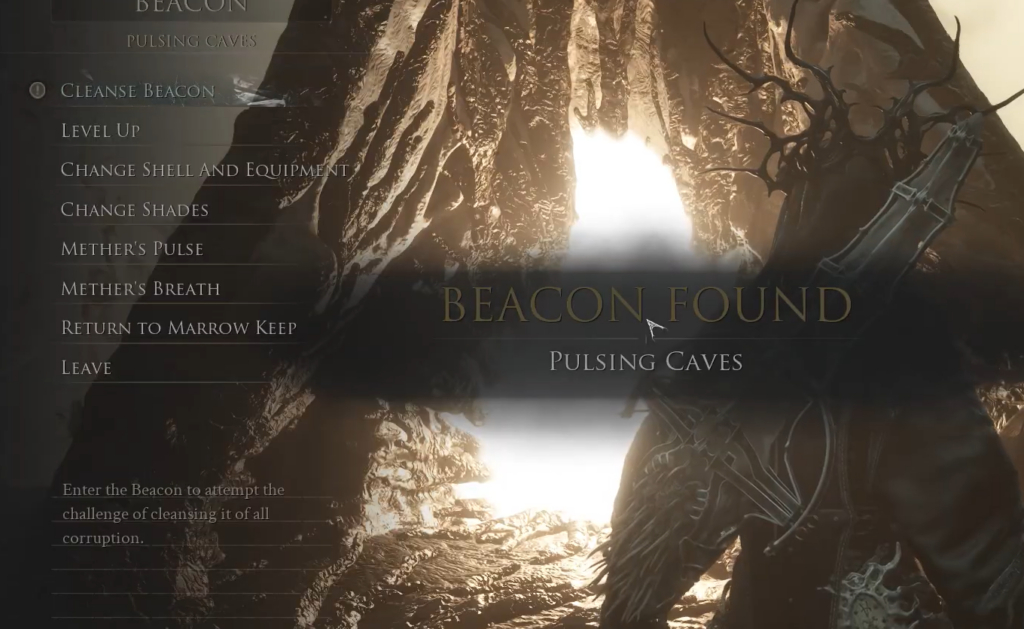
Cleansing this Beacon does two things. It removes the darkened overgrowth that blocks the extra menu options, and it rewards an Ovum at the end of the run. Ova are the currency the Undermether needs from you, so every cleansed Beacon moves the campaign forward.
Once a Beacon is cleansed, resting at it revives your equipped Shell, restores Health and Resolve, respawns standard enemies, and updates your respawn point. You also unlock the full Beacon menu, including Level Up, changing your Shell and equipment, Mether’s Pulse, and fast travel back to Marrow Keep.
Clearing the Mawbreak Cavern


The spectral beast is a bypass encounter. If you would rather not fight it, keep moving and it can be left behind.
Grab the Blackblood Stone Tarstone
Near the end of the cavern sits a stone sarcophagus. Open it to obtain the Blackblood Stone, a Level 1 Tarstone. It triggers a “New Tarstone Acquired” prompt and can be checked in your inventory under Tarstones.
| Detail | Value |
|---|---|
| Item | Blackblood Stone (Level 1) |
| XP to next level | 0 / 10000 |
| Faction | Faction Incompatible |
| Effect | Projectiles explode mid-air and deal splash damage |
| Splash damage | Exploding projectiles deal 2.5 splash damage |
Cleanse the corruption and claim the Ovum
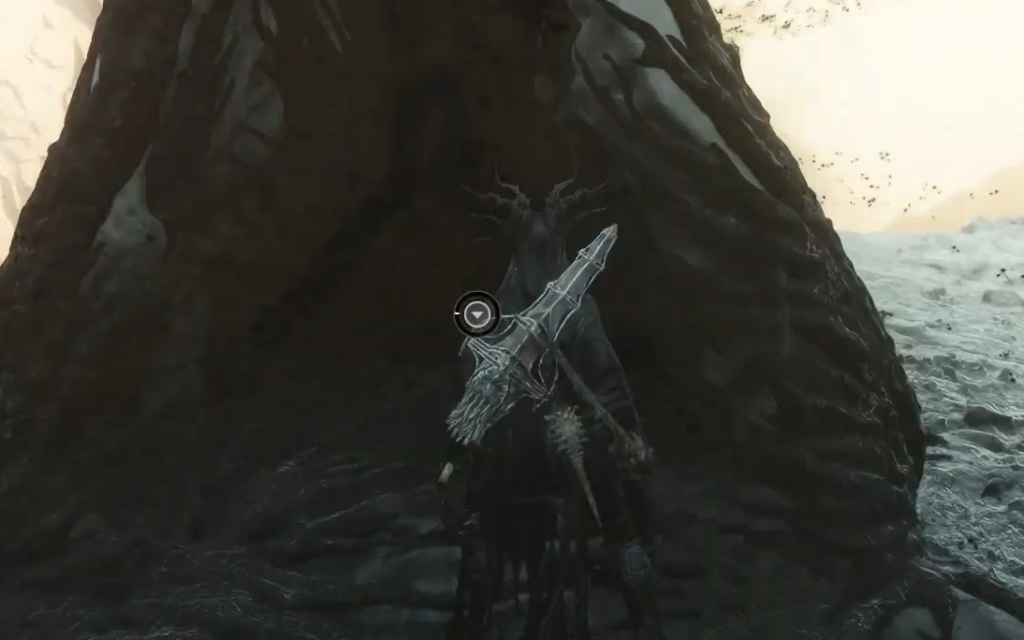
You know it worked when the “Beacon Cleansed” message appears, the Pulsing Caves Beacon shows its full menu, and the “Rest at Beacon” option is available. From there you can rest to lock in the new respawn point.
With the Ovum banked and the Beacon cleansed, the Pulsing Caves become a reliable checkpoint inside Sanguine Caverns. Keep the Blackblood Stone in mind if you run a projectile-heavy build, since its mid-air explosions add splash damage to your ranged attacks.