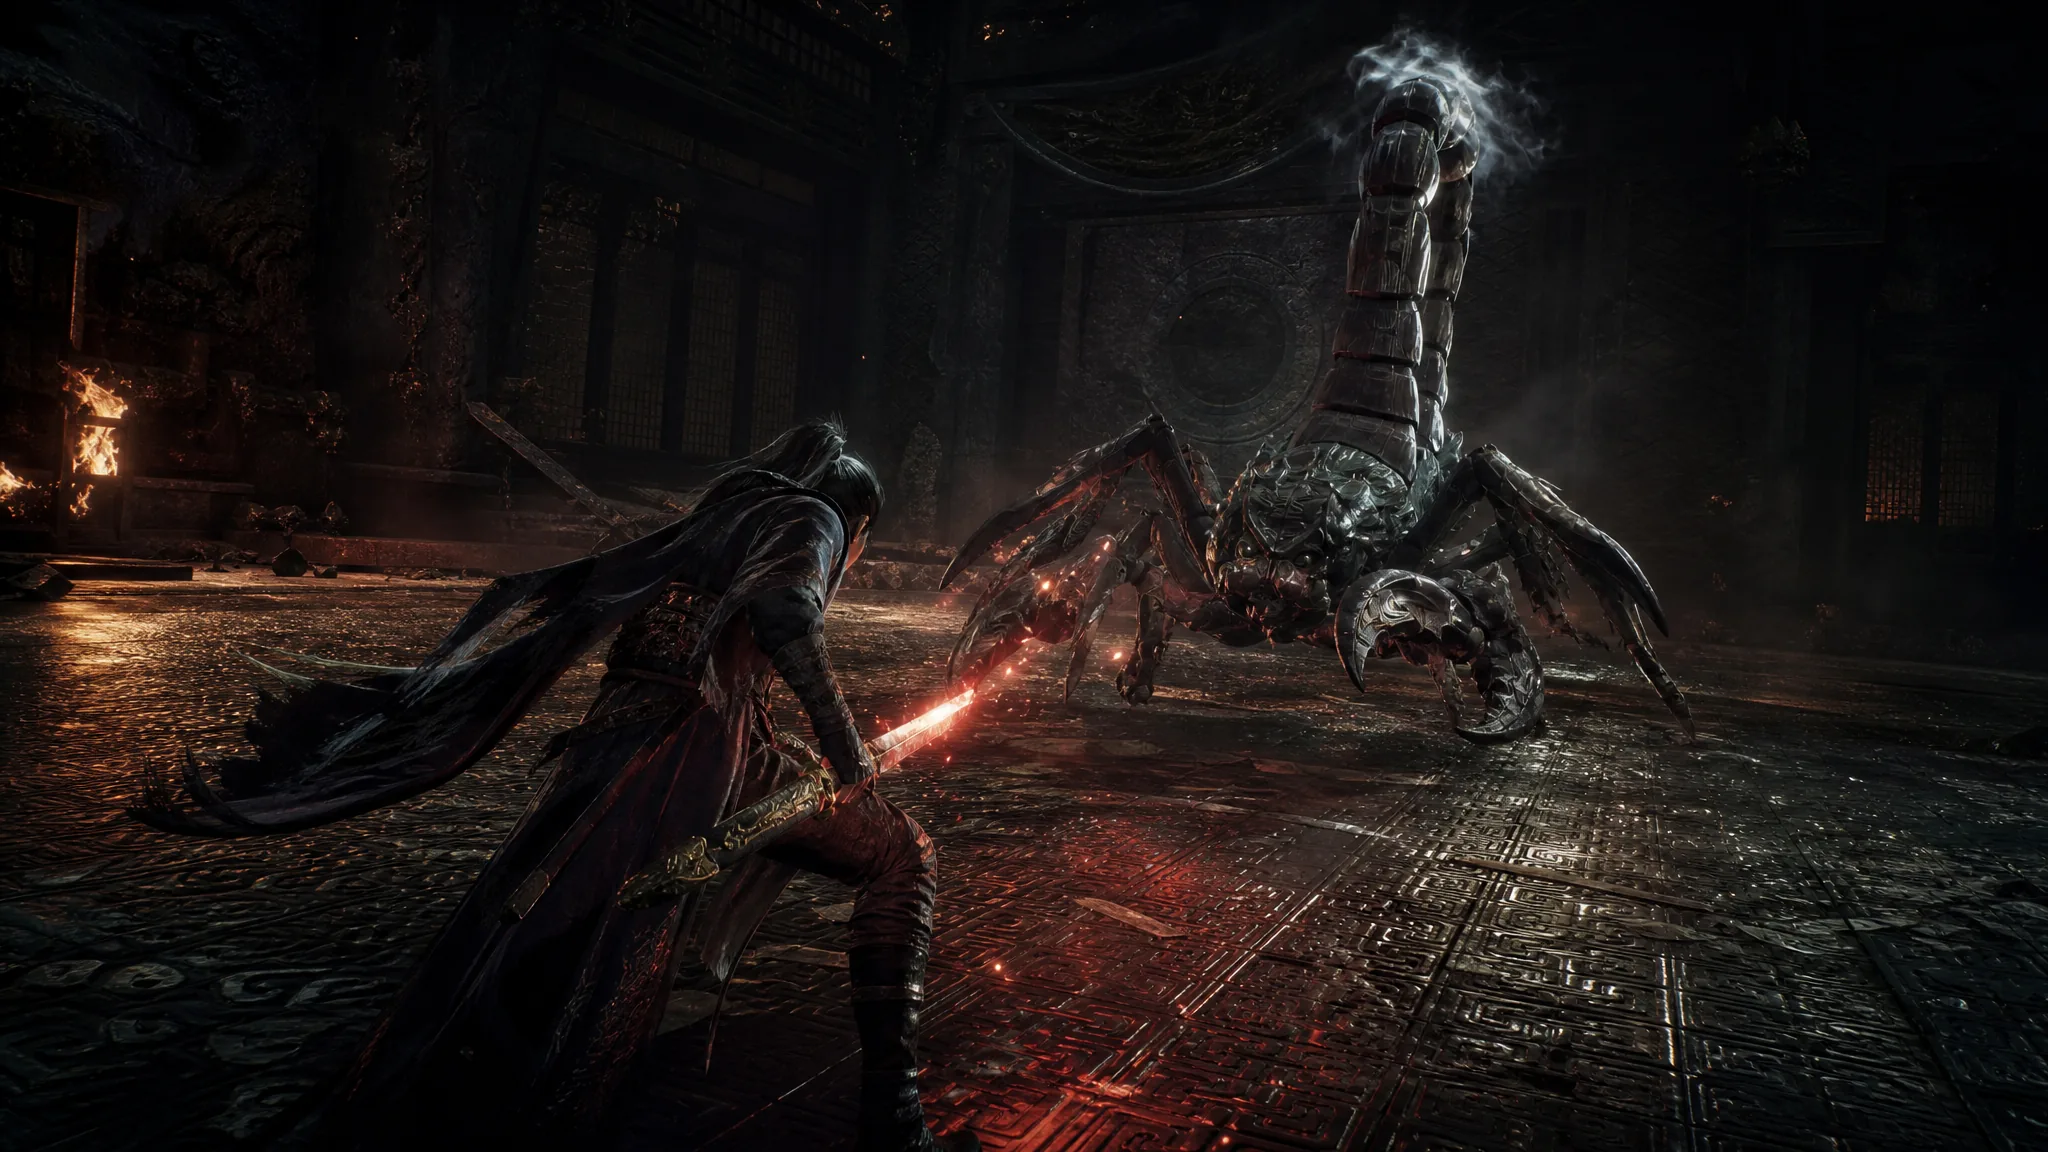
The Inkpincer Scorpion is a hidden mechanical boss tucked away in Hidden Mountain, and on Legend difficulty it turns a short encounter into a long one. It hits hard, it shields itself repeatedly, and the arena strips away most of your movement options. A sword build handles it well, but only if you stop treating the fight as a damage race and start playing the shield mechanic properly.
Quick answer: Stay behind the scorpion so its Mechanism Weakness triggers and the shield breaks faster, then deflect its heavy slams to land cinematic counters between shield phases.
Where to find the Inkpincer Scorpion in Hidden Mountain
The boss sits behind a mechanical cauldron on a mountaintop in the Hidden Mountain Suixiang area, near the Kaifeng–Meow Meow Temple region of the map. You are not walking into an open arena. You have to enter through a cave and activate the cauldron to load into the fight.
What Legend difficulty changes in this fight
Legend is not a toggle you flip before the boss. It has to be picked during character creation, and dropping to a lower difficulty on that character is permanent — you cannot climb back up. Enemy health and damage are scaled up substantially, and the game turns off the two crutches most players lean on, time-stop and parry assist. Every deflection here is on your own timing.
The arena adds its own restrictions on top of that. Lightness Skills, Climb, Wallstride, Sky Tether, and certain other skills are disabled, so you cannot kite the scorpion vertically or reset distance the way you would in the open world. You are locked into ground-level footwork, and the scorpion shows up at level 98 in the encounter.
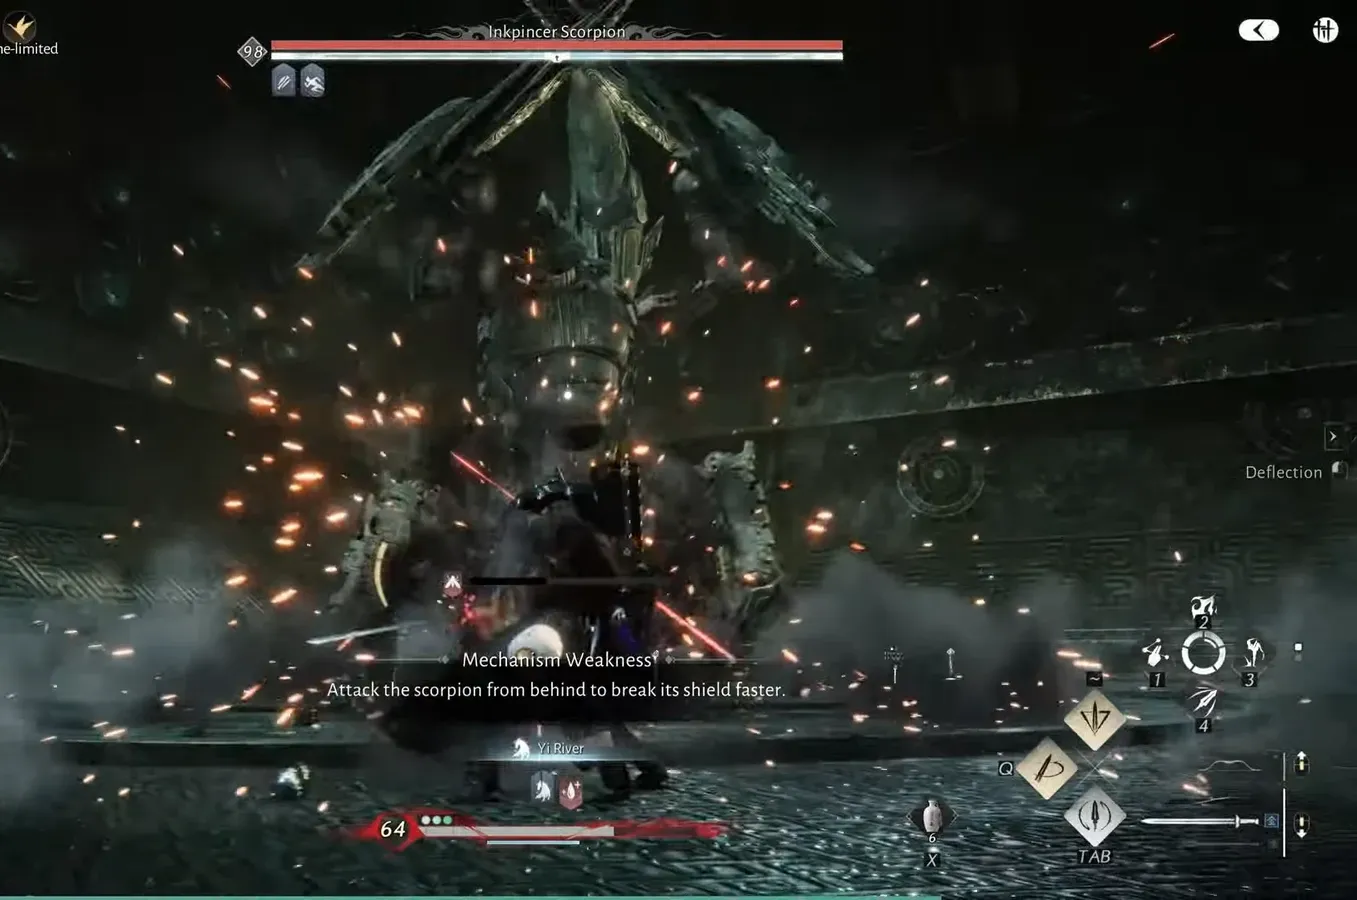
Mechanism Weakness: Break the shield from behind
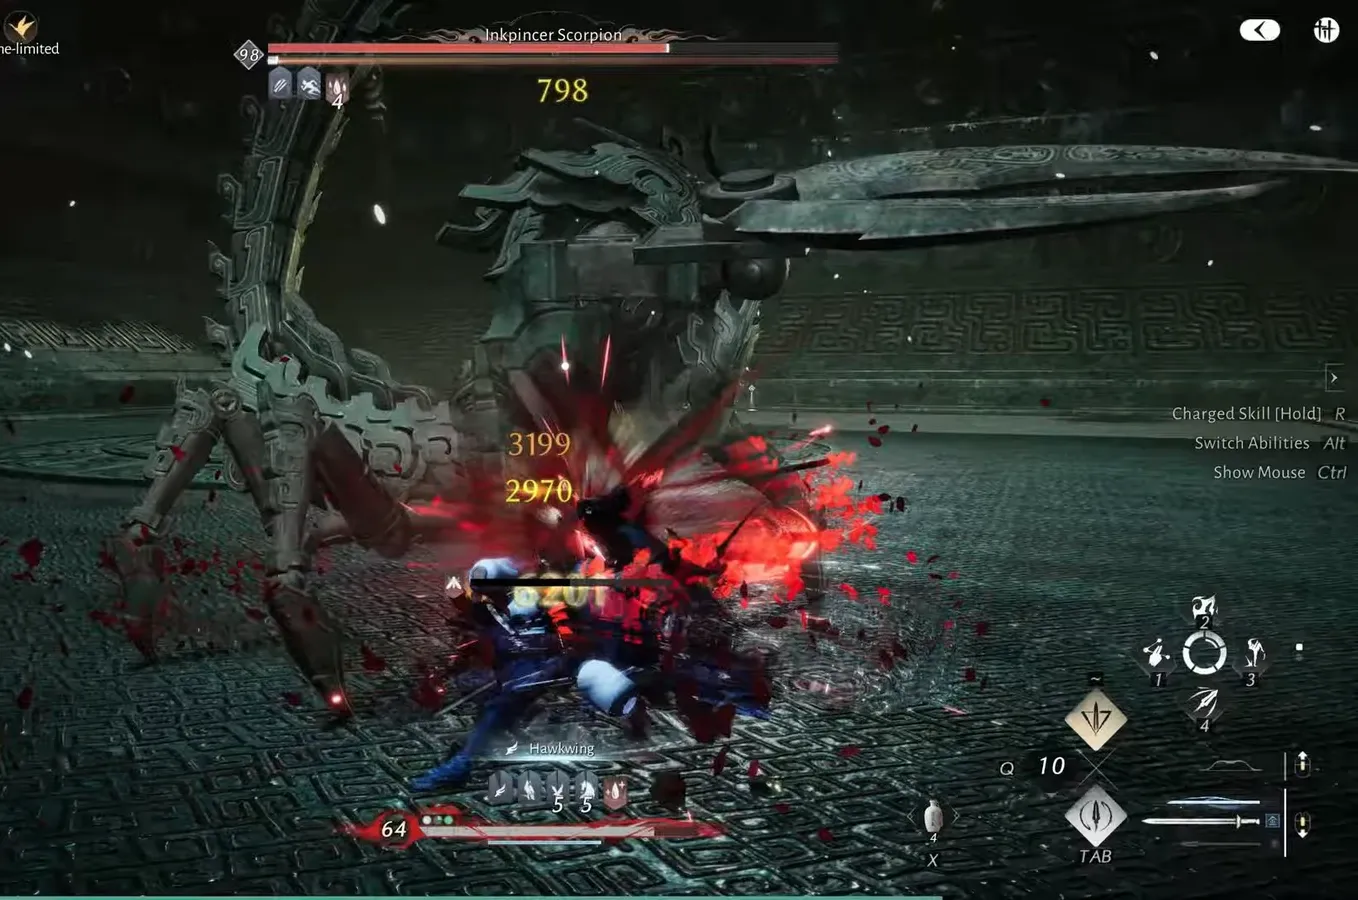
The scorpion carries a shield, and hitting it head-on is close to wasted effort. The fight flags a Mechanism Weakness with an explicit instruction on screen — attack the scorpion from behind to break its shield faster. Position yourself past its claws, keep the combos landing on its rear, and the shield gauge drops at a much better rate.
Mid-fight, the scorpion curls up and shields itself again. This is the moment to be aggressive rather than cautious. Push charged skills into it while it is balled up, and once the guard breaks it staggers, opening a window where it takes heavy damage before it can retaliate with charged attacks of its own. The cycle repeats, so expect to break the shield several times across a full clear.
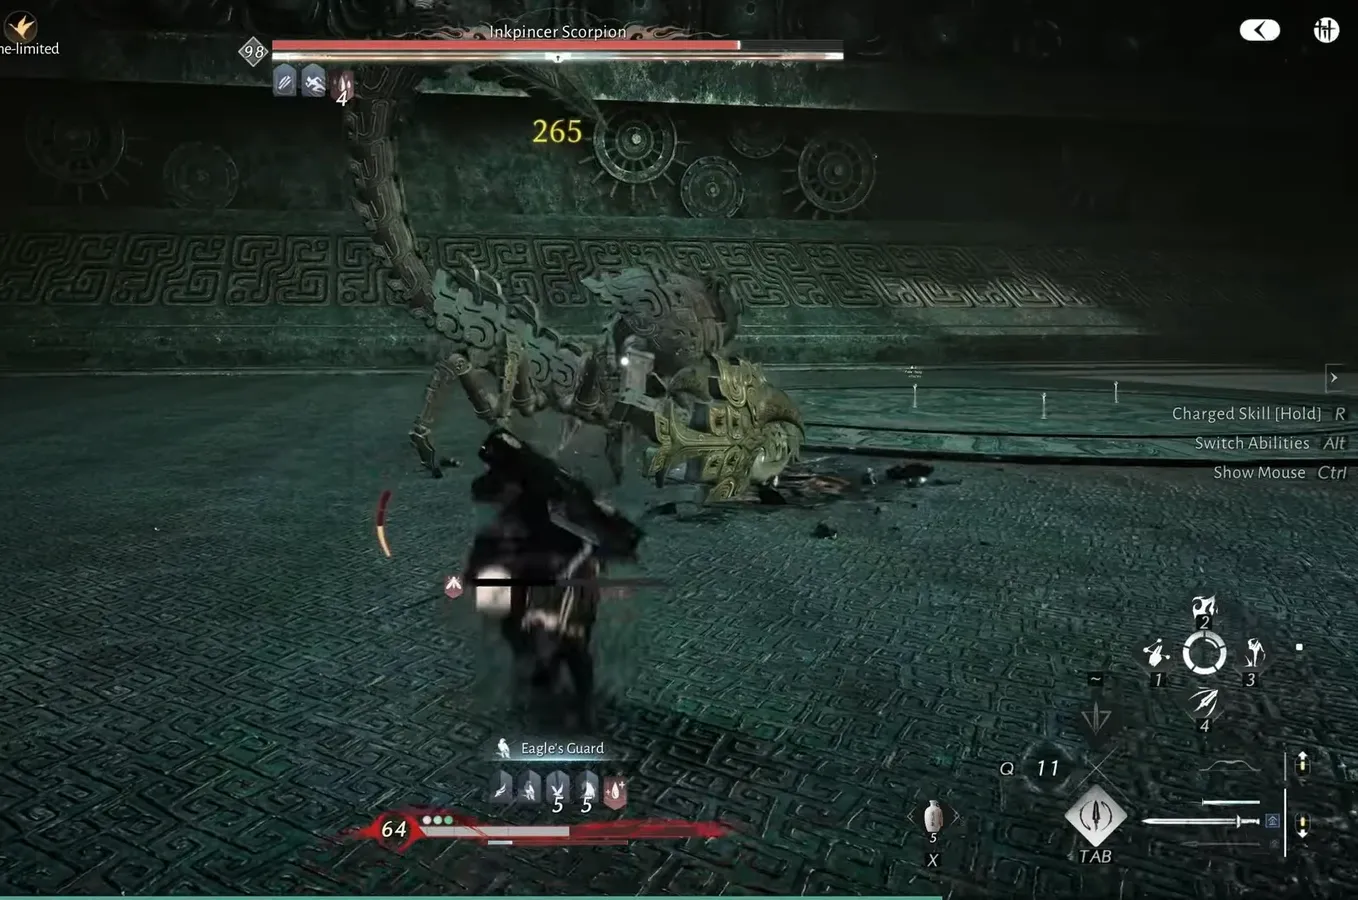
Deflect the heavy slams to trigger cinematic counters
Your biggest damage does not come from combos. It comes from deflecting the scorpion’s heavy attacks. A clean deflection on a heavy slam breaks its stance and rolls straight into a cinematic counter-attack that removes a large chunk of health. A full clear typically strings together three of these, spaced across the fight as the scorpion cycles through its bigger telegraphed moves.
Everything else in its kit should be dodged, not deflected. Tail sweeps, claw swipes, and the glowing golden AOE slams are all better answered with movement. Save the deflect input for the heavy, obvious wind-ups, then immediately reposition behind it once the counter animation ends.
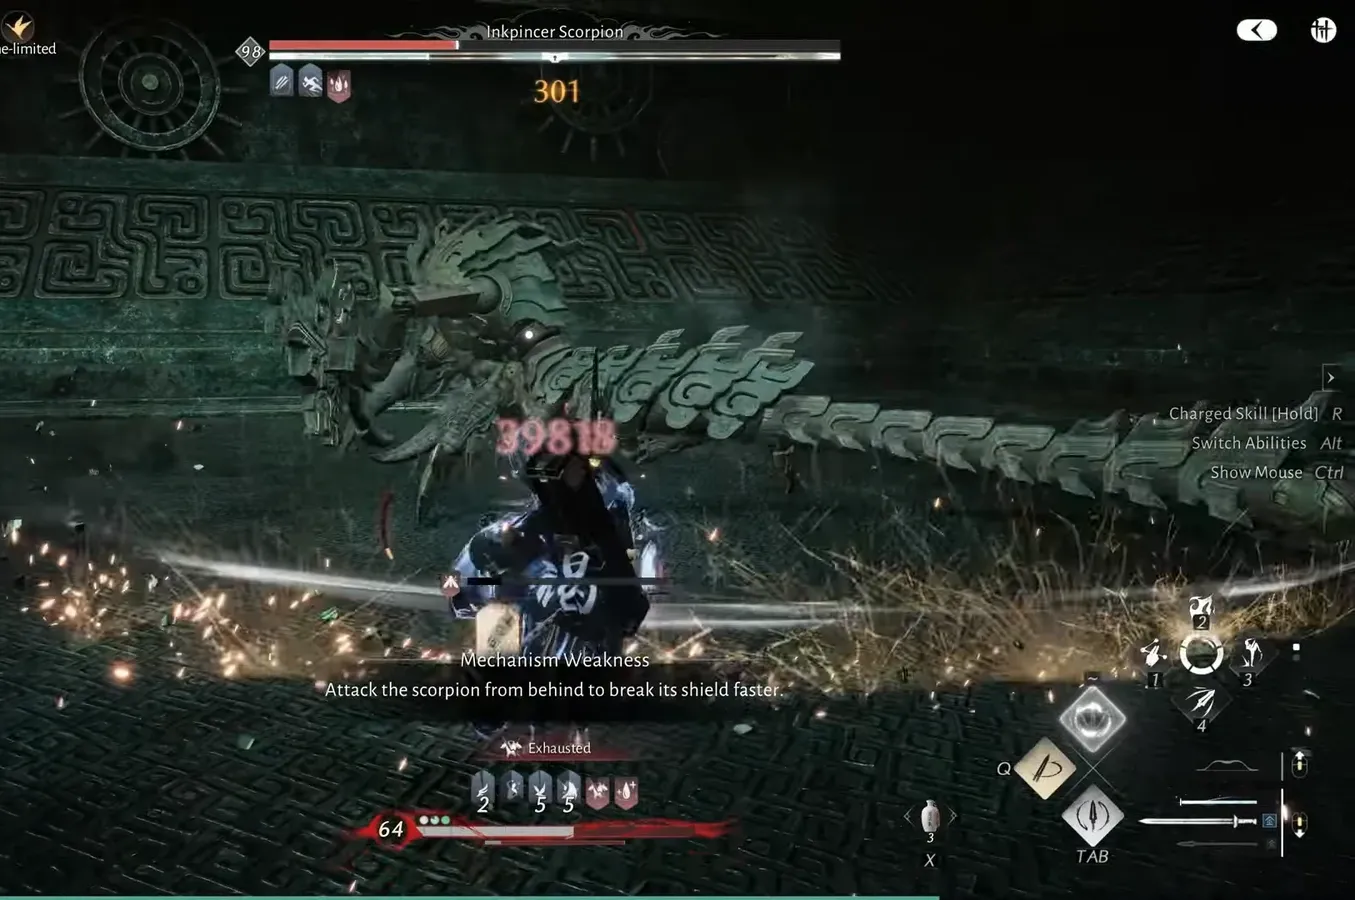
Counter the poison spray with Nine-arrow Formation
Before the fight starts, the arena flags a Mystic Skill Counter. Nine-arrow Formation counters the scorpion’s poison spray attack, so slot it if you have it available. It is the one scripted answer the encounter hands you, and the poison spray is otherwise an awkward move to walk out of inside a closed arena.
Sword pressure and endurance management
Endurance is the quiet failure point here. Long sword strings plus repeated dodges will drain the bar, and an Insufficient Endurance warning at the wrong moment means you eat a claw swipe or a slam you could have avoided. Cut your combos short by one or two hits rather than emptying the meter, and leave enough in reserve to dodge out of whatever comes next.
Between shield phases, the pattern that works is simple. Dodge the claw swipes, land your red-slash skills when the scorpion commits to a long animation, and lean on charged skills during stagger windows instead of spending them into an intact shield.
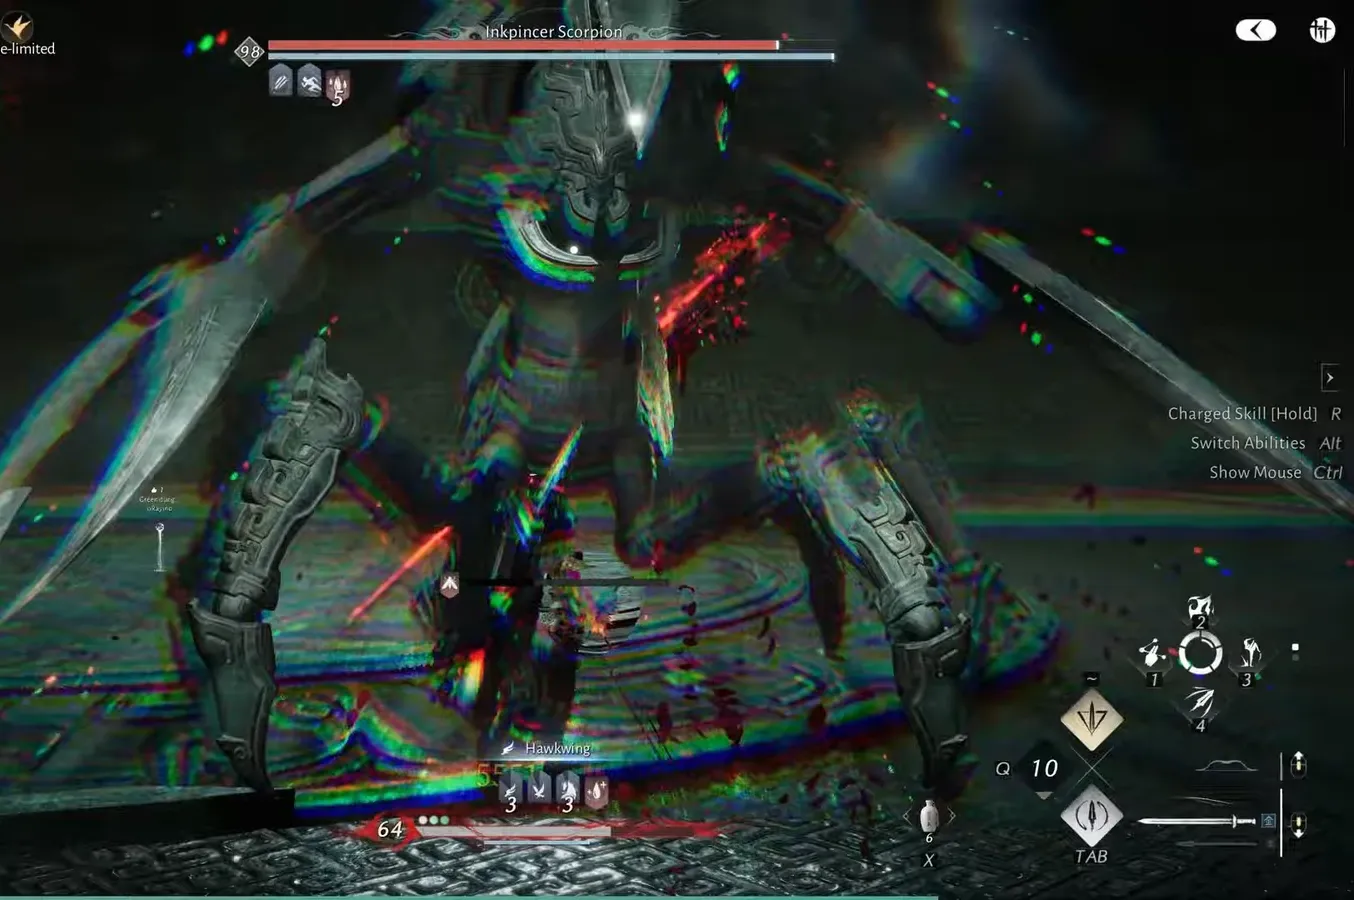
Note: the boss becomes noticeably easier to close out once you have broken the shield for the final time. From that point it is rapid sword strikes into a staggered target, with the golden AOE slams as the only real interruption.
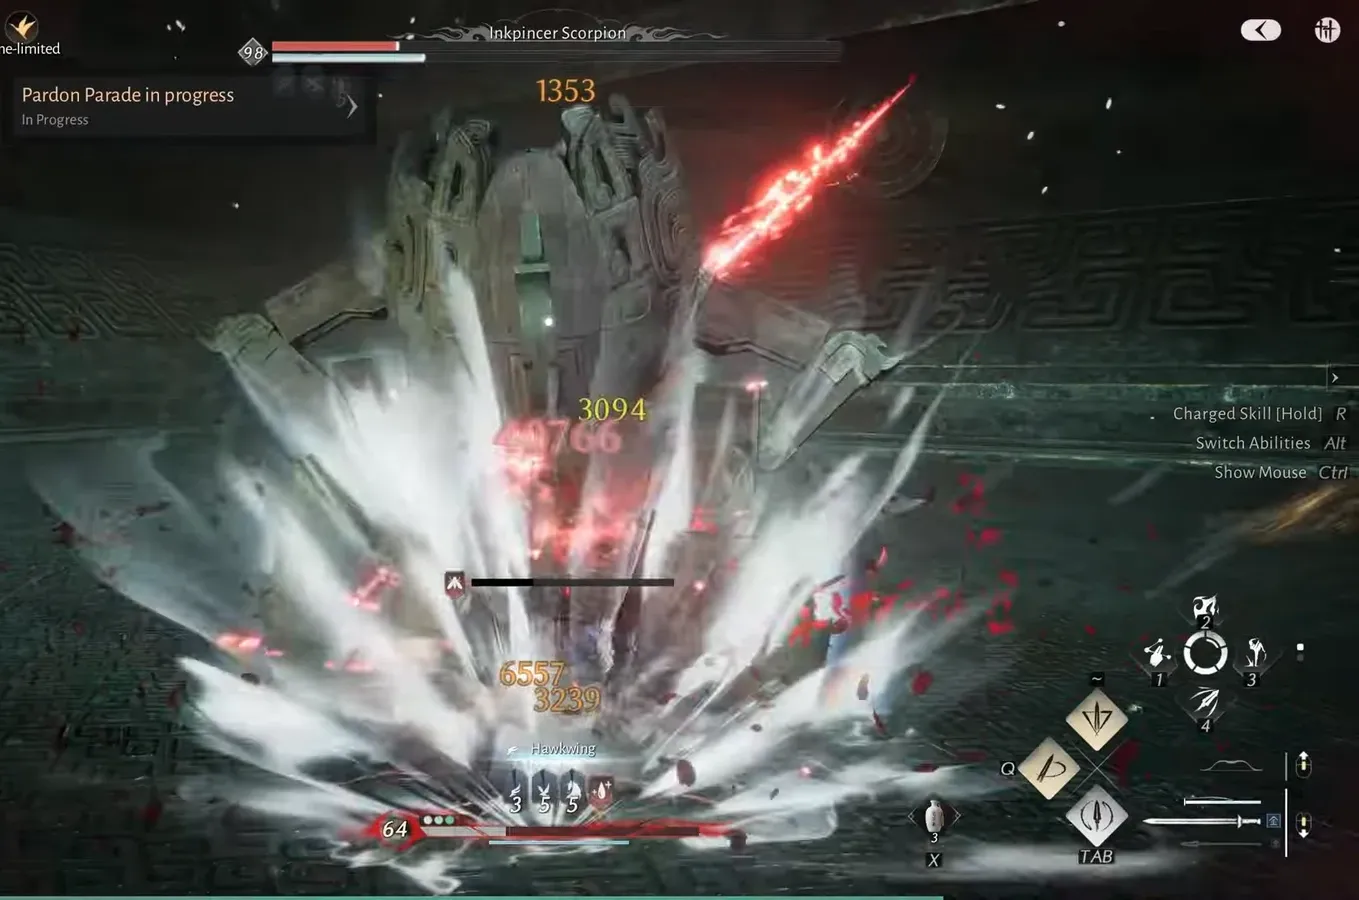
Rewards and how to confirm the clear
You will know it worked without checking anything manually. On the killing blow the screen shows an Ingenuity at Rest banner, boss fight progress ticks over to 1/1, and the Inked in Eternity achievement unlocks. The victory screen then rolls the drops.
| Reward | Notes |
|---|---|
| Hidden Mountain Key | Dropped on a Legend clear |
| Inner Way None-Custom Chest | Dropped on a Legend clear |
| Medicinal Tales | Consistent drop |
| Coin | Consistent drop |
| EXP | Consistent drop |
| Jade Fish and Trace Jade | Seen on the victory screen from the encounter |
If the fight keeps going long and the scorpion’s health barely moves, the cause is almost always the same one: too much time spent swinging at its front. Reposition, keep the Mechanism Weakness active, and hold your deflects for the heavy slams — the cinematic counters are what actually end this thing.