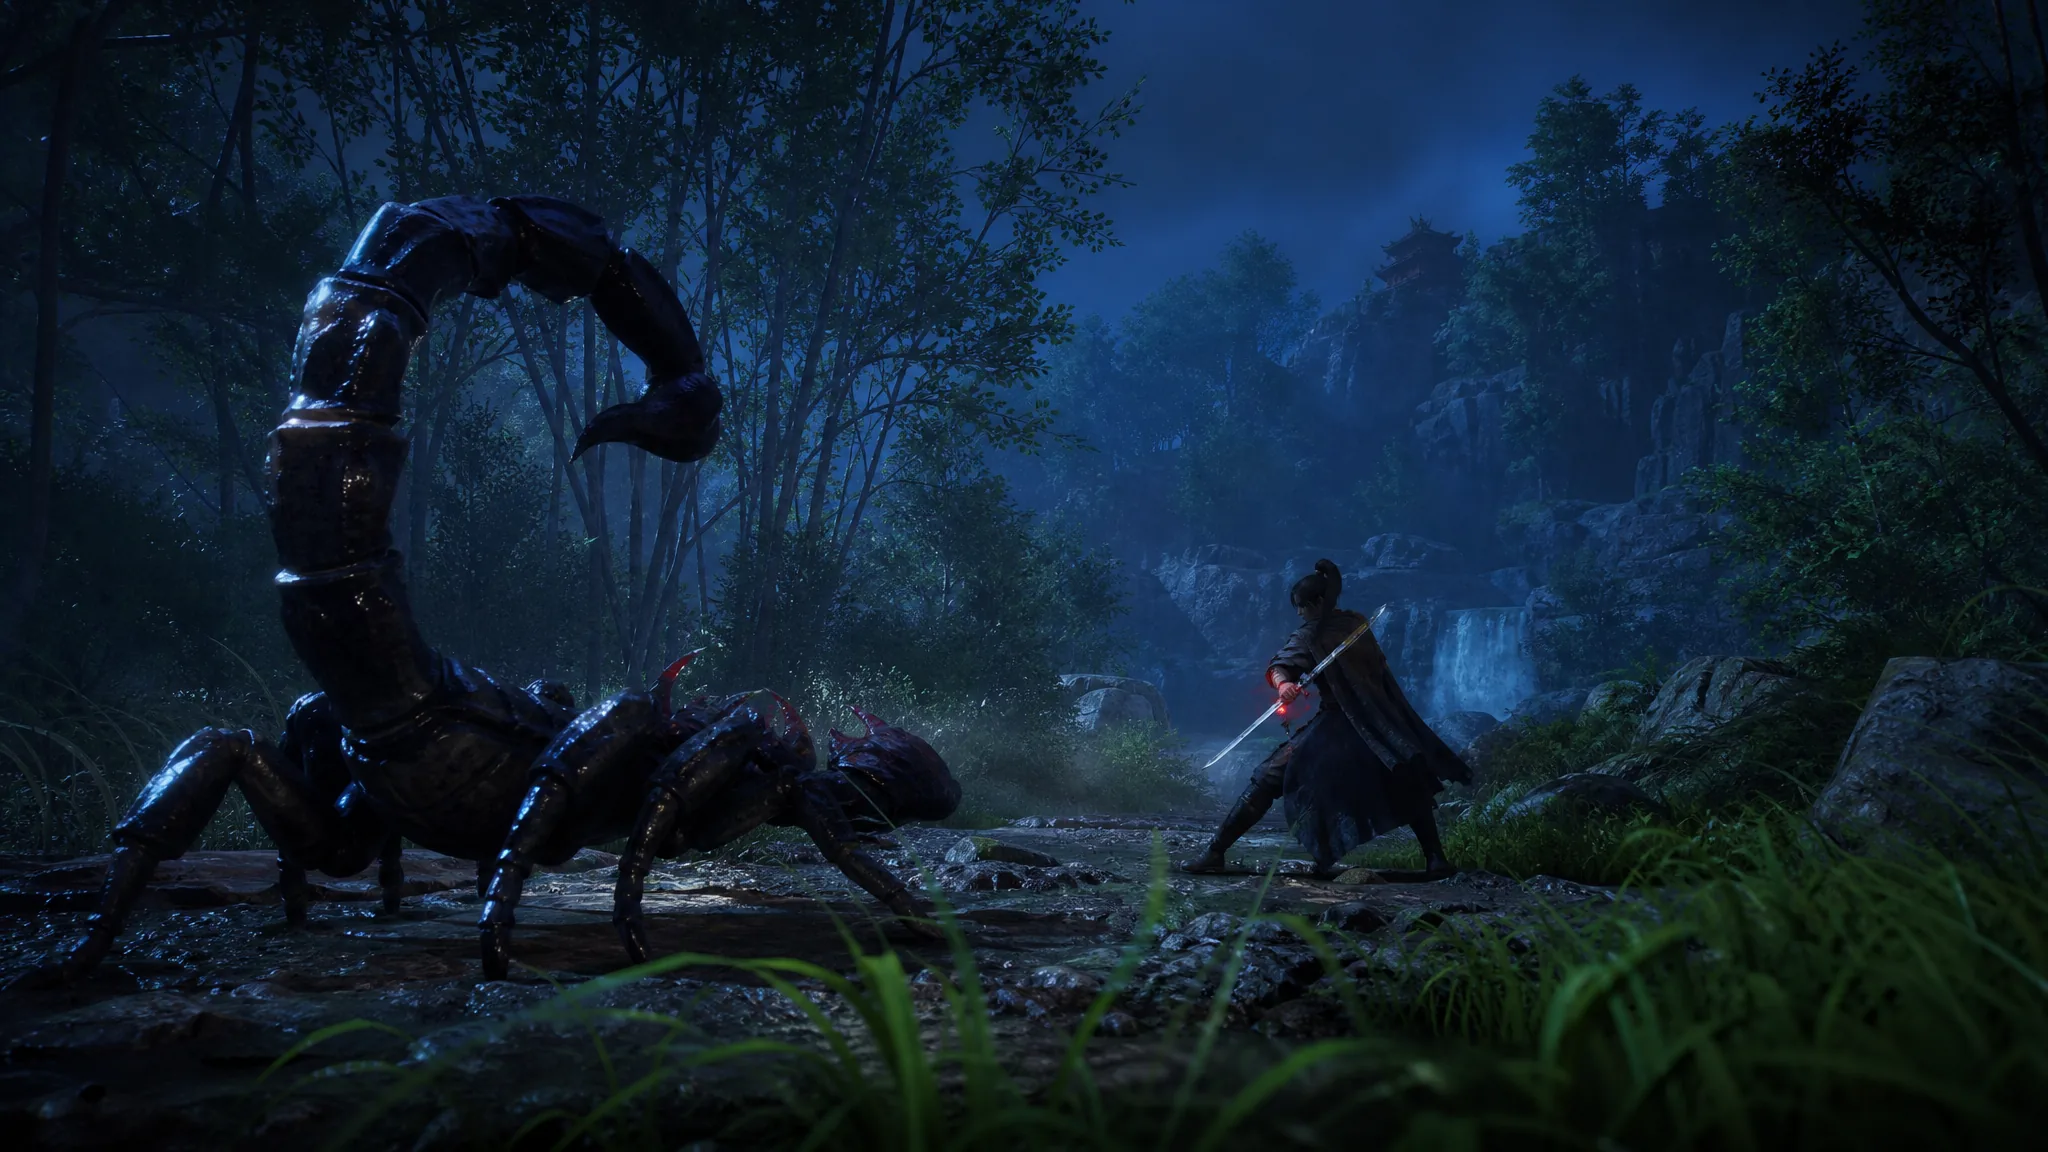
The Inkpincer Scorpion is one of the Dangerous world bosses tucked into the Hidden Mountain region of Where Winds Meet, and it is easy to walk right past. The fight itself does not sit out in the open world. It is hidden behind a cave and a piece of machinery that teleports you into a sealed arena called Hero’s Tomb.
Quick answer: Head to the northern part of Hidden Mountain, just south of Heaven’s Threshold, find the cave entrance on the east side of the main road, follow the passage to the glowing mechanical cauldron beside the campfire, and pick “Enter the cauldron” to be dropped into the Inkpincer Scorpion’s arena.
Inkpincer Scorpion location in Hidden Mountain
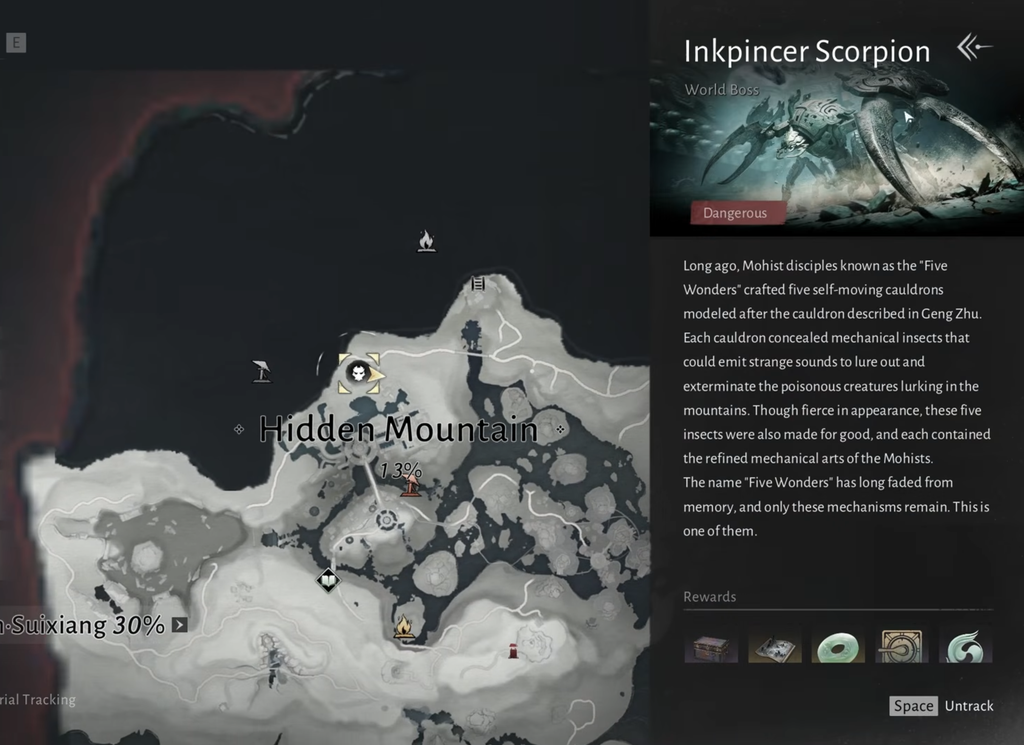
Open your map and switch to the Hidden Mountain region. The boss marker sits in the upper section of the region, below Heaven’s Threshold and above the Mohist City area, in the Suixiang sub-region. The marker is tagged as a World Boss with the Dangerous difficulty label, so it stands out from ordinary points of interest once you are close enough for it to appear.
The important detail is the entrance. The mountain road runs through this stretch, and the cave you want is set into the rock on the eastern side of it. It shows up on the mini-map as a cave icon when you are standing near the opening, which is the quickest way to confirm you are in the right spot before you commit to the climb down.
| Detail | Value |
|---|---|
| Boss | Inkpincer Scorpion |
| Type | World Boss, Dangerous |
| Region | Hidden Mountain (Suixiang), south of Heaven’s Threshold |
| Entrance | Cave on the east side of the mountain road |
| Arena | Hero’s Tomb |
How to reach the Hero’s Tomb arena
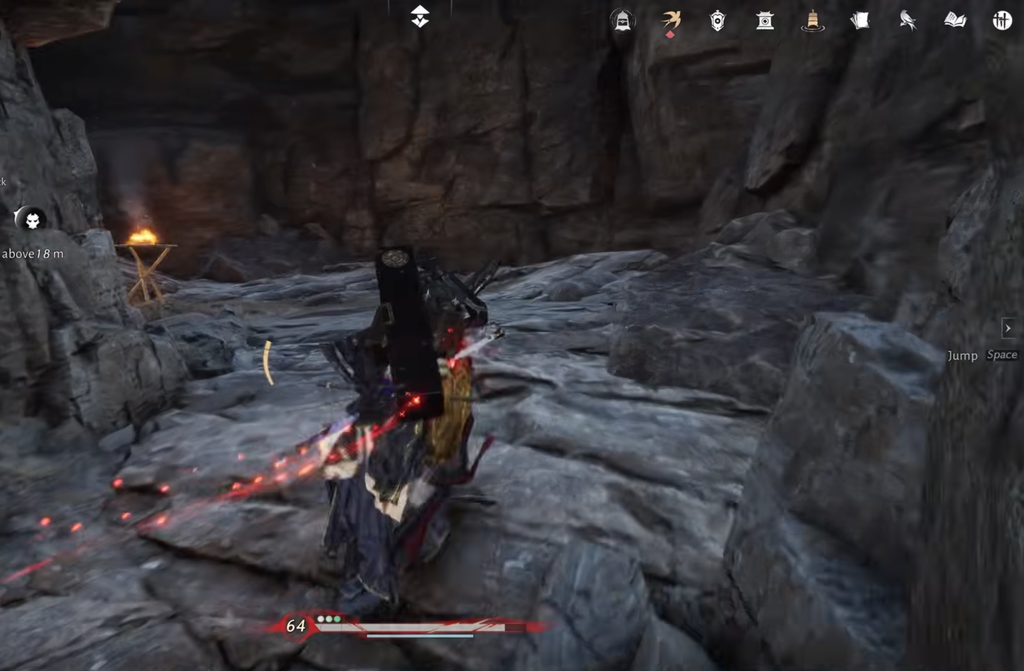
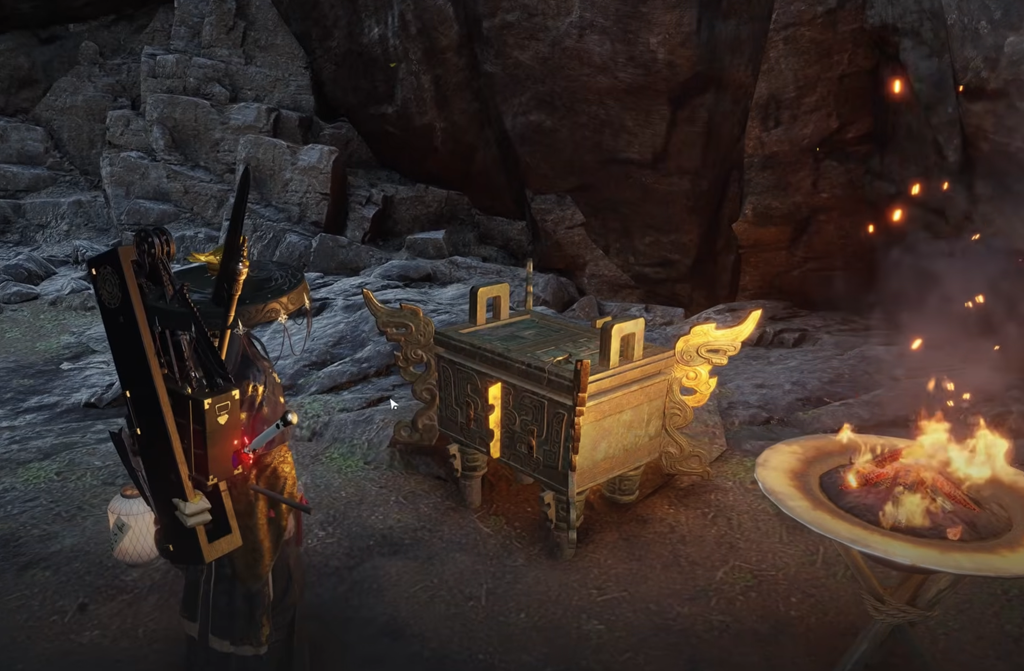
Note: There is no need to fight your way through the cave. The cauldron is a straight teleport into the arena, so the whole approach takes under a minute once you know where the entrance is.
Arena restrictions and the scorpion’s weak point
Hero’s Tomb locks down part of your traversal kit. A restriction banner appears on entry covering Lightness Skill, climbing, Wallstride, and Suspended Cable, so you cannot kite the boss vertically or escape up the arena walls. Plan on fighting at ground level.
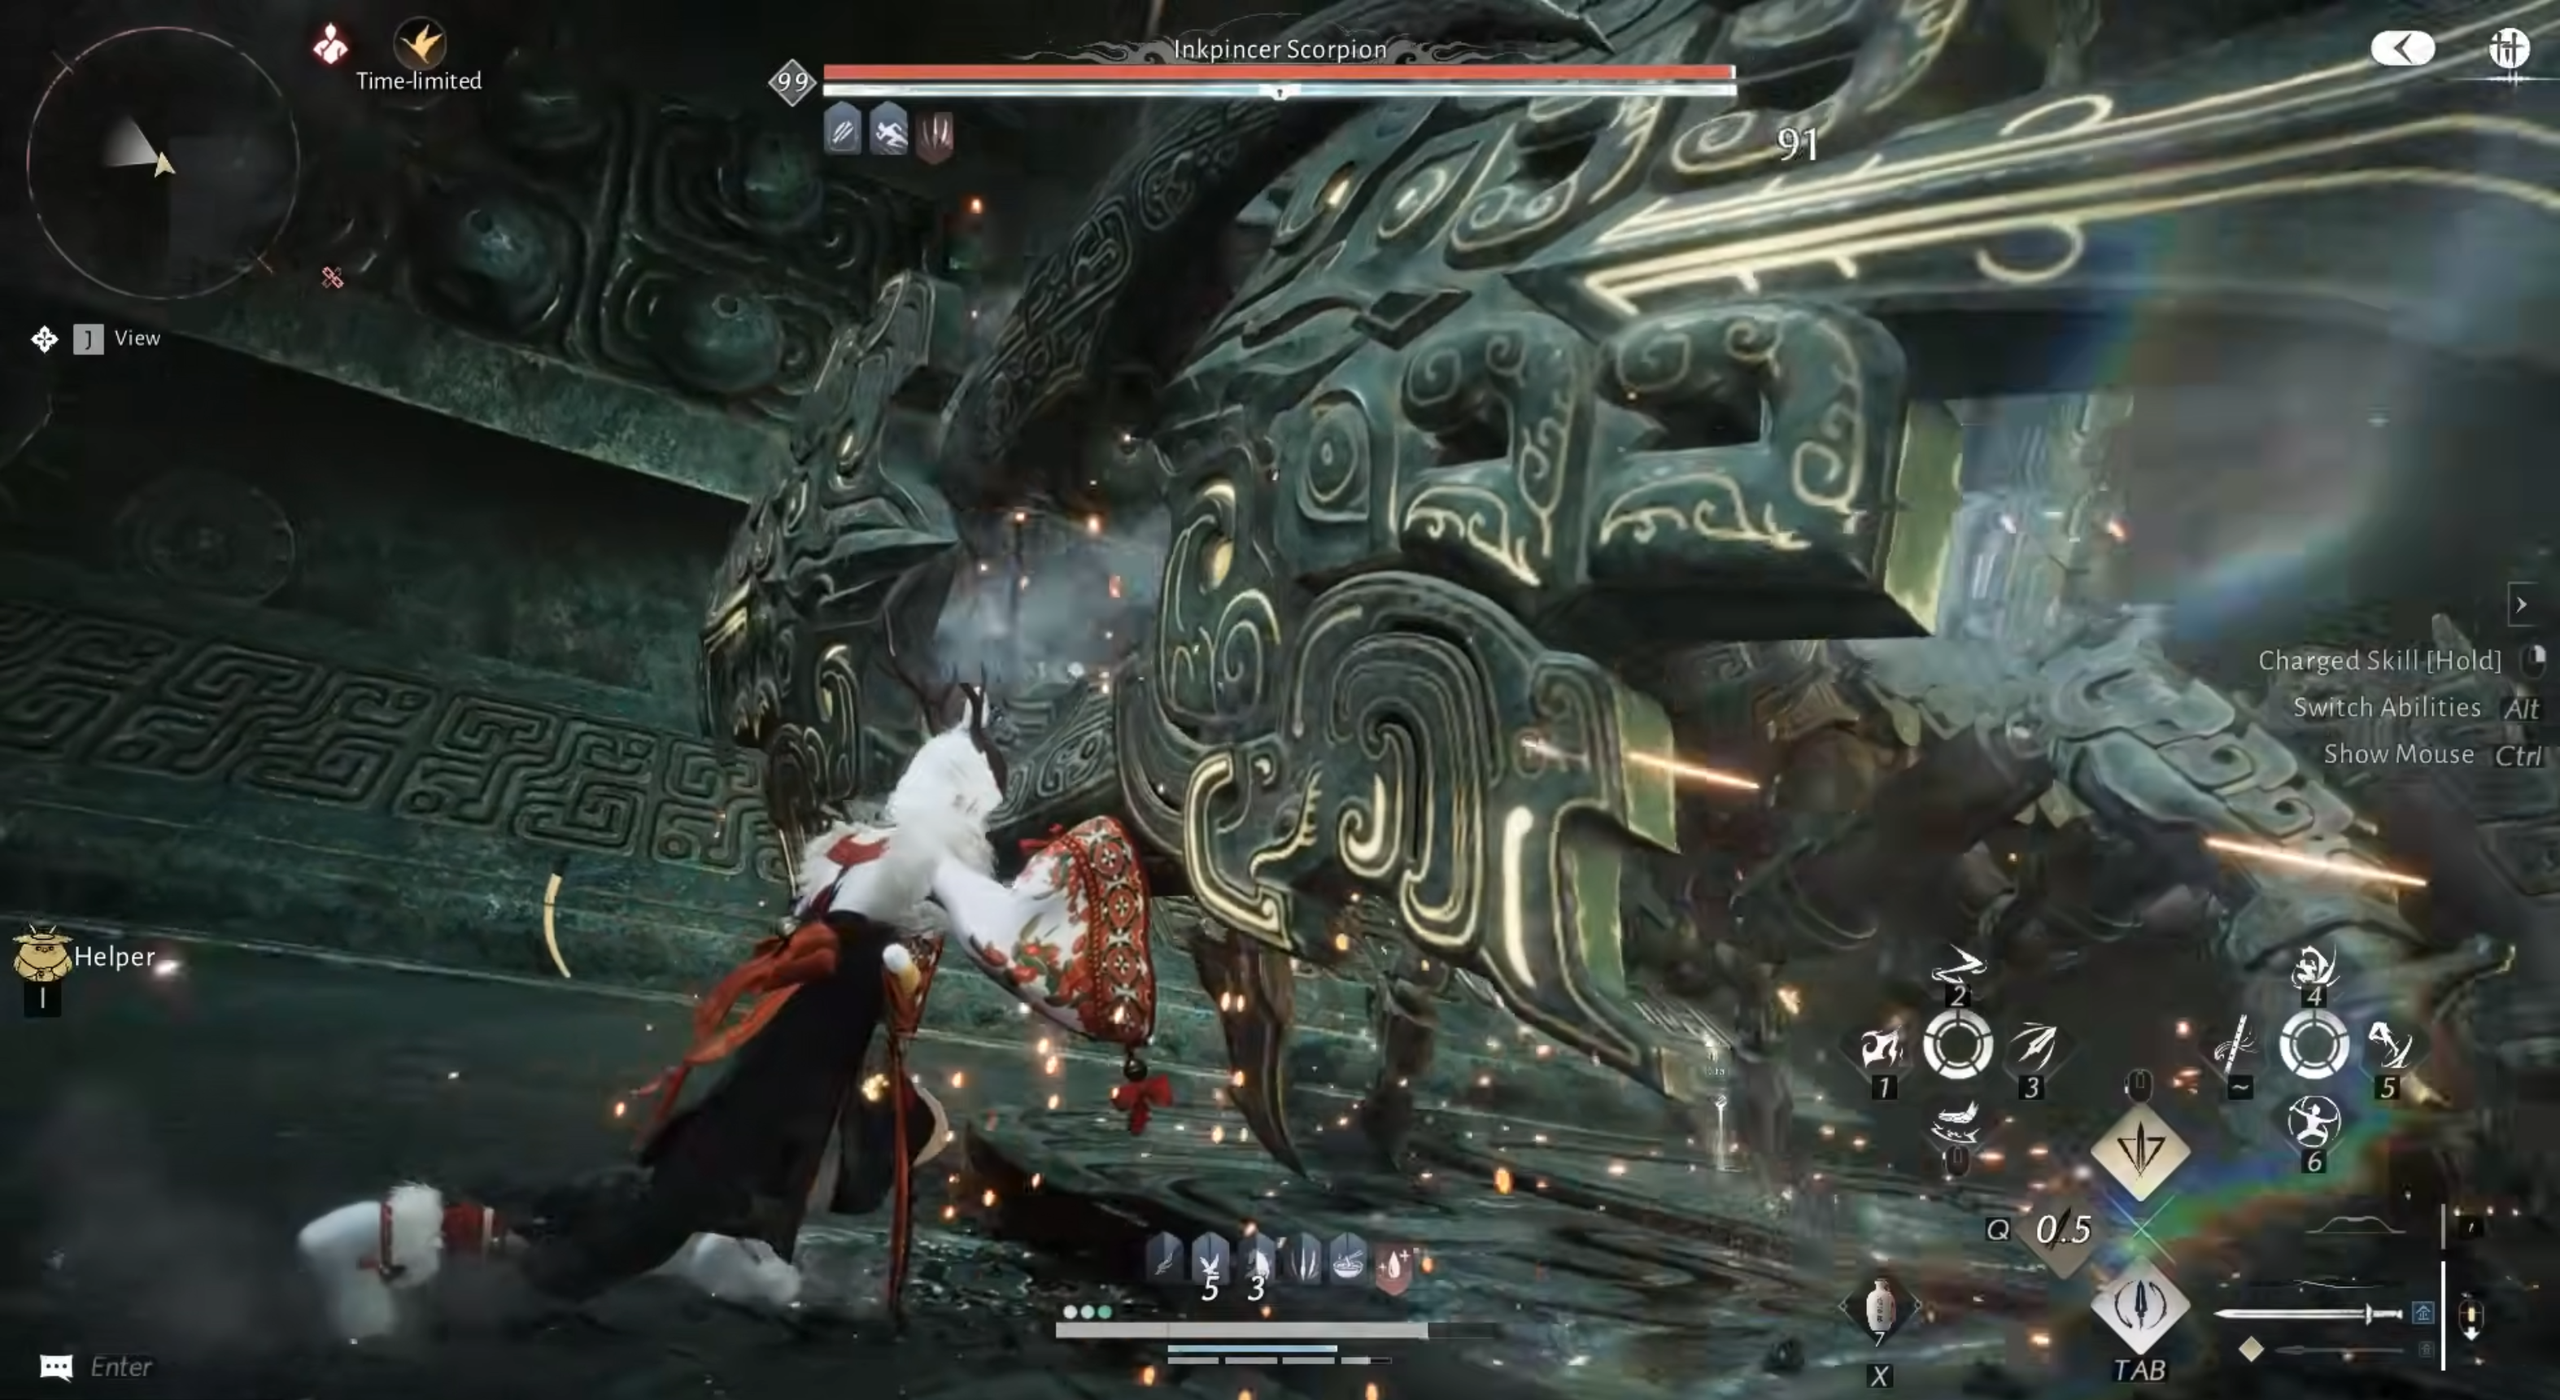
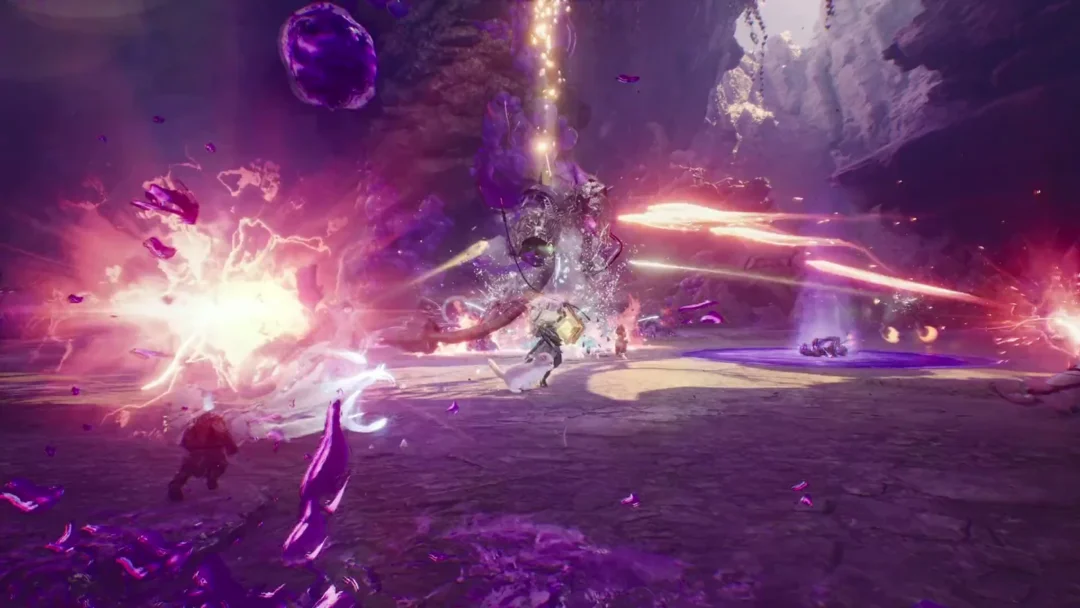
Two tips appear on screen once the fight begins, and both matter. The Mystic Skill counter prompt calls out Nine-arrow Formation as the answer to the scorpion’s poison spray, letting you shut down the attack instead of rolling away from it. The mechanism weakness prompt tells you that attacking from behind causes the scorpion to drop its metal shields faster.
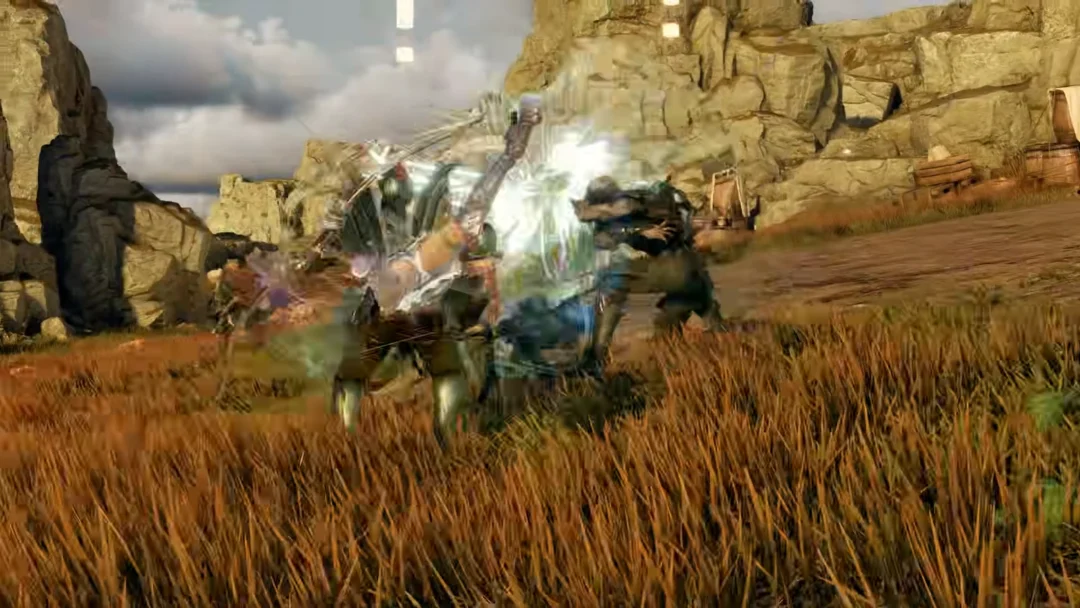
The shields are the pace of the whole encounter. The boss guards itself with heavy mechanical plating and pincer arms, and damage only lands properly once that plating breaks and it staggers into a vulnerable state. It also regenerates the shields mid-fight, so expect to repeat the cycle of breaking, punishing, and repositioning more than once.
If you go down, the defeat screen gives you options rather than sending you back to the cave. You can invite others to co-op, run Elite Practice, adjust the difficulty, or heal before trying again.
Rewards for defeating the Inkpincer Scorpion
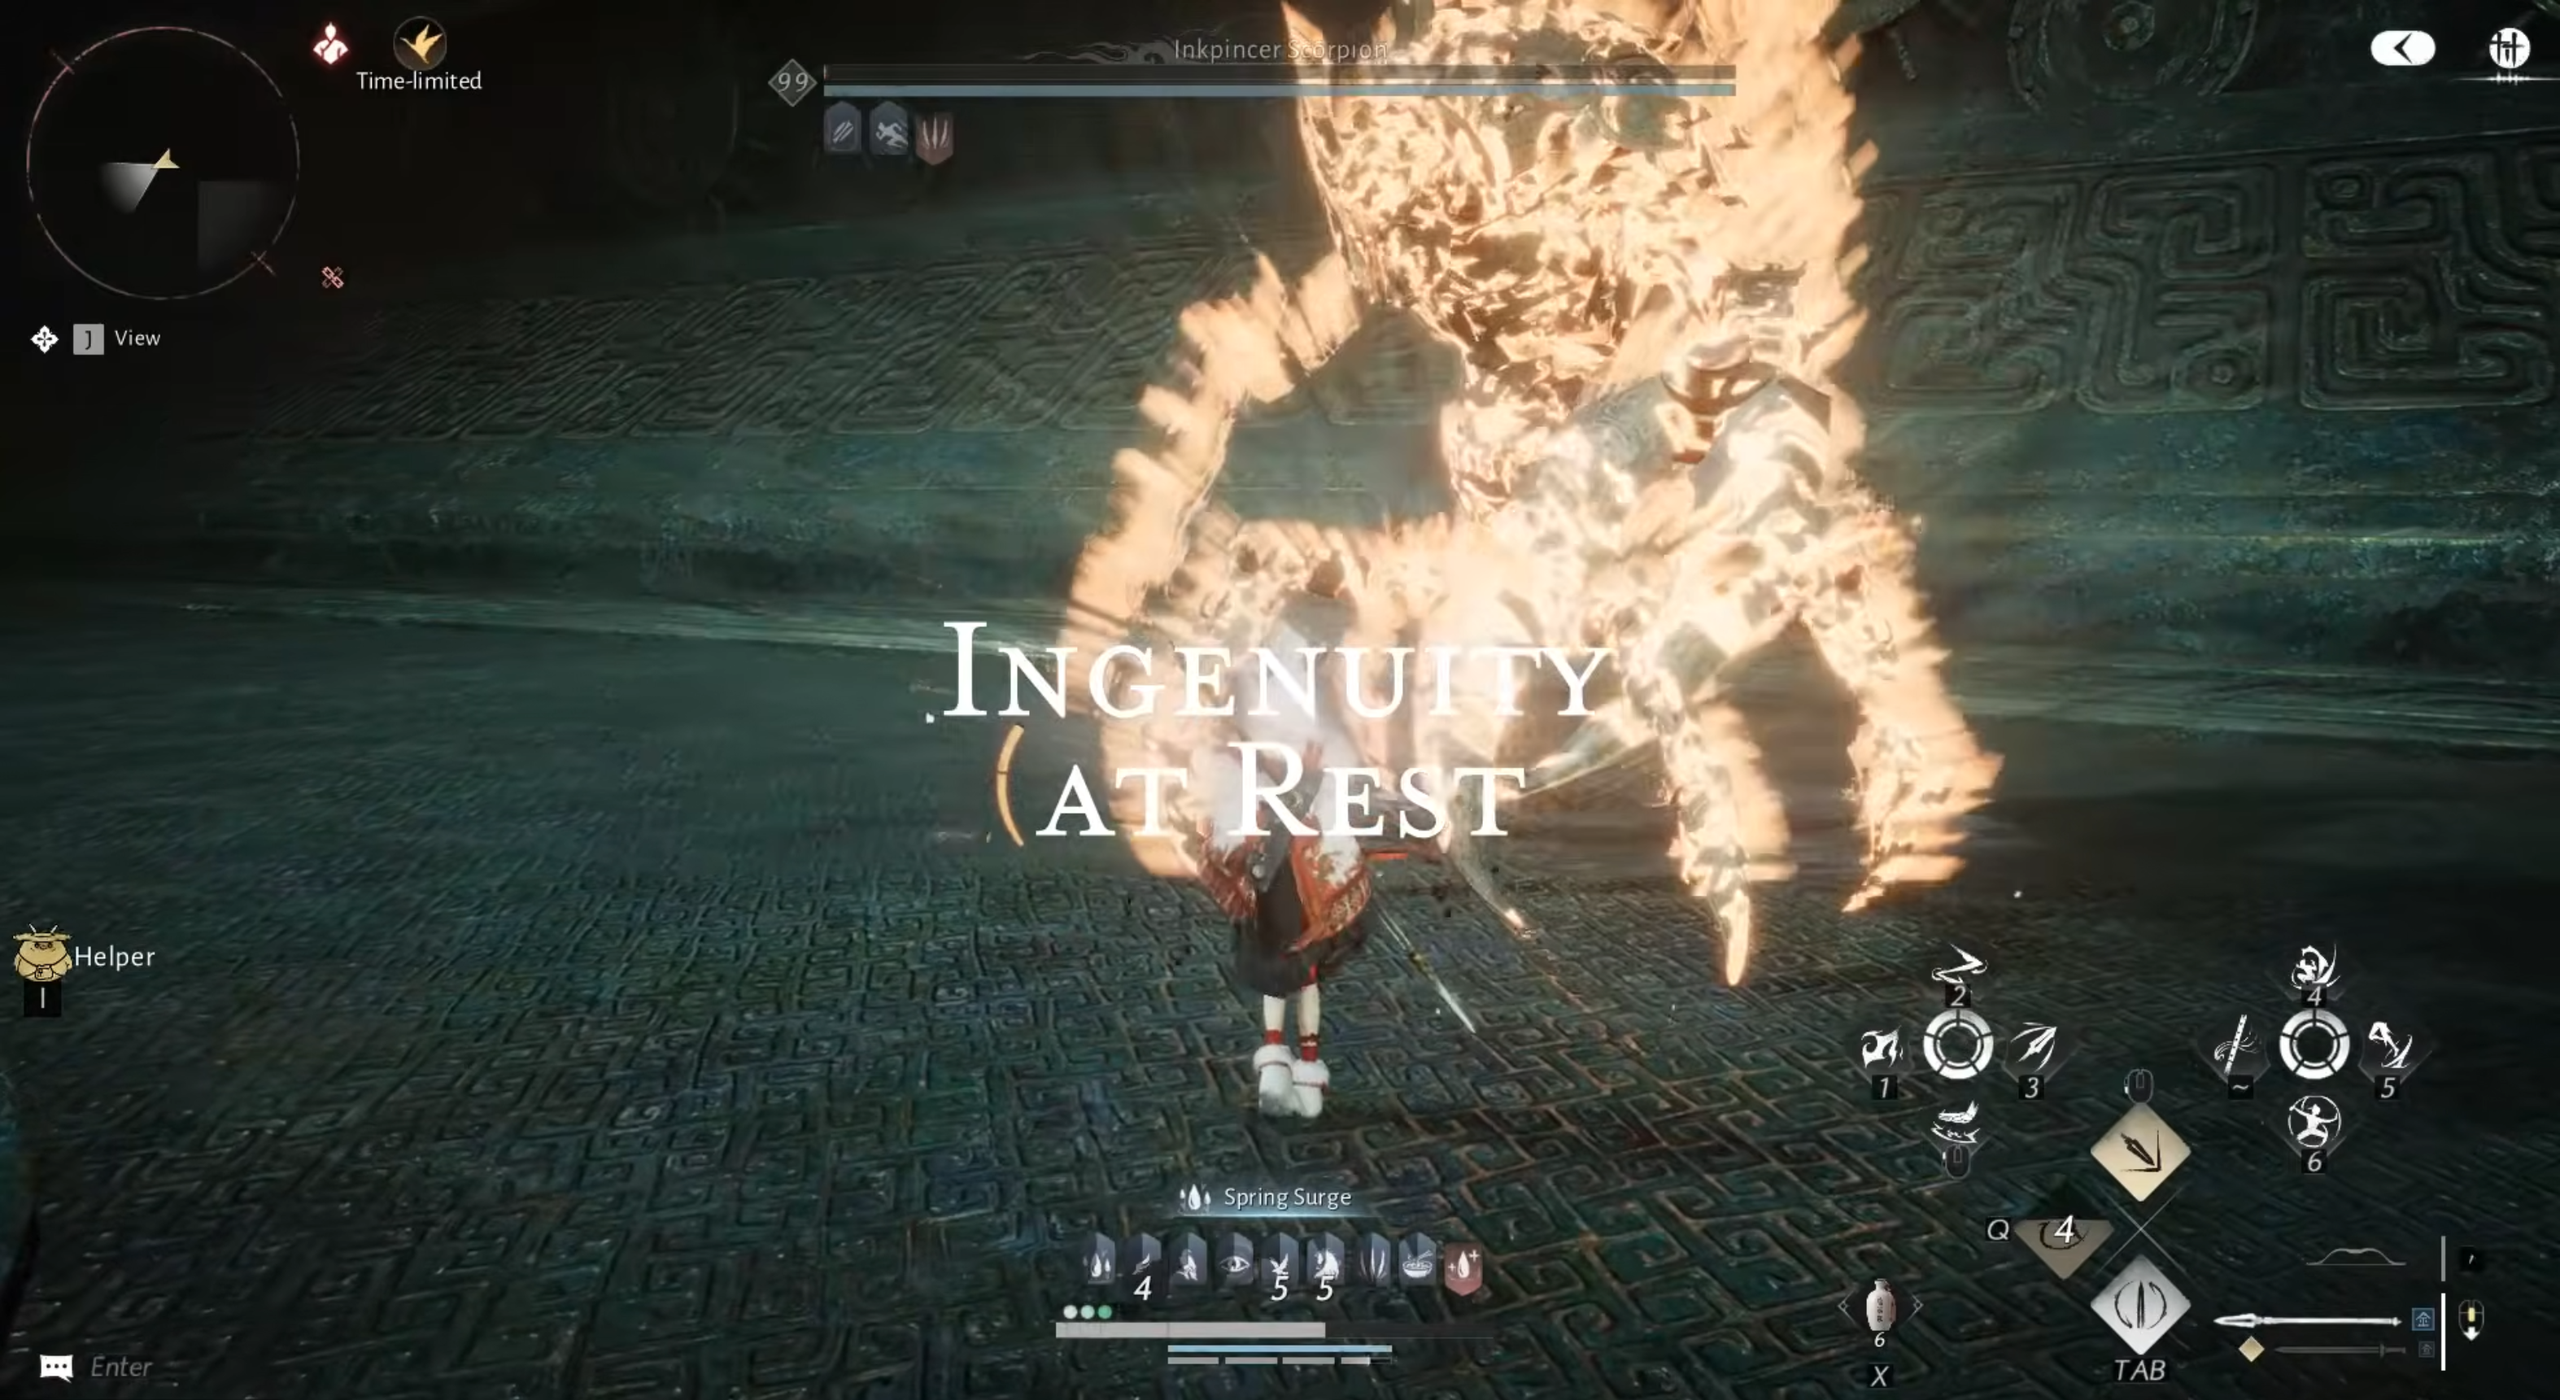
A successful kill plays the “INGENUITY AT REST” victory banner across the screen, followed by the reward payout and the “An Unfading Will” achievement. Exact quantities scale with the difficulty you fought at, so treat the amounts you see as your own run’s numbers.
| Reward | Notes |
|---|---|
| Jade Fish | Awarded on first clear |
| Trace Jade and Echo Jade | Currency payout |
| Coin | Amount varies with difficulty |
| EXP | Granted as stored EXP |
| Medicinal Tales | Consumable |
| Inner Way Note: Custom Chest | Helper reward, multiple copies |
| Hidden Mountain Exploration | Region progress increase |
The kill also pushes a world info update for Five Wonders, which is the collection this boss belongs to.
If the cauldron prompt does not appear
The most common mistake is stopping at the mouth of the cave. The cauldron is not visible from the entrance, and you have to drop through the rocky interior to the lower chamber before the golden object and its campfire come into view. If you are standing on the road and cannot see a cave icon on your mini-map at all, you are on the wrong side of the path, since the opening sits on the eastern face.
You know the sequence worked when the interact prompt reads “Enter the cauldron”, the screen fades, and the Hero’s Tomb name plate appears with the restriction banner underneath it. From there the only thing left between you and the reward screen is the scorpion’s shields.