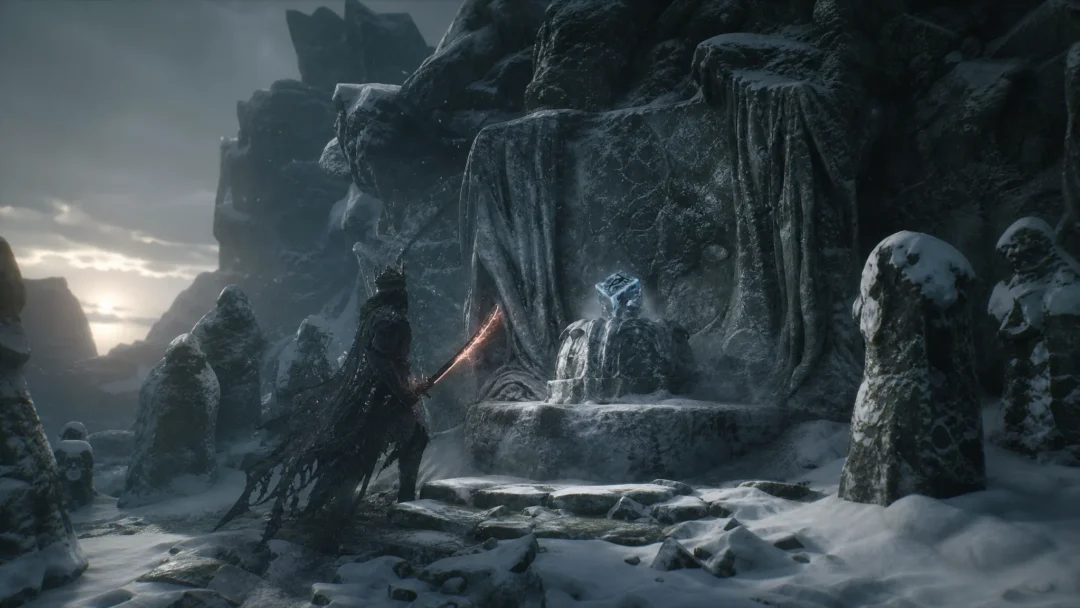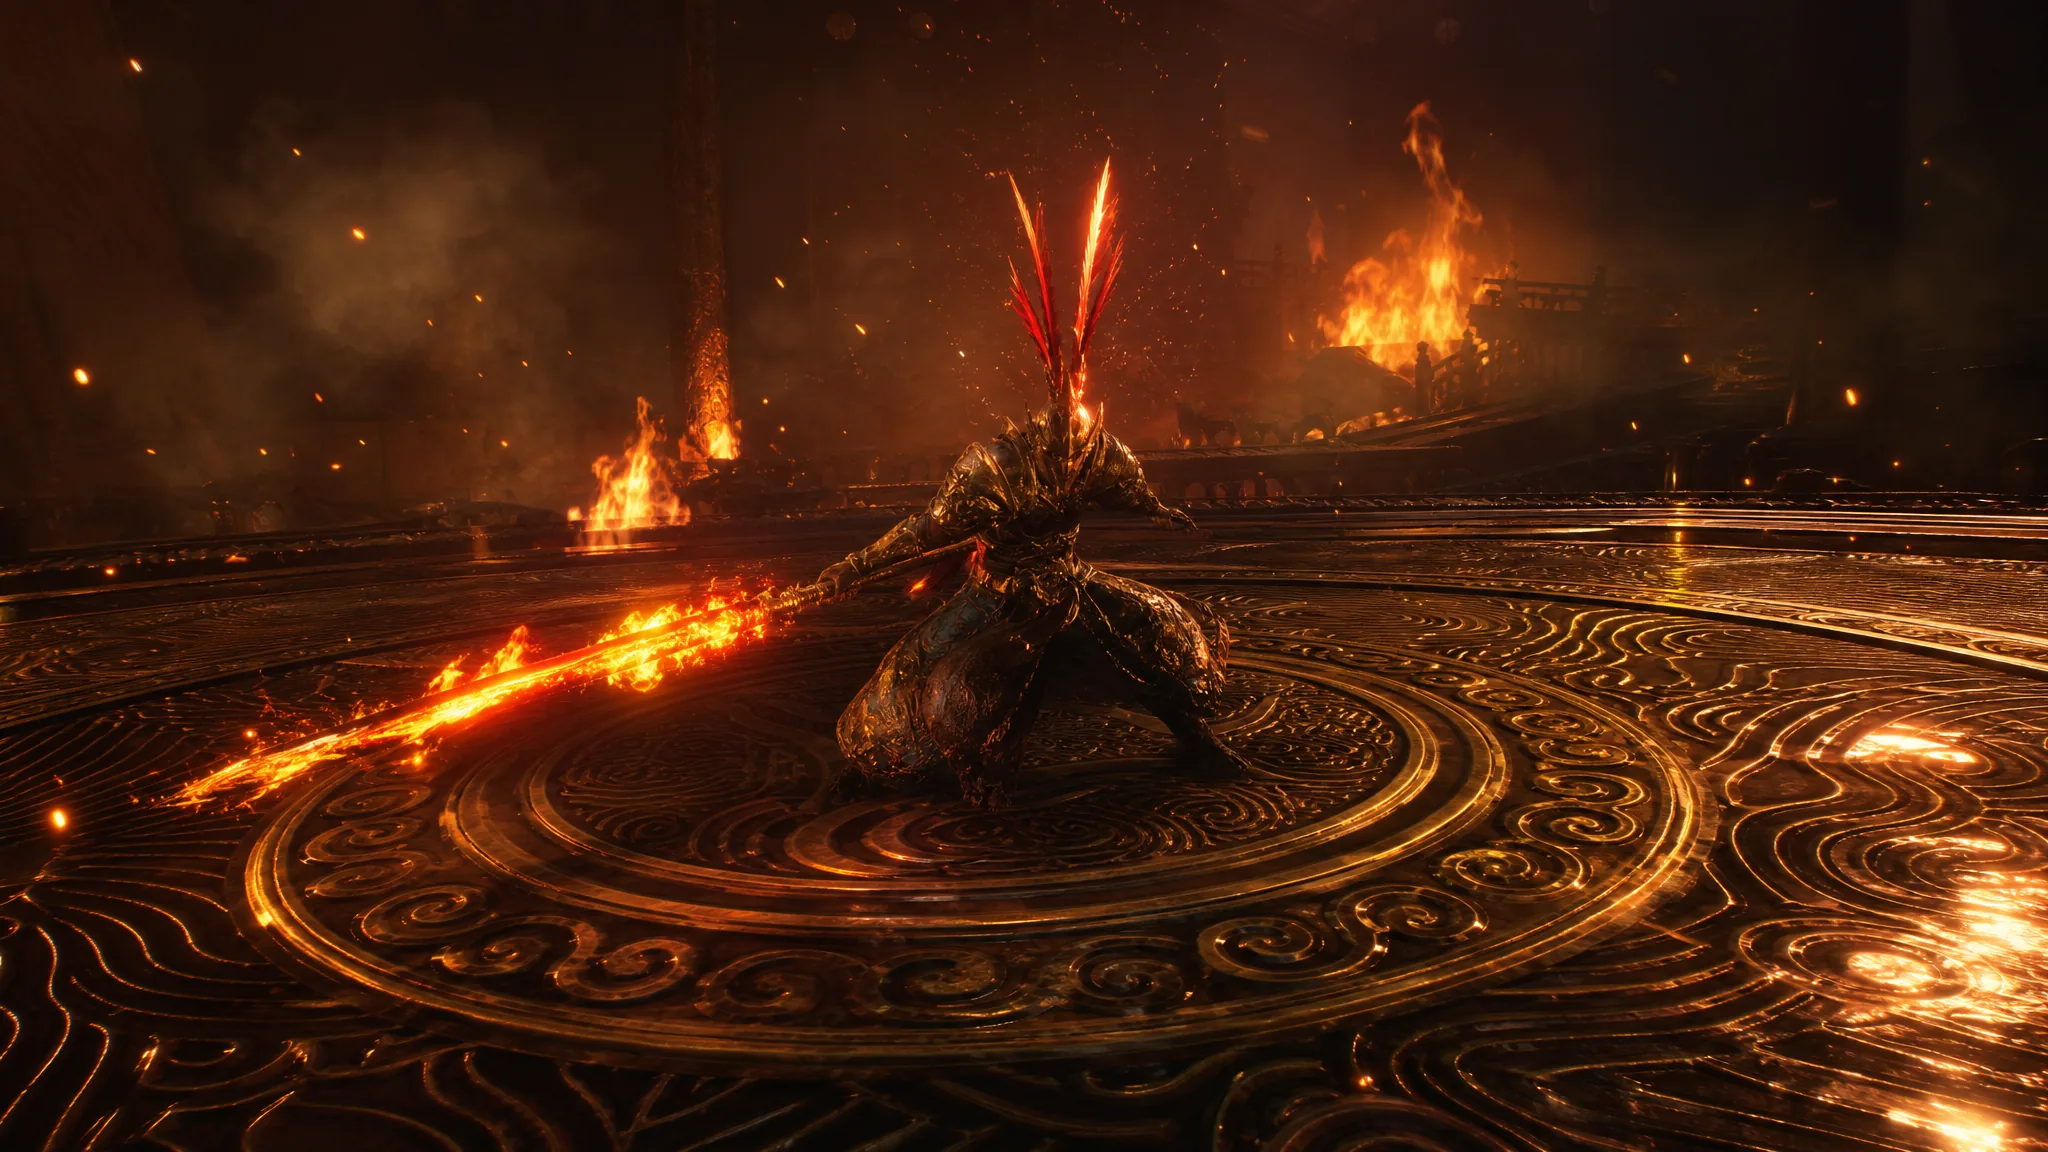
The Lodestar Swordmaster is a two-phase duel in Where Winds Meet that opens with a cinematic confrontation in a darkened chamber and ends with the room on fire. On Legend difficulty, the winged boss gives you almost no free openings, and the second half of the fight turns the arena itself into a hazard. A Strategic Sword build handles it well, but only if you treat Deflection as your primary defense and keep Endurance in reserve.
Quick answer: Deflect the boss’s red aerial slashes instead of trying to out-trade them, stack Bleed to five and cash it out with Inner Balance Strike III, then use the Second Track Slash charged dash (Hold: R) to pass through the fire pillars and ground slams in phase two. The objective marker reads “Defeat the Lodestar Swordmaster” until his health bar empties.
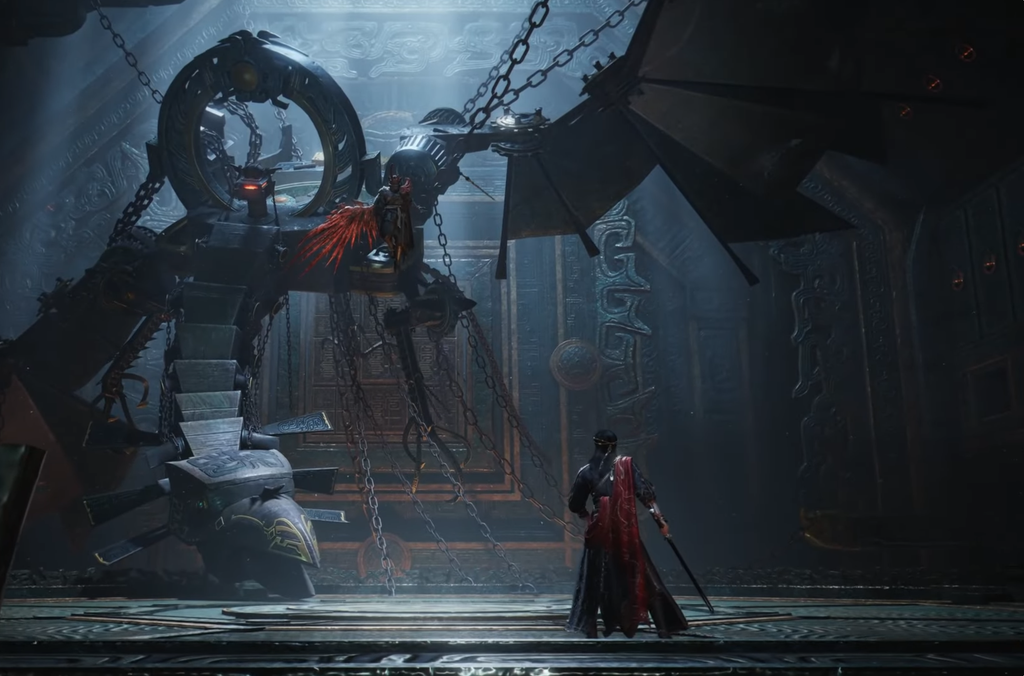
How the Lodestar Swordmaster fight is structured
The encounter starts with a scripted cinematic before control returns to you. From there, it is a single health bar split across two behavior sets, with the phase change tied to the arena catching fire rather than to a timer. A clean Legend run from the first swing to the kill takes roughly five and a half minutes, so pacing and Endurance matter more than burst.
| Phase | What the boss does | Your answer |
|---|---|---|
| Phase 1 | Fast aerial repositioning, red projectile slashes, close-range sword strikes | Deflect the telegraphed swings, punish the recovery with light attack chains |
| Phase 2 | Fire-infused strikes, vertical pillars of flame, explosive ground slams | Move first, deflect second; use the invulnerable charged dash to reposition |
Strategic Sword kit and inputs for the fight
Strategic Sword is a Bellstrike DPS style that kills through Bleed rather than raw hit damage. Bleed ticks up to five stacks, and several of the style’s tools convert a full stack bar into one large burst of damage. Against a boss with long airborne stretches, that matters, because the damage keeps running while he is out of reach.
| Skill | Input | Effect |
|---|---|---|
| Inner Track Slash | Q (12s) | Dashes in for a quick slash, applies Bleed; press again during the follow-through for four more slashes |
| Inner Balance Strike III | ~ (1s) | Costs Endurance, evades backward and strikes your old position; consumes 5 Bleed stacks for high damage once per use per target |
| Second Track Slash | Hold R | Costs Endurance, dashes forward while invisible and immune to damage, applying Bleed on each hit |
| Sword heavy attack | R (0.9s) | Up to three heavy swings |
| Sword – Conversion | TAB (3s) | Swaps to the sword with a slash |
For Internal Arts, Sword Horizon is the one that pays off fastest here. After a Martial Arts Skill, Special Skill, or Charged Skill, hitting the skill button on the correct beat of the recovery triggers Crisscrossing Sword, and with five Bleed stacks on the boss it wipes the stacks for a single large Bleed hit. Insightful Strike is the defensive pick, since Affinity damage builds Focus and a full gauge puts you into Concentration for 10 seconds, adding 10% Affinity damage with a 5% chance on hit to cut incoming damage by 40%.
Gear-wise, Hawkwing and Eaglerise both slot in cleanly. Four-piece Hawkwing stacks 2% Physical Attack per Affinity trigger up to five times, while four-piece Eaglerise turns your Bleed ticks into damage reduction stacks and grants Eagle Guard at max stacks. Note that Eagle Guard’s 90% reduction is halved when the incoming hit comes from a boss, so treat it as roughly 45% mitigation against the Swordmaster and not as a free survival button. Tune gear toward Min Physical Attack, Max Physical Attack, and Affinity Rate.
Phase 1: Deflect the aerial slashes
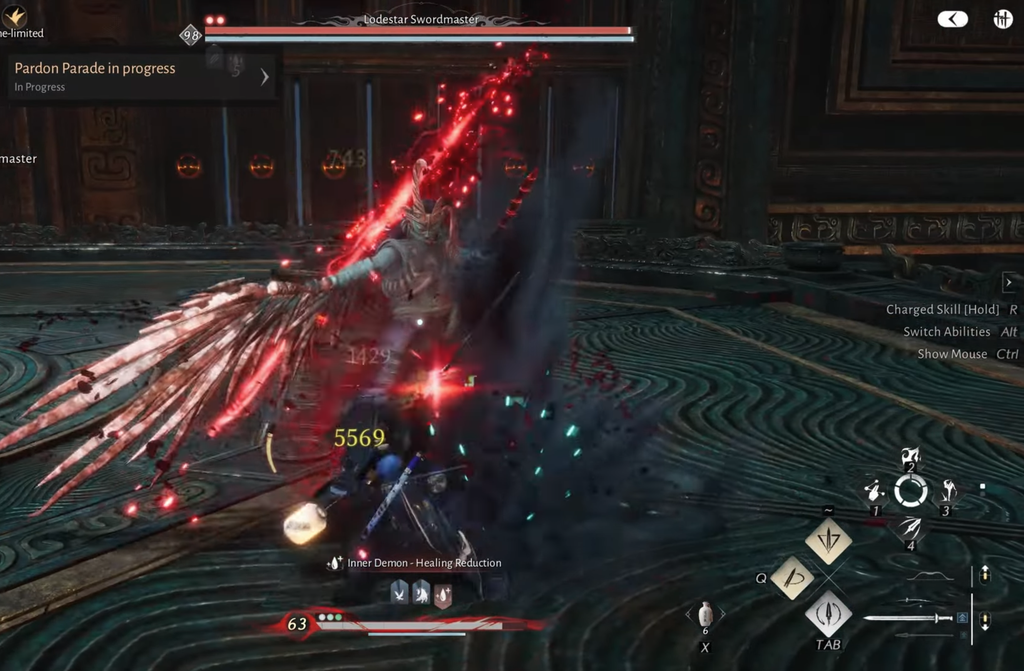
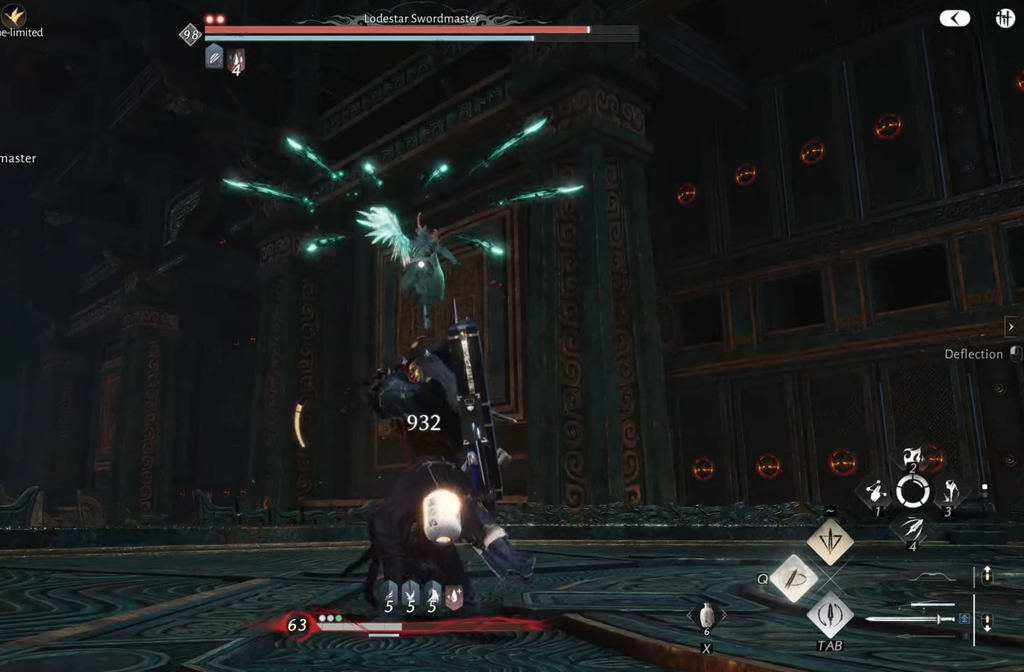
The opening phase is built around the boss launching into the air and coming down with a slash, mixed with red projectile arcs that travel across the floor. Deflection is the tool the fight expects. Blocking late or backing off simply hands him another approach, and on Legend the damage from a missed read is heavy enough to end a run.
Phase 2: Fire pillars and ground slams
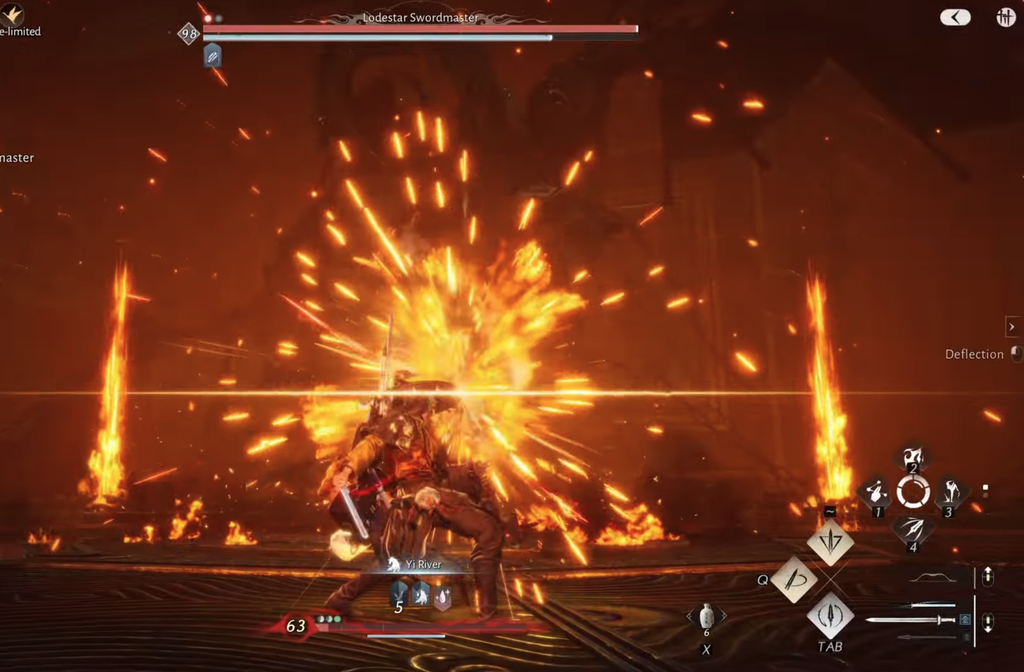
Once the arena ignites, the floor stops being safe ground. The Swordmaster adds fire to his sword strikes, summons vertical pillars of flame, and drops explosive slams that punish anyone standing still to finish a combo. Shorter attack strings are the fix, not bigger ones.
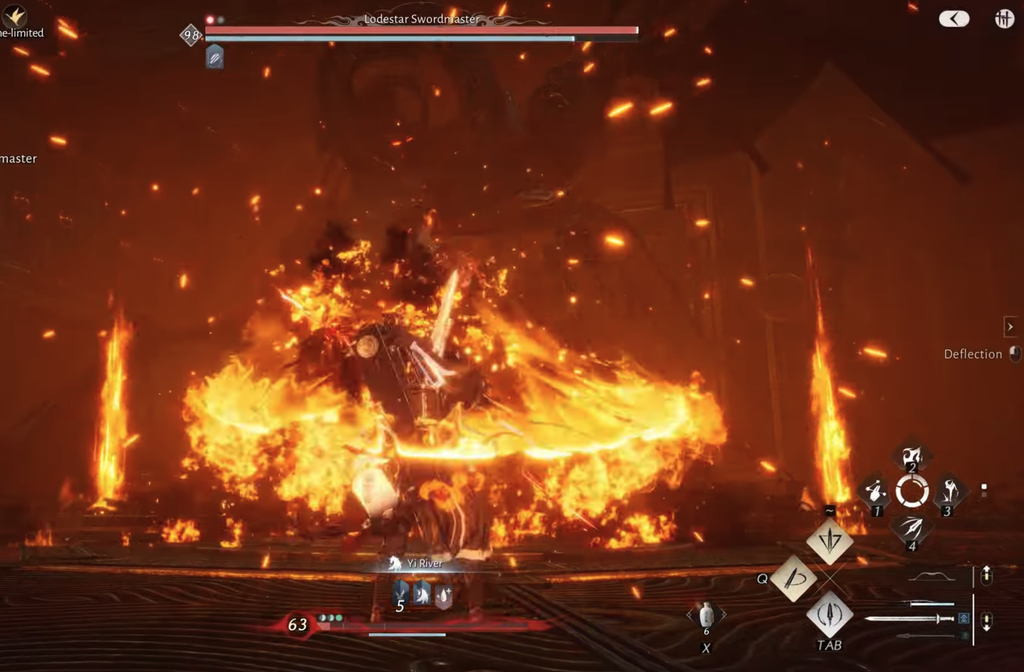
Second Track Slash is the standout here. Holding R makes you immune to damage for the length of the dash, which lets you cross a burning stretch of the arena and still land Bleed on the way through. Save enough Endurance that this is always available, because using it as a reaction to a pillar or slam is worth more than the damage it adds.
Tip: A hired companion is worth bringing on Legend difficulty specifically to hold aggro. Every second the boss is looking at someone else is a second you can spend recovering Endurance or rebuilding Bleed stacks.
Endurance management and the “Insufficient Endurance” prompt
Strategic Sword is mobile, and that mobility is paid for in Endurance. Inner Balance Strike III and the charged dash both draw from the same pool, and if you drain it chasing damage, the game tells you with an “Insufficient Endurance” prompt at the exact moment you needed to escape. Treat a fully spent Endurance bar in phase two as a failed run in progress.
The practical rule is to never start a heavy chain unless you have enough Endurance left for one dash afterward. Deflection costs you nothing by comparison, which is another reason to lean on it as the default defensive option instead of dodging out of every exchange.
Why Legend runs fail
- Bleed never reaches five stacks. The style’s biggest hits are gated behind a full stack bar, so a run built on light attacks alone stalls out.
- Deflection timed to the wind-up. The aerial slashes have a long descent; inputting early leaves you recovering when the blade actually connects.
- Endurance spent on offense. Without a charged dash in reserve, phase two’s pillars and slams have no reliable answer.
- Long combos in the fire phase. Committing to a full heavy string next to a ground slam is the most common way a near-finished run ends.
Confirming the kill
There is no ambiguity about the ending. When his health bar empties, the “Defeat the Lodestar Swordmaster” objective clears and control passes straight into a post-fight cinematic. If the objective text is still on screen, the fight is not over, no matter how low the bar looks.
The cinematic that follows is a story beat rather than a combat sequence, naming the Swordmaster as Falcon and tying him to Swallow, the Grandmaster, as her brother. The chamber then comes apart in an explosion that destroys the platform, and the escape from the collapsing room plays out on rails. Falcon does not survive it, so once the credits on the encounter roll, your only remaining job is getting through the scripted exit.