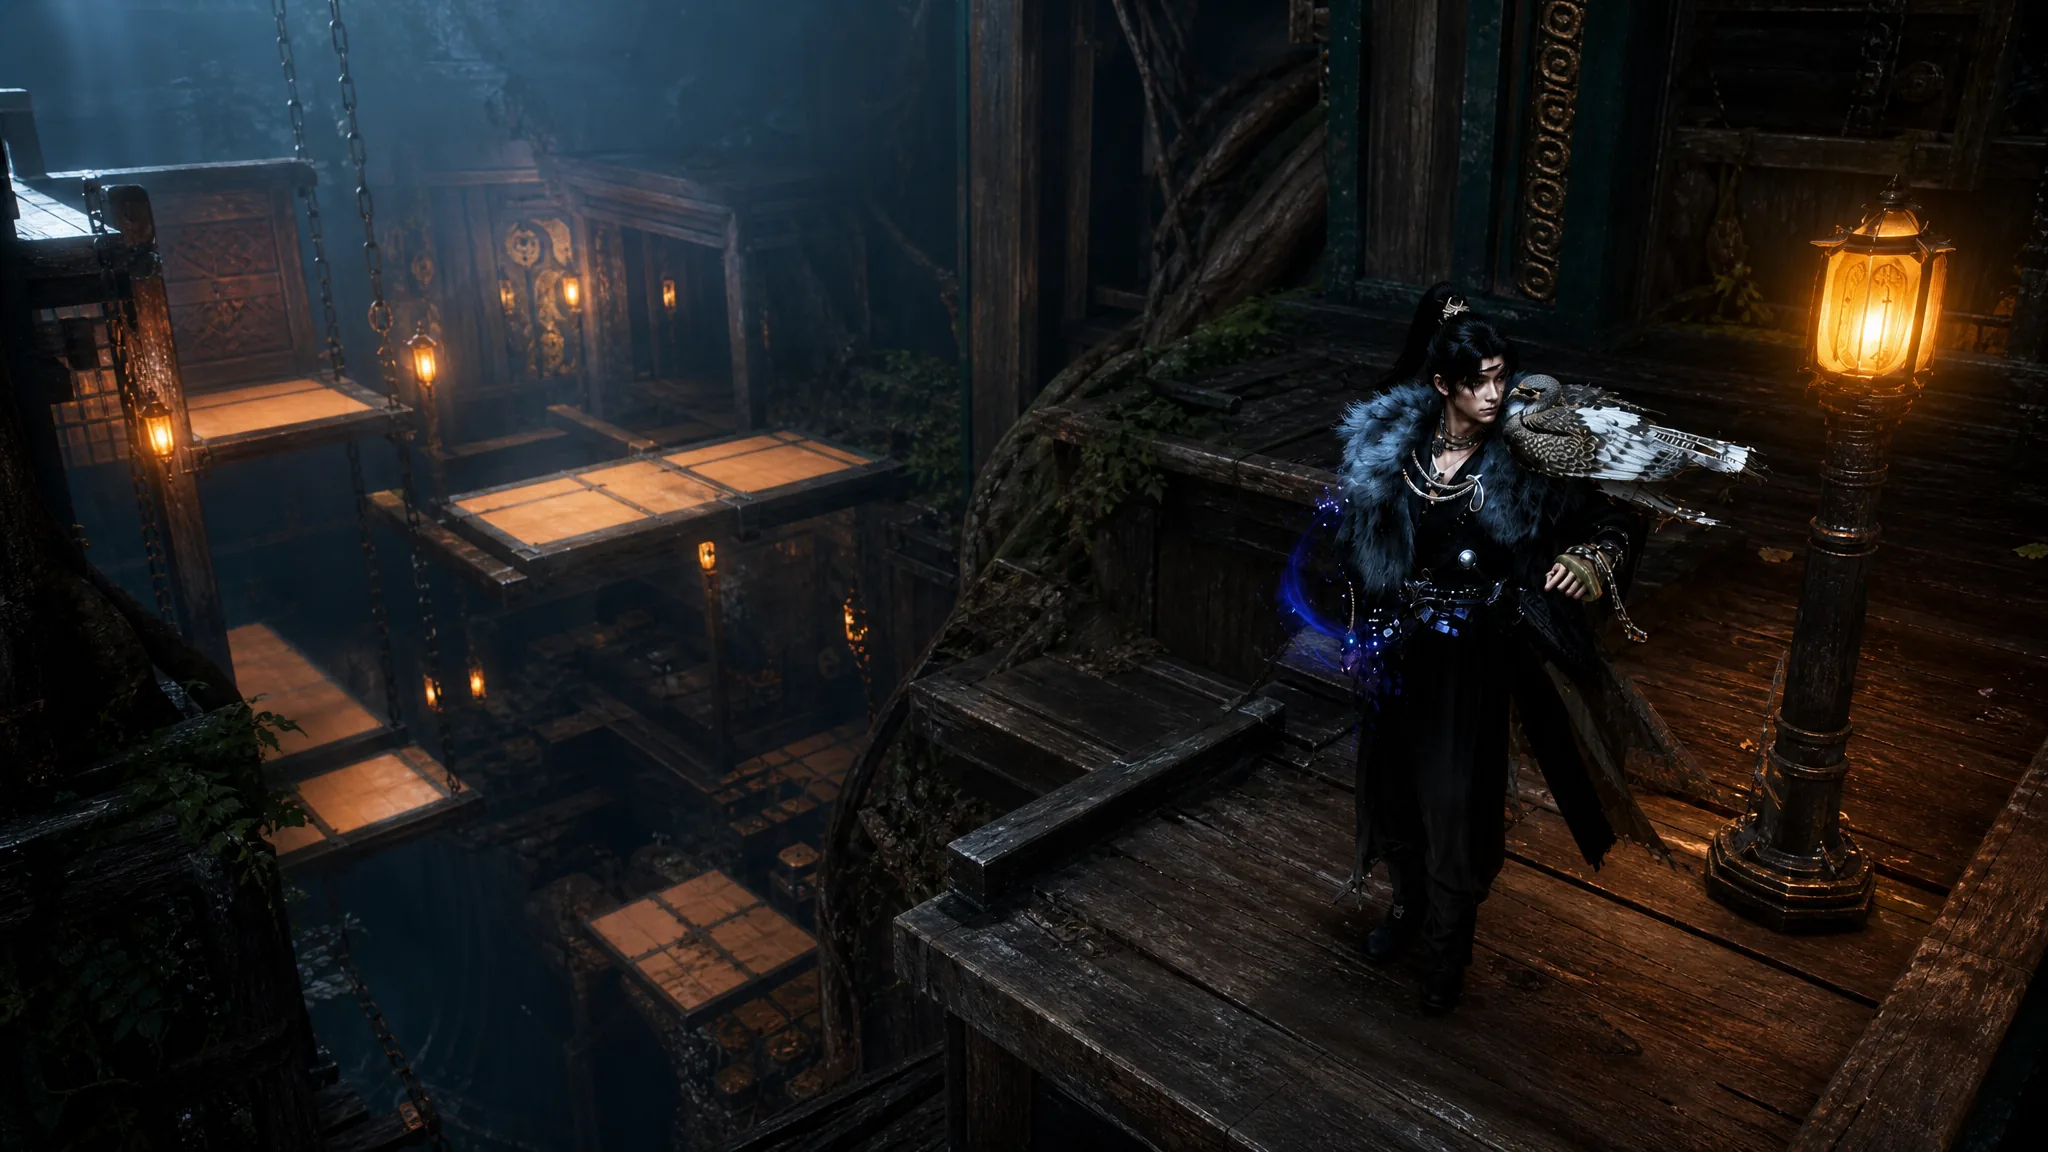
Zenithmaze is a Divinecraft Dungeon built as a trial ground for Mohist Hill disciples, tucked inside the Stellabed Rocks of Hidden Mountain in Where Winds Meet. It holds 10 collectible chests plus one Final Treasure, and most of the route depends on the Celestial Seize ability to move and link floating lanterns. Clearing it also drops the quest item Travels Beyond V and the “A Breath of Fresh Air” achievement.
Quick answer: Collect chests in order as you descend and climb the cavern: ride the zipline for Chest 1, glide down for Chest 2, climb the tree root for Chest 3, cross the bridge for Chest 4, then use Celestial Seize to move and link lanterns for Chests 5 through 10. After the final lever opens the gate, throw the mismatched lantern to the top-left, jump across, grab Travels Beyond V from the small box, and open the Final Chest.
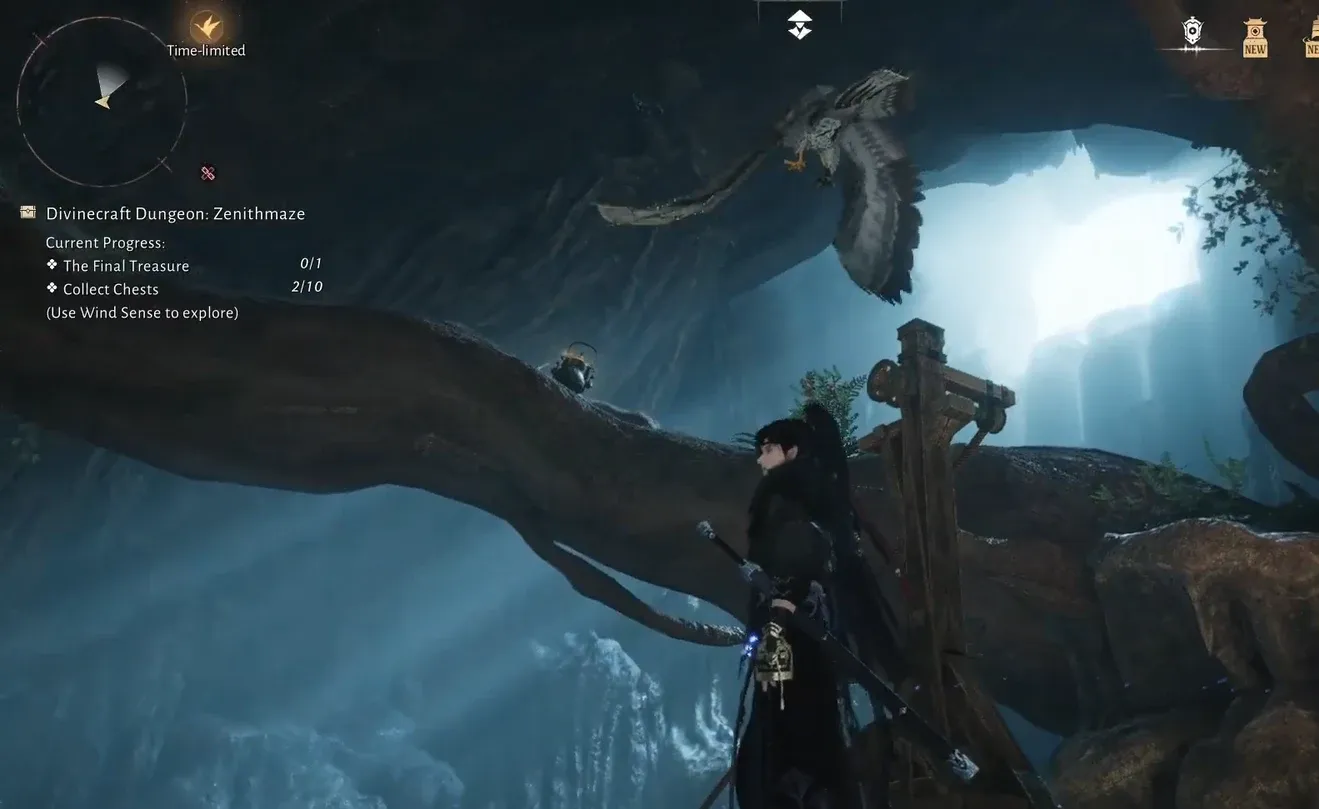
How to open Zenithmaze and reach the first area
The entrance sits behind a stone door in the Stellabed Rocks. To open it, use Celestial Seize to grab the gear counterweight mechanism and throw it onto the pedestal, which unlocks the door.
Celestial Seize and lantern rules you need to know
The whole back half of Zenithmaze runs on floating lanterns, and the rule is strict. You can only stand stably on a lantern when two of them are linked together. A single, unlinked lantern will not hold your weight, so it only gives you a quick bounce-off jump.
Use Celestial Seize to pull lanterns closer, reposition floating platforms, and link two lanterns into a stable step. If you ever run short, you can retrieve an extra lantern to keep the chain going. Note that throwing a lantern to the wrong slot will break the jumping path, so match the placement before you commit.
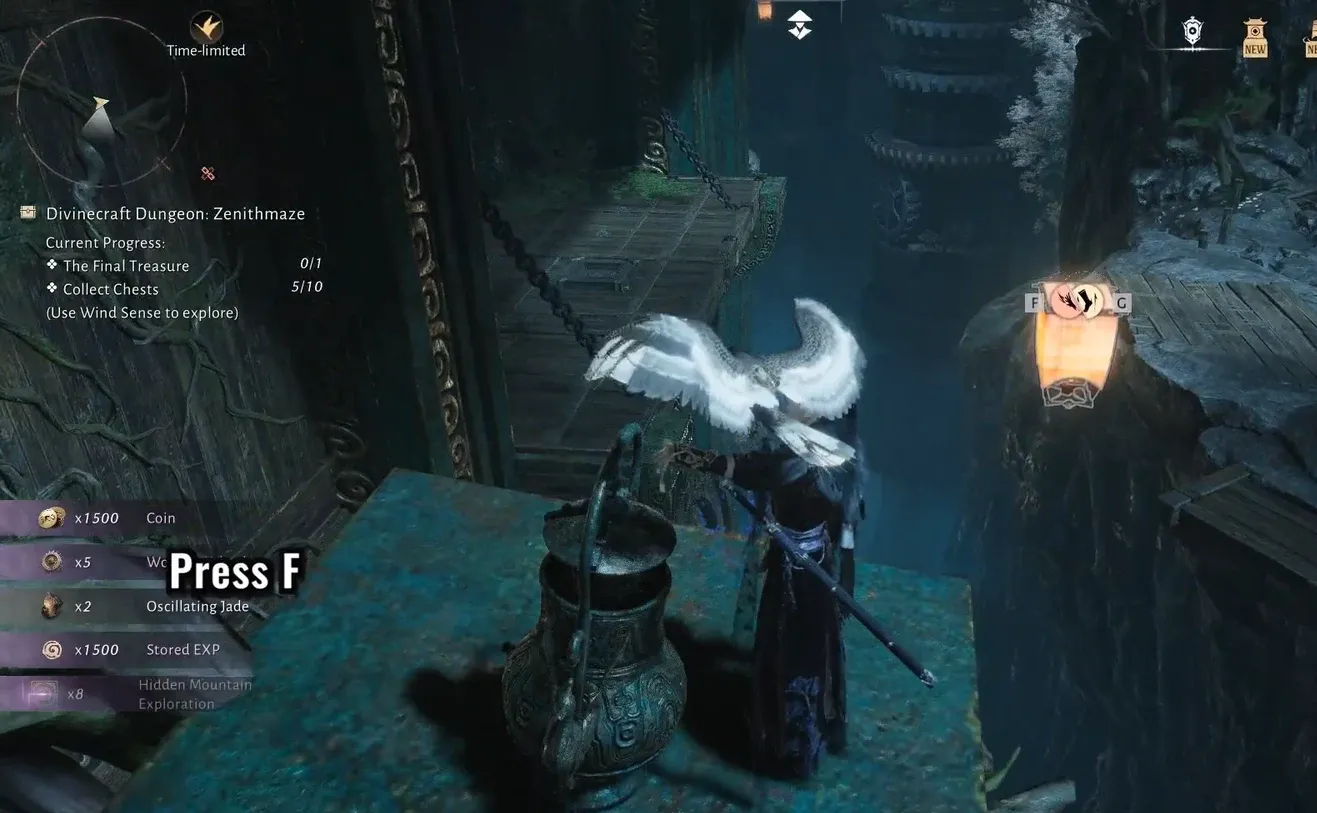
All 10 chest locations in Zenithmaze
The chests appear in a natural order as you work down into the cavern and then climb back up through the tower. The table below covers where each one sits and how to reach it.
| Chest | Location and how to reach it |
|---|---|
| Chest 1 | At the Hero’s Tomb landing. Ride the first zipline down from Pi the Fourth and open it. |
| Chest 2 | Glide further down into the cavern below the first landing and collect it near an embers lantern. |
| Chest 3 | Climb the large tree root and open the chest perched on a high branch. |
| Chest 4 | Take the second zipline across the chasm and cross the bridge; the chest sits on a tree branch on the wooden roots. |
| Chest 5 | Use Celestial Seize to pull a lantern or floating platform closer, climb up, and open it. |
| Chest 6 | Move a lantern into place, glide to a wooden platform, and open the chest there. |
| Chest 7 | After pulling the lever to open the door, link two lanterns to jump across the gap and reach the high platform. |
| Chest 8 | Link lanterns to a floating platform to reach a circular stone platform. |
| Chest 9 | Use linked lanterns to climb onto a building’s roof. |
| Chest 10 | Continue up to the top of the central tower and open the final numbered chest. |
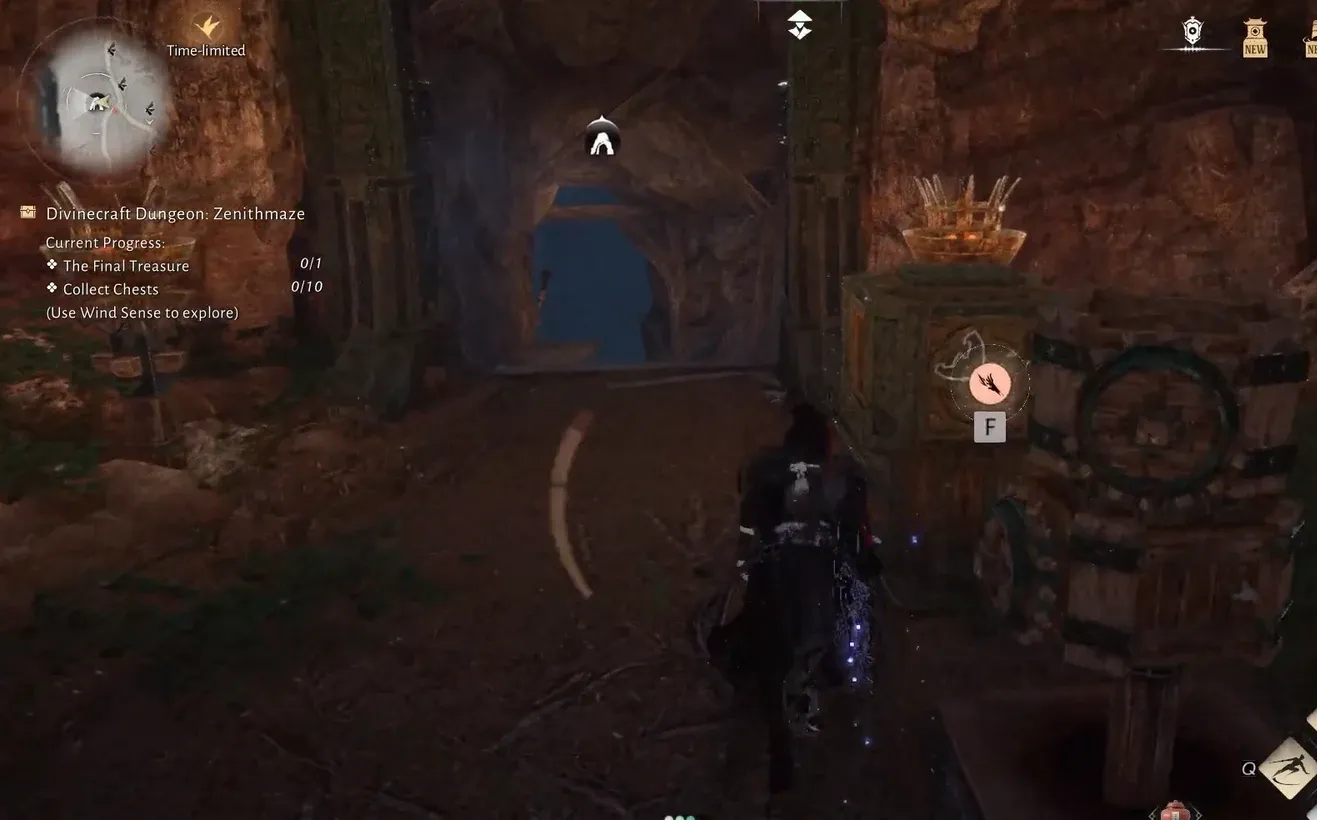
Chests 3 and 4 both reward careful platforming rather than lantern work. The tree root for Chest 3 wraps upward to a branch, and Chest 4 waits on the far side of a bridge you reach by zipline. Activate the Hero’s Tomb checkpoints along the way so a missed jump does not send you all the way back.
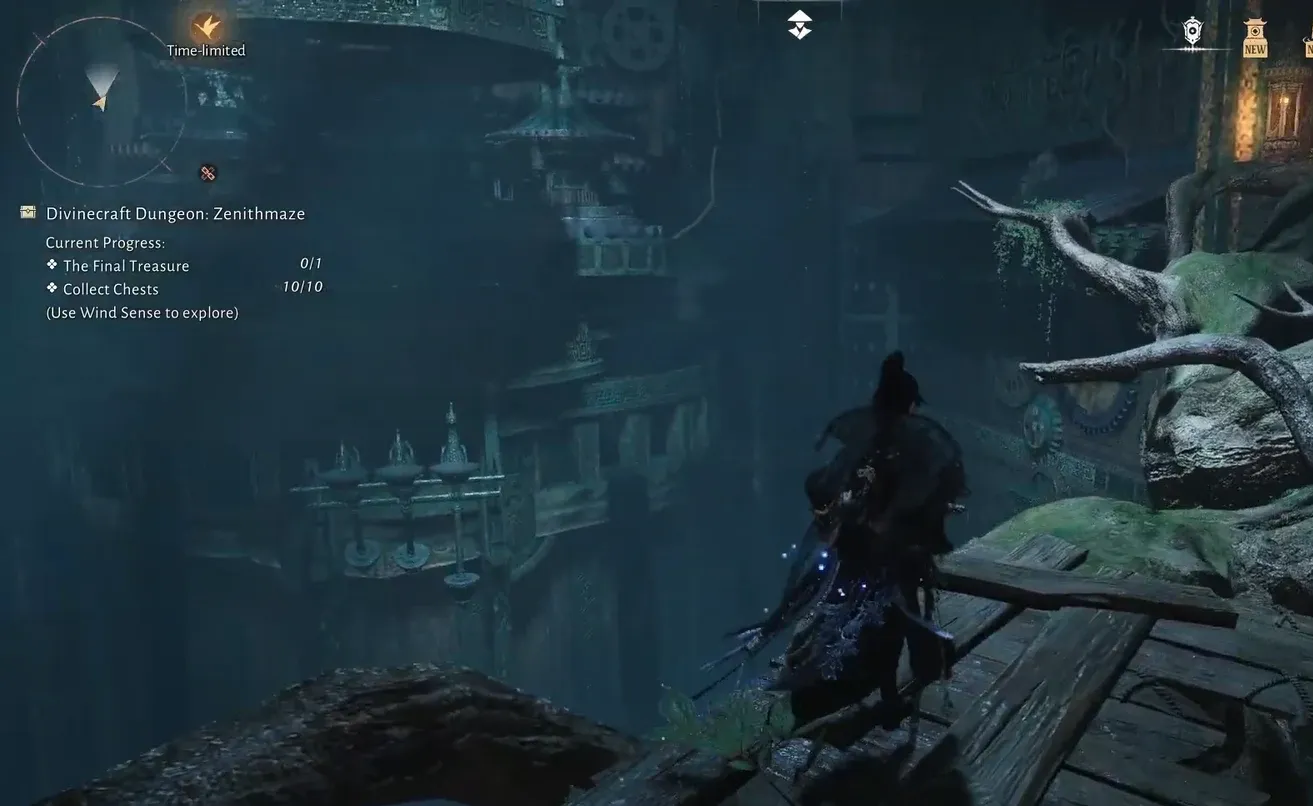
Chests 5 and 6 introduce the lantern and platform puzzles in a gentle form, letting you practice pulling a single object close before the harder linked jumps arrive.
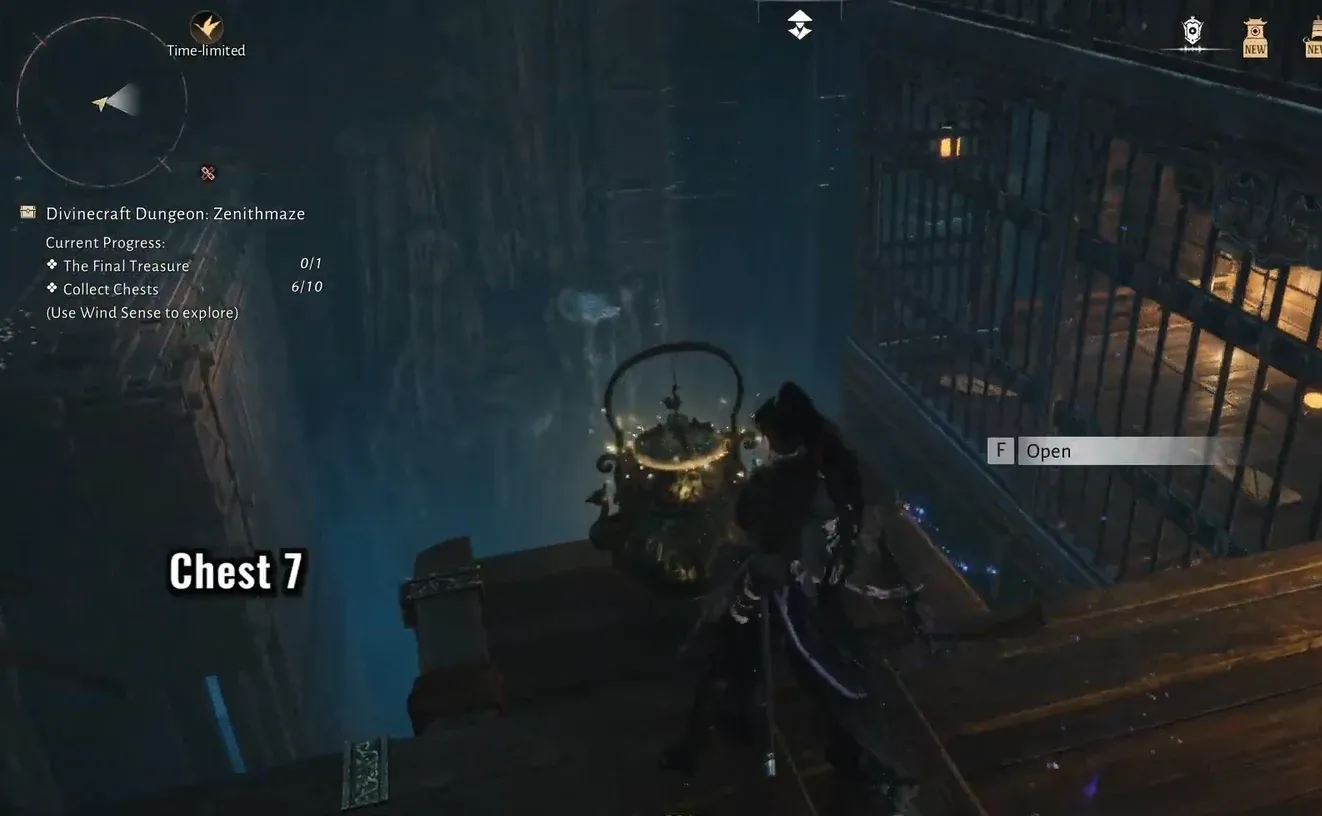
Chests 7 through 10 all rely on linked lanterns and repositioned platforms. Work up through the rotating tower, pull the lever to open the gate, then chain lanterns to the circular stone platform, the rooftop, and finally the top of the central tower for Chest 10.
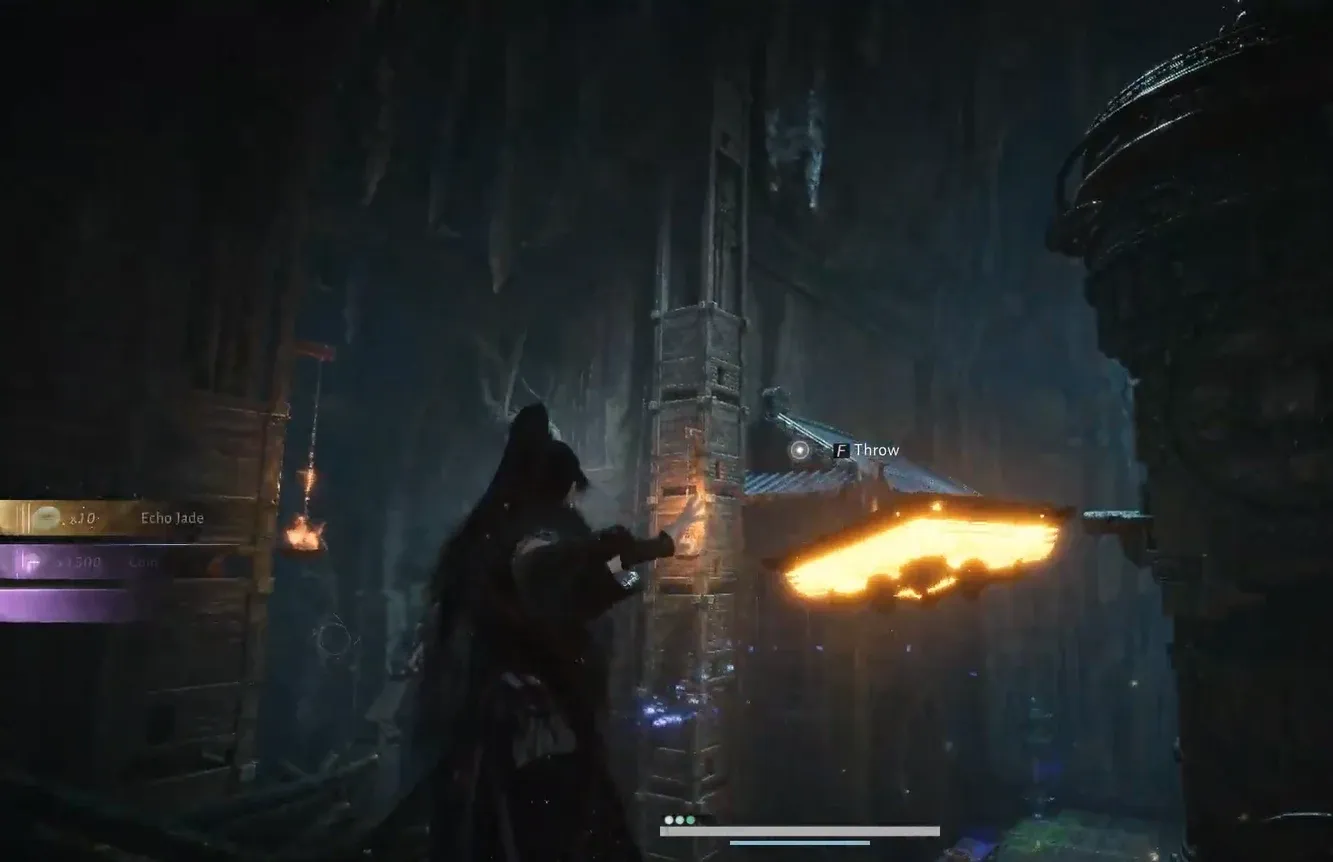
Travels Beyond V and the Final Treasure
With all 10 chests collected, one lever opens the final door and awards the “A Breath of Fresh Air” achievement. The last obstacle is the void bridge, a large central gap you cross by arranging lanterns into a jumping path to the central cage chamber.
If the objective panel still shows a missing chest, retrace the numbered order above. The most common holdups are Chest 2, easy to glide past on the way down, and the lantern jumps for Chests 7 through 9, which fail whenever only one lantern is in place instead of two linked together.