Gaming Guide

Phasecycle Divinecraft Dungeon: All 6 Chest Locations in Where Winds Meet

Every water mill puzzle, the five optional chests, and the final treasure inside the Hidden Mountain cavern.

Every water mill puzzle, the five optional chests, and the final treasure inside the Hidden Mountain cavern.

The Phasecycle Divinecraft Dungeon sits in the Hidden Mountain region, just outside Mirvale, and hides six chests behind a chain of water mill and stone-throwing puzzles. Clearing it also moves along the Wandering Tale “The Elder’s Legacy II,” since the NPC Pi the Third waits for you at several points and needs the journal you recover along the way.

Quick answer: Collect the five numbered chests as you descend through the three water mill puzzles, then open the Final Chest at the end of the cavern. Chest 5 holds the “Travels Beyond IV” letter tied to the quest.


Dungeon location and requirements

The entrance is marked on the Hidden Mountain map near Mirvale, along the Starseek Trail between Stellabed Rocks and Heaven’s Threshold. Ride to the marker and you will find Pi the Third standing outside the sealed stone door.

Every puzzle inside runs on the Celestial Seize skill. You use it to grab falling stones and throw them at the wooden board targets that redirect water, and you link chains to power the door controls. Bring that skill unlocked before you go in.

Note: The dungeon disables Lightness Skills, Climb, Wallstride, Sky Tether, and a few other movement abilities. You solve it entirely through the mechanisms and short drops, not by flying or scaling walls.


All 6 chest locations at a reference glance

ChestWhere it is
Chest 1Behind the first powered door after you descend the shaft
Chest 2In the lower area, after starting the second water mill
Chest 3Behind a gated door in that same lower area
Chest 4In the lower cave pit, after the third water mill
Chest 5On the upper platform reached by the elevator; holds “Travels Beyond IV”
Final ChestAt the end of the cavern, past the last Pi the Third talk

How the water mill puzzles work

Each mill room follows the same four beats, so once you learn the first one the rest go quickly.

  • Stand on the circular floor plate to arm the mechanism.
  • Use Celestial Seize to catch a falling stone.
  • Throw the stone at the wooden board target to steer the water and start the mill.
  • Link the chains to power the nearby door controls.

Full walkthrough for every chest
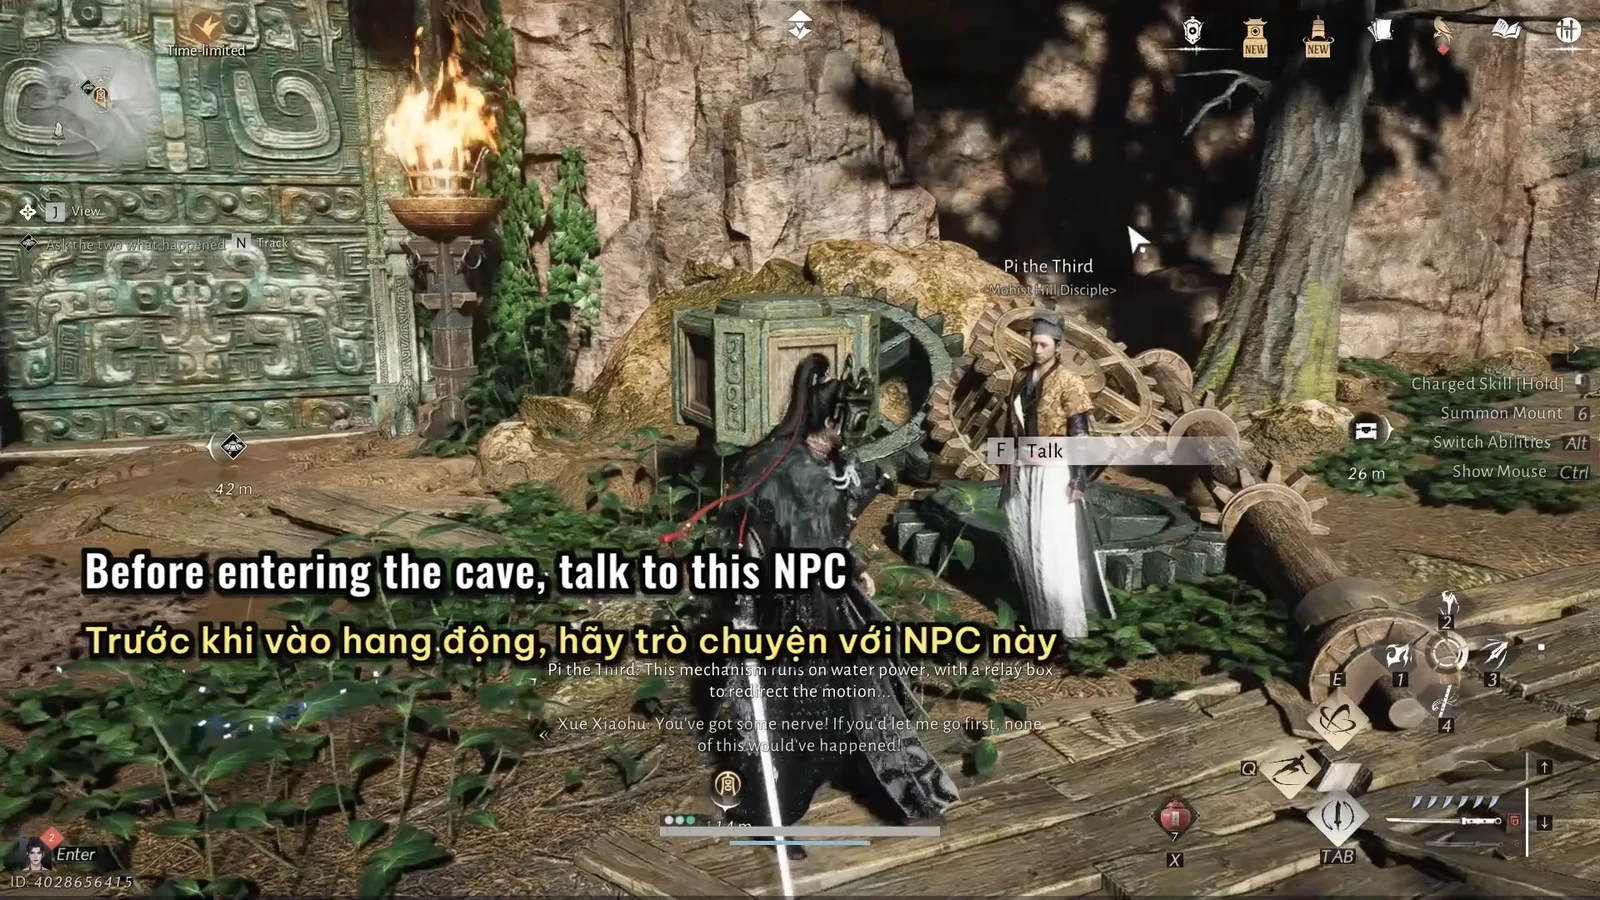
Talk to Pi the Third at the entrance before you go in. Pick the highlighted “Talk” prompt to hear his setup about the Elder’s journal, then activate the mechanisms to open the main stone door.
Pi the Third dialogue with the F Talk prompt highlighted outside the cave entrance
Speaking with Pi the Third at the door before entering the cavern. Image credit: Everstone Studios / via @ThanhPlays
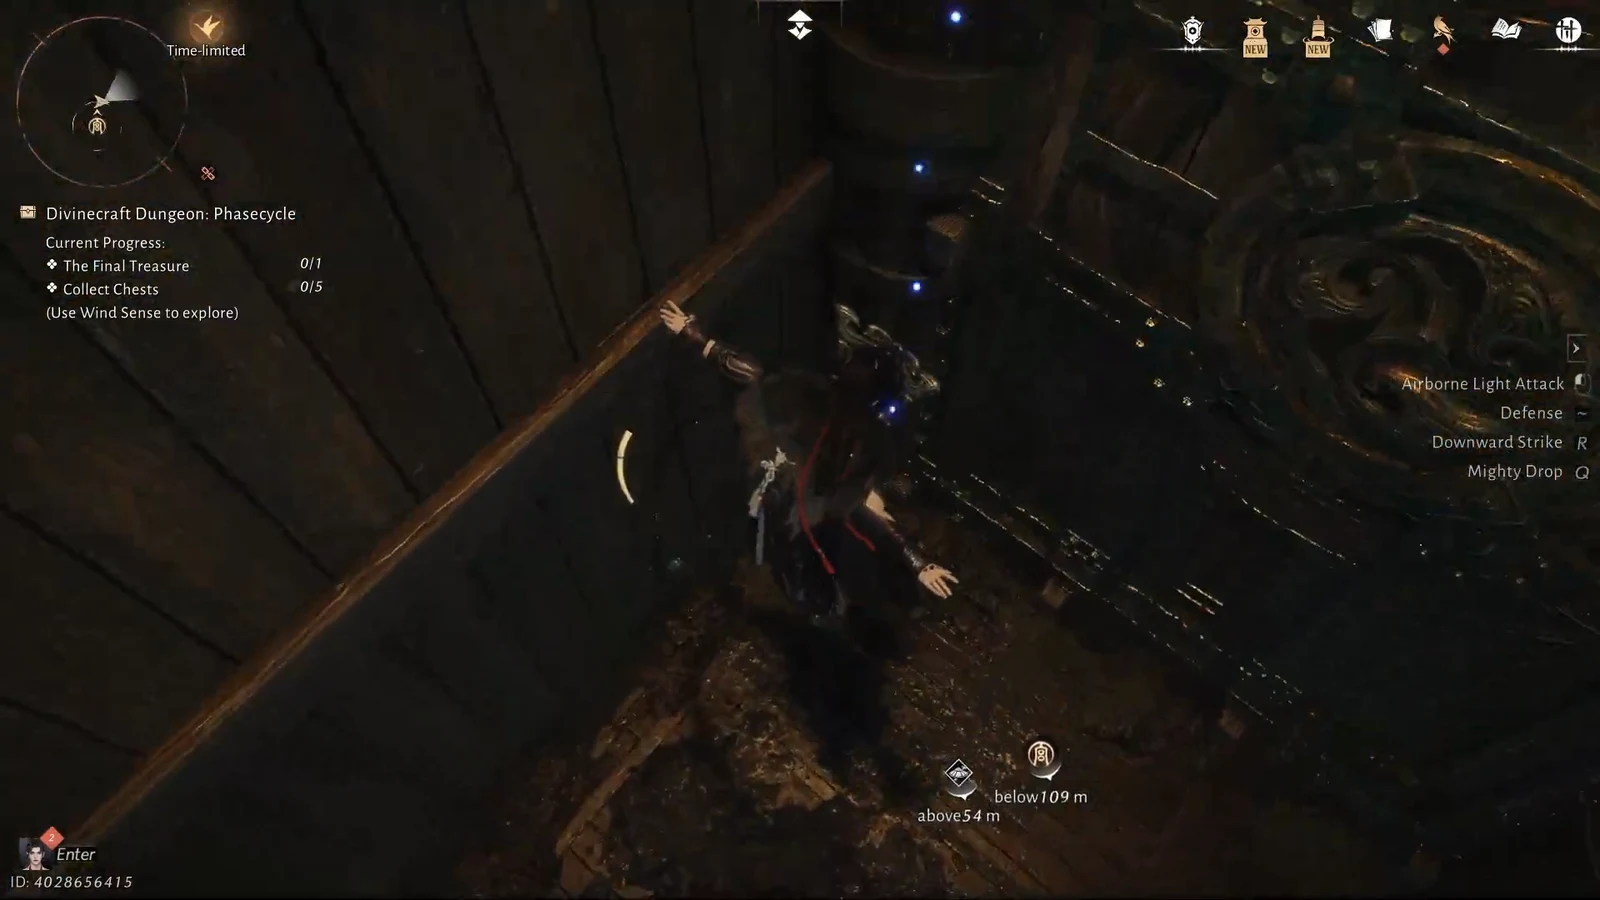
Head inside and clear the first door puzzle, then climb down the shaft into the lower levels. The descent drops you into a dark chamber where you can still use light attacks while airborne.
Character airborne in a dark dungeon chamber with the Airborne Light Attack option shown
Dropping through the shaft into the lower levels of the dungeon. Image credit: Everstone Studios / via @ThanhPlays
Solve the first water mill. Step on the pressure plate, seize a falling stone, throw it at the wooden target to start the mill, then link the chains to unlock the door.
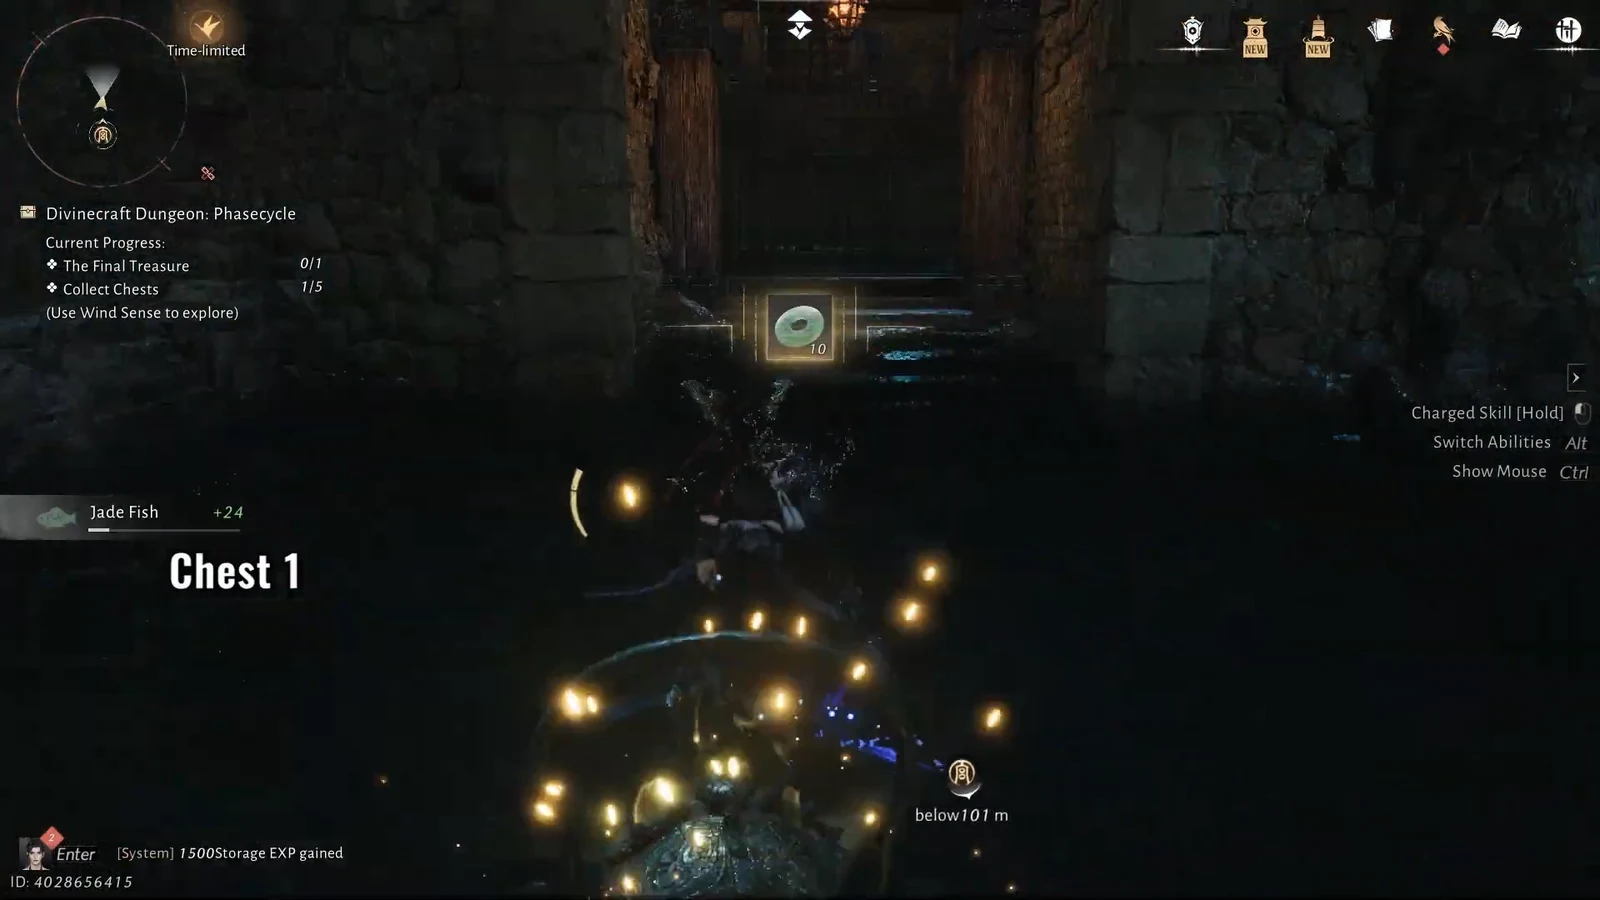
Open the door and take Chest 1 behind it. Your progress counter ticks up to 1/5 as you loot it.
Opened first chest awarding a Jade Fish with chest progress reading 1 of 5
Looting Chest 1 for a Jade Fish, with the counter now at 1/5. Image credit: Everstone Studios / via @ThanhPlays
Speak with Pi the Third again inside the dungeon, then activate the second water mill using the same plate, stone, and chain routine to reach the next area.
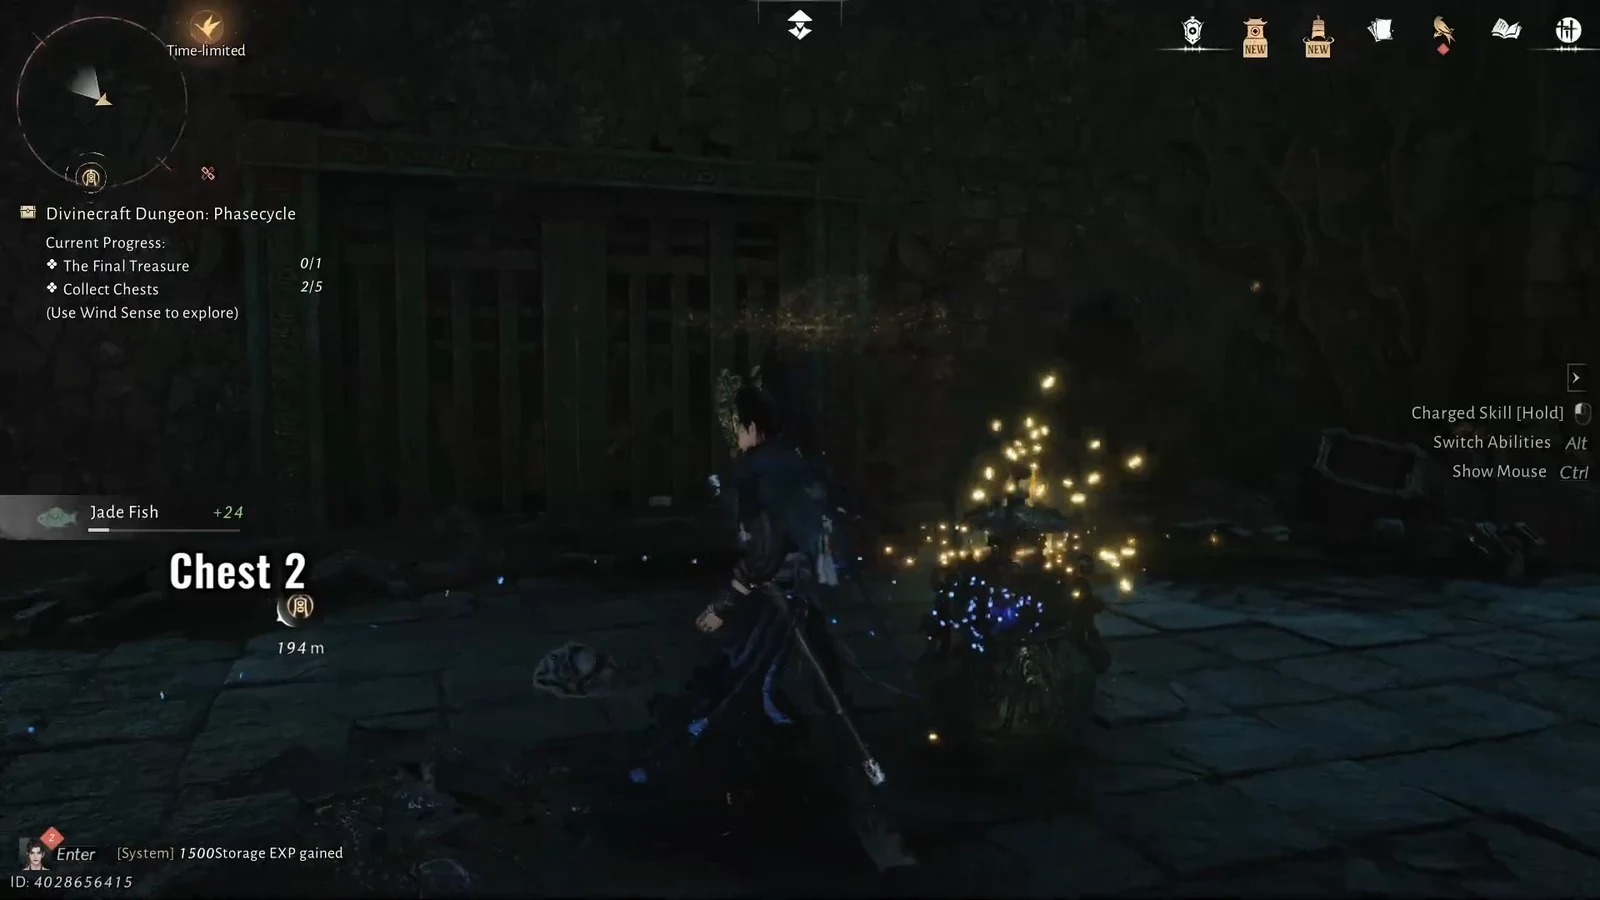
In the lower area, follow the objective marker to Chest 2 and open it.
Objective marker pointing to Chest 2 roughly 194 meters away in the dungeon
Following the marker toward Chest 2 in the lower area. Image credit: Everstone Studios / via @ThanhPlays
Still in the same lower area, unlock the gated side room and grab Chest 3.
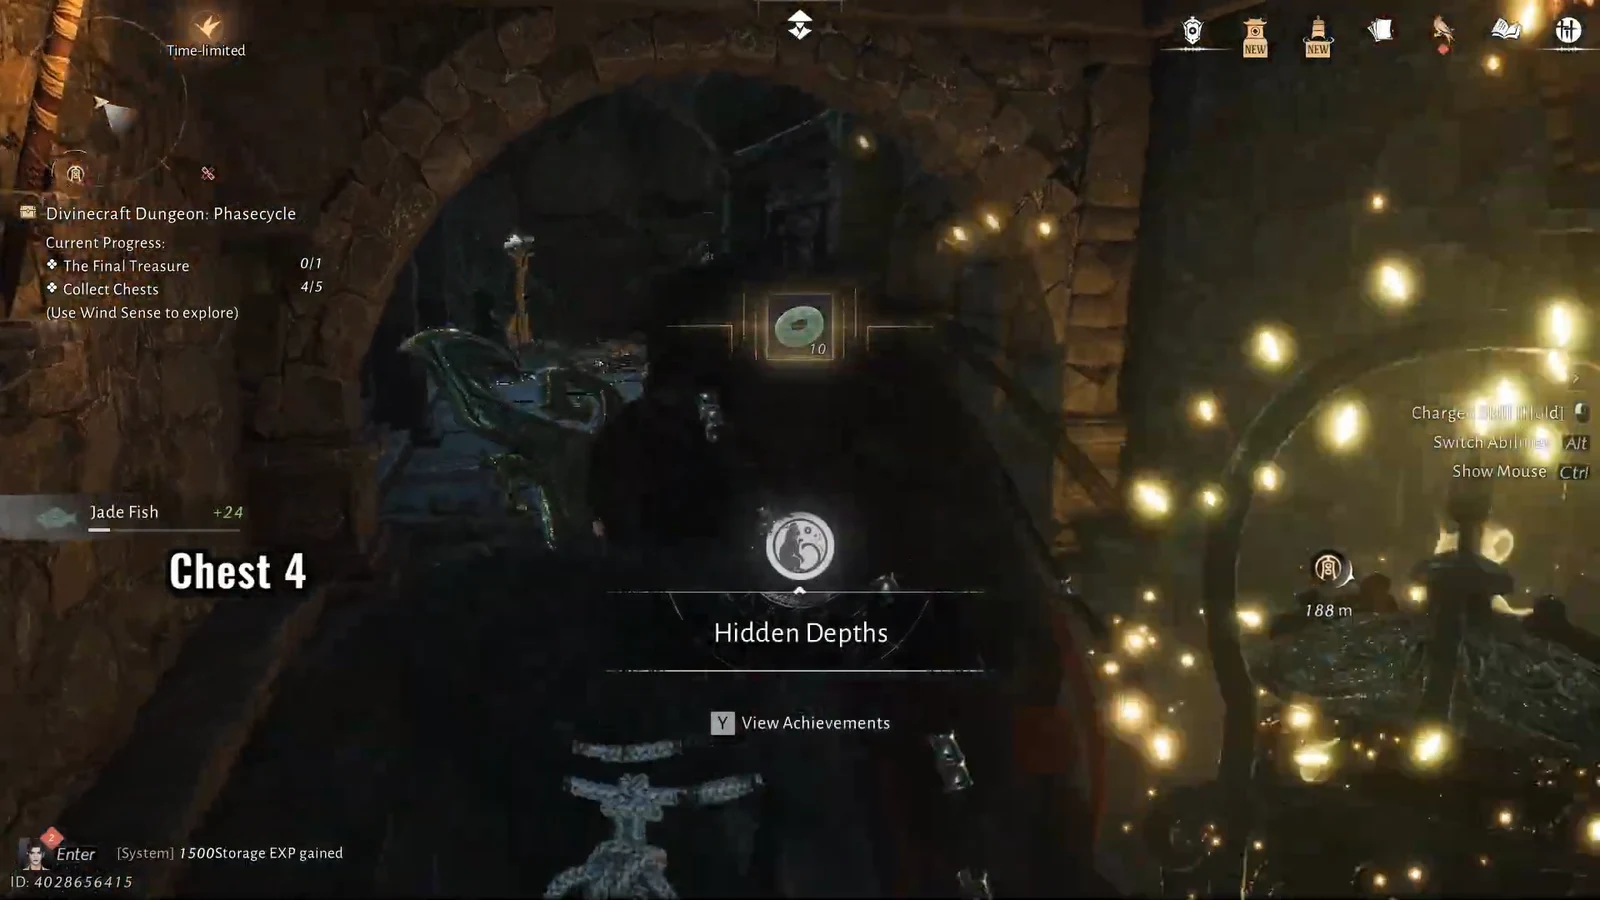
Activate the third water mill to open the way down into the lower cave, then drop into the pit to collect Chest 4. Picking it up triggers the Hidden Depths achievement.
Opened fourth chest giving a Jade Fish with the Hidden Depths achievement notification
Chest 4 in the lower cave pit, which unlocks the Hidden Depths achievement. Image credit: Everstone Studios / via @ThanhPlays
Talk to Pi the Third near the water, then use the zipline to cross the cavern. On the far side, activate the moving platform mechanism and ride the elevator up.
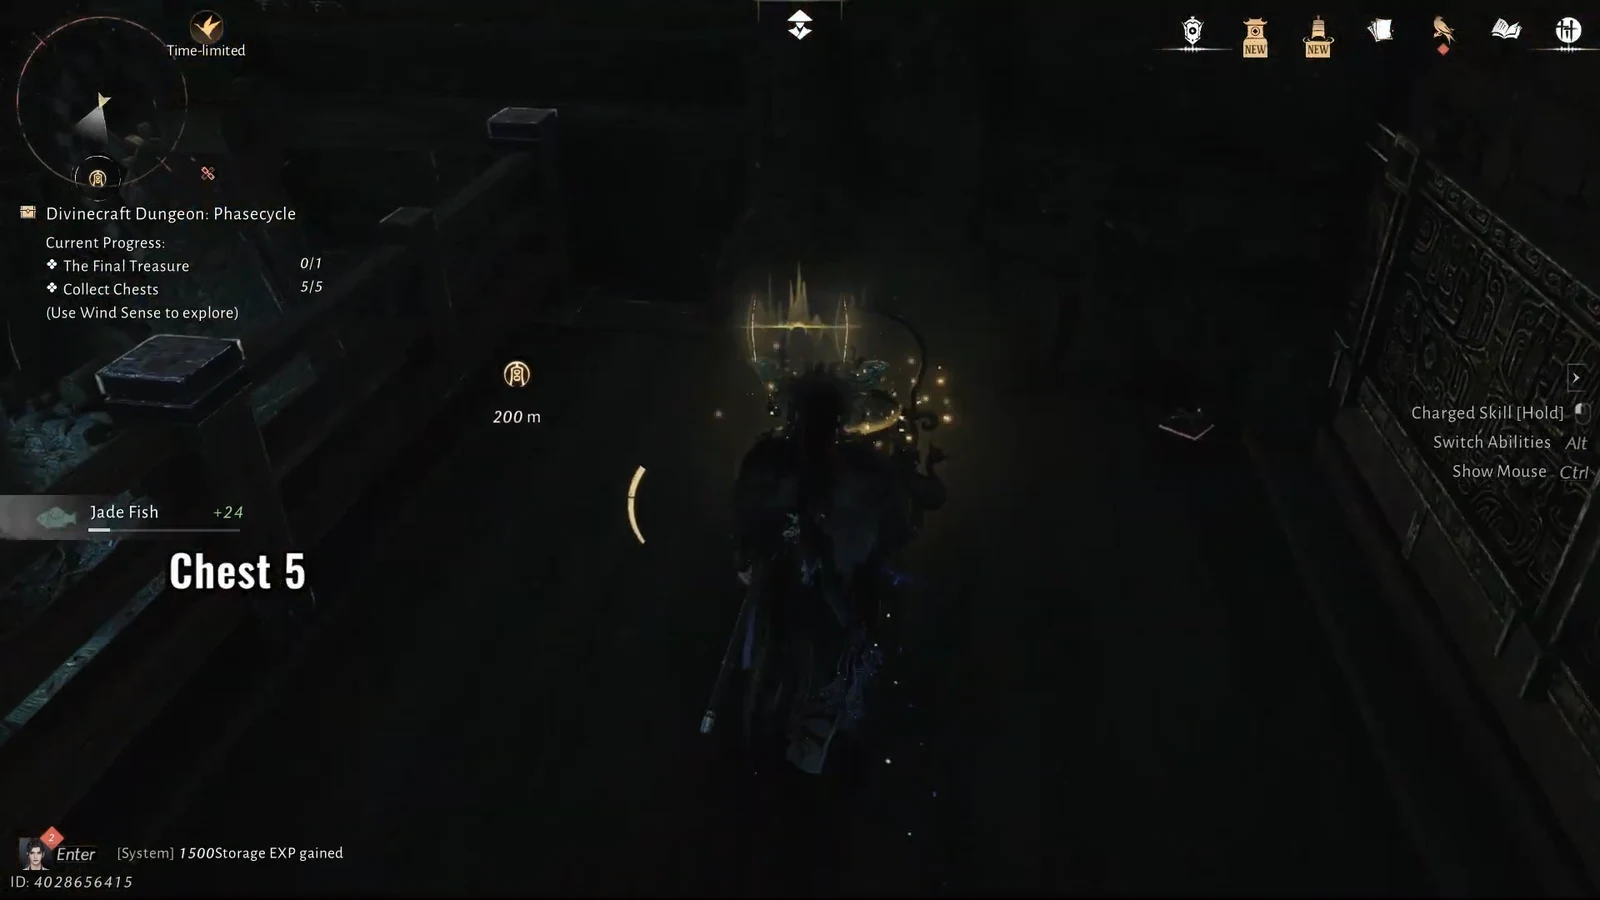
At the top platform, open Chest 5. This one contains the “Travels Beyond IV” letter, which registers as a new clue for the Wandering Tale.
Chest 5 collected as the player moves 200 meters toward the final treasure marker
After Chest 5 and the Travels Beyond IV letter, heading toward the final treasure. Image credit: Everstone Studios / via @ThanhPlays
Speak with Pi the Third one last time before the final room, then open the Final Chest to complete the dungeon.

How to confirm you finished it

You know Phasecycle is done when all five numbered chests are checked off and the Final Chest opens at the end of the cavern. The “Travels Beyond IV” letter from Chest 5 registers as a new clue for “The Elder’s Legacy II,” and Pi the Third’s dialogue confirms he now has what he came for. If a mill will not turn, recheck that you are standing on the circular plate and that your thrown stone actually struck the wooden board, since the door chains only power up once the water is flowing correctly.