Mortal Shell 2: How to Cleanse the Pulsing Caves Beacon for the Blackblood Stone
The exact route through the Sanguine Caverns gate, the Mawbreak Cavern dungeon, and the chest that holds the Blackblood Stone.
The exact route through the Sanguine Caverns gate, the Mawbreak Cavern dungeon, and the chest that holds the Blackblood Stone.
by AllThingsHow Staff
The Pulsing Caves beacon sits deep inside the Sanguine Caverns gate in Mortal Shell 2, and cleansing it is what unlocks the Mawbreak Cavern dungeon where the Blackblood Stone waits in a chest. Getting there is a linear trek that starts at Widow’s Overlook, runs through Blackridge Cliffs, and passes a corrupted gate you must open first.
Quick answer:Cleanse the Stonebled Gate beacon to open the corrupted gate, travel through the Sanguine Caverns to the Pulsing Caves beacon, rest at it to enter Mawbreak Cavern, open the stone chest for the Blackblood Stone, then destroy the corruption source and collect the Ovum to finish the cleanse.
What you need before you reach the Pulsing Caves
The path into the Sanguine Caverns gate is blocked until you cleanse the Stonebled Gate beacon. That beacon opens the corrupted gate that leads into the region, so handle it before you commit to the run. Cleansing Stonebled Gate takes you through The Hidden Keep and a fight with Lucian, the Thirsting Knight, and rewards the Serpent Stone tarstone along with a Glimpse.
Once Stonebled Gate is cleansed, set your starting point at the Widow’s Overlook beacon. From there you cross Blackridge Cliffs to reach the Sanguine Caverns, so it helps to have a ranged sidearm and a reliable melee weapon ready for the crawling and flying enemies packed along the way.
Route from Widow’s Overlook to the Pulsing Caves beacon
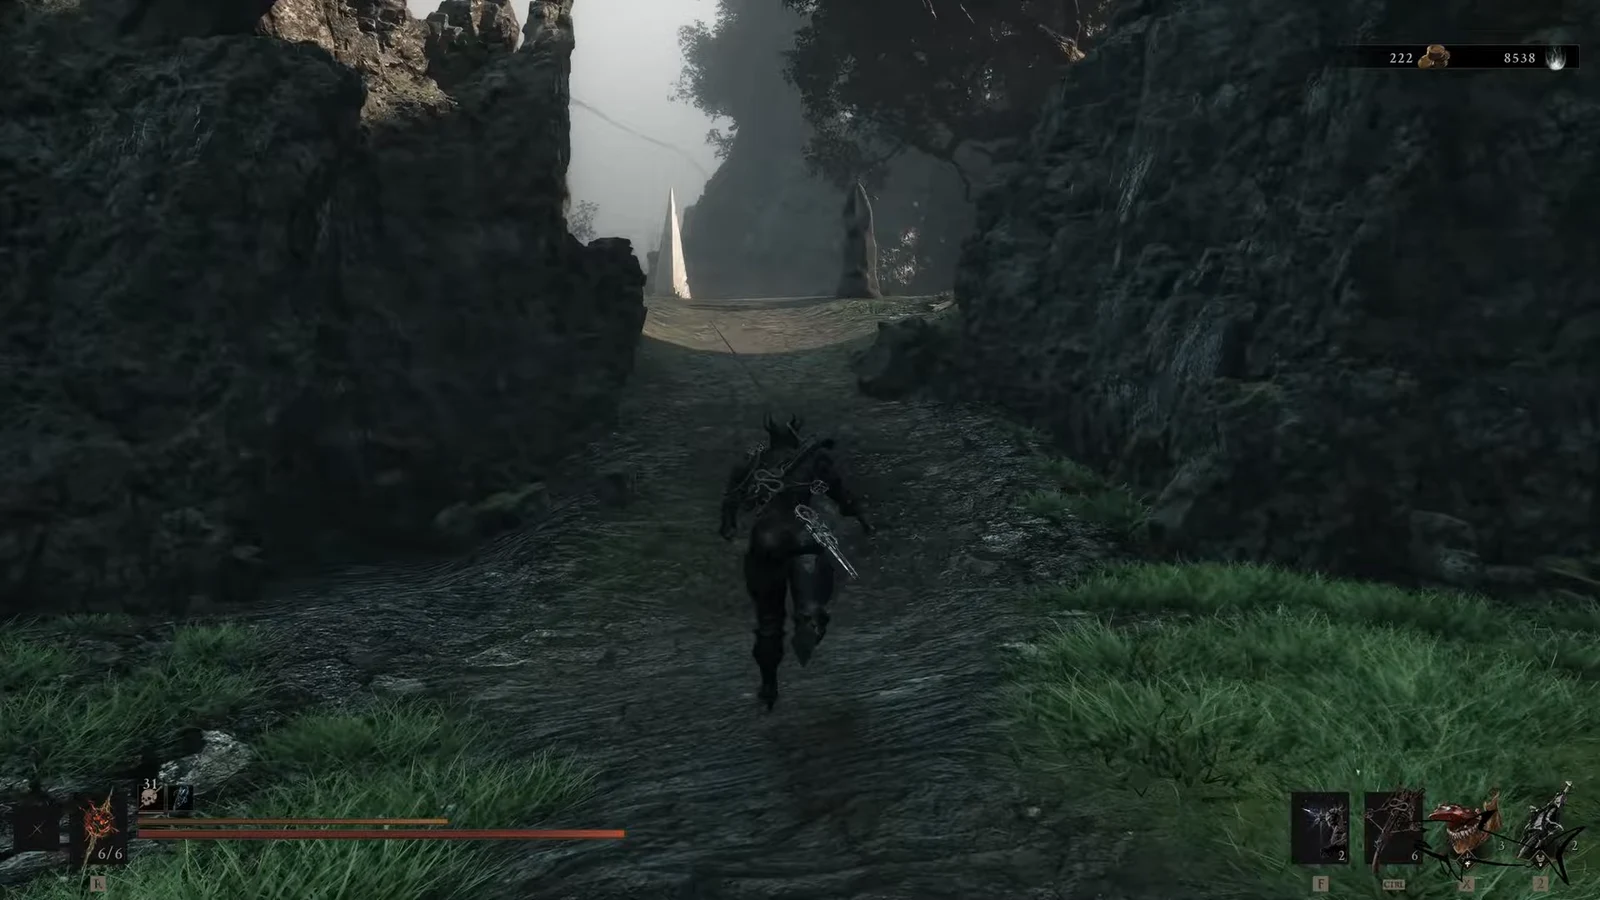
Leave the Widow’s Overlook beacon and run toward the Sanguine Caverns, cutting through Blackridge Cliffs. Clear the enemies that block the path and keep pushing forward until the cliffs open into the cavern entrance.
00:06Heading out from Widow's Overlook and pushing through Blackridge Cliffs toward the caverns. Image credit: Cold Symmetry / via @SharkR. Shown at 00:06 in Shark R’s video.
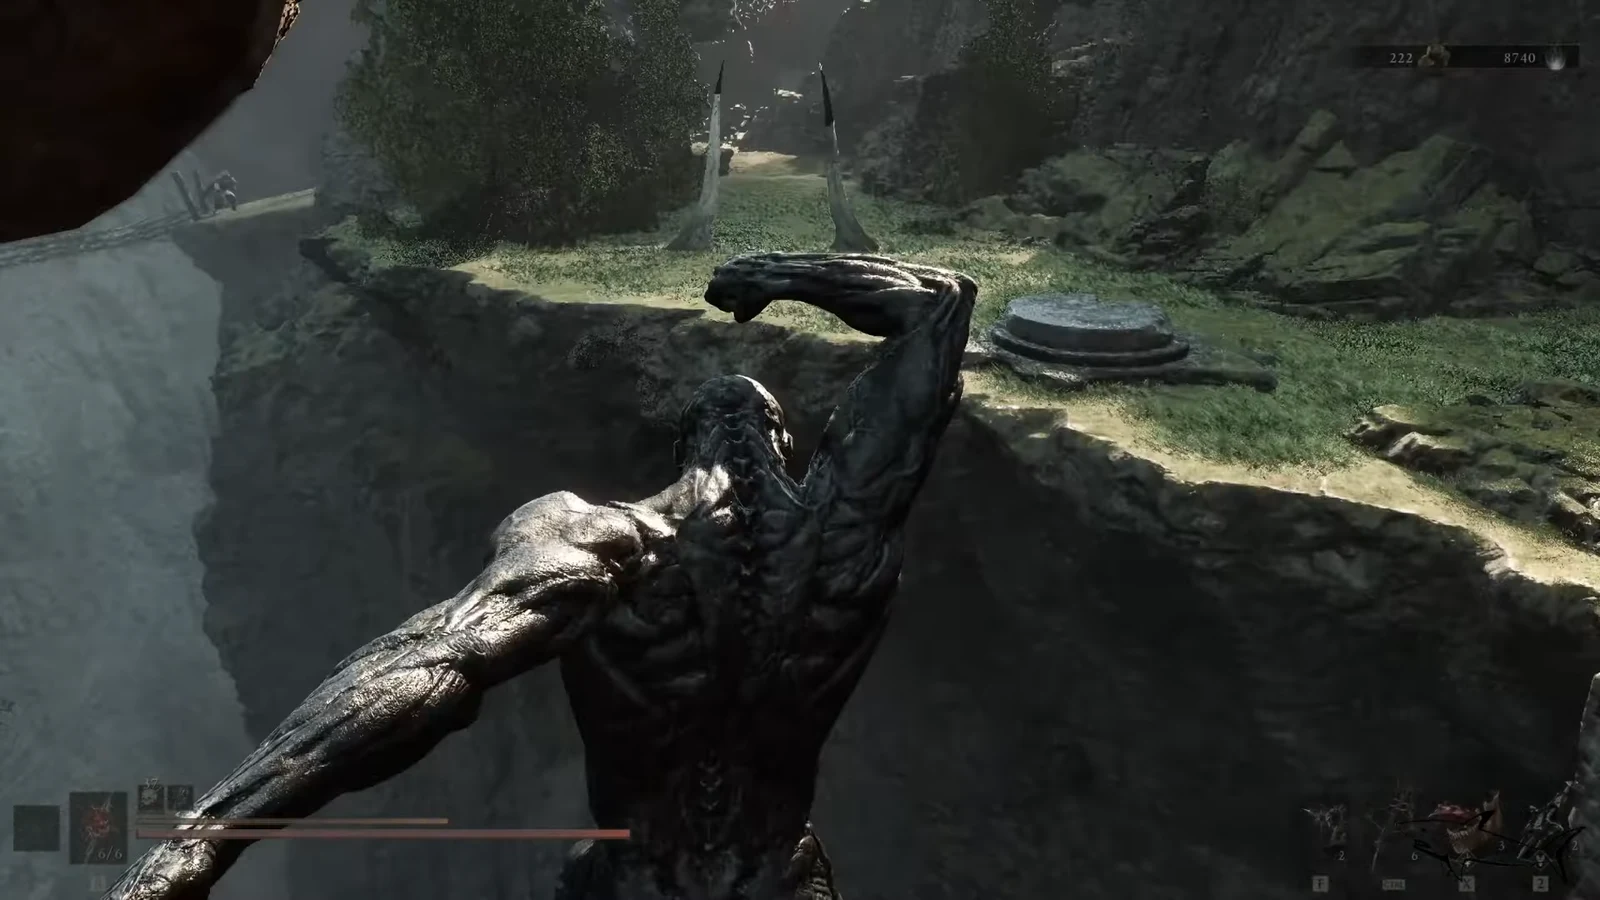
At the entrance to the Sanguine Caverns, drop down over the rocky chasm onto the ledge ahead and step onto the circular stone platform. This is where you enter the caverns proper and meet the first wave of local enemies.
00:51Dropping onto the ledge at the Sanguine Caverns entrance. Image credit: Cold Symmetry / via @SharkR. Shown at 00:51 in Shark R’s video.
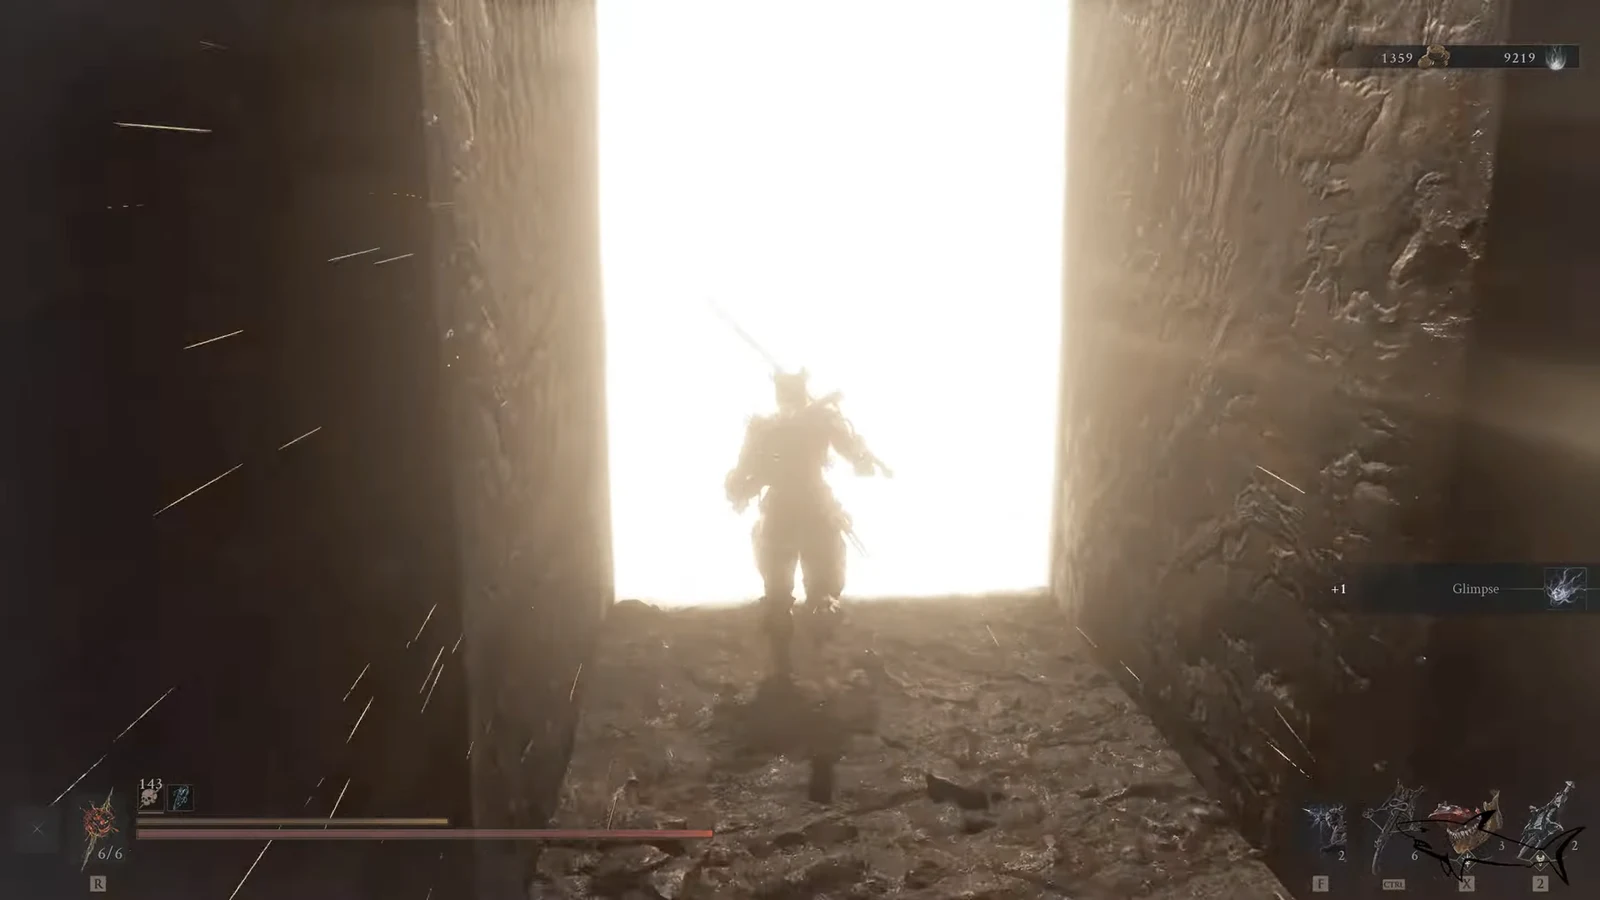
Continue until you reach the corrupted gate. Because you already cleansed the Stonebled Gate beacon, the gate is open, so pass through the bright doorway into the deeper part of the caverns.
02:50Passing through the corrupted gate that the Stonebled Gate beacon unlocked. Image credit: Cold Symmetry / via @SharkR. Shown at 02:50 in Shark R’s video.
Work through the enemy camps beyond the gate. Along this stretch you can open a stone chest that holds the Deadeye tarstone, which raises your ranged critical damage. It is worth grabbing before you press on.
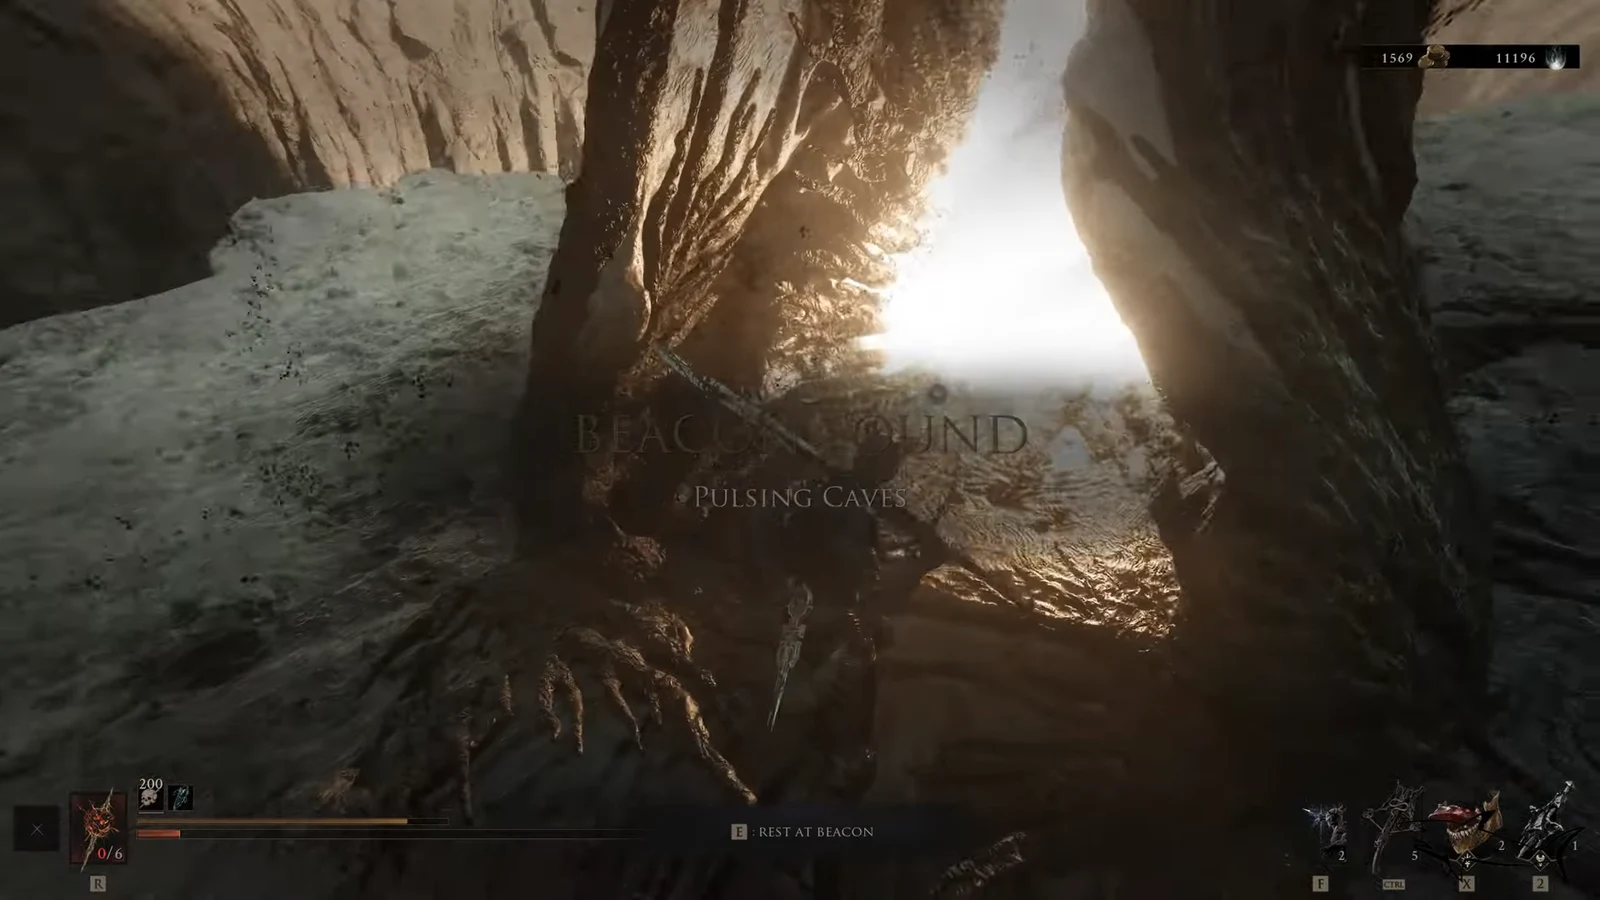
Keep following the caverns forward, crossing the bridges and clearing the packs of small enemies stationed along the route. Just past a swarm of enemies near the top of a hill, you reach the Pulsing Caves beacon.
06:49The Pulsing Caves beacon with its rest prompt, deep inside the Sanguine Caverns gate. Image credit: Cold Symmetry / via @SharkR. Shown at 06:49 in Shark R’s video.
Cleanse the beacon and clear Mawbreak Cavern
Resting at the beacon and selecting Cleanse Beacon drops you into the Mawbreak Cavern dungeon. This is the space you have to clear to finish the cleanse and reach the Blackblood Stone.
Move through the sandy passage into the flooded corridor and deal with the flying monster that attacks on the way in. Keep going until the on-screen text reads Mawbreak Cavern.
Use a ranged fire weapon to thin out the crawling and flying enemies spread across the cavern floor, then cross the wooden suspension bridges linking the cliff platforms. Strike the glowing white corruption tendril you pass and drop to the ledge below.
Slip past the large spectral entity guarding one of the bridge sections rather than trading blows with it, then drop into the lower tunnel and take out the ambush enemy waiting there.
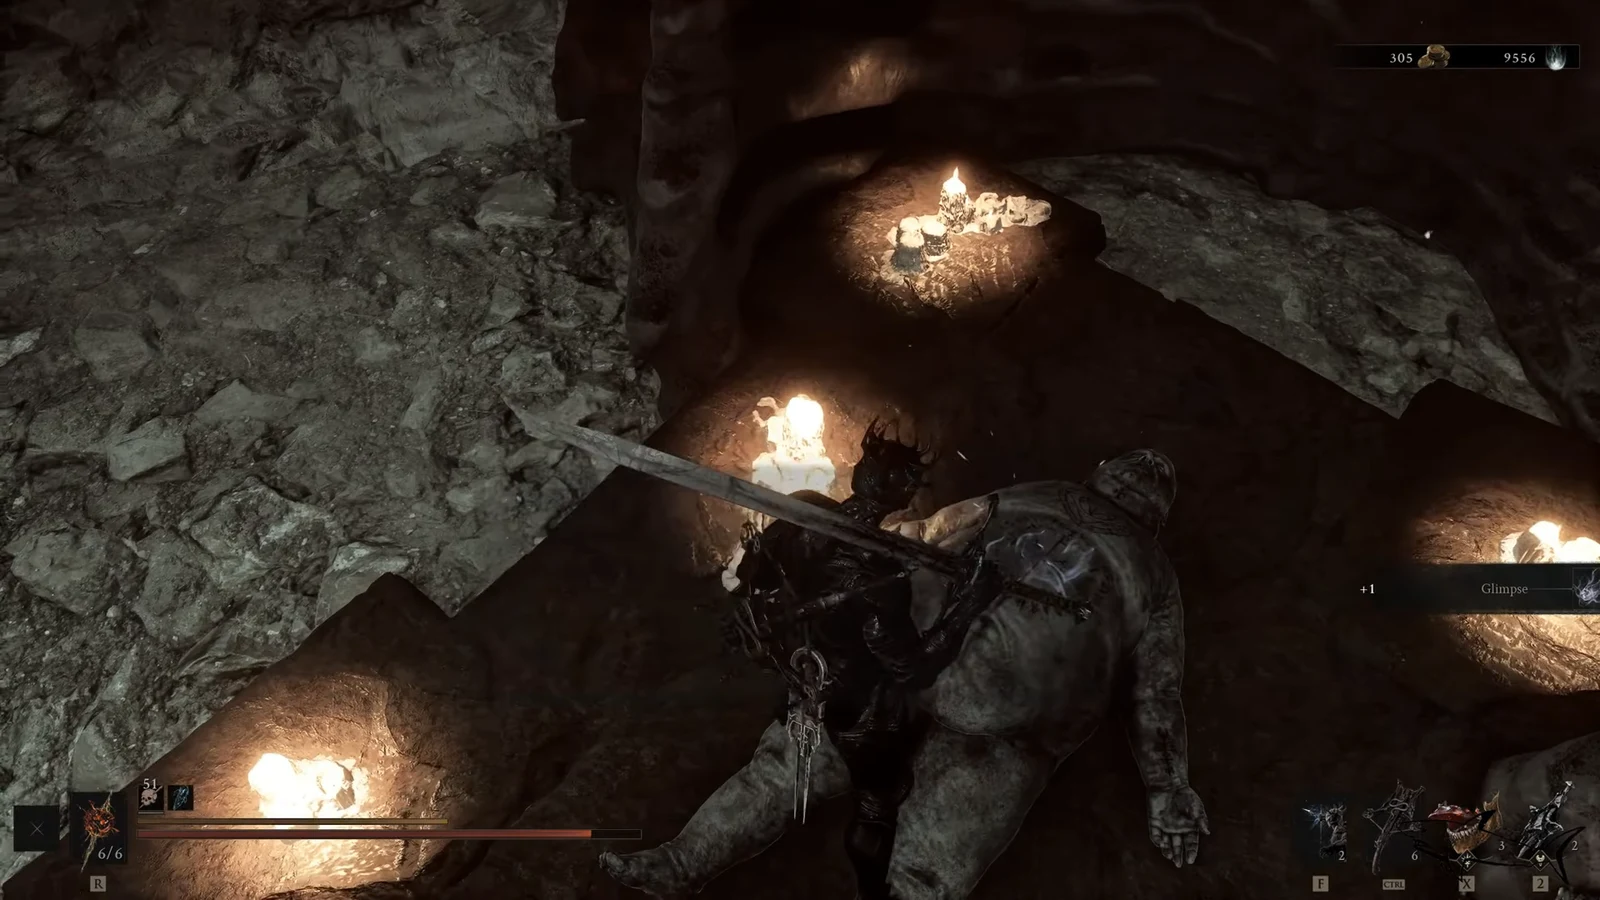
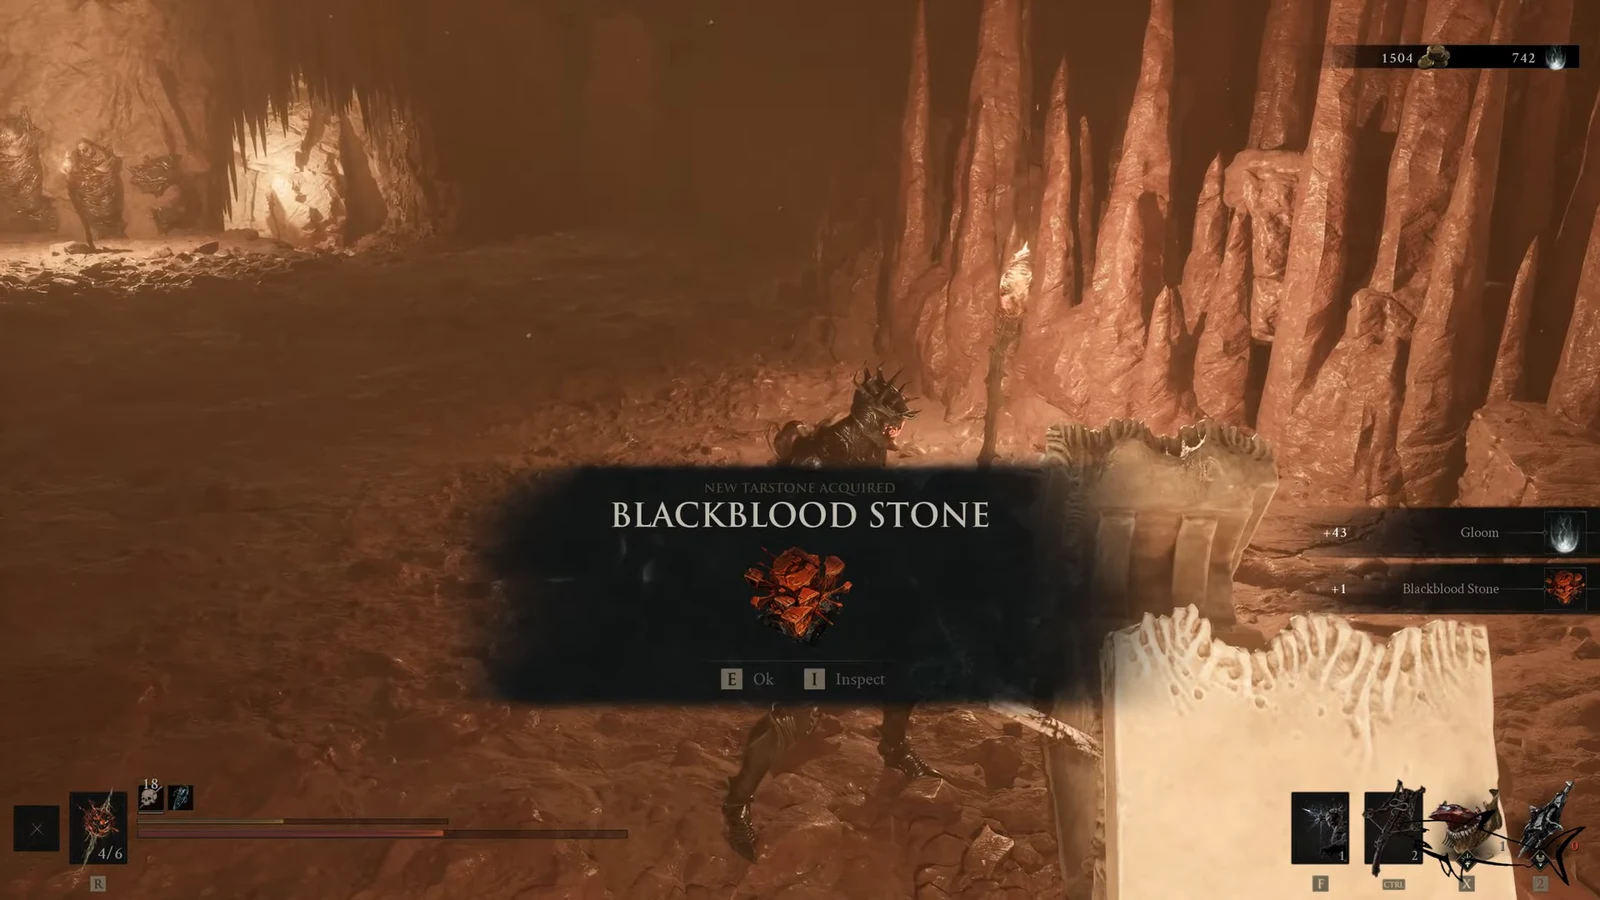
At the end of the path, clear the guards around the stone altar sarcophagus and open the chest to receive the Blackblood Stone tarstone. You can inspect it right away to see its Level 1 stats.
08:00The Blackblood Stone pickup inside the chest at the end of Mawbreak Cavern. Image credit: Cold Symmetry / via @SharkR. Shown at 08:00 in Shark R’s video.
Return to the main cavern chamber and use ranged attacks to finish the remaining corrupted guards. Strike the corrupted tree node to cleanse it, choose Collect Ovum when the New Ovum Found prompt appears, and you are teleported back to the beacon.
How to confirm the cleanse worked
The cleanse is complete when the screen displays Beacon Cleansed: Pulsing Caves after you collect the Ovum. Opening the Mether’s Breath fast travel map then shows the Pulsing Caves as an available destination, so you can warp back to it at any time. If the message does not appear, you still have corruption or the corruption source left to destroy, so return to the tree node and finish clearing the chamber before collecting the Ovum.
Blackblood Stone effects and compatibility
The Blackblood Stone is a Combat tarstone. Its main effect makes your projectiles explode in mid-air and deal splash damage, and it only fits the Naylshotte sidearm. The splash value scales as you level the stone up.
Level
Splash damage from exploding projectiles
Lv. 1
2 splash damage
Lv. 2
3 splash damage
Lv. 3
4 splash damage
Because it is locked to the Naylshotte, the Blackblood Stone is only worth equipping if you run that sidearm. Paired with it, every shot that detonates mid-flight adds area damage on top of the direct hit, which helps against the tight clusters of small enemies the Sanguine Caverns throw at you on the way back out.