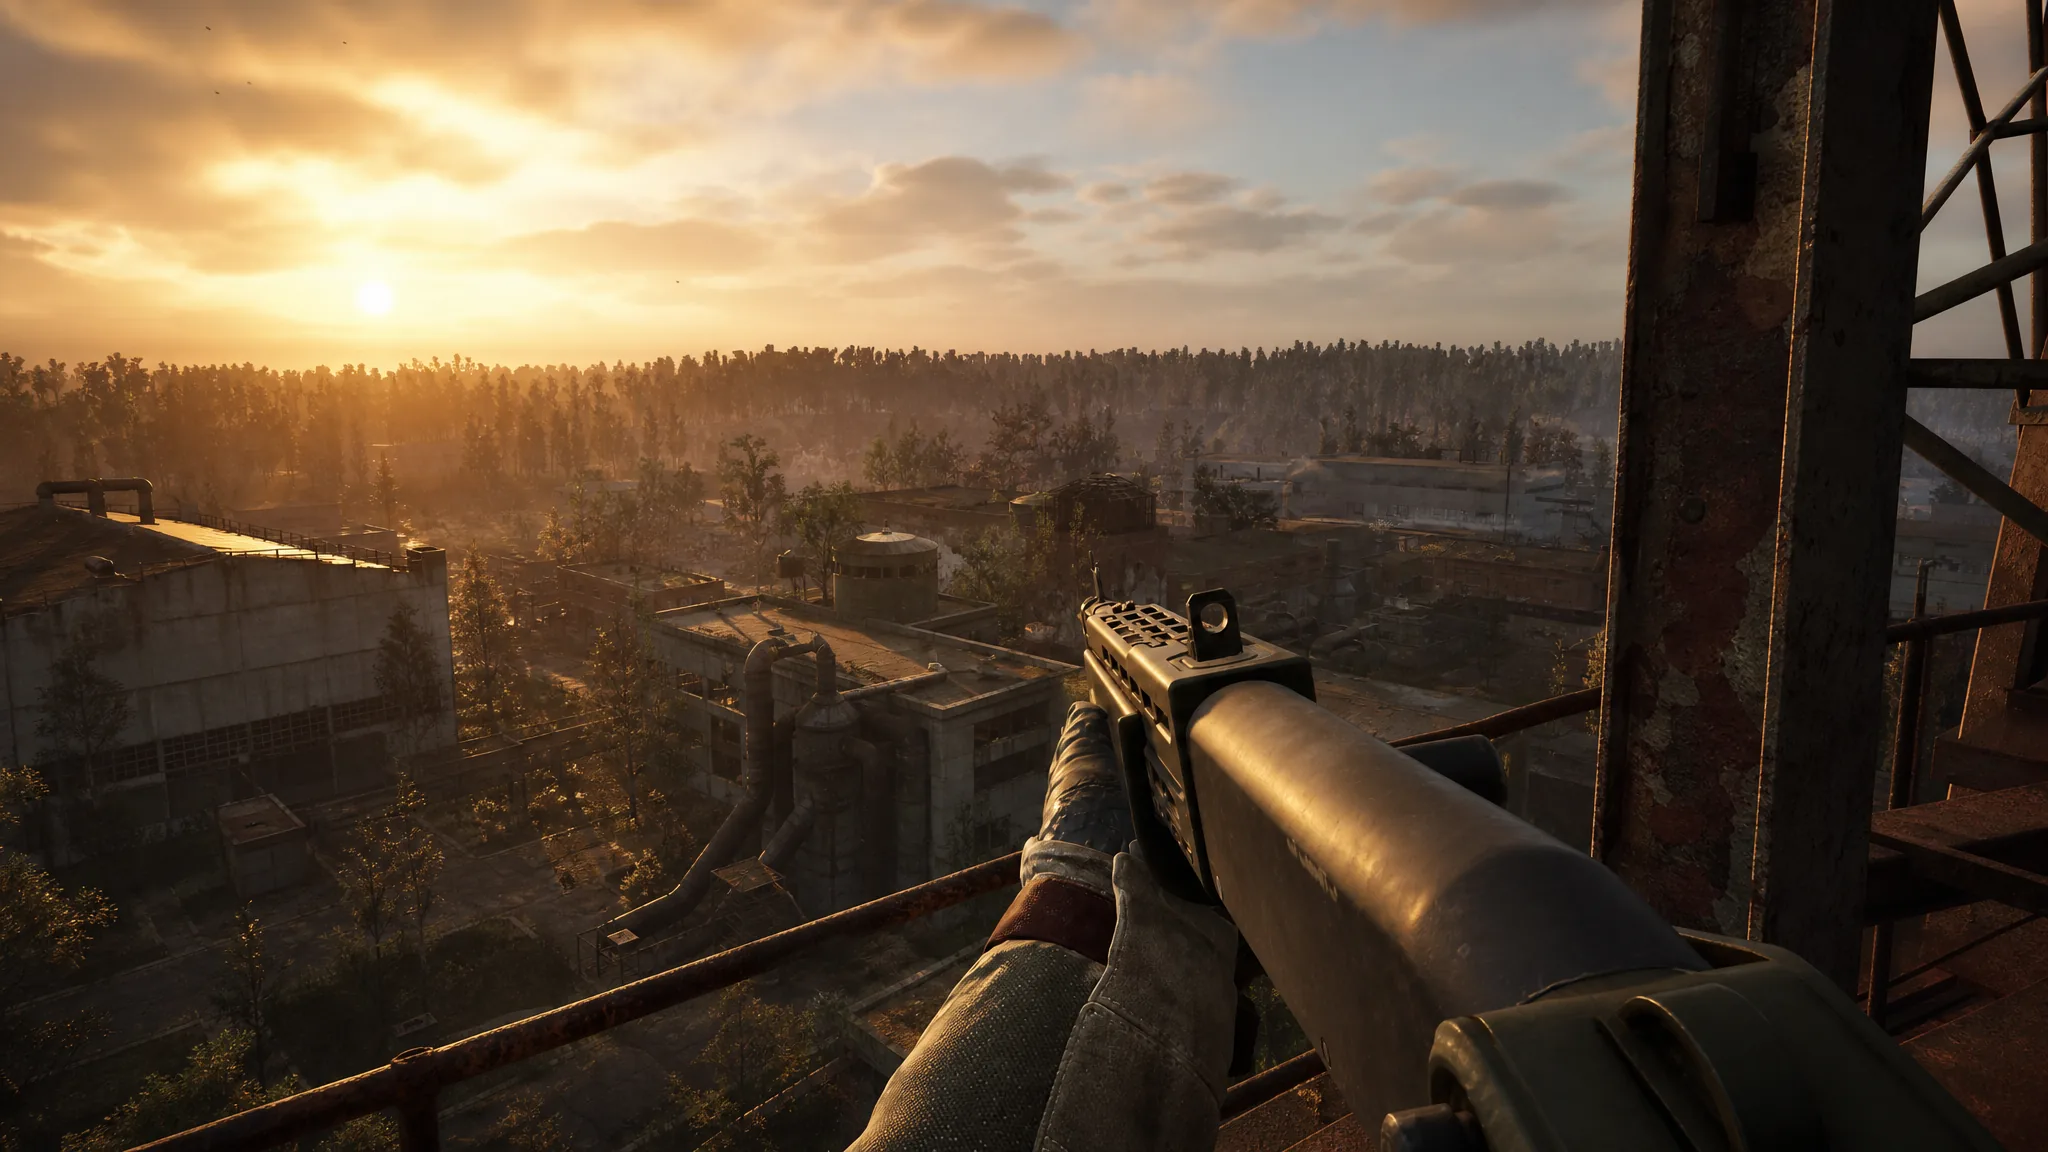
The developer console in STALKER 2: Heart of Chornobyl stays locked out of the box, but a small mod restores it on PC. Once it is installed, you can open an in-game command line and run cheats, spawn gear, or nudge a bugged quest past a stuck condition. None of this works on console hardware, and there is no built-in toggle to enable without modding.
Quick answer: Install a console-enabler mod (Kyne’s Commands Console, UETools, or UE4SS patched with RE-UE4SS), launch the game, then press ~ (tilde) or F10 to open the console and type commands such as XSetGodMode true.
What you need before you start
Console commands are a PC-only feature. They rely on modding, so an Xbox or Game Pass console build cannot run them. Back up your save files first, since some commands can crash the game or produce unexpected results.
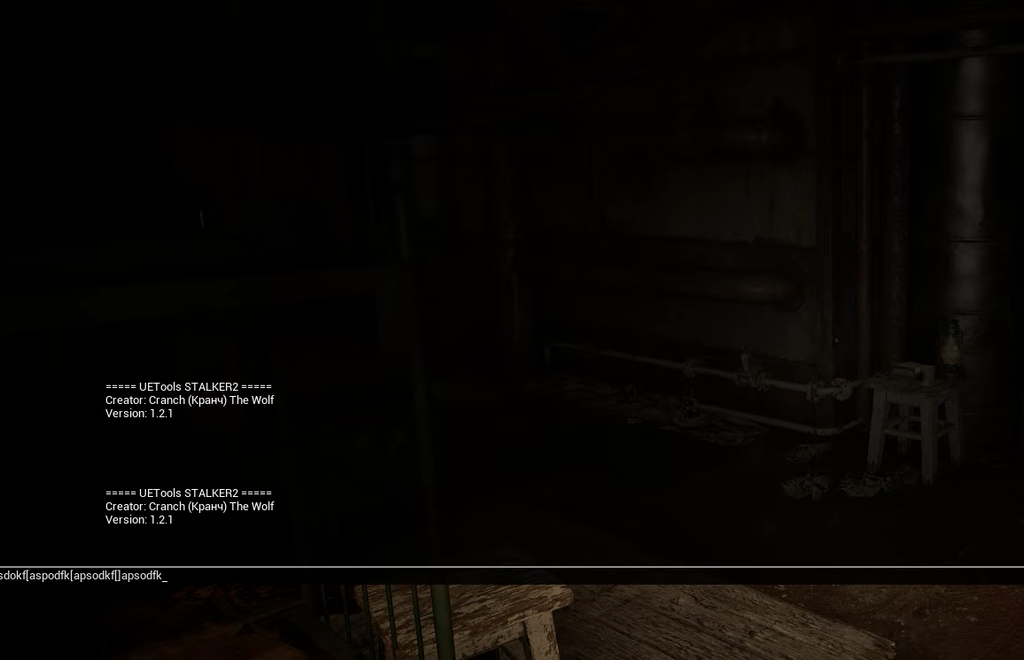
You have a few working mods to pick from. Any of them unlocks the same set of commands, so the choice comes down to how easy the install is for you.
| Mod | Install difficulty | Notes |
|---|---|---|
| Kyne’s Commands Console | Simplest | Easy to add and delete; works as of game version 2.03 |
| UETools | Simple | Drops into the Paks folder; older .pak build, latest supported v1.2.1 |
| UE4SS + RE-UE4SS patch | Advanced | Requires following the patch’s own instructions carefully |
Note: Mods tend to break after every STALKER 2 patch. If your console enabler starts crashing or stops responding, remove it and wait for an updated version from the author.
Install a console-enabler mod
\Stalker2\Content\Paks\~mods. Create the ~mods folder if it does not already exist, then drop the .pak, .sig, .ucas, and .ucos files inside.
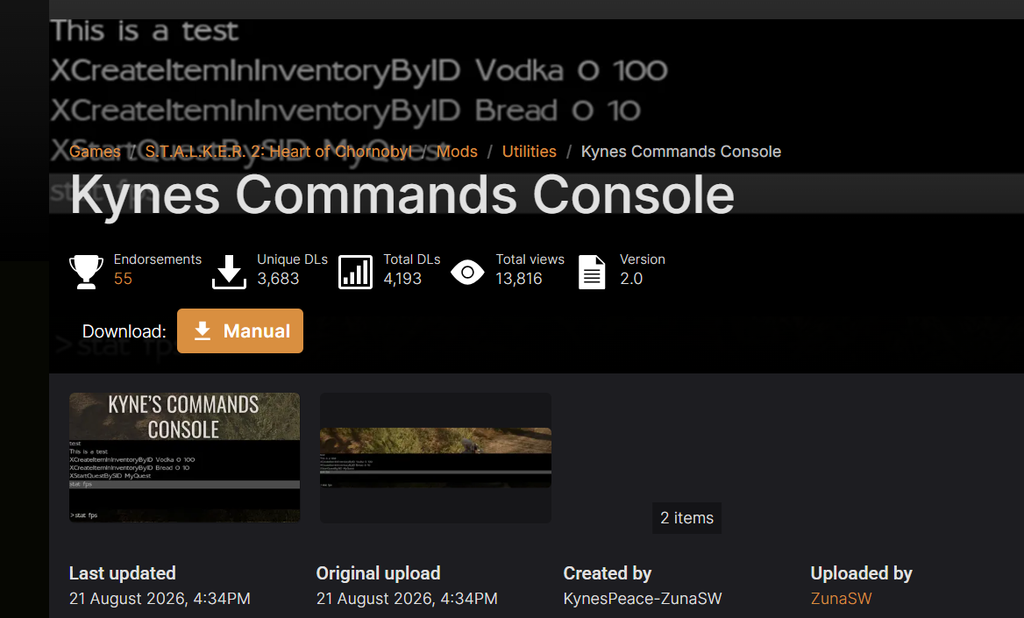
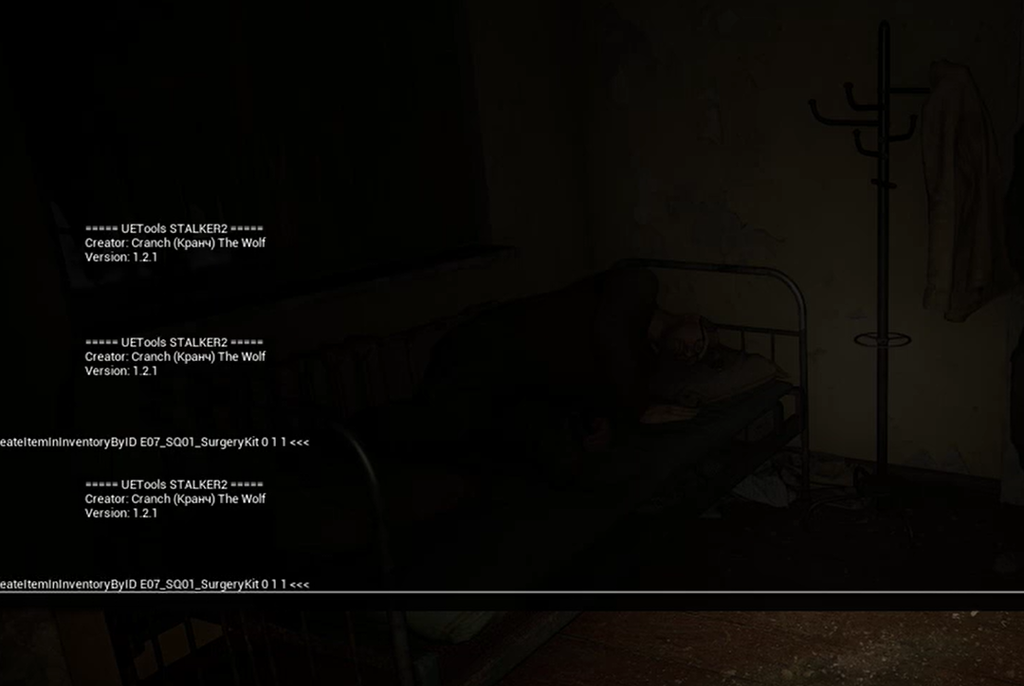
~ (the tilde key above Tab) or F10. If a text line appears at the bottom of the screen, the console is active and the mod installed correctly. The Unreal console has three states: closed, a thin input line, and a maximized log view that shows every command you run.Core cheat commands
The commands are identical no matter which enabler you use. Type one into the open console and press Enter. For toggles, swap true for false to turn the effect off.
| Effect | Command |
|---|---|
| God mode (invincibility) | XSetGodMode true |
| Noclip (fly through walls) | XSetNoClipGSC true (speed) |
| Add Coupons | XAddMoneyToPlayer (x) |
| Add an item by ID | XCreateItemInInventoryByID (id) 0 (count) (durability) |
| Set in-game time | XSetWeatherTime (hour) (minute) (second) |
| Force weather | XForceWeather (type) |
The XForceWeather command accepts these presets: Cloudy, Clearly, Foggy, Thundery, Rainy, and CalmBeforeEmmission.
If you installed a UETools-based build, a few extra Unreal Engine commands are handy for movement and cleanup. UETools_Help prints the full command list. UETools_Ghost disables collision so you can phase through a locked or bugged door, and UETools_Walk turns it back off. UETools_Fly lets you fly with collision still on, which is useful for covering long distances. Note: if the UETools_ commands do not respond at first, run Init, Reload, or r in the console to wake them up.
Spawn weapons with item IDs
To pull a gun straight into your inventory, use the add-item command and replace the placeholder with a weapon ID. The pattern is:
XCreateItemInInventoryByID (id) 0 1 1The final two numbers set the count and durability. For example, XCreateItemInInventoryByID GunArev_ST 0 1 1 spawns one weapon at full durability. Raise the third value to spawn several copies at once.
| Weapon | ID |
|---|---|
| AK74U | GunAKU_PP |
| AK74S | GunAK74_ST |
| APSB | GunAPB_HG |
| AR416 | GunM16_ST |
| AS Lavina | GunLavina_ST |
| Boomstick | GunObrez_SG |
| Buket | GunBucket_PP |
| Dnipro | GunDnipro_ST |
| Fora-221 | GunFora_ST |
| Grom | GunGrim_ST |
| Gauss Rifle | GunGauss_SP |
| GP37 | GunG37_ST |
| Integral-A | GunIntegral_PP |
| Kharod | GunKharod_ST |
| Kora-1911 | GunKora_HG |
| RAM-2 | GunRam2_SG |
| RPG-7U | GunRpg7_GL |
| Rhino | GunRhino_HG |
| M10 | GunM10_HG |
| M701 | GunM701_SP |
| M860 | GunM860_SG |
| Mark 1 EMR | GunMark_SP |
| PKP | GunPKP_MG |
| PTM | GunPM_HG |
| Saiga | GunD12_SG |
| SPSA-14 | GunSPSA_SG |
| SVDM | GunSVDM_SP |
| SVU | GunSVU_SP |
| Three Line Rifle | GunThreeLine_SP |
| TOZ-34 | GunTOZ_SG |
| UDP | GunUDP_HG |
| Viper-5 | GunViper_PP |
| VS Vintar | GunGvintar_ST |
| Zubr | GunZubr_PP |
Named and unique weapons
Unique guns follow a different naming template. Use Gun_(name)_(type), where the type matches the two-letter suffix in the table above. For instance, the Drowned AK spawns with Gun_Drowned_AR. This works for most named weapons, though a handful use entirely separate IDs.
How to confirm it worked and common failures
Each command reports back in the maximized console log, so you can read whether it ran or threw an error. God mode is obvious once enemies stop damaging you, added Coupons appear immediately in your total, and spawned weapons drop straight into your inventory.
If nothing happens when you press ~ or F10, the mod either failed to install or broke after a game update. The most frequent causes are a missing ~mods folder, files placed in the wrong directory, or a patch that made the current mod version incompatible. Remove the mod, reinstall a version that matches your game build, and try again. Because these mods hook into the game engine directly, keeping a save backup means a bad command never costs you real progress.