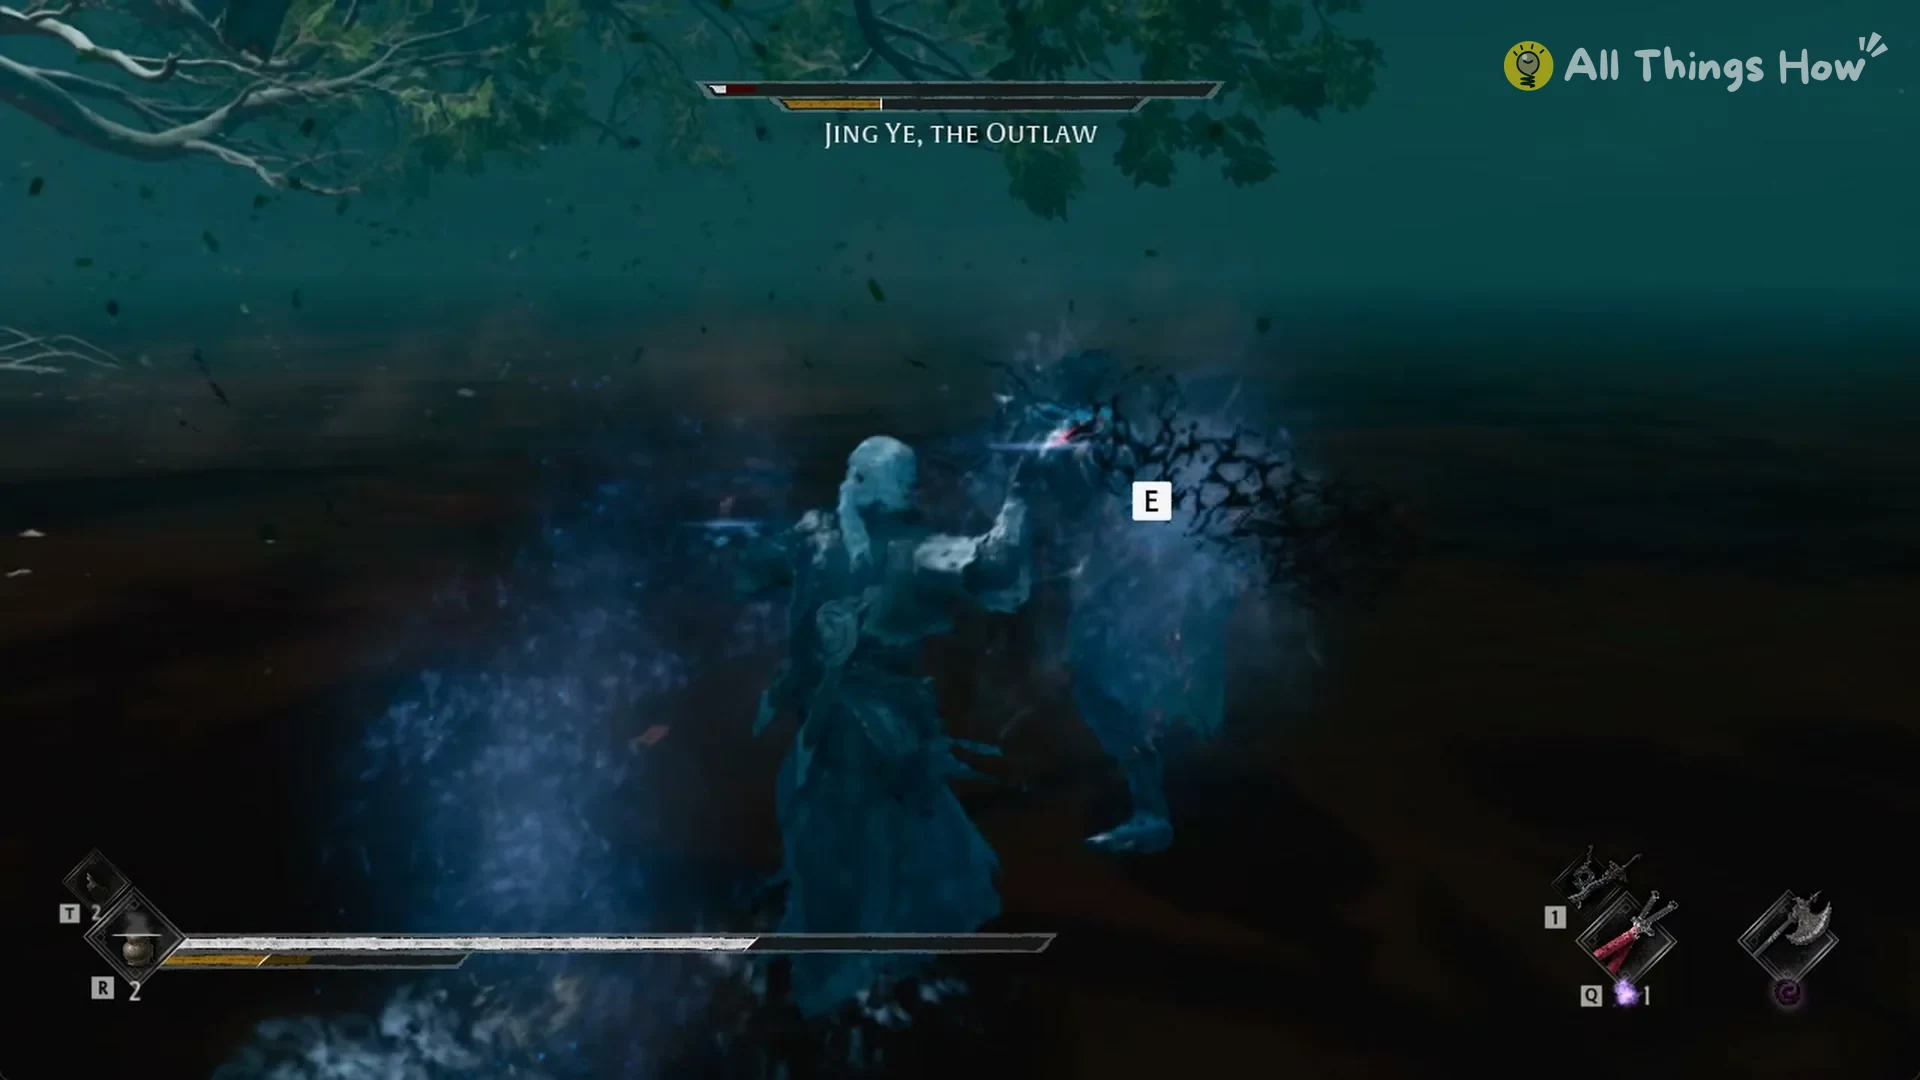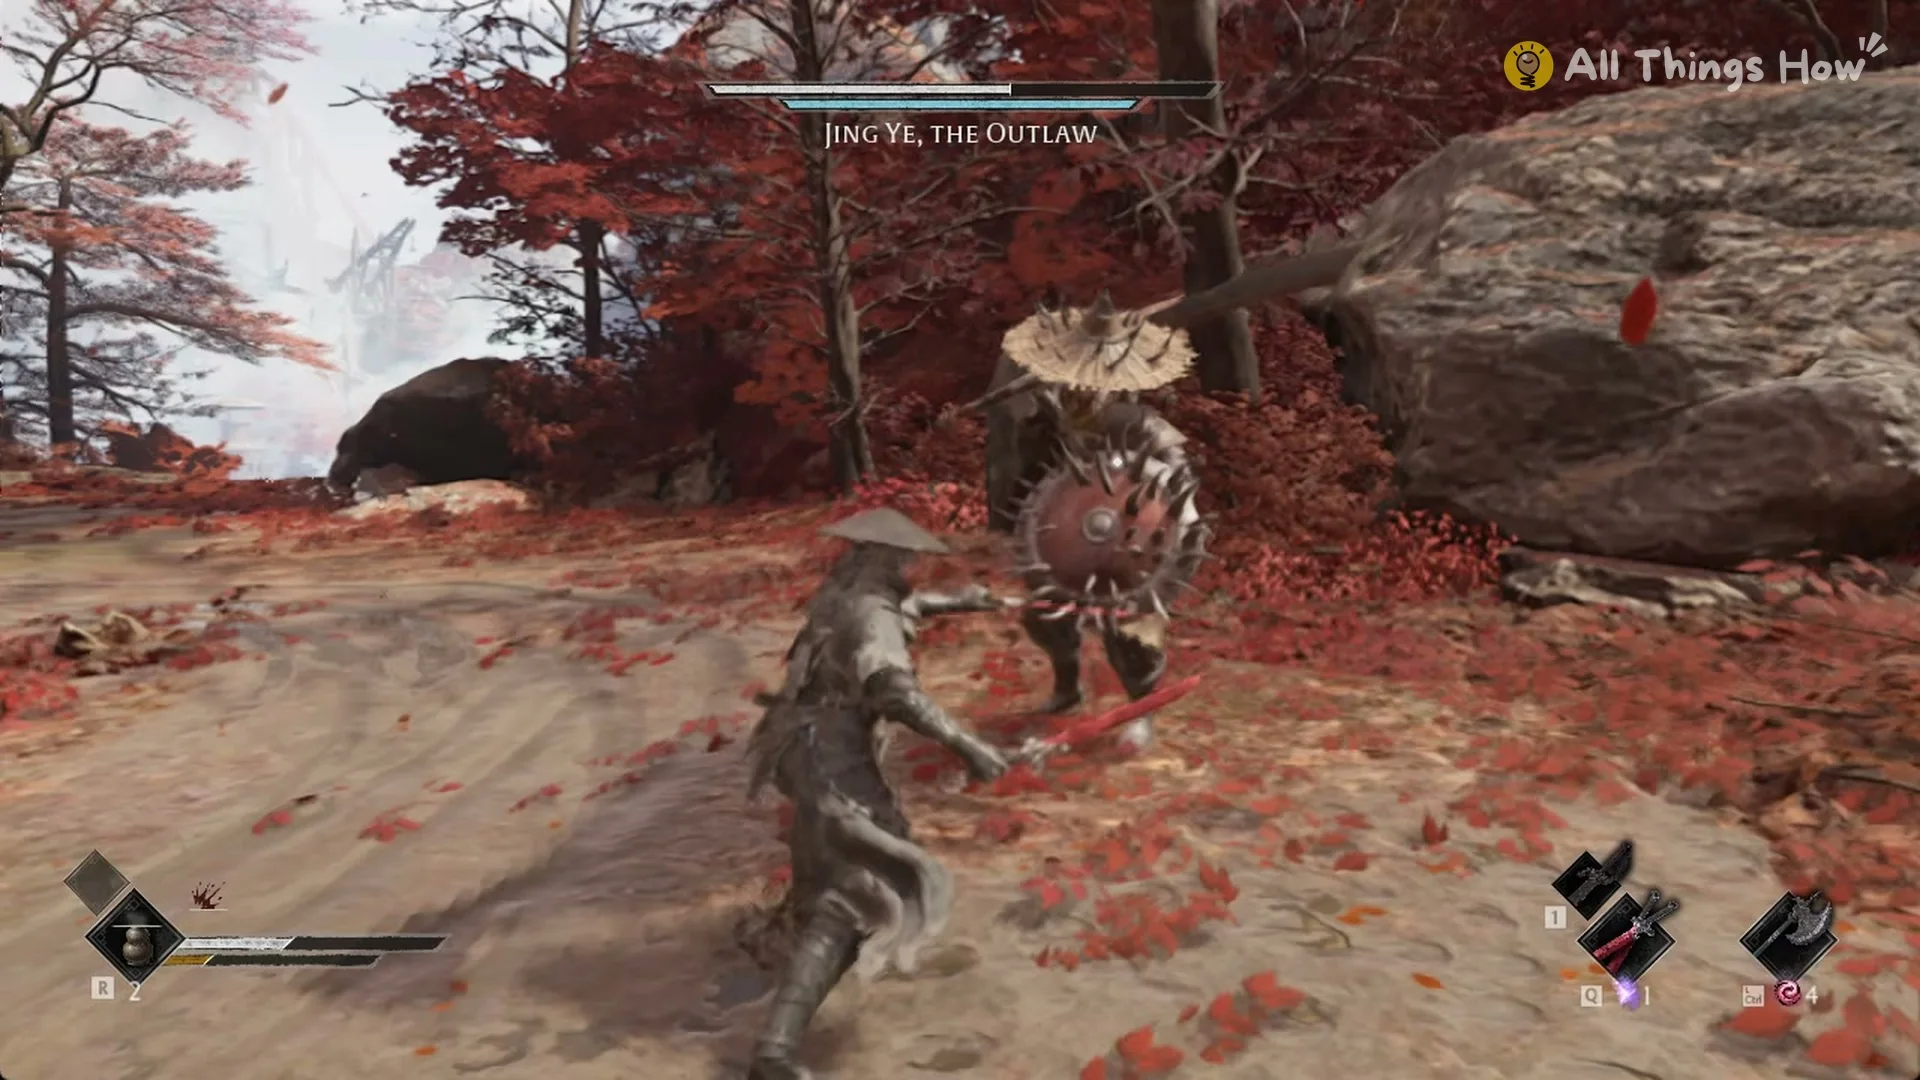
Quick answer: Counter Jing Ye’s mounted rushes with a sidestep, parry his nearby attack chains, and wait until there’s space before healing. When he’s lost roughly 40% of his health, he leaves the saddle and continues the fight on foot with a spiked shield.
In Phantom Blade Zero, Jing Ye, the Outlaw, is a two-stage boss found in the Crimson Forest. While mounted, he usually strings fast strikes together, so a well-timed parry or dodge may handle only one part of the sequence. The damage values below are rounded Soul costs per attack on Pathbreaker, the default difficulty, assuming 892 max HP; Wayfarer is specified where applicable.
Jing Ye at a glance
| Detail | Value |
|---|---|
| Name bar | JING YE, THE OUTLAW |
| Health | 44,083 HP (same on Pathbreaker and Wayfarer) |
| Phases | Two: mounted, then on foot with a shield |
| Phase change | About 40% health lost (around 26,400 HP left) |
| Respawn point | Outlaw Trap bell, full HP and heals |
| Boss health on return | Full again |
| Reward | Outlaw Warblade |
Where the fight happens
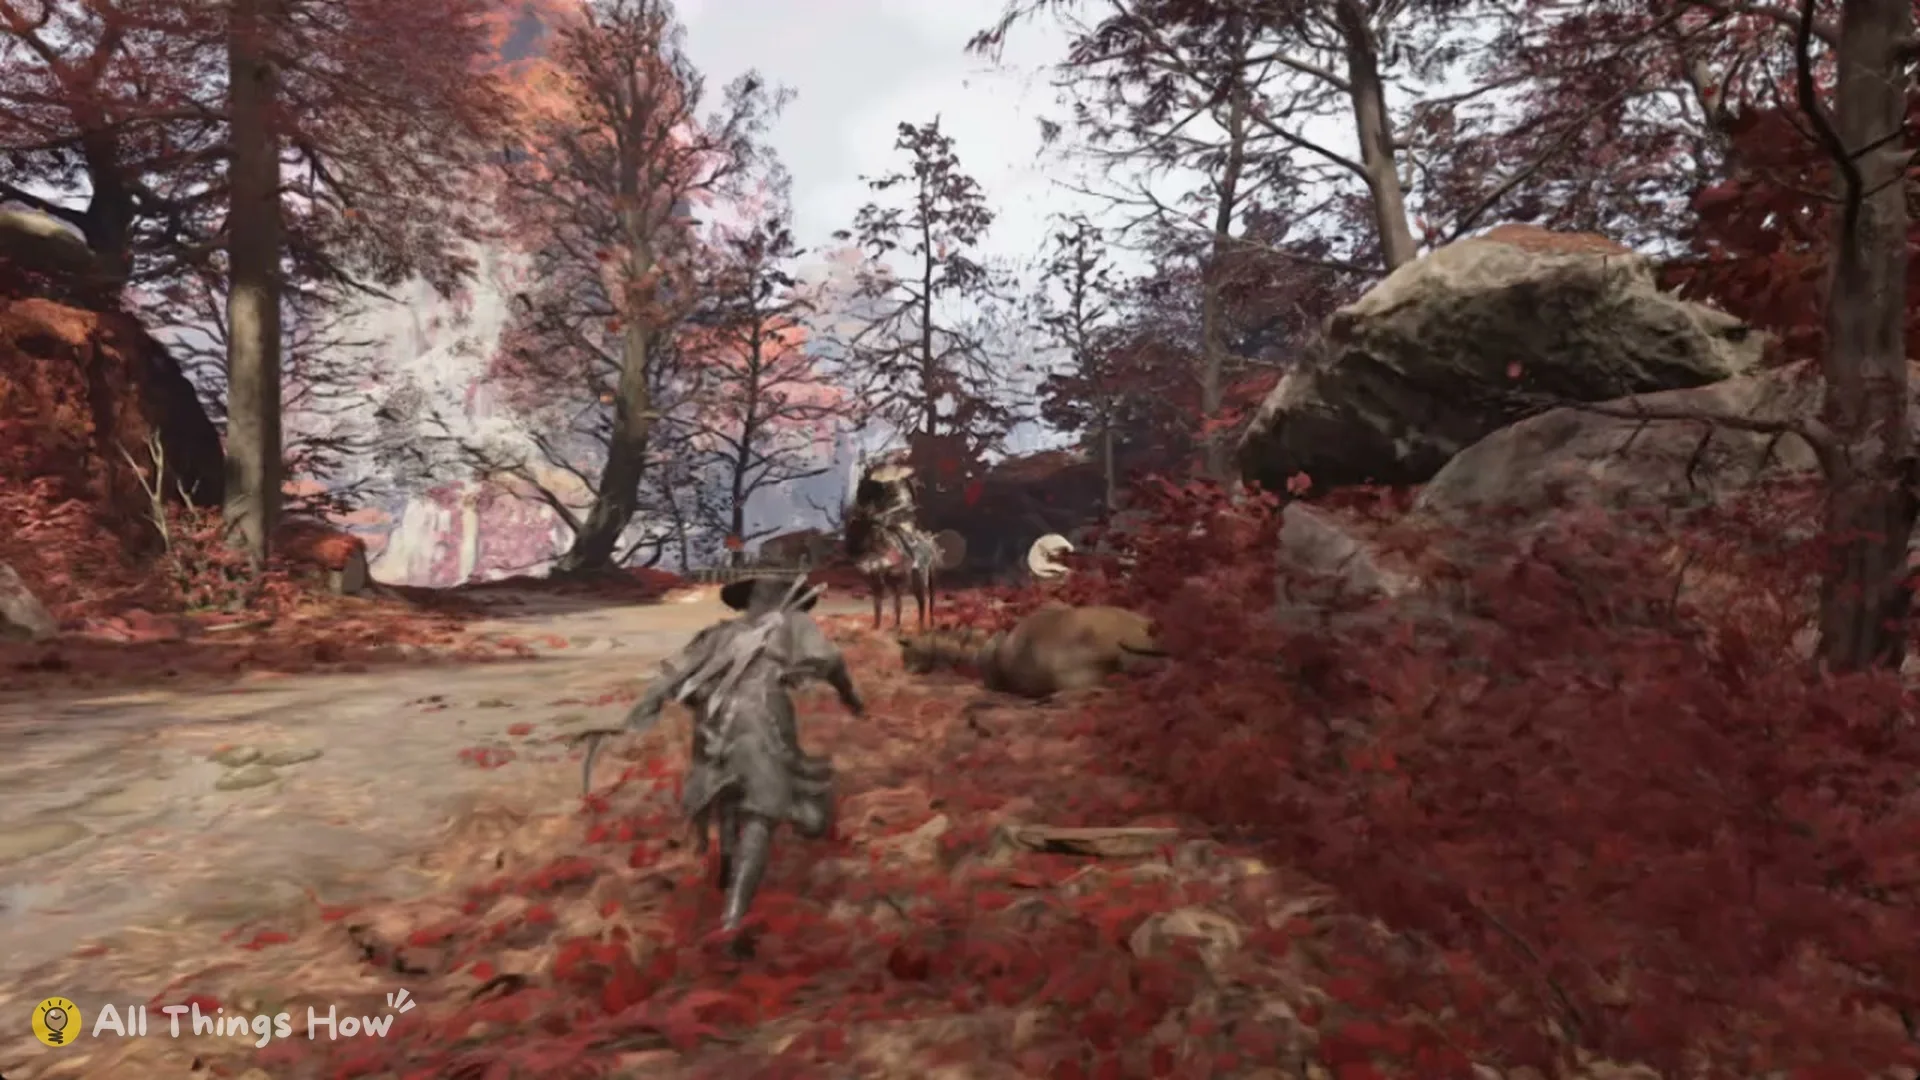
Jing Ye waits on the upper stream path about 60 m east of the Outlaw Trap bell in the Crimson Forest. You’ll walk onto a wide sandy track lined with red-leaved trees and boulders, with a dead horse lying beside a rock where the path opens up. He sits on his horse further along, and the fight starts as soon as his name bar appears. The full route is in the Jing Ye location guide, and the full boss list shows where he falls in the order.
During the fight, the game shows the prompt “Press 1 to switch weapons and fully restore Sha-Chi!” Use it when Sha-Chi runs low. The weapon switching page covers how swapping works.
Phase 1: Jing Ye on horseback
The mounted phase lasts until he has lost about 40% of his health. Most of the damage you take here comes from standing in the wrong place. Distance and direction matter more than reaction speed.
Long-range charge
He retreats to around 10–20 m, then charges directly at you, landing several hits as he goes by. A backstep leaves you in the charge’s path, and handling repeated rushes that way can cost about 700 HP overall. Instead, dodge sideways out of his line and keep moving that way as he passes. A charge will then cost about 100 HP or nothing.
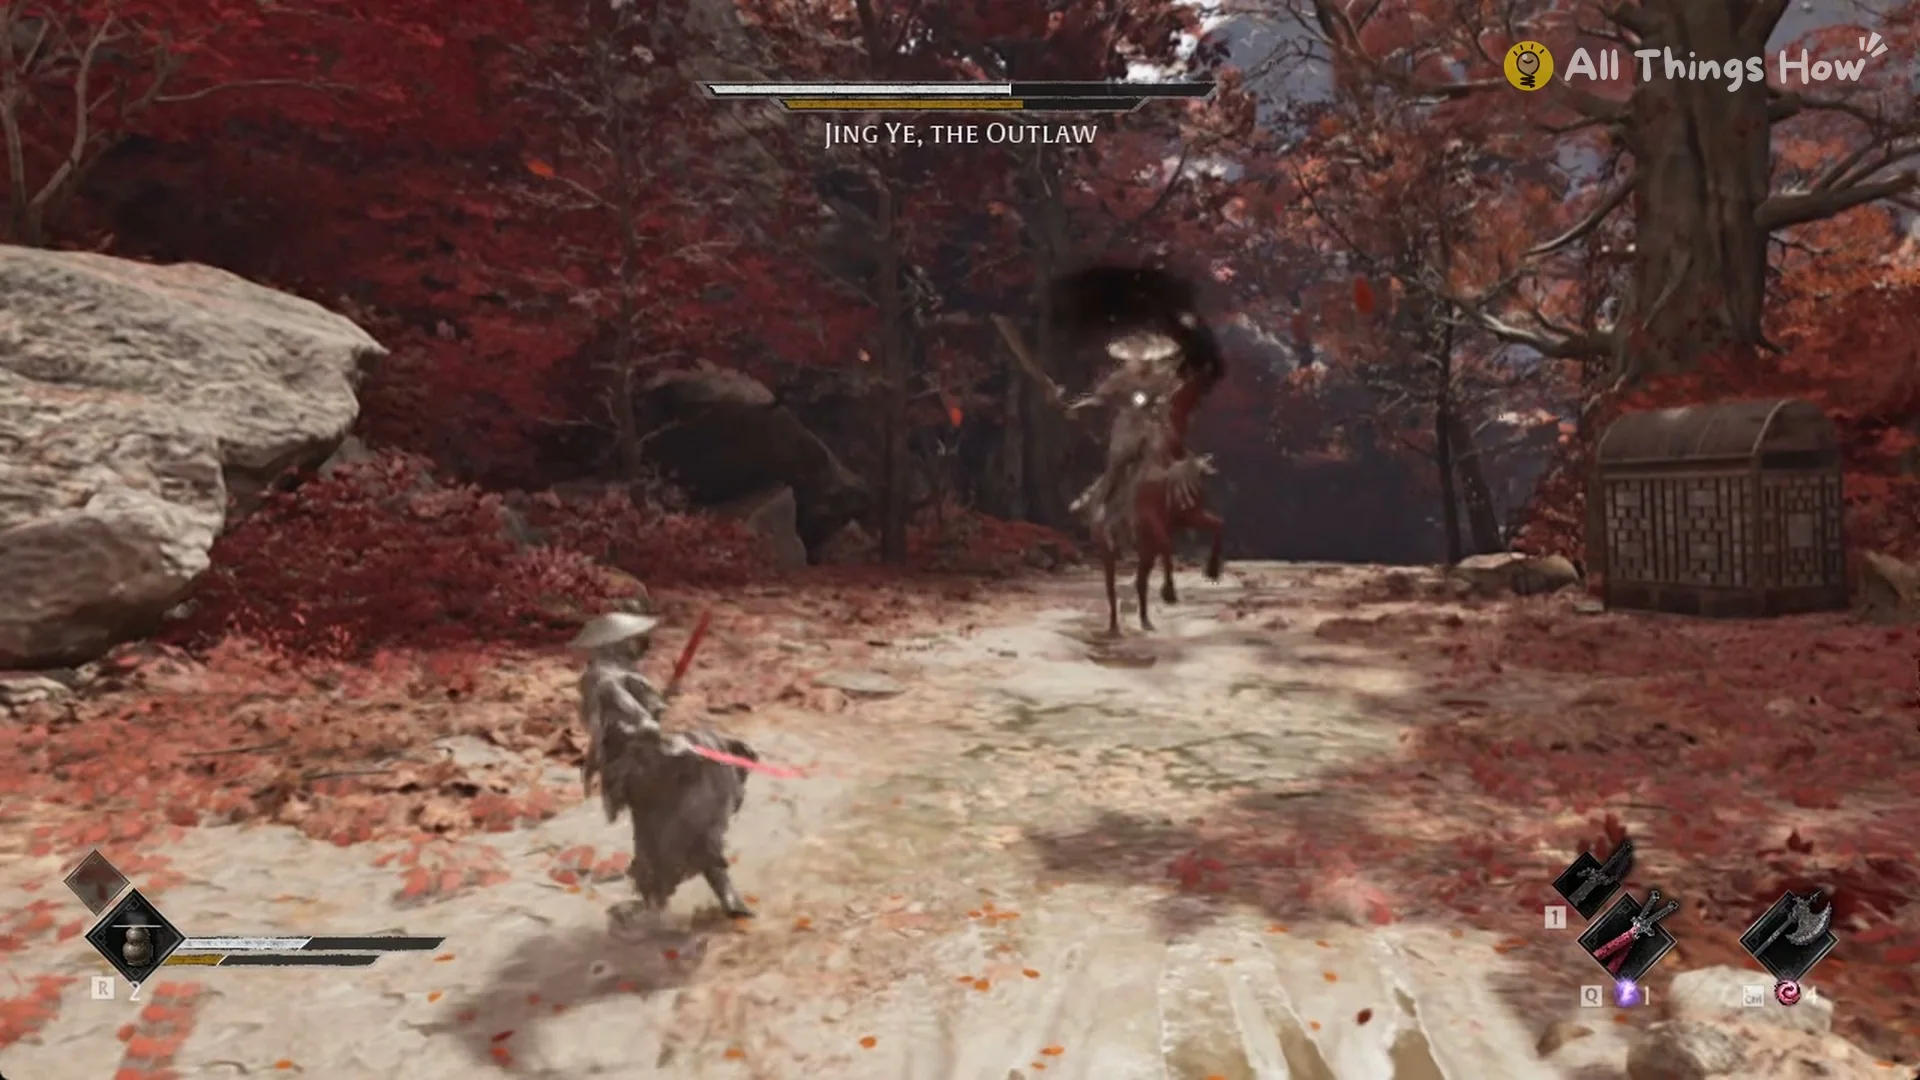
Charges beginning at least 16 m away are easy to misjudge. Don’t walk toward him as he rides in, or every hit in the sequence will connect.
Red flash attacks
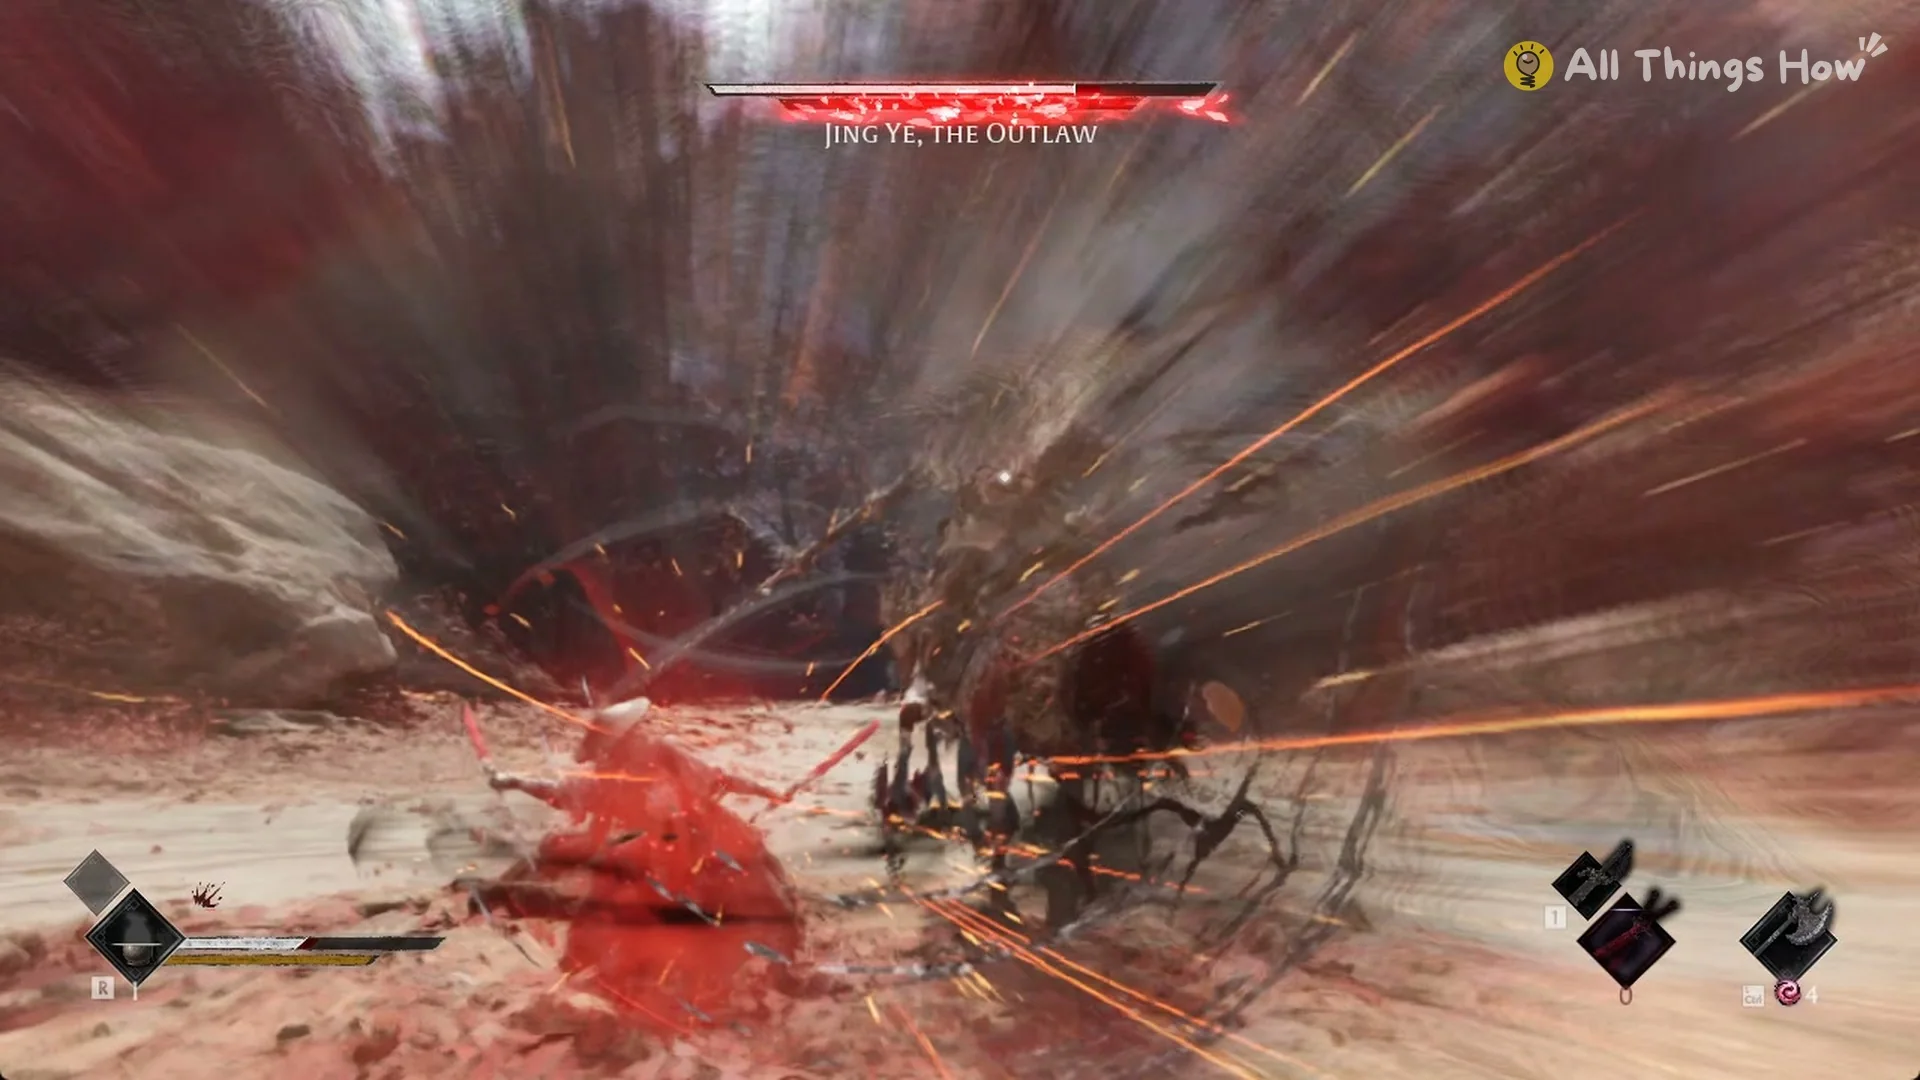
Some charges are preceded by a red flash across the screen and his name bar. The combat tutorial identifies red-flash attacks as dodge checks rather than parry checks, so evade just before impact. The parry guide explains the difference between blue and red flashes, while the dodge guide details the timing.
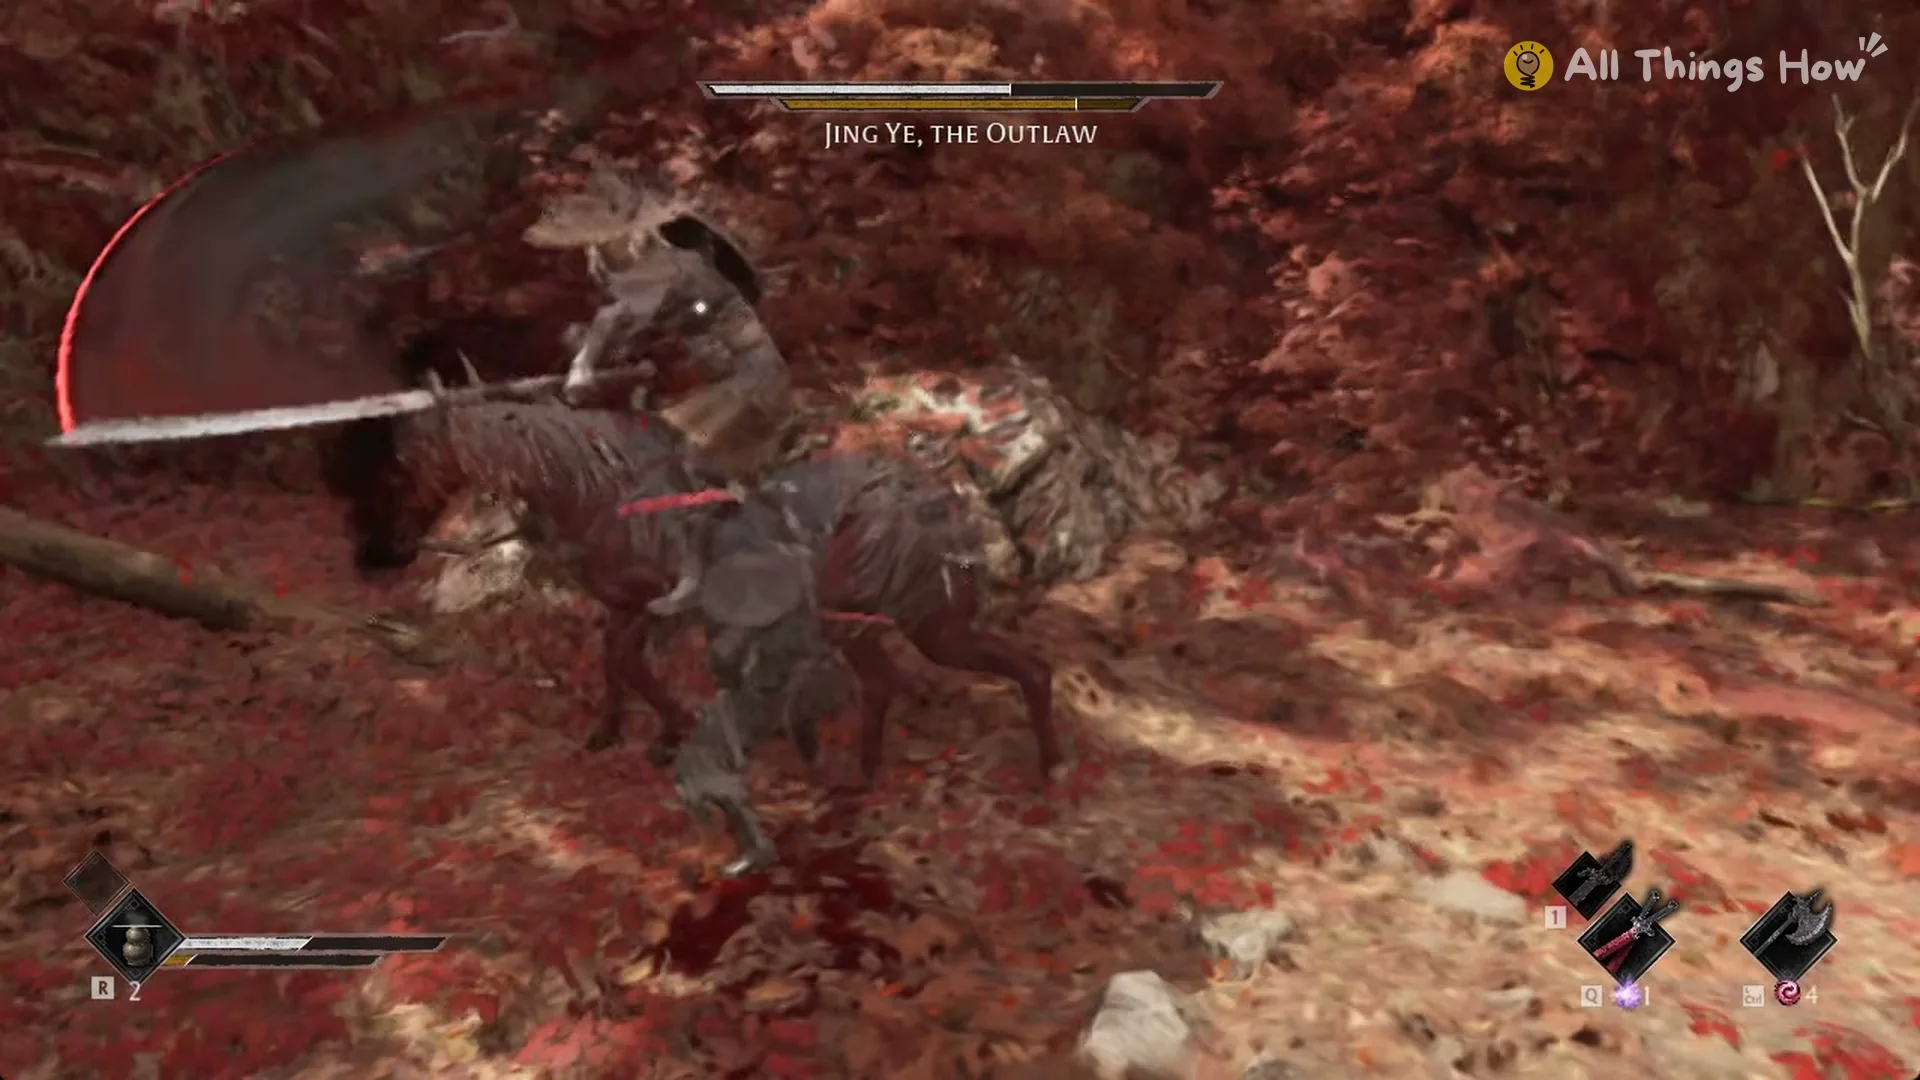
Sweeping saddle swings
From horseback, he sweeps his long blade through a broad arc, leaving a red trail. A single heavy swing deals about 180–230 HP.
Close-range flurries
Stand next to the horse and he chains quick hits together. Parrying, which means pressing Block just before each hit, is the answer to these strings: parry each hit as it comes rather than trying to dodge the whole chain.
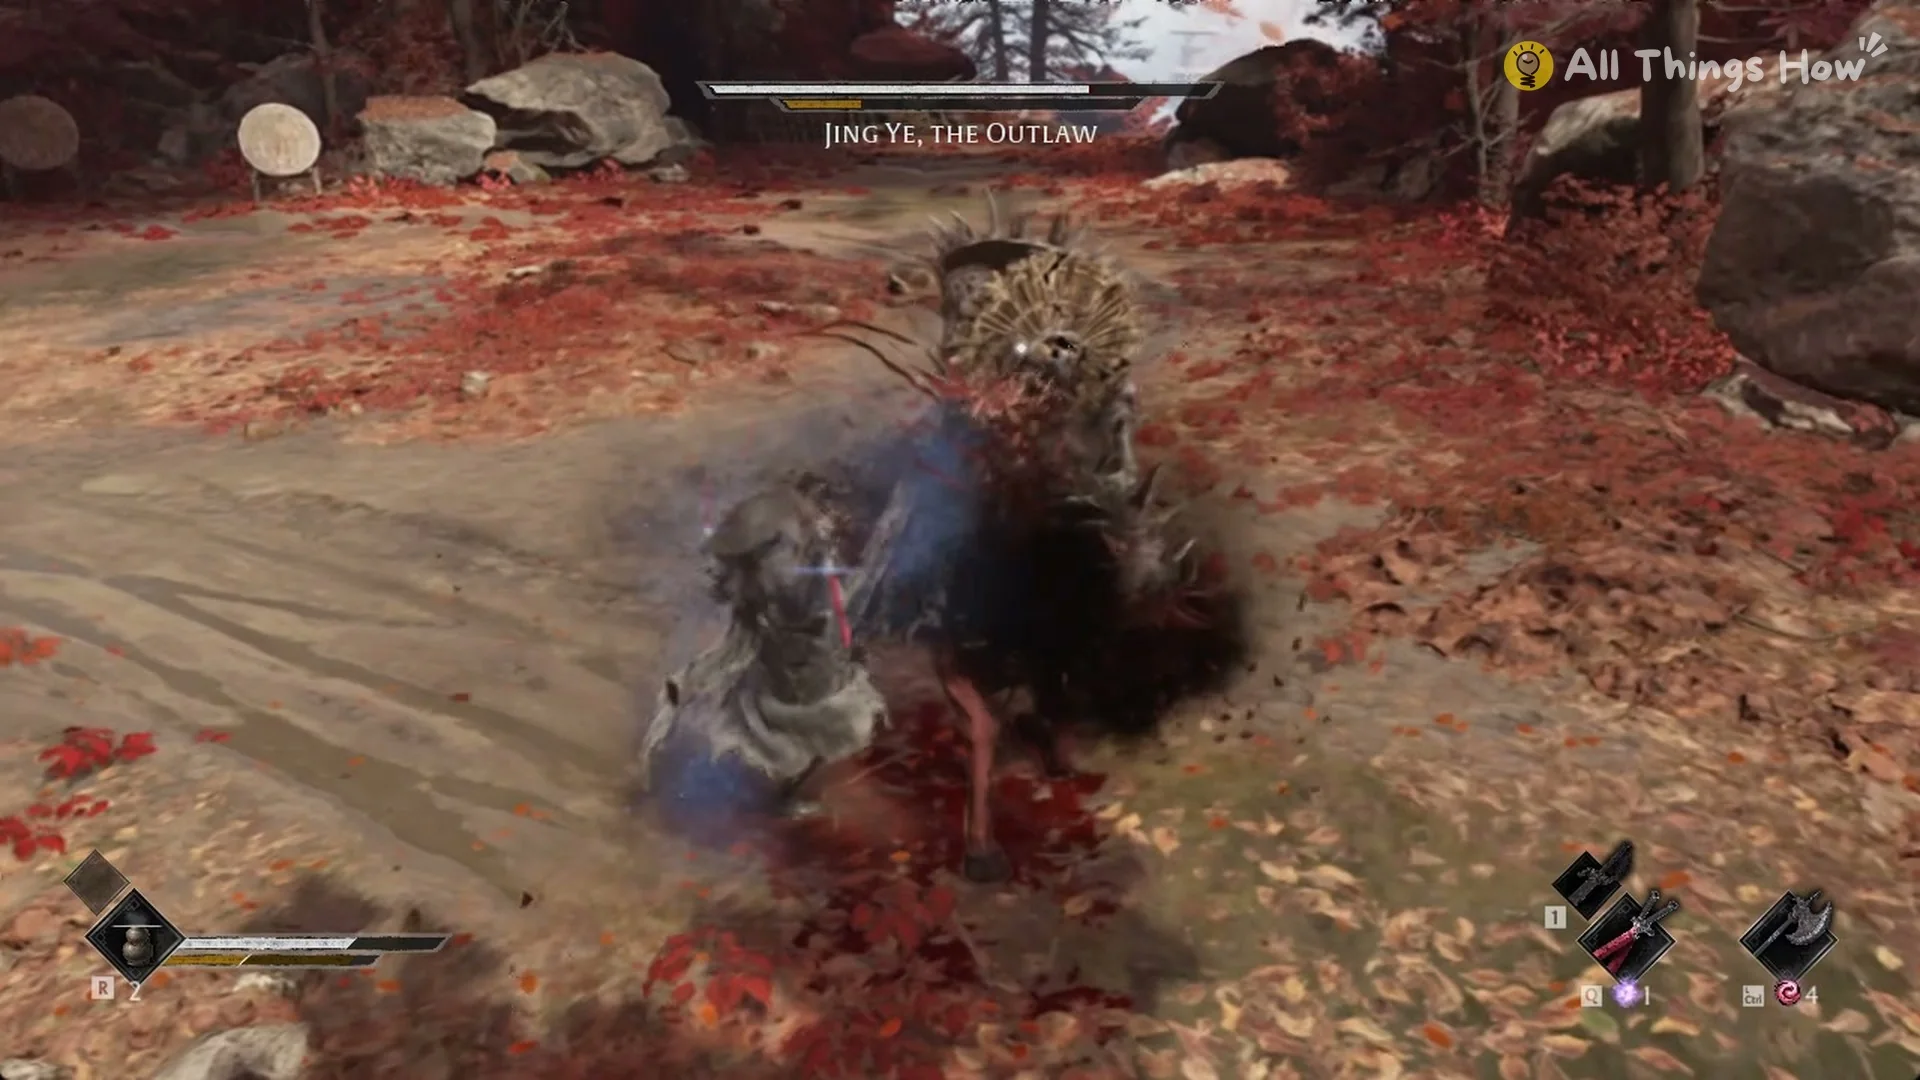
| String | Cost if it lands | Detail |
|---|---|---|
| Four-hit flurry | About 200 HP | Parry each hit |
| Three-hit combo | About 165–235 HP (Wayfarer, guard broken) | Third hit comes early after he rides in |
| Knockback finisher | About 390 HP | One heavy hit ends the string |
On the three-hit combo, parry the first two hits and watch the third. If he has just ridden in, it arrives sooner than you’d expect. The knockback finisher alone can end a run when you’re sitting around 400 HP, so don’t let your health drift that low while you stay close.
Long lunge with a late heavy hit
From 5–15 m away, he lunges toward you. Several lighter hits come first, followed roughly 3.5 to 4 seconds after the move begins by a heavy strike dealing about 200–270 HP. Dodging once at the start won’t avoid the heavy hit, which comes after that dodge ends.
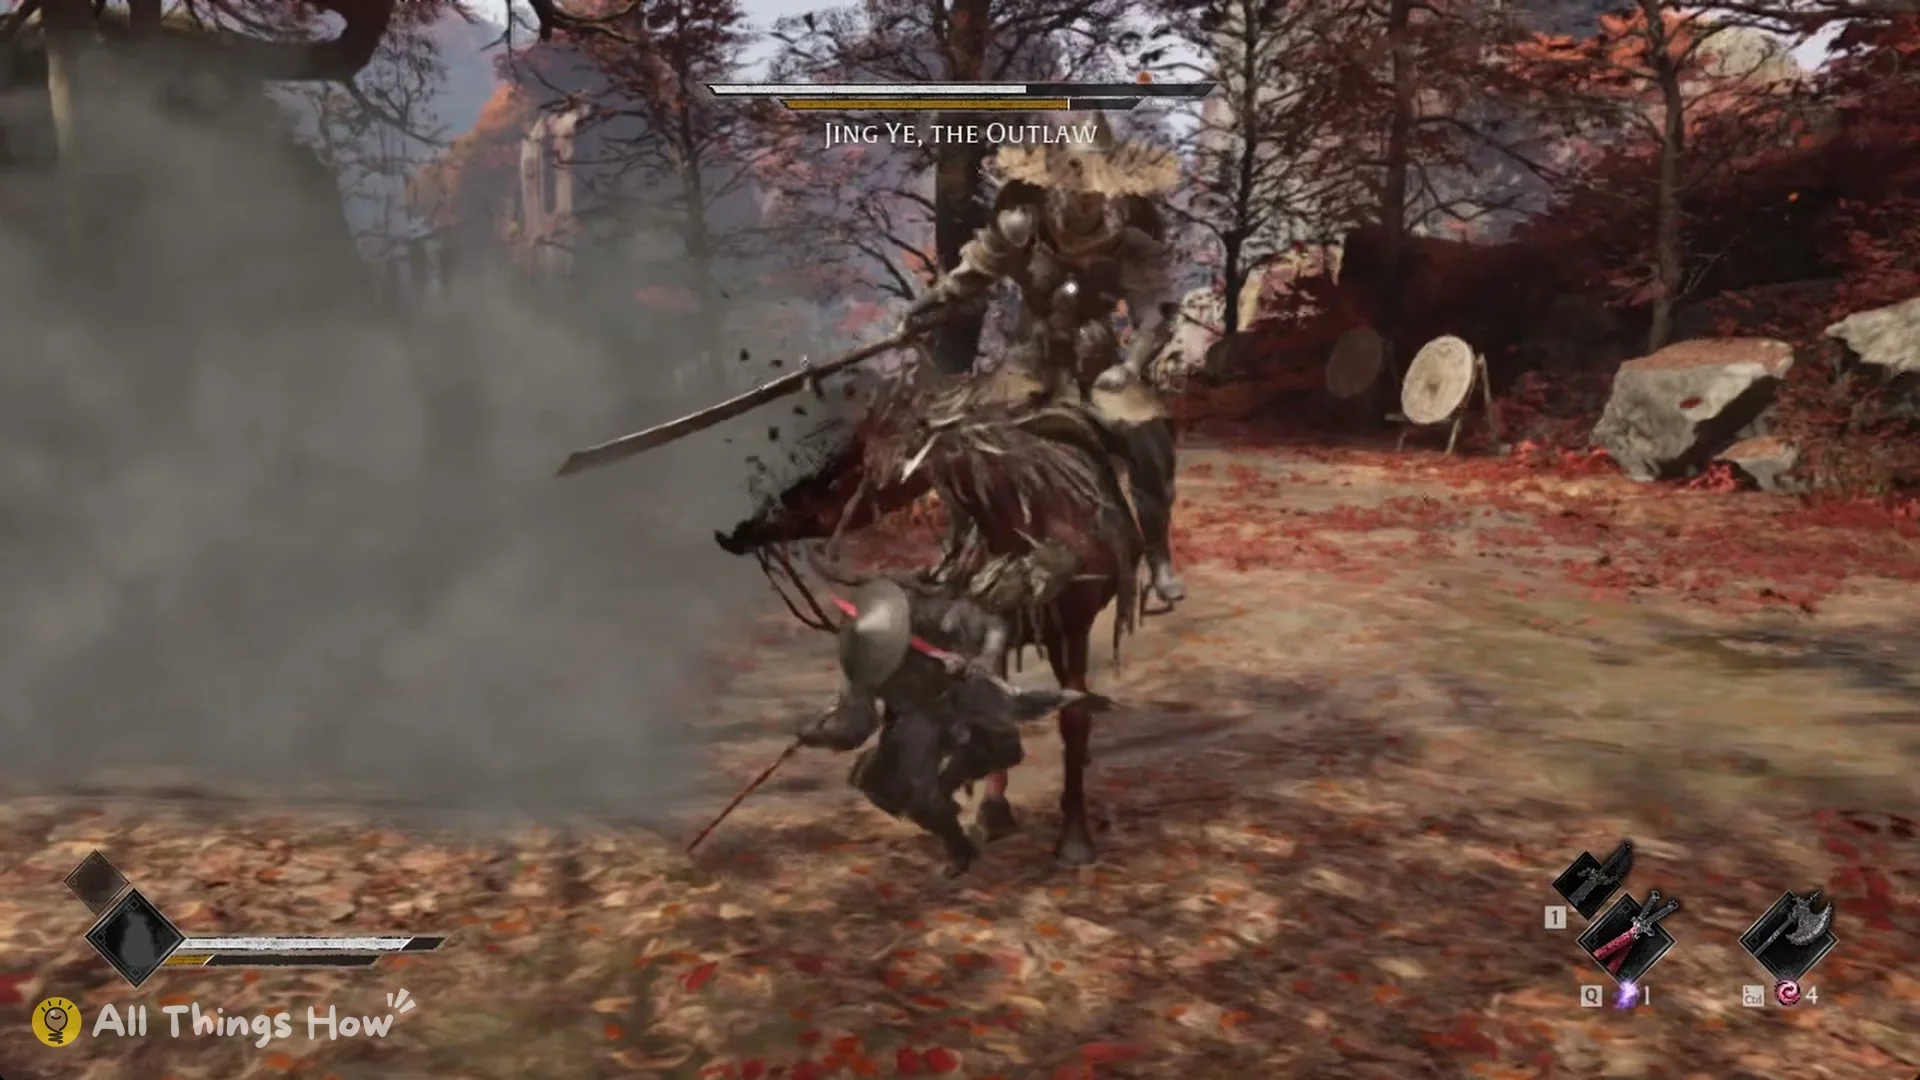
Continue dashing sideways in one direction until the heavy strike is over; the sequence lasts about 4.5 seconds. On Wayfarer, this approach costs roughly 80–200 HP, and the heavy hit misses.
Phase 2: Jing Ye’s spiked shield
Once he has lost about 40% of his health, Jing Ye gets off the horse in a cloud of dust. He then fights on foot with a long blade and a large round shield covered in spikes. A second, blue bar appears under his name bar at the top of the screen when the shield phase starts.
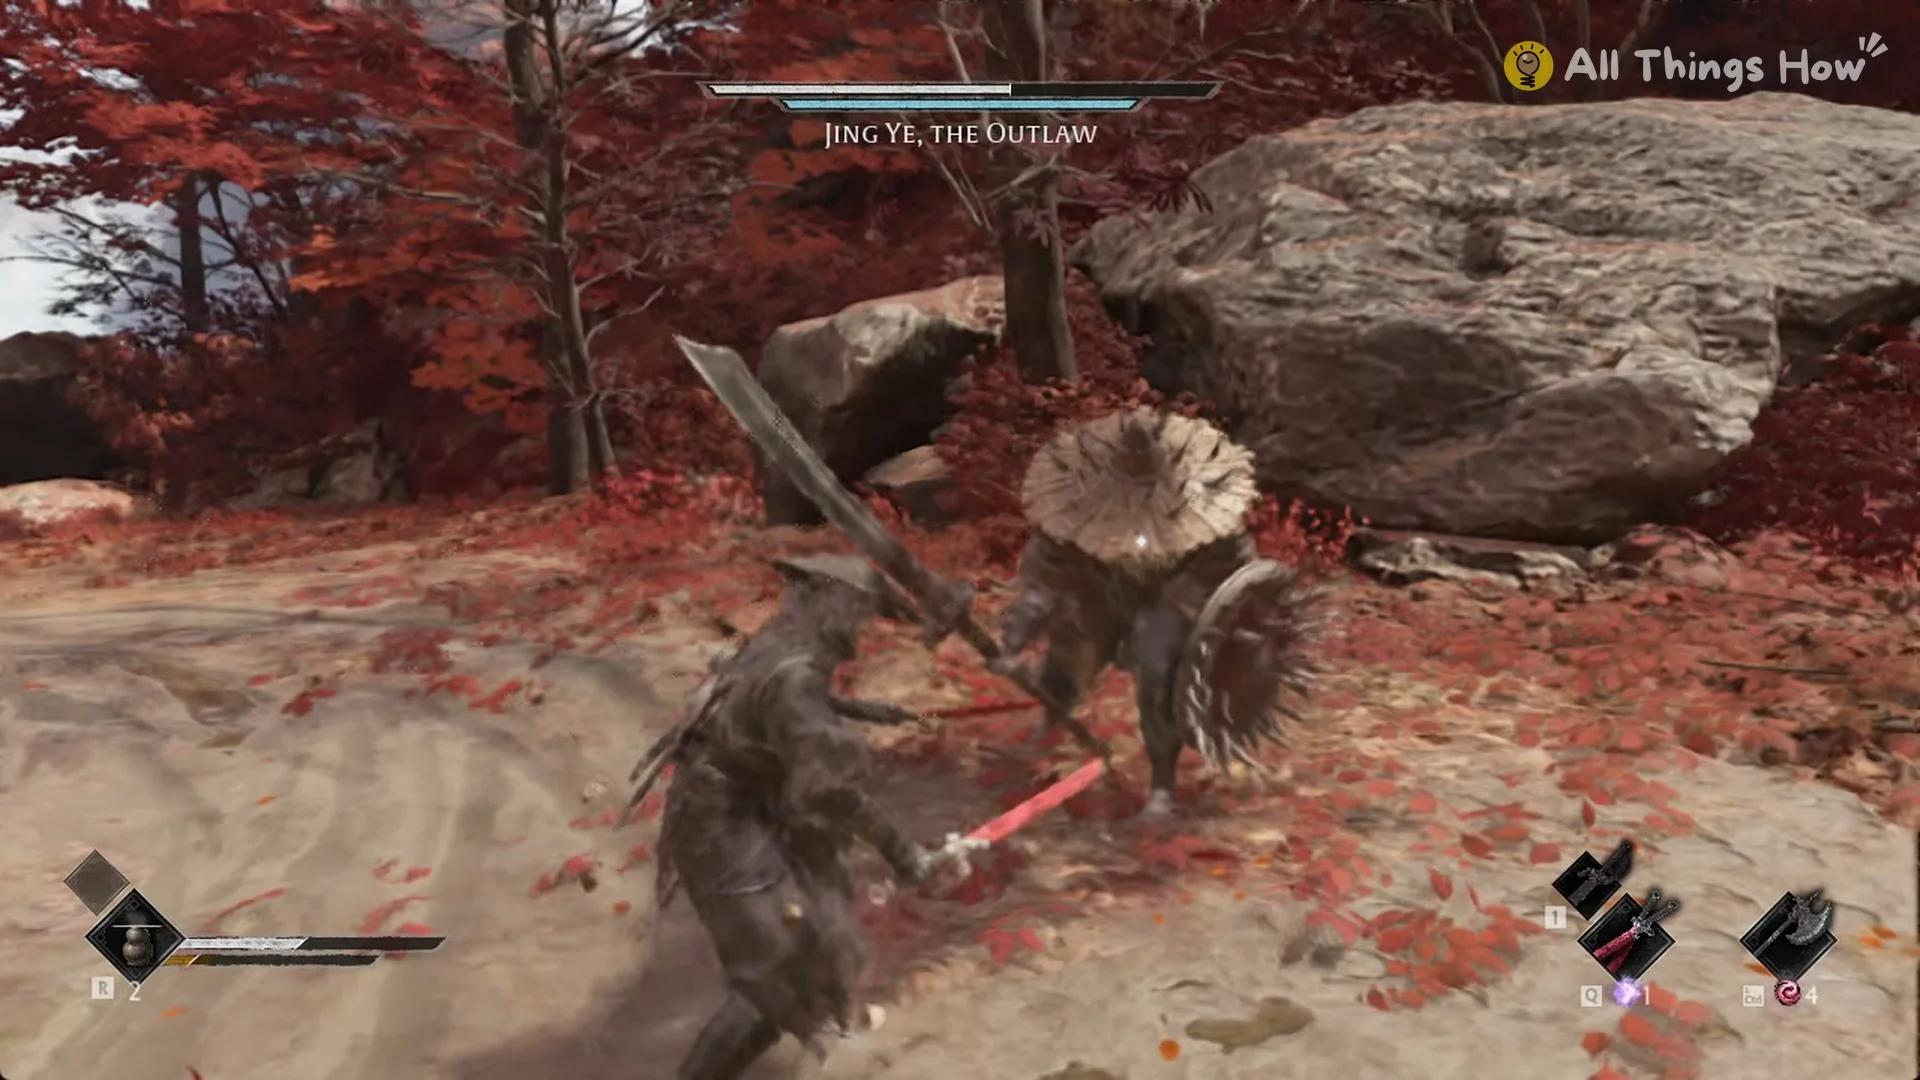
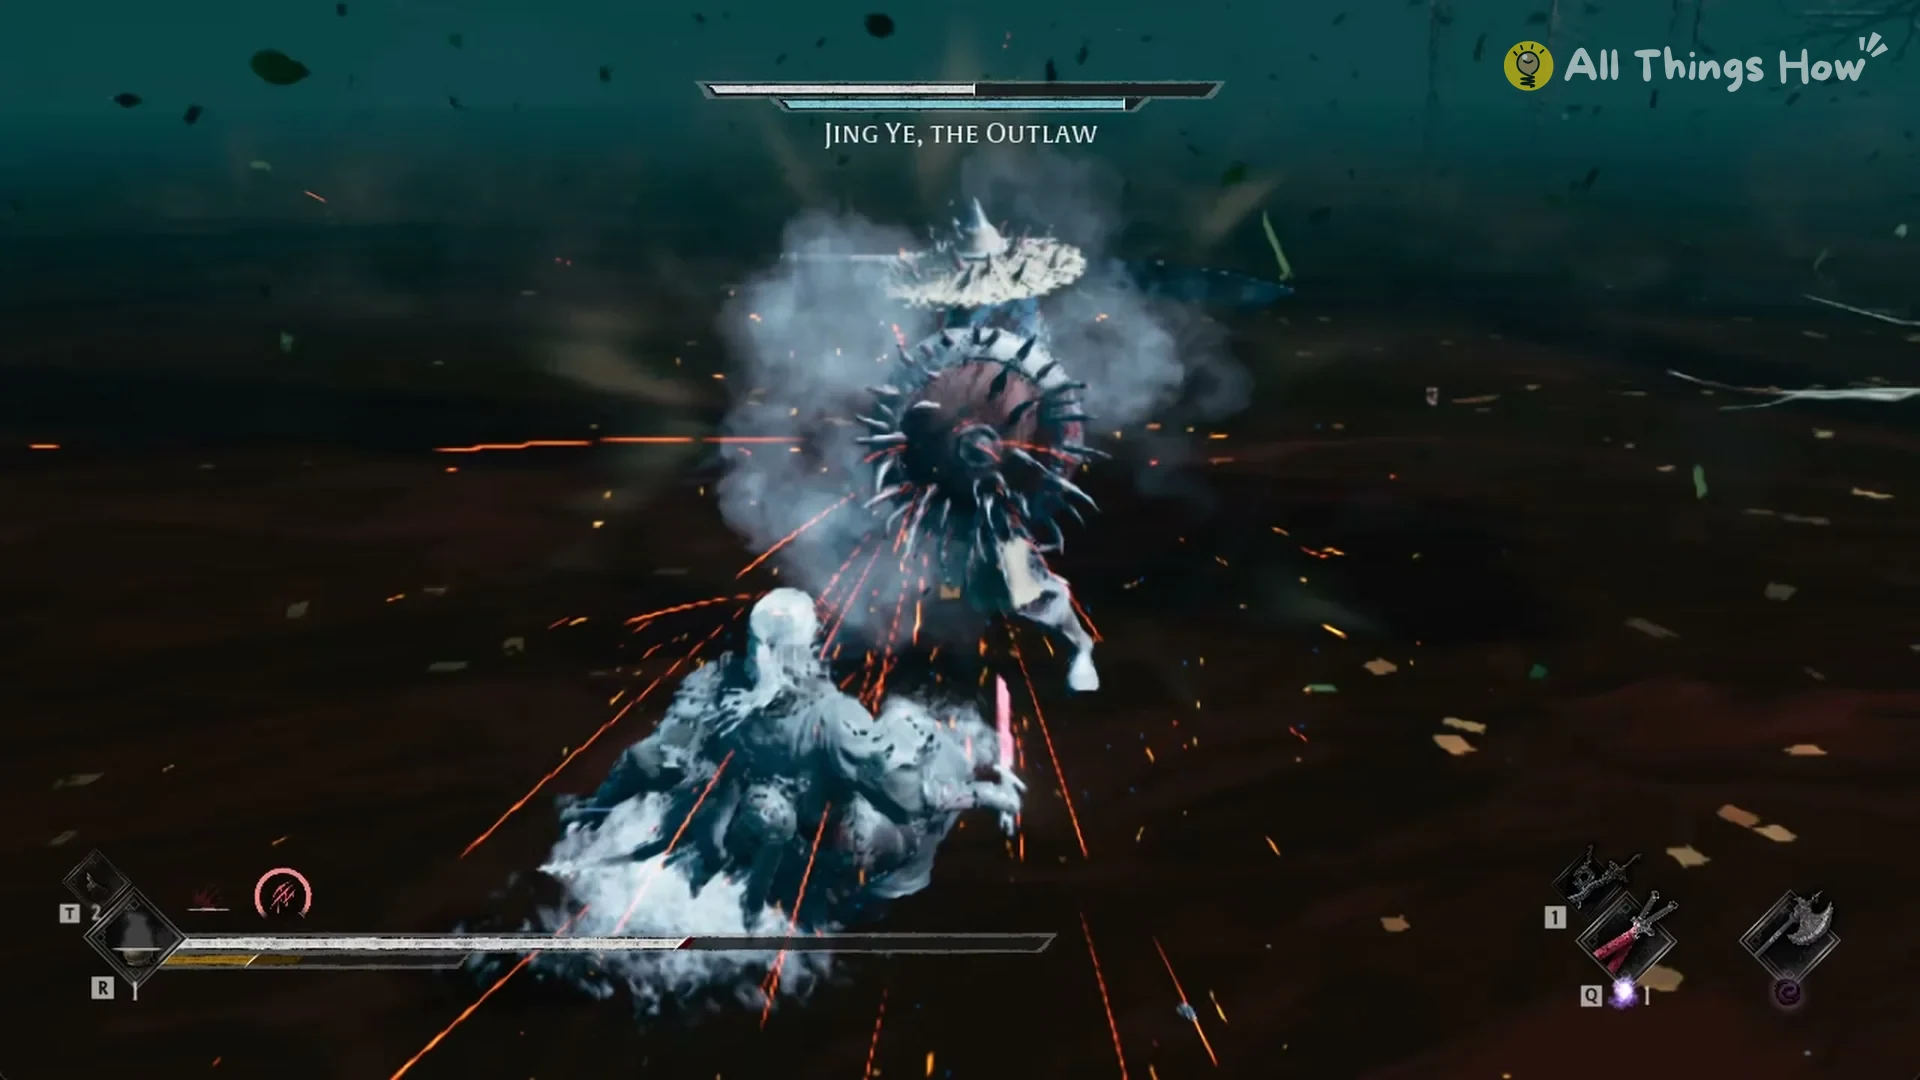
- Between attacks, he holds the shield up. Fast combos against it produce sparks but barely reduce its blue bar.
- On Wayfarer, every chain into the raised shield costs about 40 HP from the spikes. That can drop you from 425 HP to about 60 in 20 seconds.
- Each blade swing he makes on foot deals about 80–165 HP on Wayfarer, with higher damage on Pathbreaker.
- He can grab you and drain your health to replenish his own. Evade the grab, and move away from him as soon as it begins.
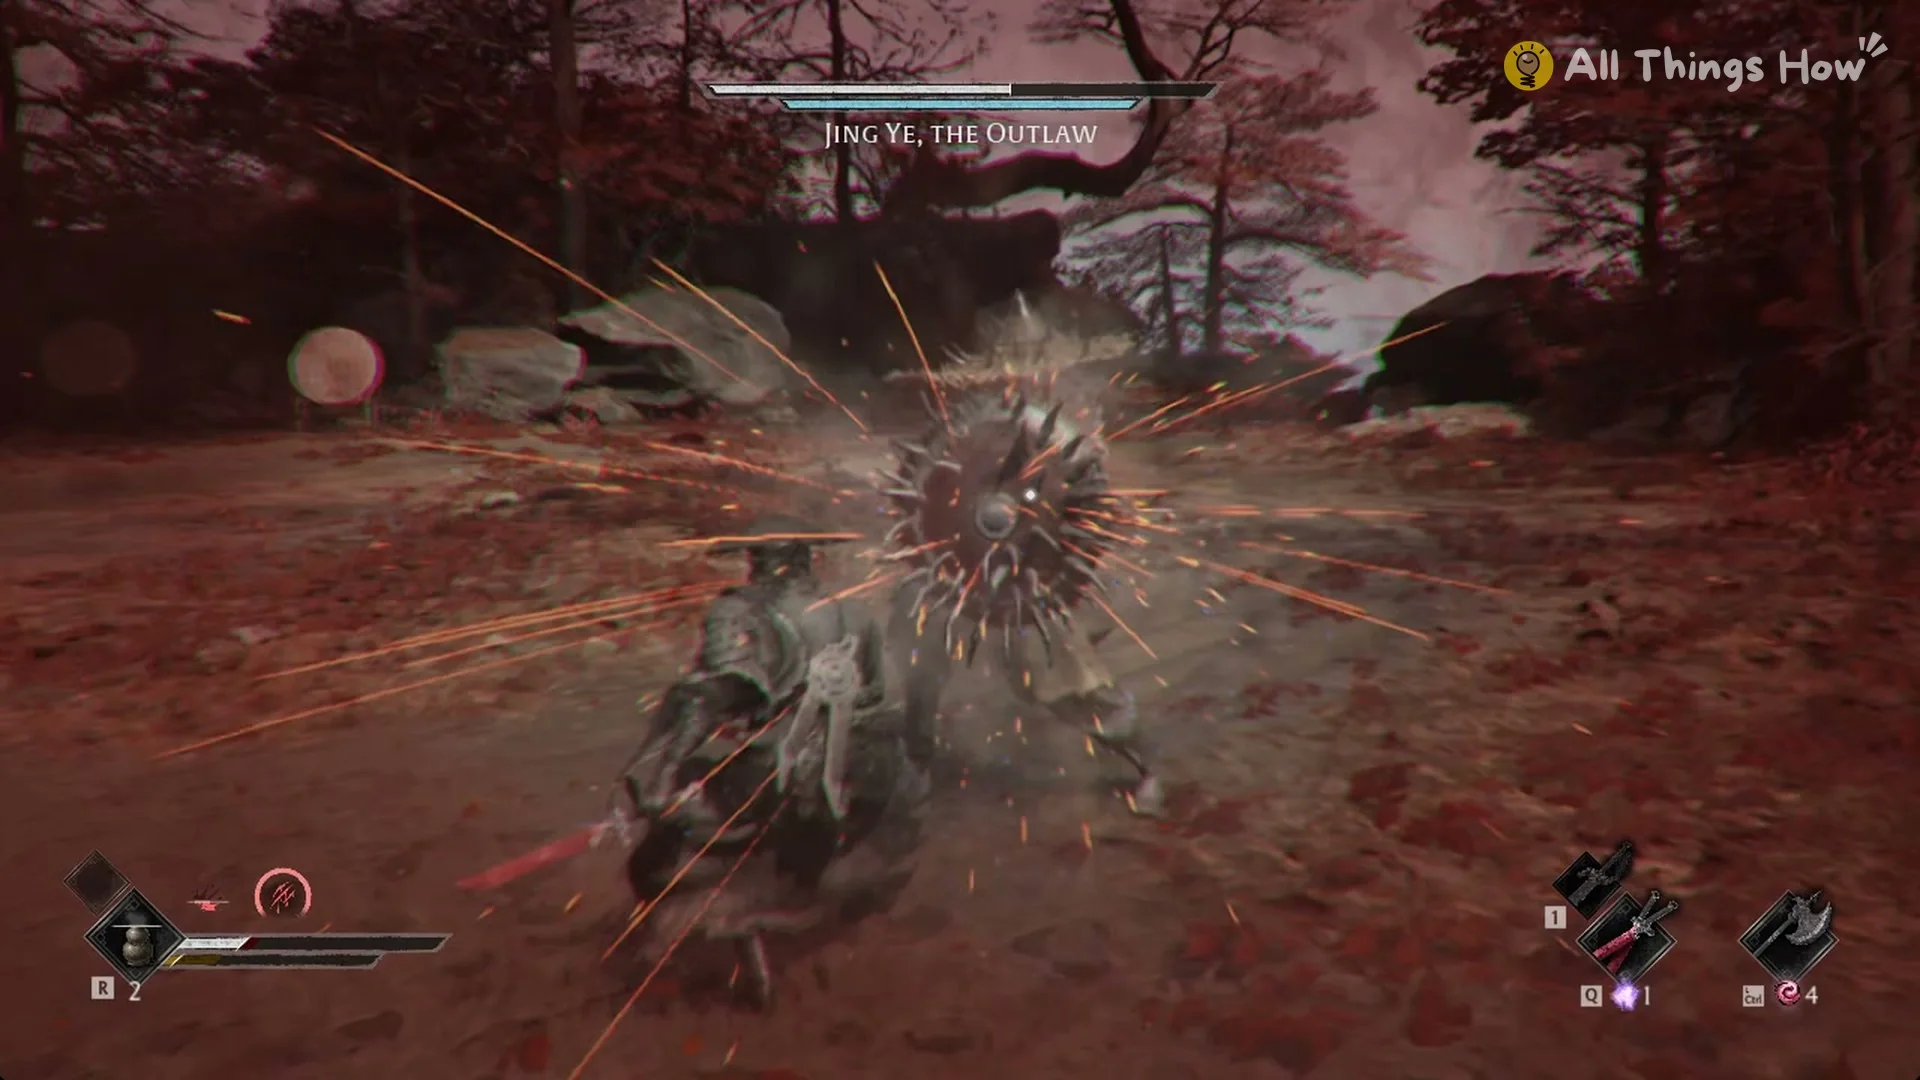
Once the shield falls, take advantage of the opening after a blade swing. To wear down the shield, favor Phantom Edge strikes and heavier attacks over fast combos. The Remnant Spark page explains Phantom Edges. The Dread Axe is a good fit for this phase because of its strong Shield-Breaking power.
Healing and resource tips for Jing Ye
- Wait until he is 4 m or more away before healing; your best opening is just after one of his charges passes. If you heal beside him, his next attack will interrupt you. The healing guide explains the basics.
- You carry only three heals and the mounted phase hits hard, so pace them and keep one for the shield phase if you can.
- Sidestep the riding attacks. Never backstep.
- Phantom Edge charges are restored at bells, so use every one during this fight.
- When Sha-Chi is running low, press 1 to change weapons and refill it.
If Pathbreaker is too punishing, switch to Wayfarer. His health stays at 44,083 there, but his hits are roughly 30% smaller, and you can change difficulty modes at any time.
Jing Ye reward: Outlaw Warblade
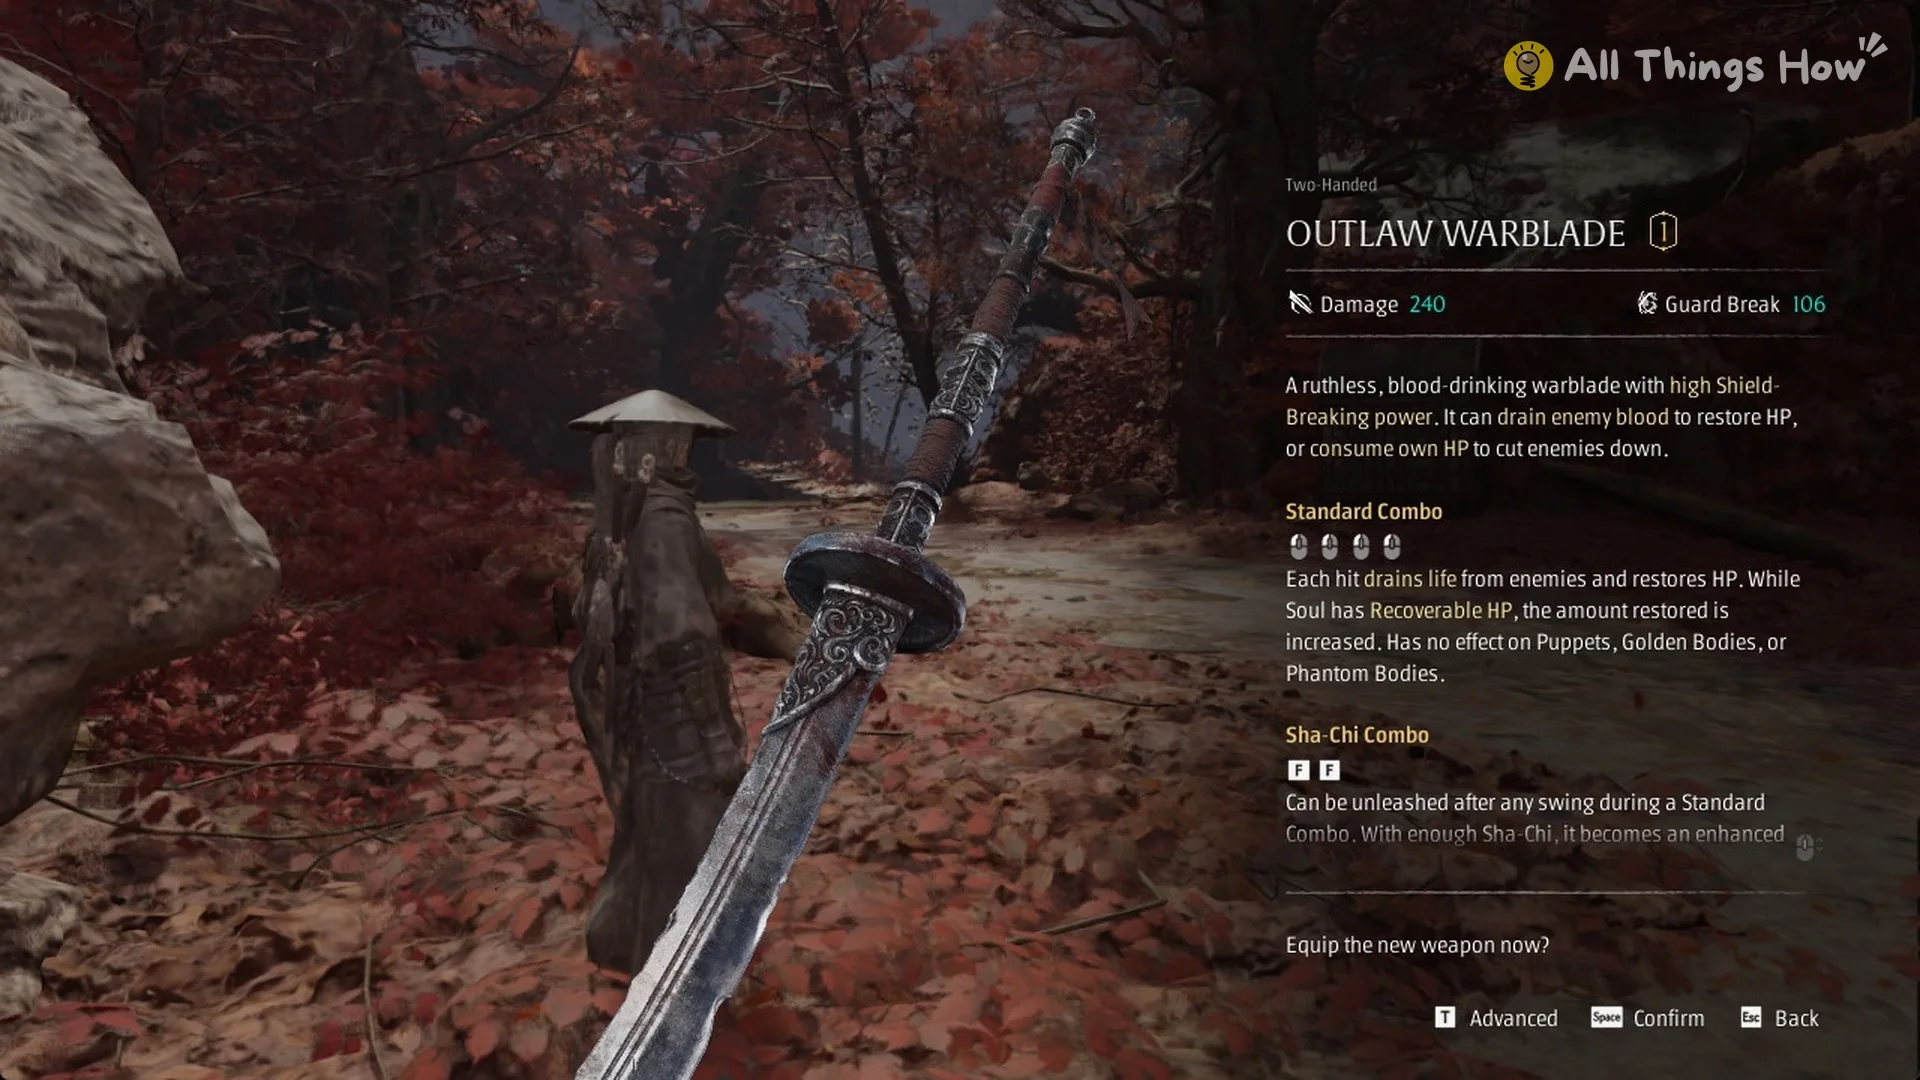
Beating Jing Ye gives you the Outlaw Warblade, a Two-Handed weapon with Damage 240 and Guard Break 106. Its card reads:
“A ruthless, blood-drinking warblade with high Shield-Breaking power. It can drain enemy blood to restore HP, or consume own HP to cut enemies down.”
Jing Ye, the Outlaw at the Crimson Forest Banyan
Jing Ye is the third and final wave of the Discordance at the Crimson Forest Human-Faced Banyan. Before he arrives, you fight a wave of five fighters. The second wave includes two riders on horseback.
He enters this wave mounted, wielding a long glaive and accompanied by two other fighters. On arrival, the boss bar along the screen’s top edge displays “JING YE, THE OUTLAW”.
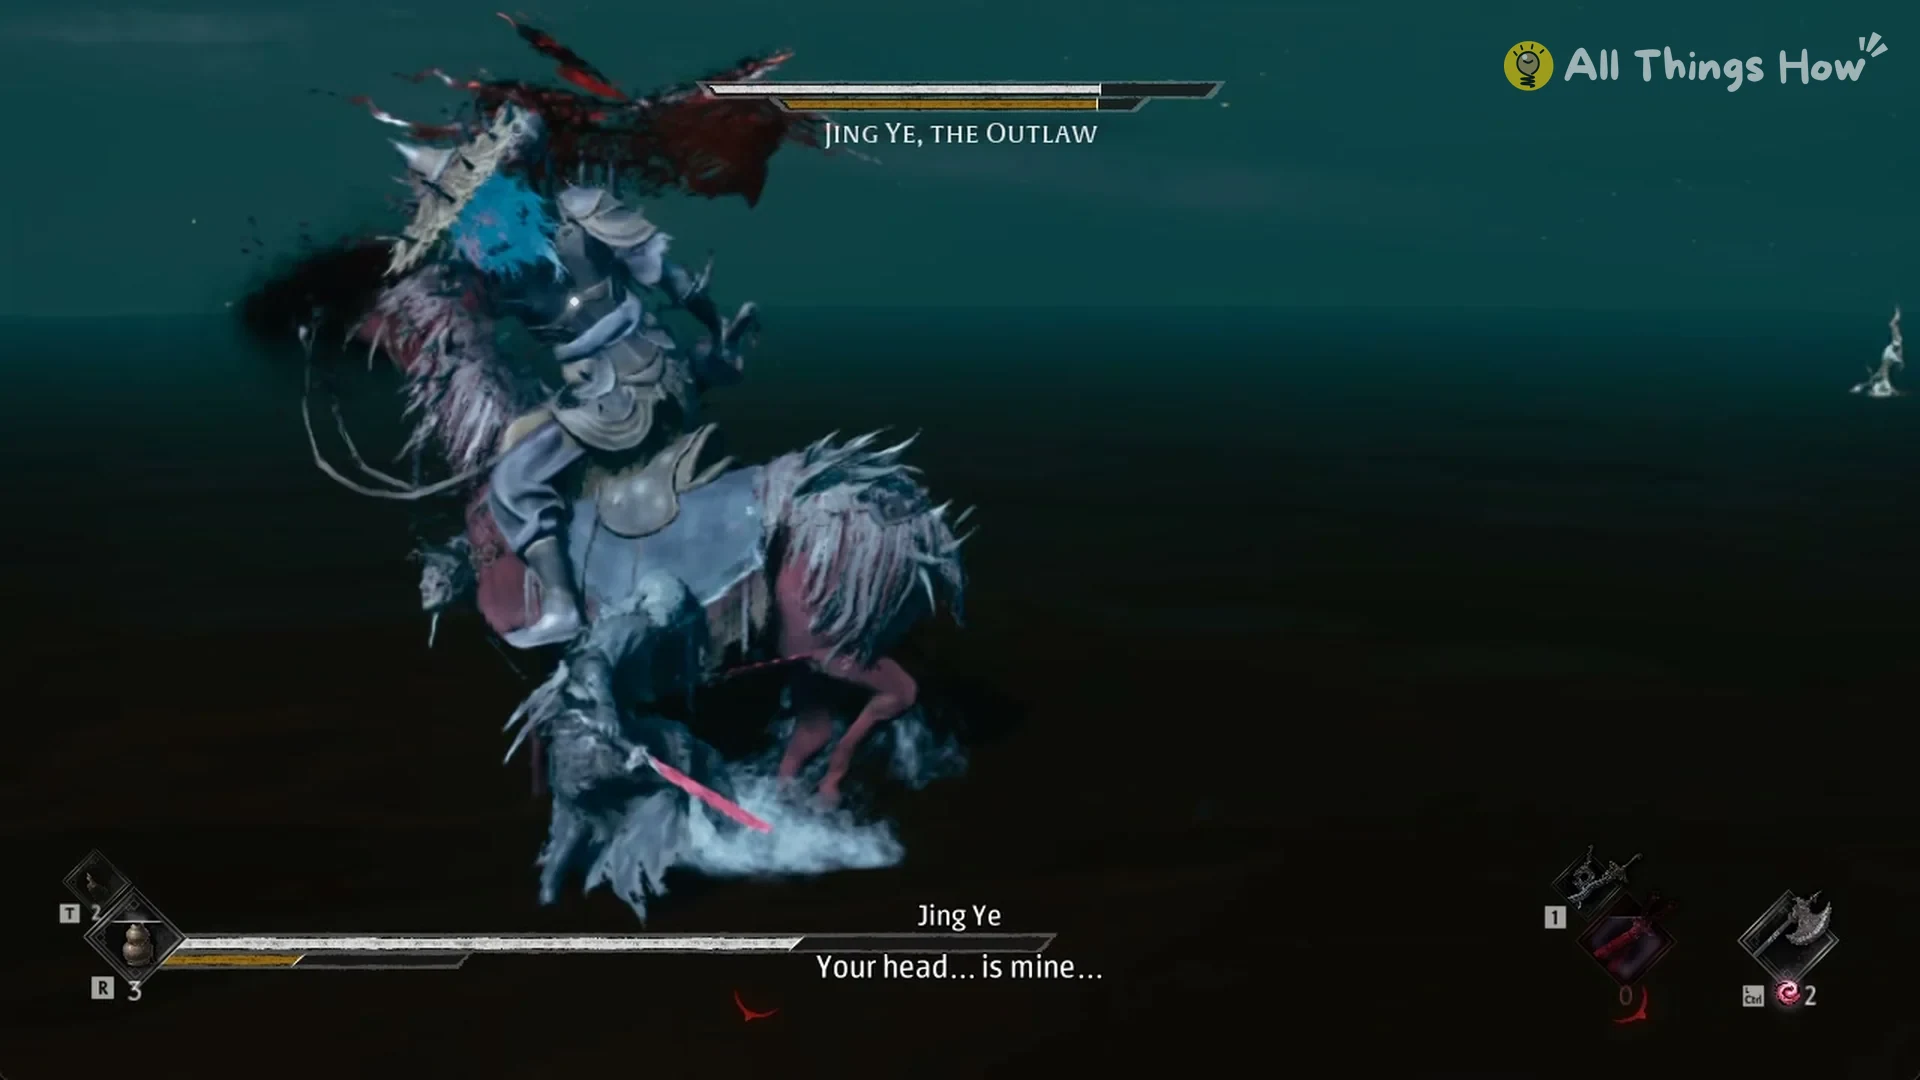
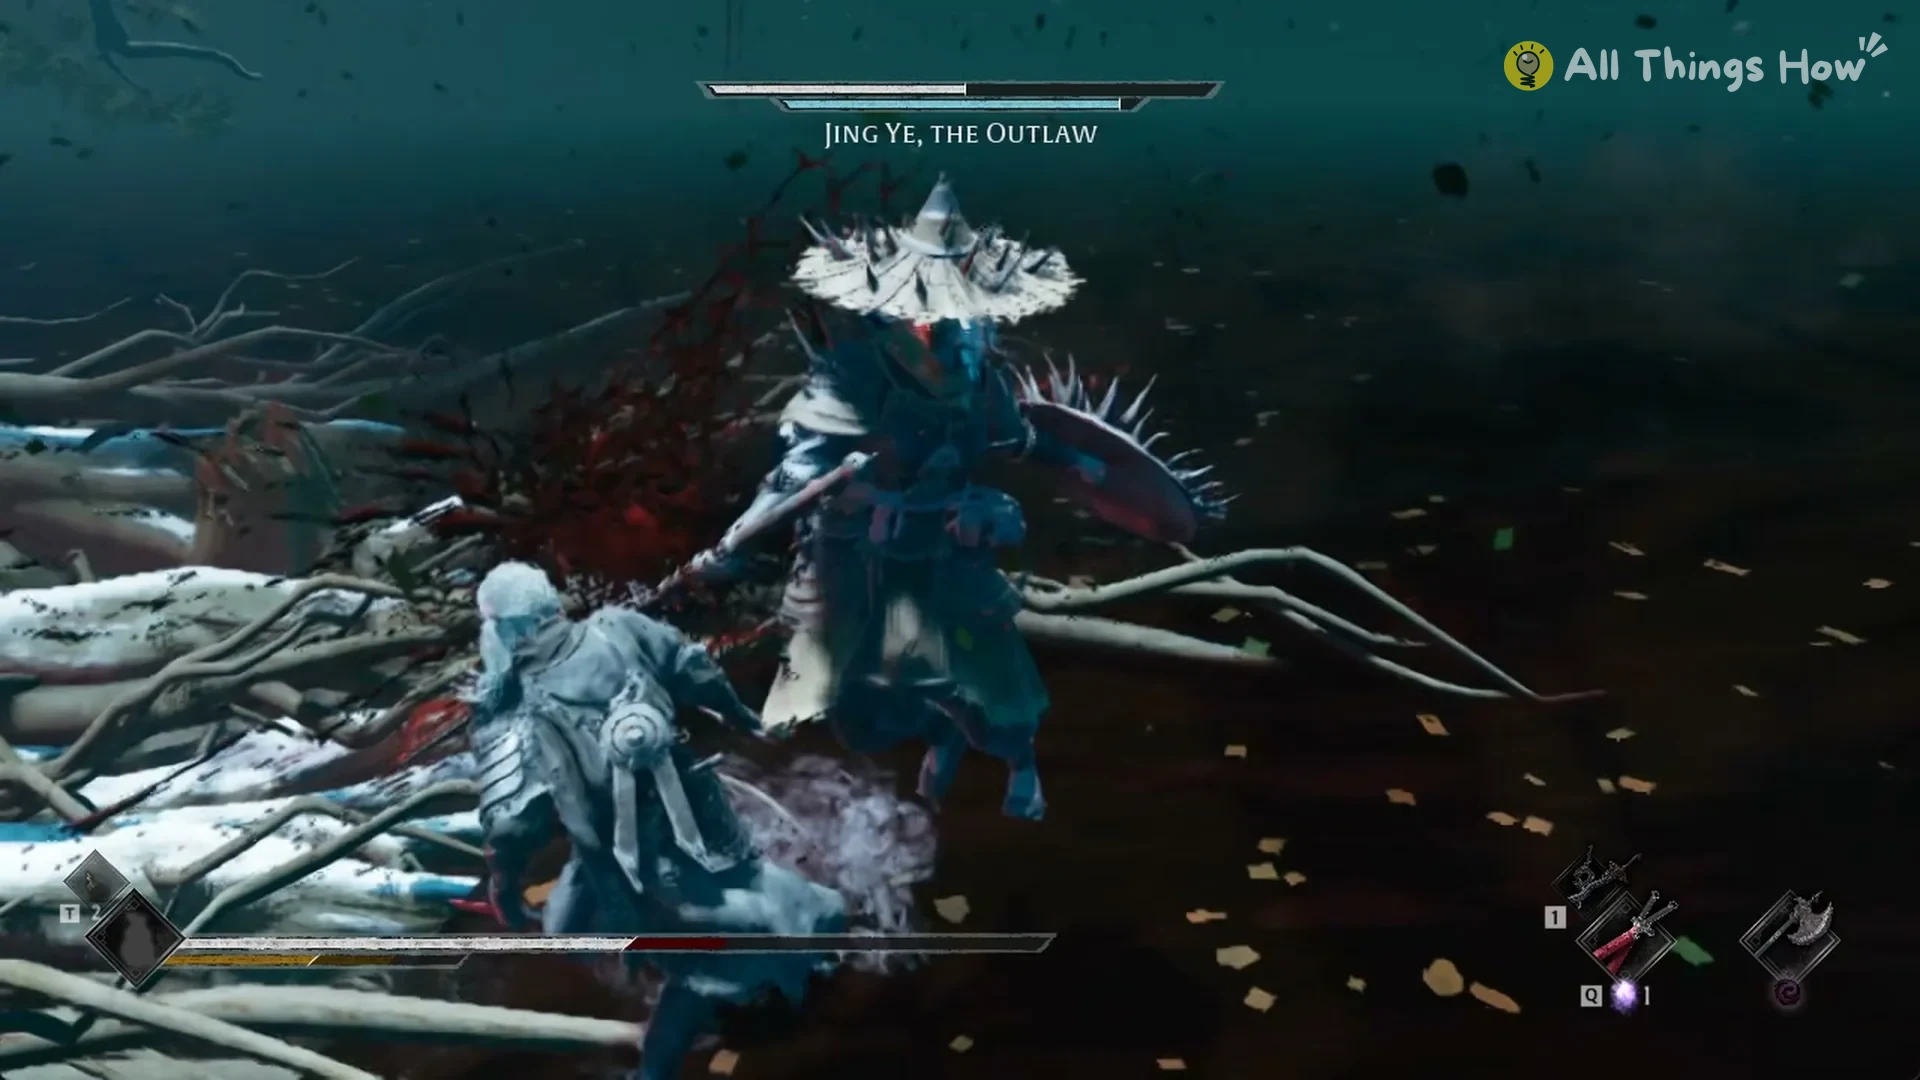
After his horse and both fighters go down, he fights on foot. On foot he carries a broad saber and a large round spiked shield.
If you die, you return to the altar inside the Discordance space. The first two waves stay cleared, so you only have to replay the boss wave.
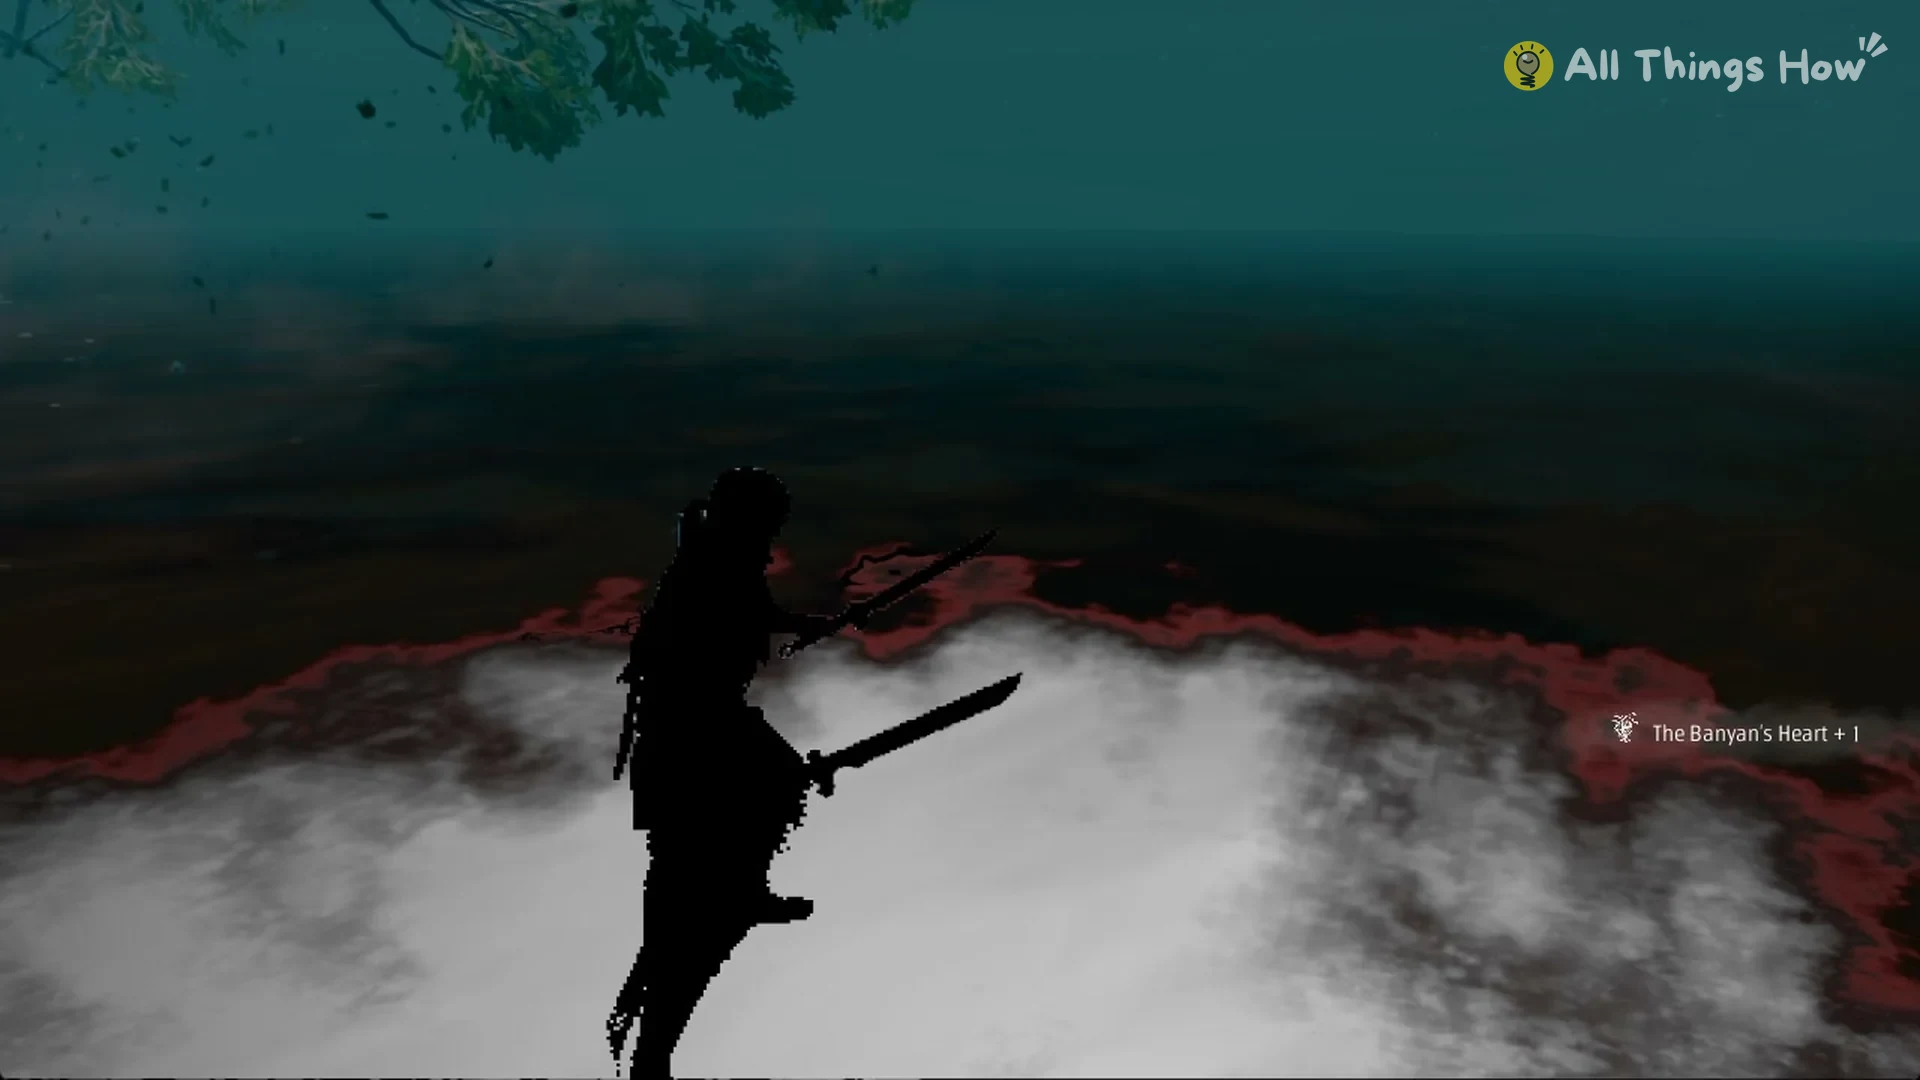
You know the Discordance is done when the final wave ends and The Banyan’s Heart card appears. A “The Banyan’s Heart +1” notice also shows on screen.
Jing Ye’s attacks at the Banyan
In the saddle, Jing Ye opens with a mounted charge. He drives his horse through the dust with the glaive held out.
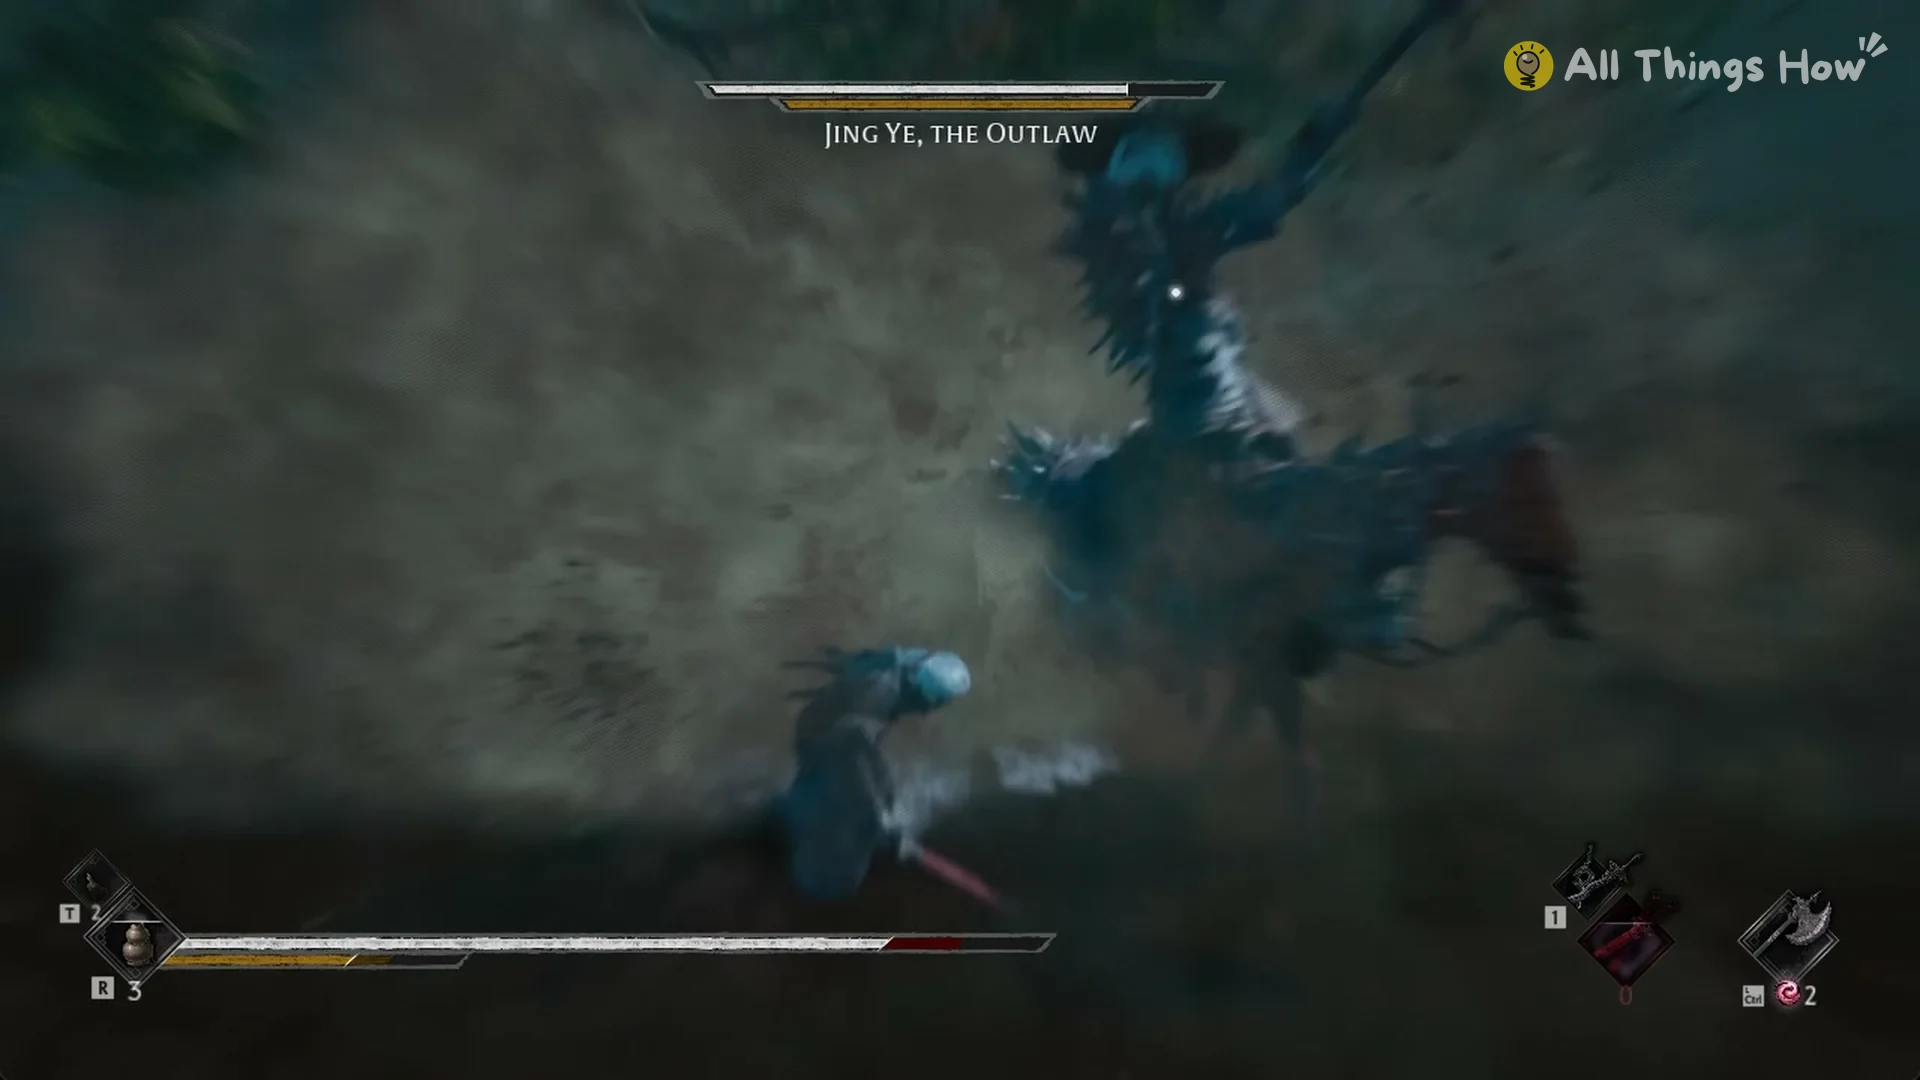
When he calls out “Your head… is mine…”, his horse rears up. He then slashes down at you with the glaive from the saddle.
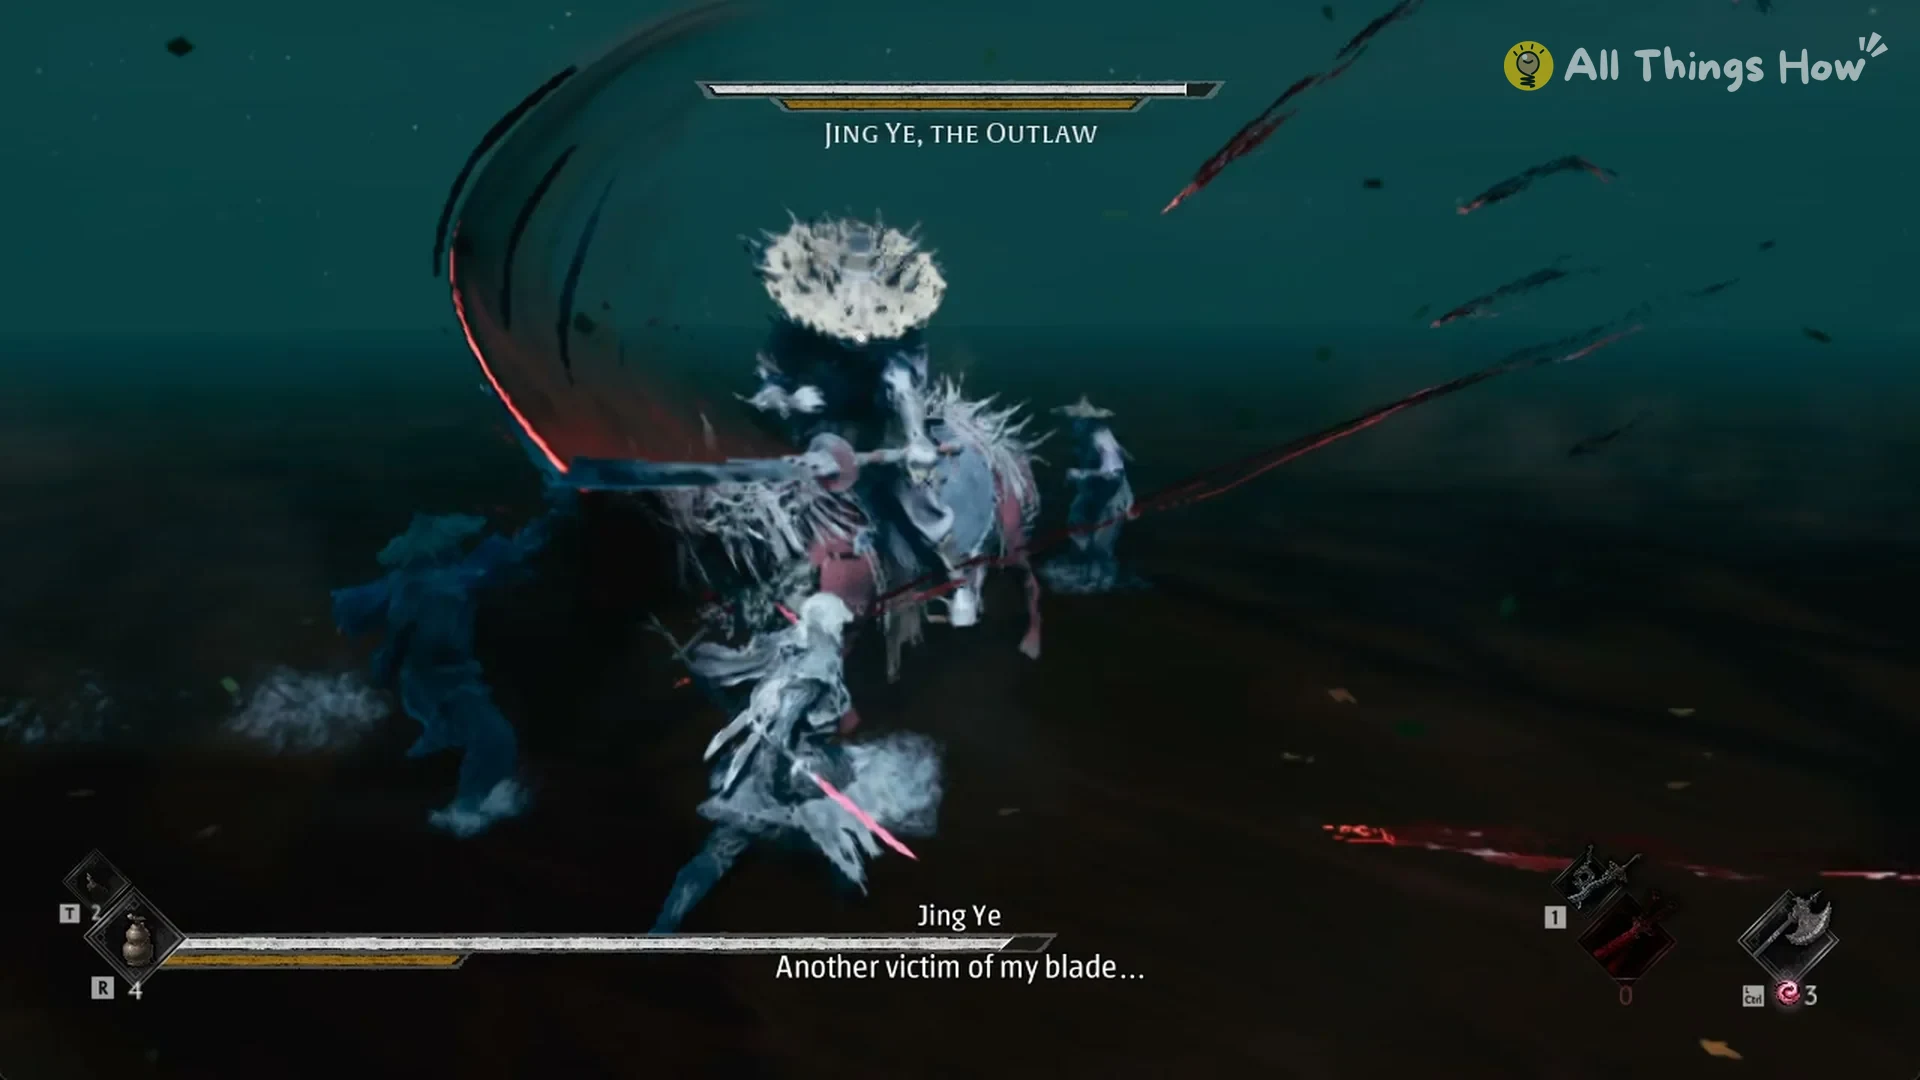
The line “Another victim of my blade…” comes with a wide glaive swing from horseback. His two fighters close in on either side of him at the same time.
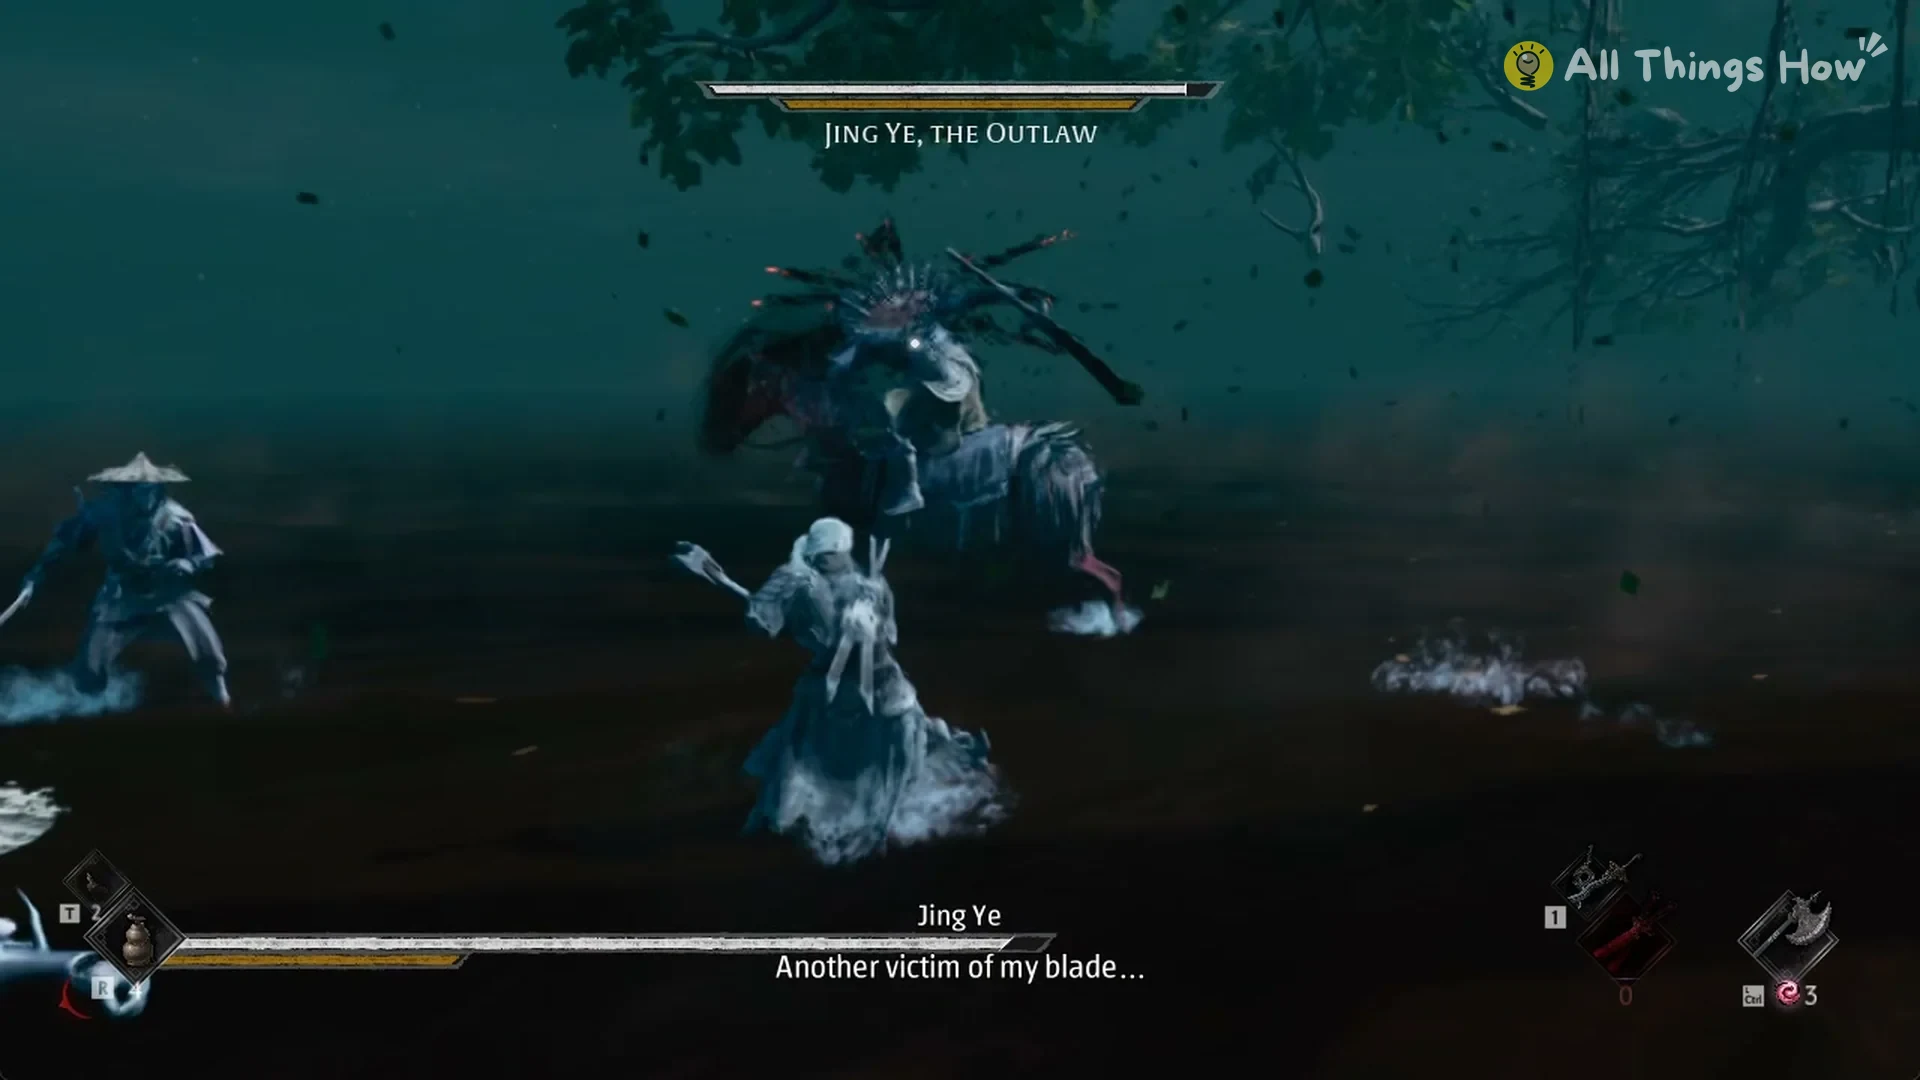
On foot, he hits you with the spiked shield and then slams it into you. A block stops the bash with a burst of sparks, but the slam that follows breaks through.
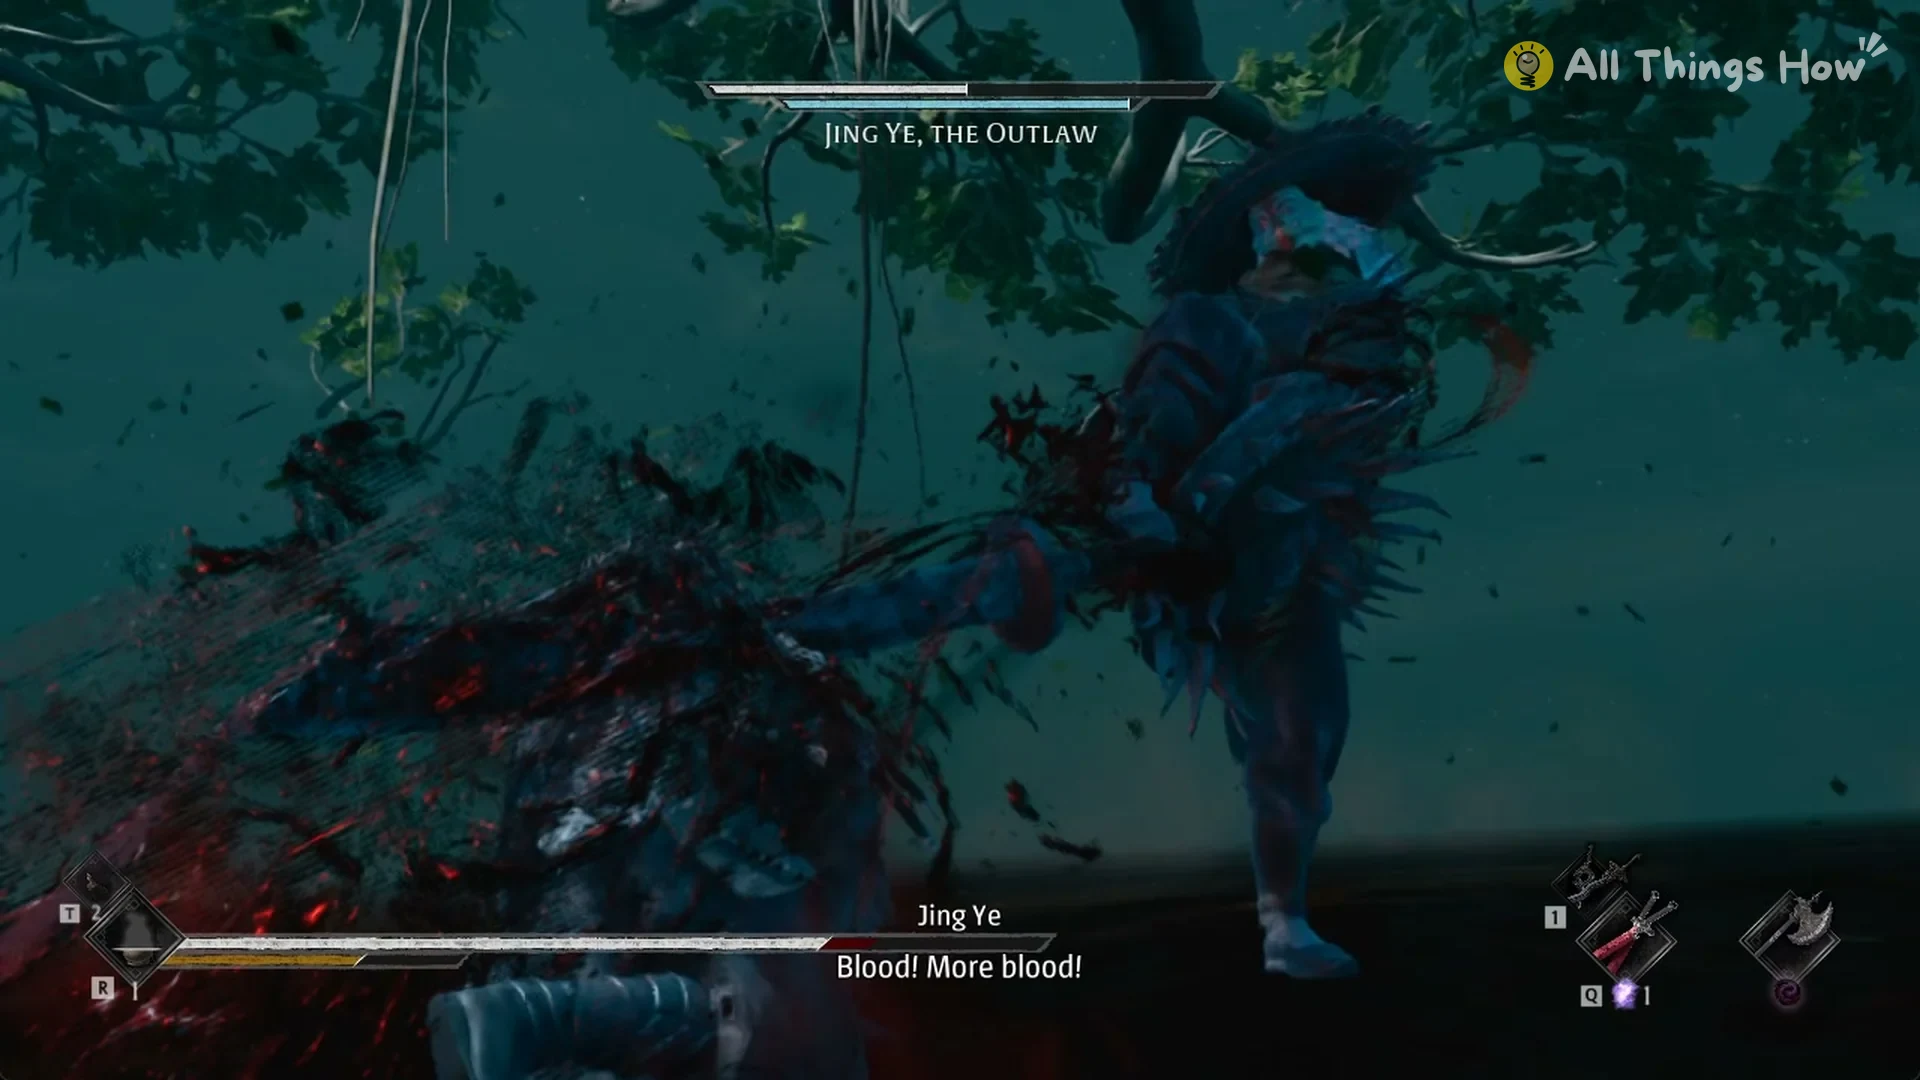
When he shouts “Blood! More blood!”, he leaps at you and pins you between his saber and shield. He then kicks you away.
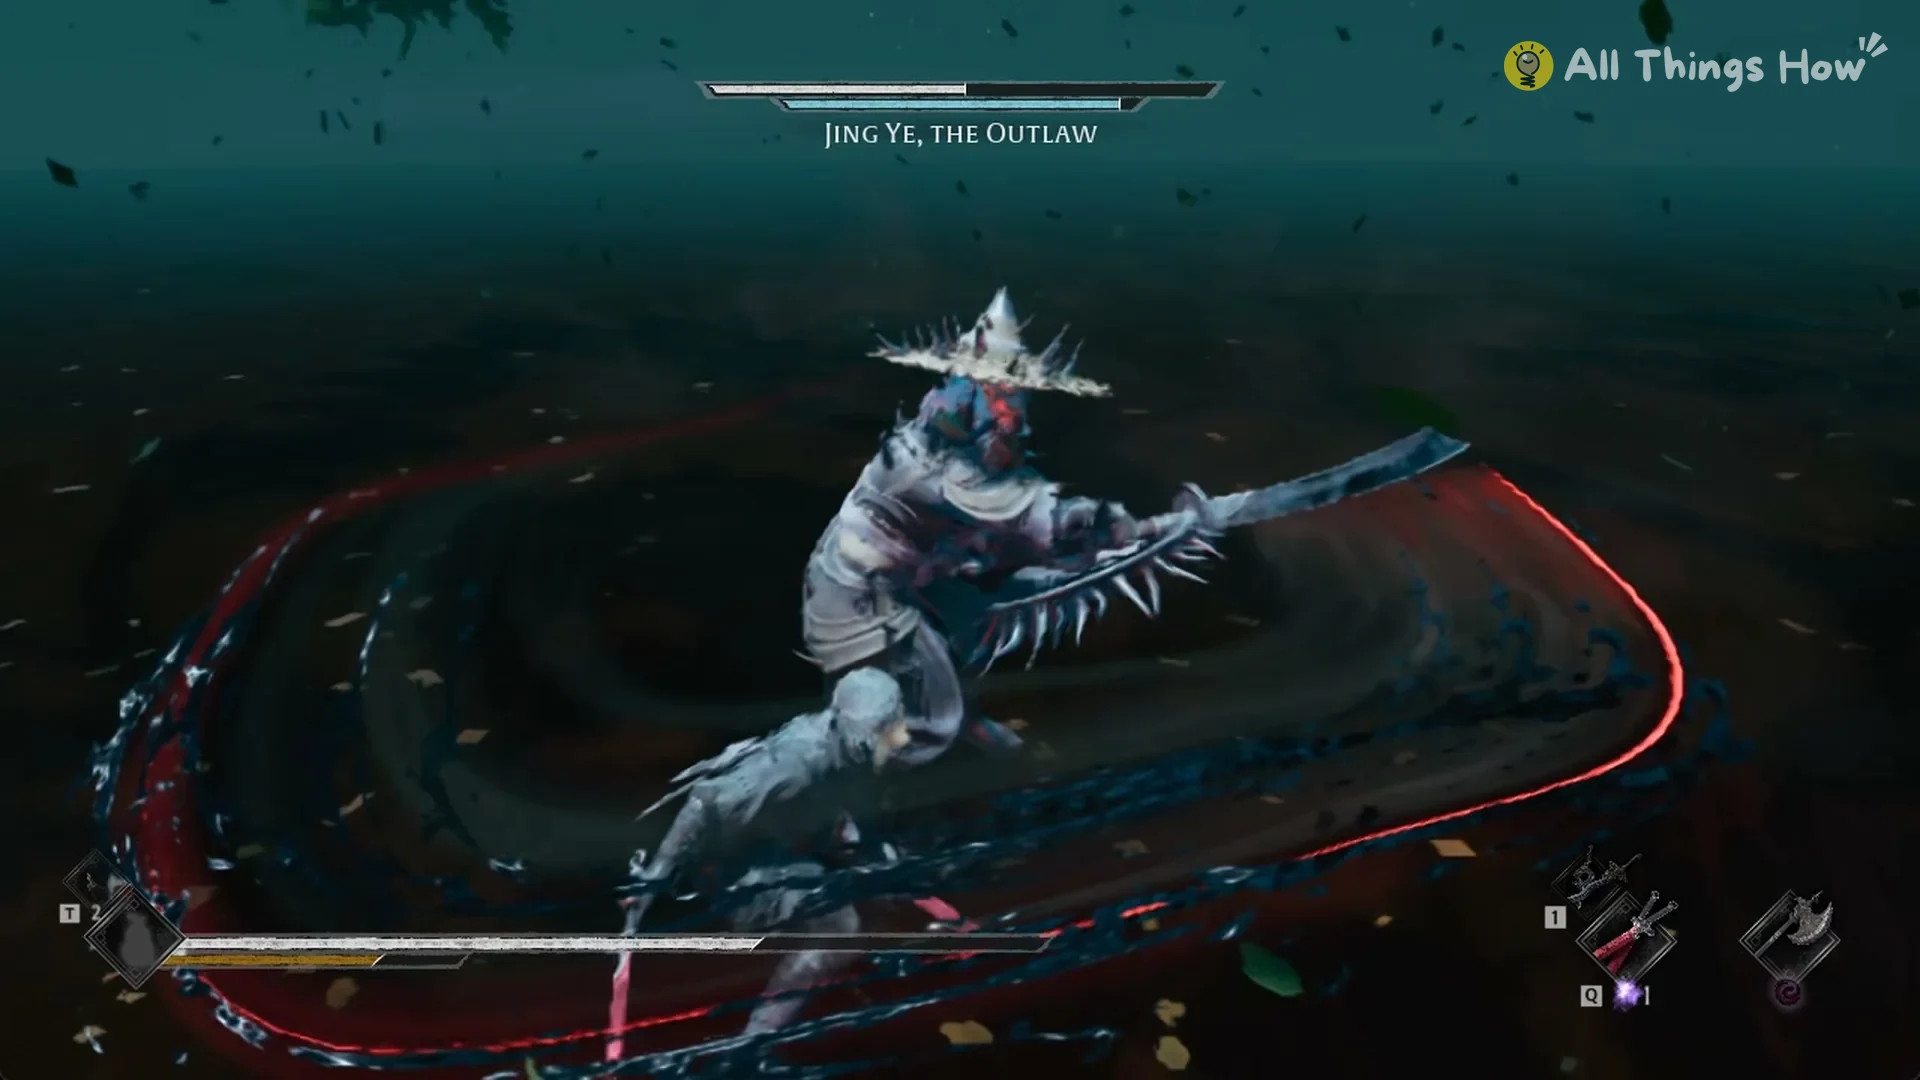
His most dangerous combo starts with a spinning saber sweep that leaves a red trail. It ends in a run of downward chops. This string can end an attempt by itself.
Tips for the Banyan fight
Eliminate the horse and both fighters before anything else. With them gone, Jing Ye is left to fight on foot by himself.
Block the shield bash, then move away before the slam lands. A block will not stop the slam.
Get clear as soon as he jumps. If his grab catches you, you’ll be pinned and struck repeatedly until his kick frees you.
Only heal when you have room to do it safely. The successful try used two gourd heals.
When the E prompt appears over Jing Ye, press it to land the final blow. That ends the wave and brings up The Banyan’s Heart card.