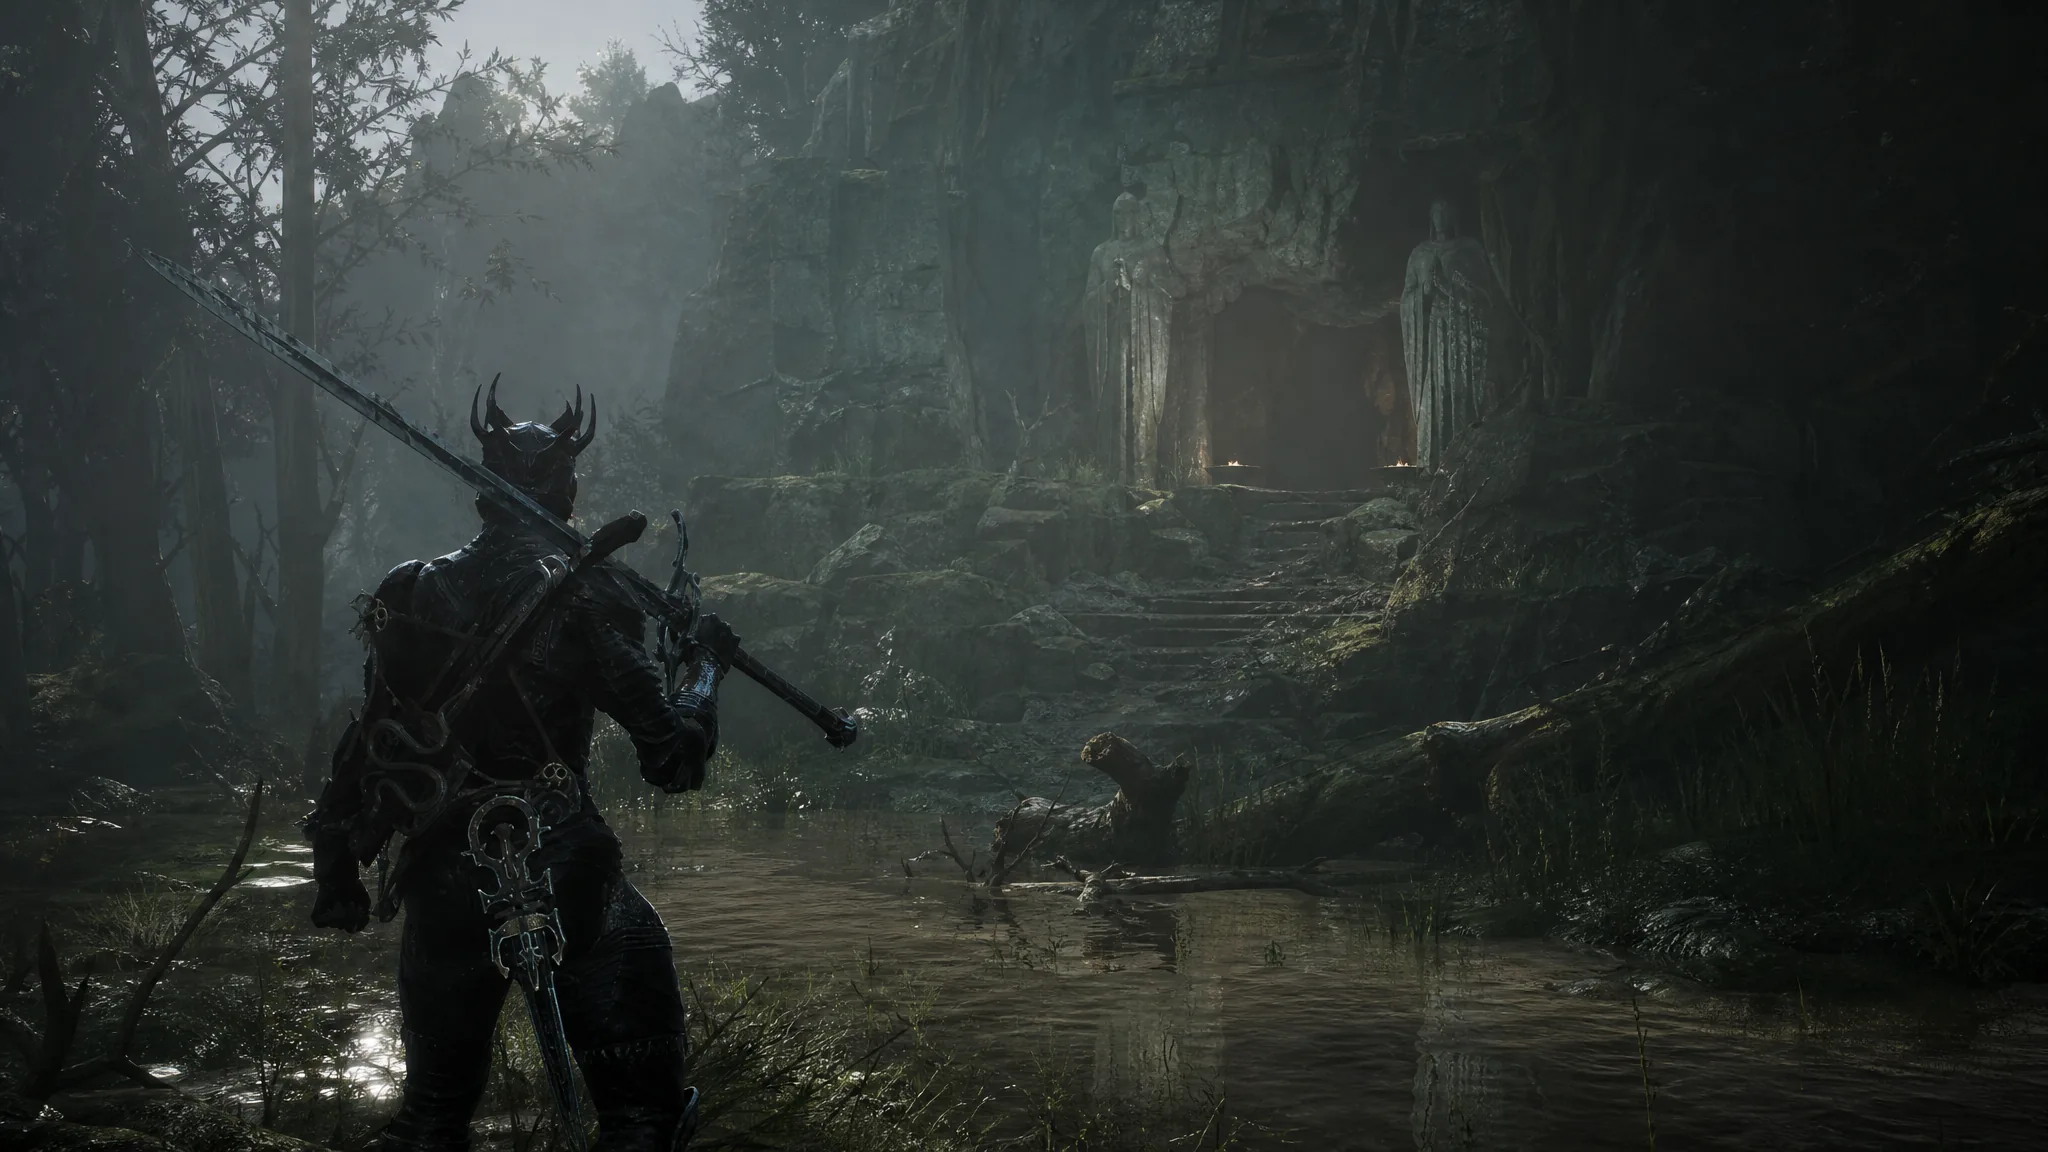
Gloomshade Grove sits to the west of Widow’s Overlook, a maze-like stretch of swamp and ravine in the Fainweald region of Mortal Shell 2. It connects to several other areas, including the Sanguine Caverns and the Citadel of Penance, and it hides two new weapons alongside a fresh Tarstone. Clearing it fully means chaining together a beacon, a mini-boss, a trial, a dungeon, and a locked gate in the right order.
Quick answer: Enter the grove past Gorf’s lair, cleanse the northern corruption to light the Gloomshade Grove Beacon, kill the wild Grisha for a Grisha Remnant, finish the Corrupted Statue Trial for the Barrage Stone, defeat the Bloodcursed Lithopod for the Citadel Gate Lever, loot the Salvaged Trebuchaxe from the Ravaged Hideout, then slot the lever into the mechanism beside the Citadel Gate to open the Citadel of Penance.
Reaching Gloomshade Grove from Widow’s Overlook
The grove opens up west of Widow’s Overlook, and the cleanest run in passes through the Flooded Village area you already know. Before diving in, it is worth wrapping up the joint questline for Gorf and Hilga, since it only requires repeated rests at the Mushroom Village Beacon to advance and finishes off the eastern side of Fainweald.
Cleanse the northern corruption and light the beacon
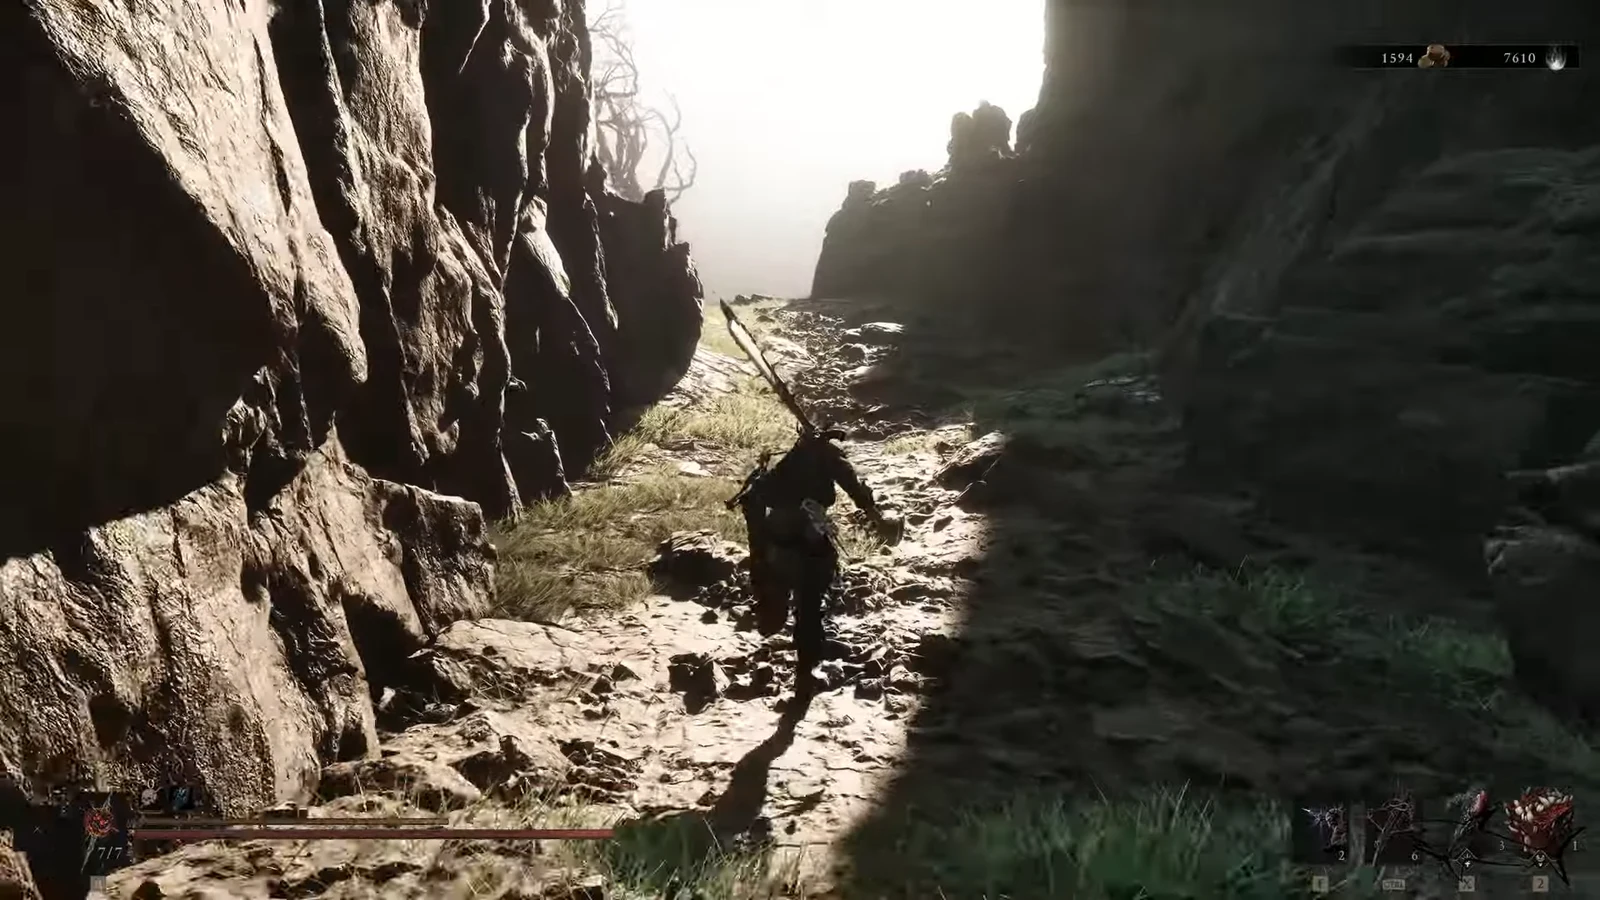
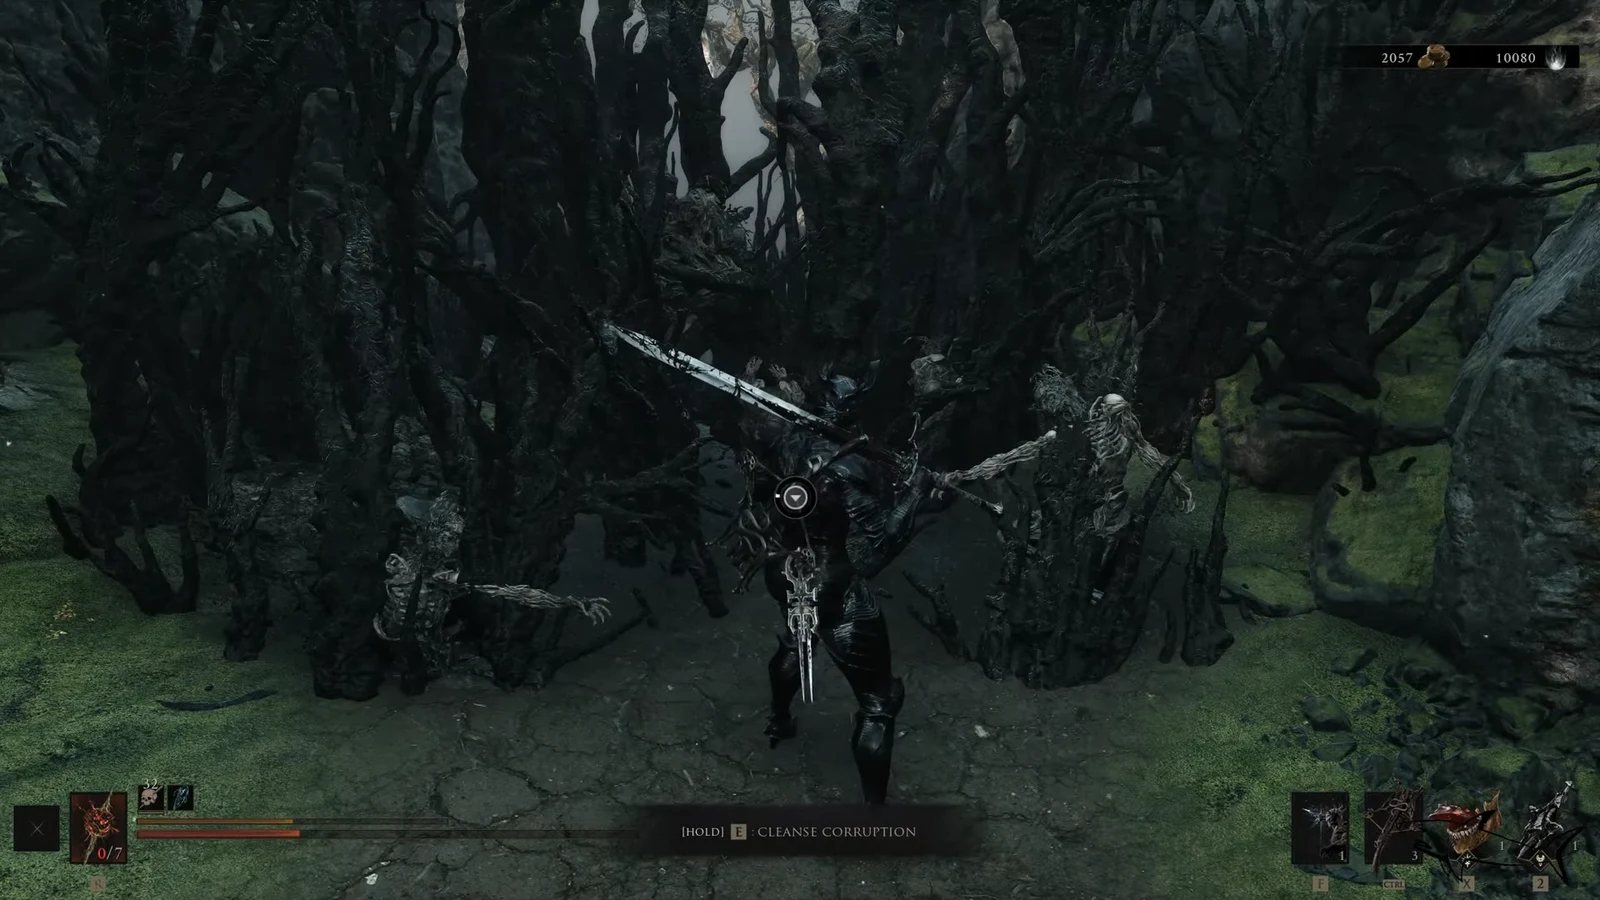
Past the last fight you reach a clearing with a central tree and rocks. A stone archway and bridge on the right lead north to the Sanguine Caverns, but that is a detour for later. Instead, take the left path, cut through the Brigands and Wretches, and interact with the corruption at the end to clear it.
Beyond the cleared corruption, push through the cave tunnel and look left. This opens into an outdoor arena where a band of Grisha Hunters is failing to kill a full-grown Grisha. Grab the Laterite on the left edge of the platform and a 250x Coin Pouch by the cave wall before heading down.
Down in the arena, collect the Common Moonshine on the boxes to either side and break the chest between them for a Tooth of Nochte. A far-right route past a tree holds another 250x Coin Pouch. Join the brawl, finish off the Grisha and any surviving Hunters, then follow the cliff-edge path past the large tree to reach the Gloomshade Grove Beacon. This one starts already cleansed, so activating it hands you a Gloom immediately. Rest here before moving on.
To close the loop back toward the Flooded Village, turn from the beacon and take the right-hand path around the rock. Deal with a Tarred Vestige, three Lithopods, and two Netopyrs in the tree overhead, then cleanse the corruption in front of you, the same wall you saw when you first entered.
Corrupted Statue Trial: How to get the Barrage Stone
Back down the slope from that shortcut, a clearing holds a Corrupted Statue near a large tree. Before starting the trial, sweep the area for loot, one Ventrium sits around the far side of the tree, and another around the back of the statue itself.
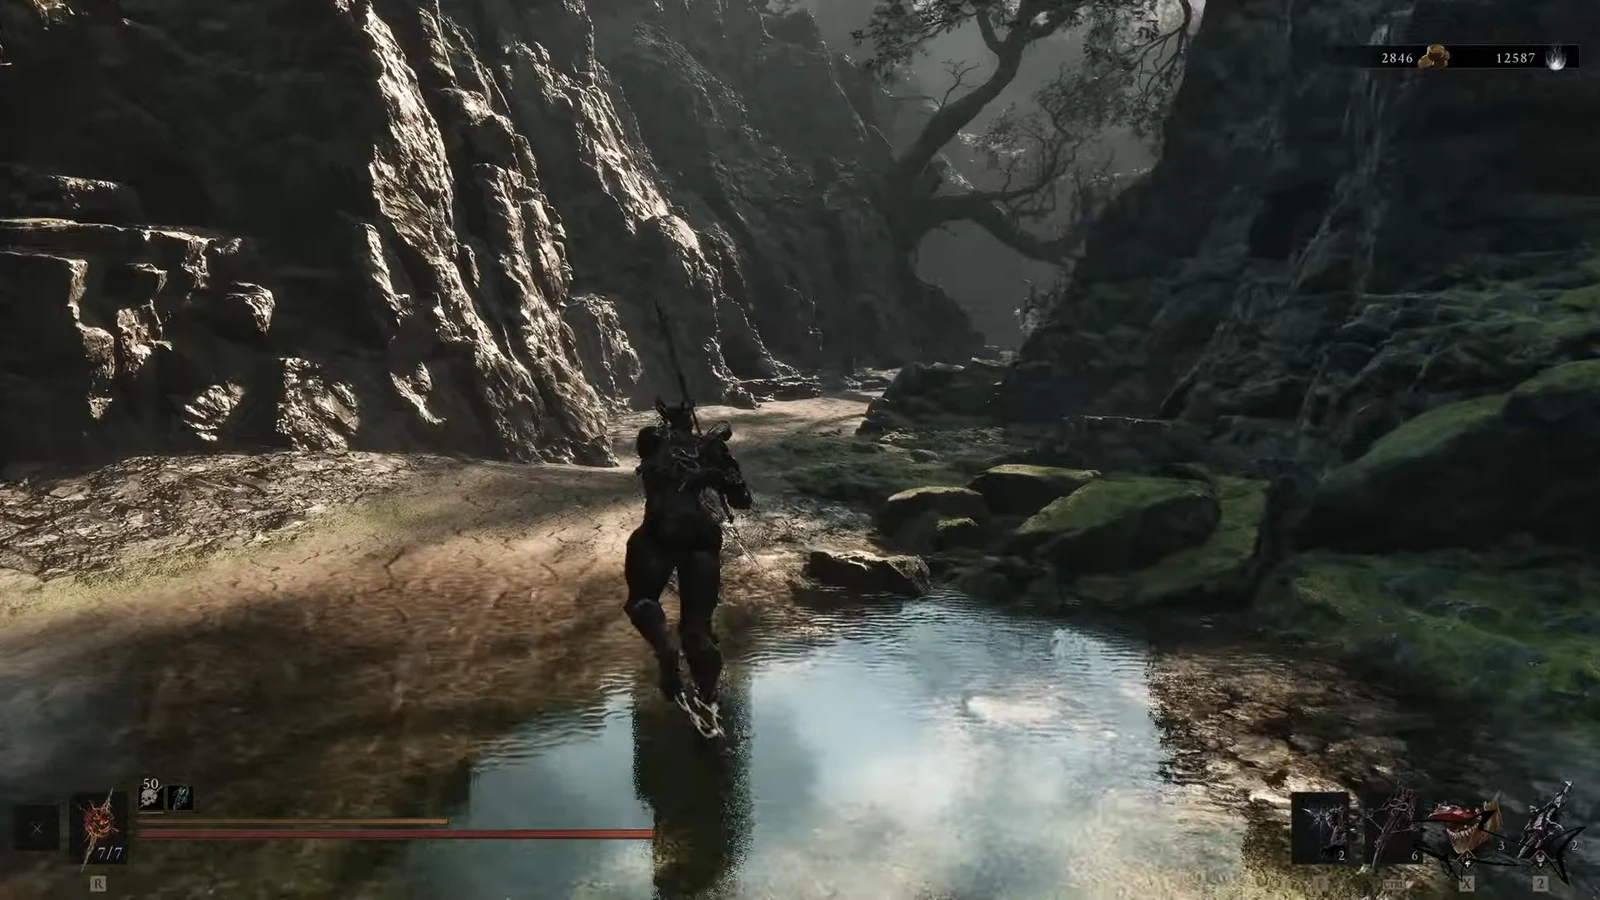
Interact with the statue to start the trial. It runs in two waves, three Grisha Hunters first (one ranged), followed by two Tarred Vestiges. It is a demanding fight for this point in the game, so keep every enemy in view and pick them off one at a time. If you keep dying, return to Marrow Keep and upgrade your main weapon before trying again. Clearing both waves loots the statue for 1000x Coin and the Barrage Stone Tarstone.
Defeat the Bloodcursed Lithopod for the Citadel Gate Lever
Facing the statue, a path drops down to your right into a small Brigand camp. Kill the two Brigands at the campfire, then sidle around the rock at the cliff edge to find a third Brigand holding a Common Moonshine and guarding 2x Ventrium.
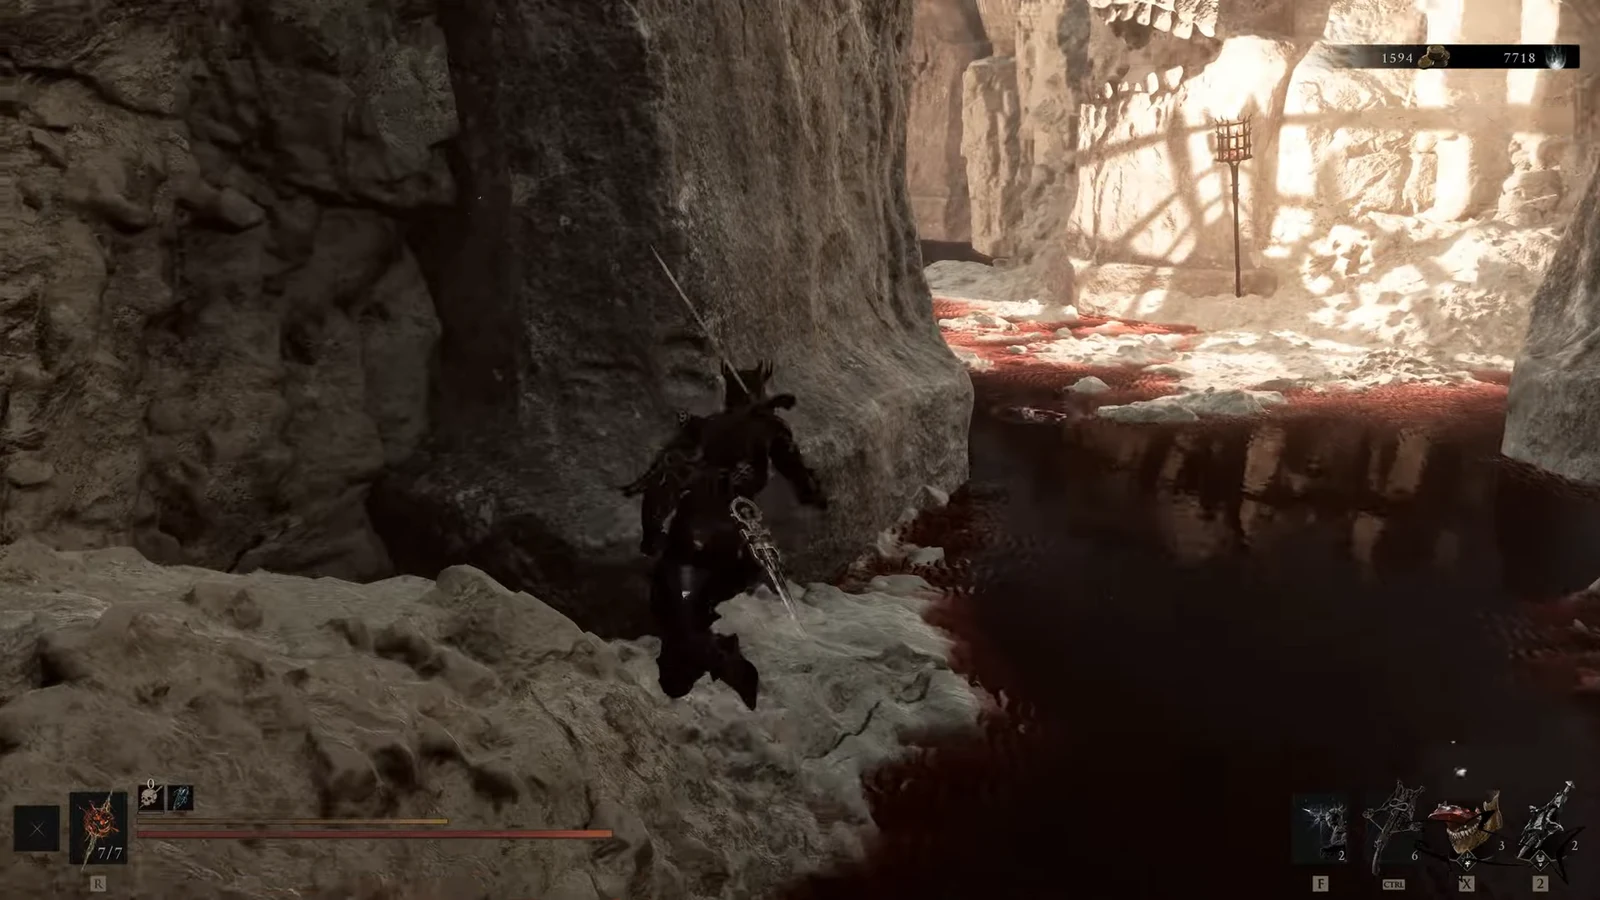
Return to the campfire and turn around to spot a slope down to a Bone Gate. Use it to teleport across the gap, then follow the path into a large flooded pond. Clear out the Mycellian Skulks with your Crossbow and take down the Leechtongue near the waterfall on the right.
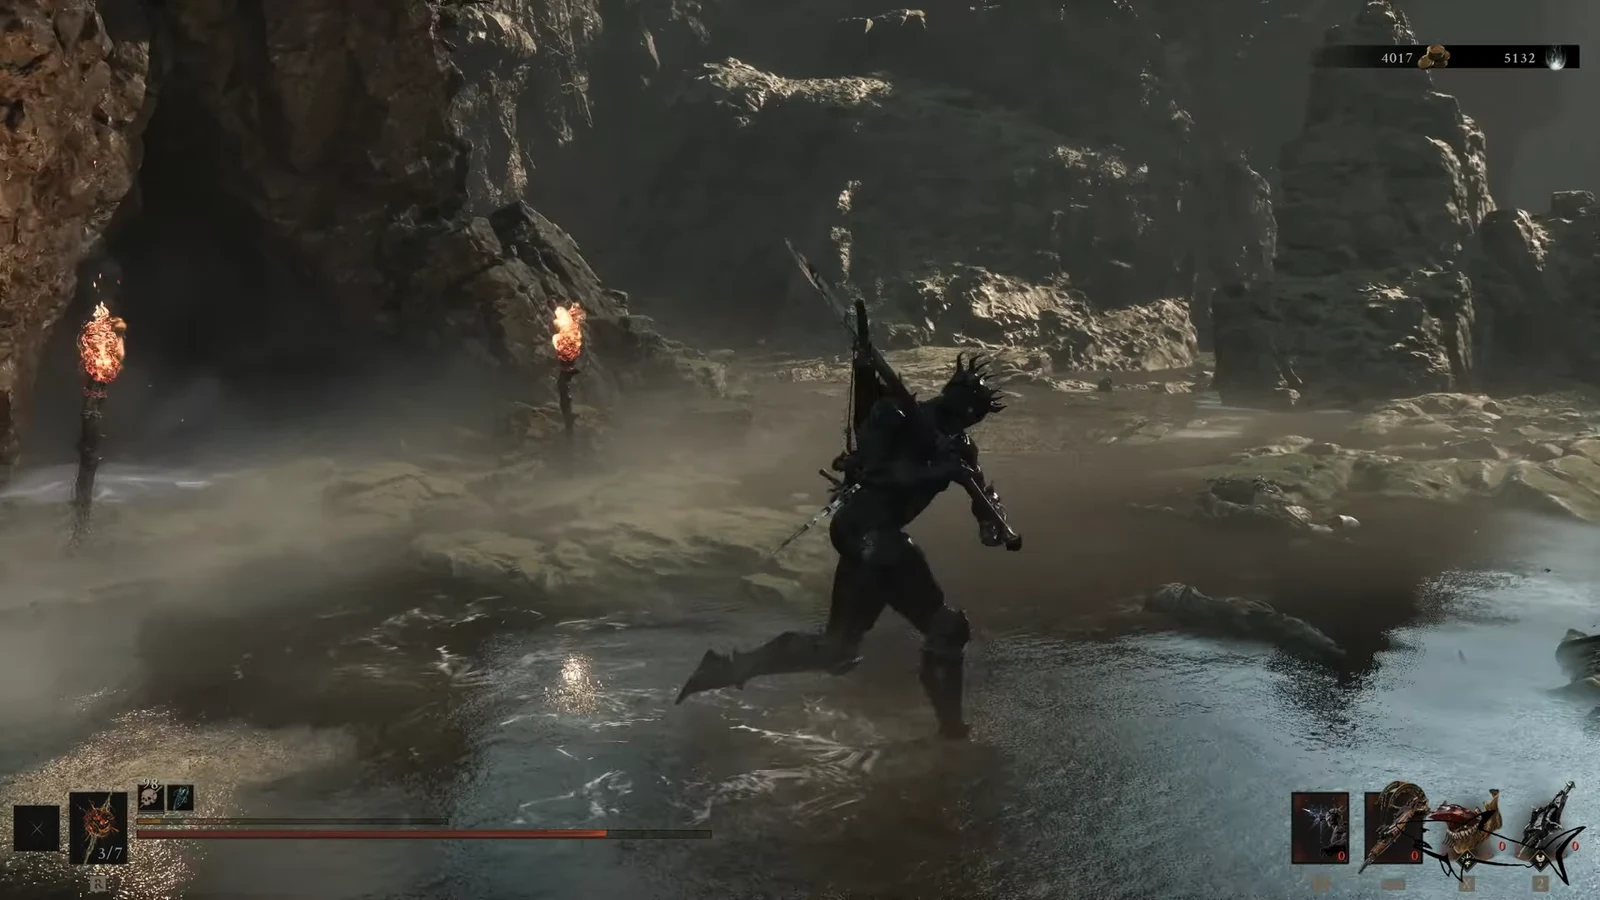
Move around to the far side of the central rock to wake the Bloodcursed Lithopod boss. It is not a tough fight, it uses the same attack pattern as regular Lithopods, which parries cleanly, and it has no special tricks. Keep hitting it until it dies. Its death drops the unique Citadel Gate Lever, the item that opens the way to the Citadel of Penance.
Ravaged Hideout: How to get the Salvaged Trebuchaxe
The Bloodcursed Lithopod was blocking a cave entrance. On the far side of that central rock, exactly where the boss was resting, head through the fog and down into the Ravaged Hideout dungeon.
Smash the crates at the end of the first corridor and squeeze through the gap. Cut down the two Tarred Corpses in the way, then keep following the path until you meet a Tarred Vestige flanked by three more Tarred Corpses. Kill the Corpses first to thin the group. Inside the dungeon, a chest holds the Salvaged Trebuchaxe, a sidearm built around burst damage from charged projectiles.
Open the Citadel of Penance with the Gate Lever
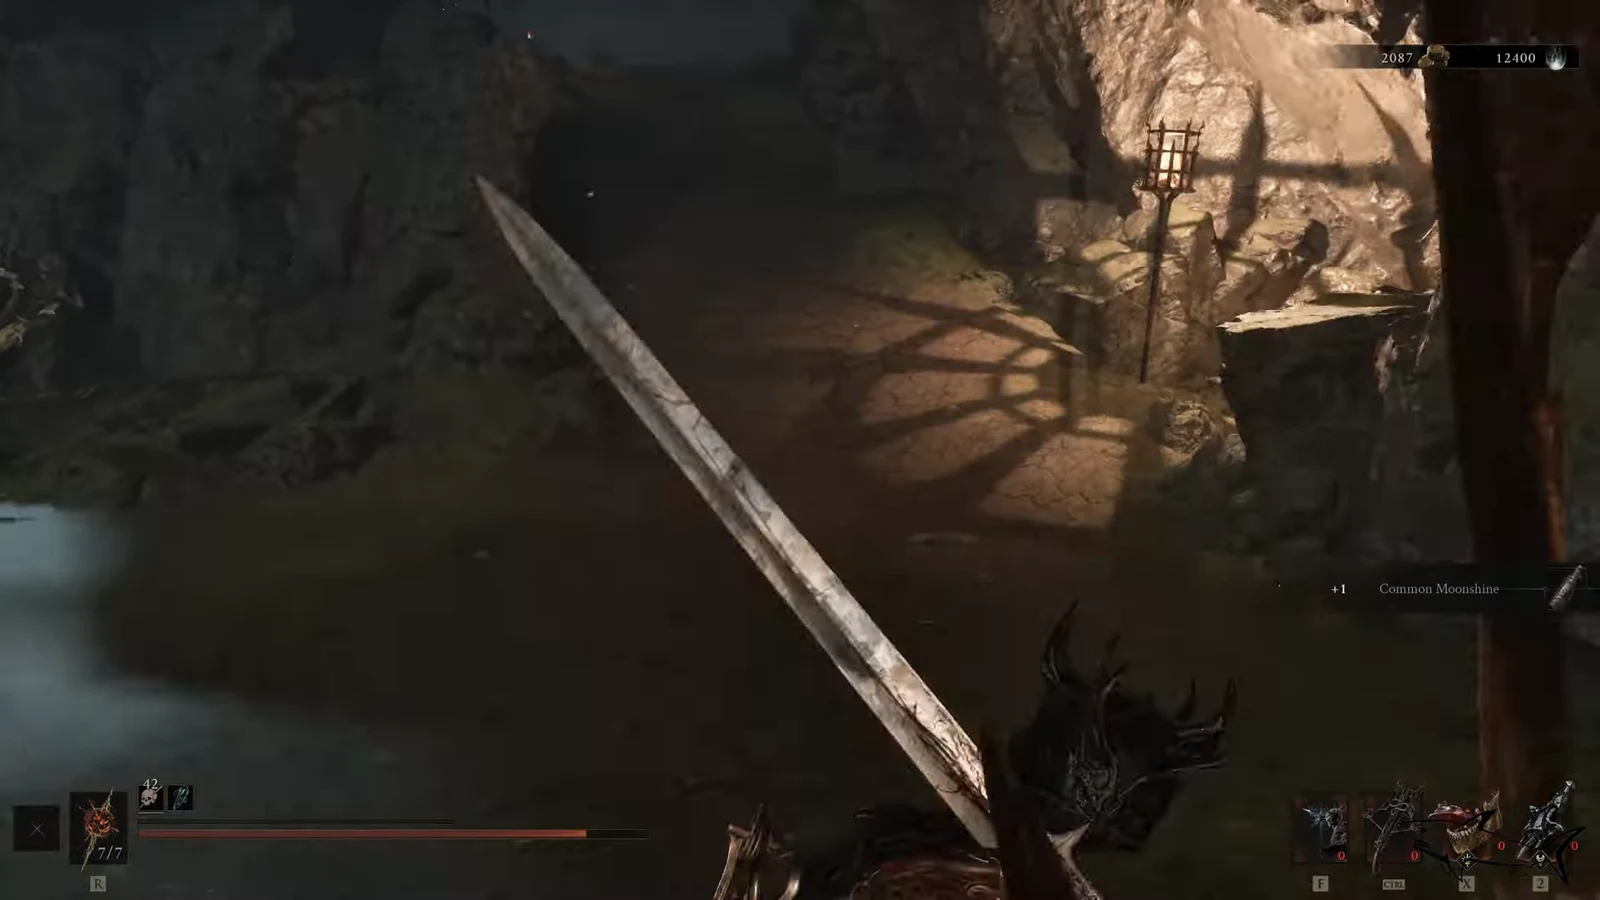
With the Citadel Gate Lever in hand, fast travel back to the Gloomshade Grove Beacon and follow the route toward the Citadel of Penance. A warning posted at the gate spells out why it was sealed in the first place, a lever was stolen and its return promised a reward.
Warning: Gate closed until further notice. A traitorous cretin has made off with the lever and a reward will be granted for its return. The culprit was last seen escaping into the ravine.
Slot the Citadel Gate Lever into the mechanism next to the gate. The gate lifts, giving you entry to the Citadel of Penance, and you can activate the final beacon just beyond it. That confirms the region is done, the gate is open, the beacon is lit, and the two weapons plus the Barrage Stone are all in your inventory.
Gloomshade Grove collectibles and rewards
| Reward | How to get it |
|---|---|
| Grisha Remnant | Defeat the wild Grisha in the arena past the northern corruption |
| Barrage Stone | Complete the Corrupted Statue Trial near the cliffside |
| Citadel Gate Lever | Defeat the Bloodcursed Lithopod in the flooded ravine |
| Salvaged Trebuchaxe | Loot the chest inside the Ravaged Hideout dungeon |
| Great Martyr’s Blade | Found via the Martyr’s Prison reached from the Citadel Gate area |
| Citadel of Penance access | Slot the Citadel Gate Lever into the gate mechanism |
Once the Citadel gate is open and the final beacon is active, Gloomshade Grove is fully cleared and its two entrances, through the Holding Cells and the Citadel of Penance, stay linked for quick travel. From here you can push straight into the Citadel or double back over the northern bridge toward the Sanguine Caverns whenever you are ready.