

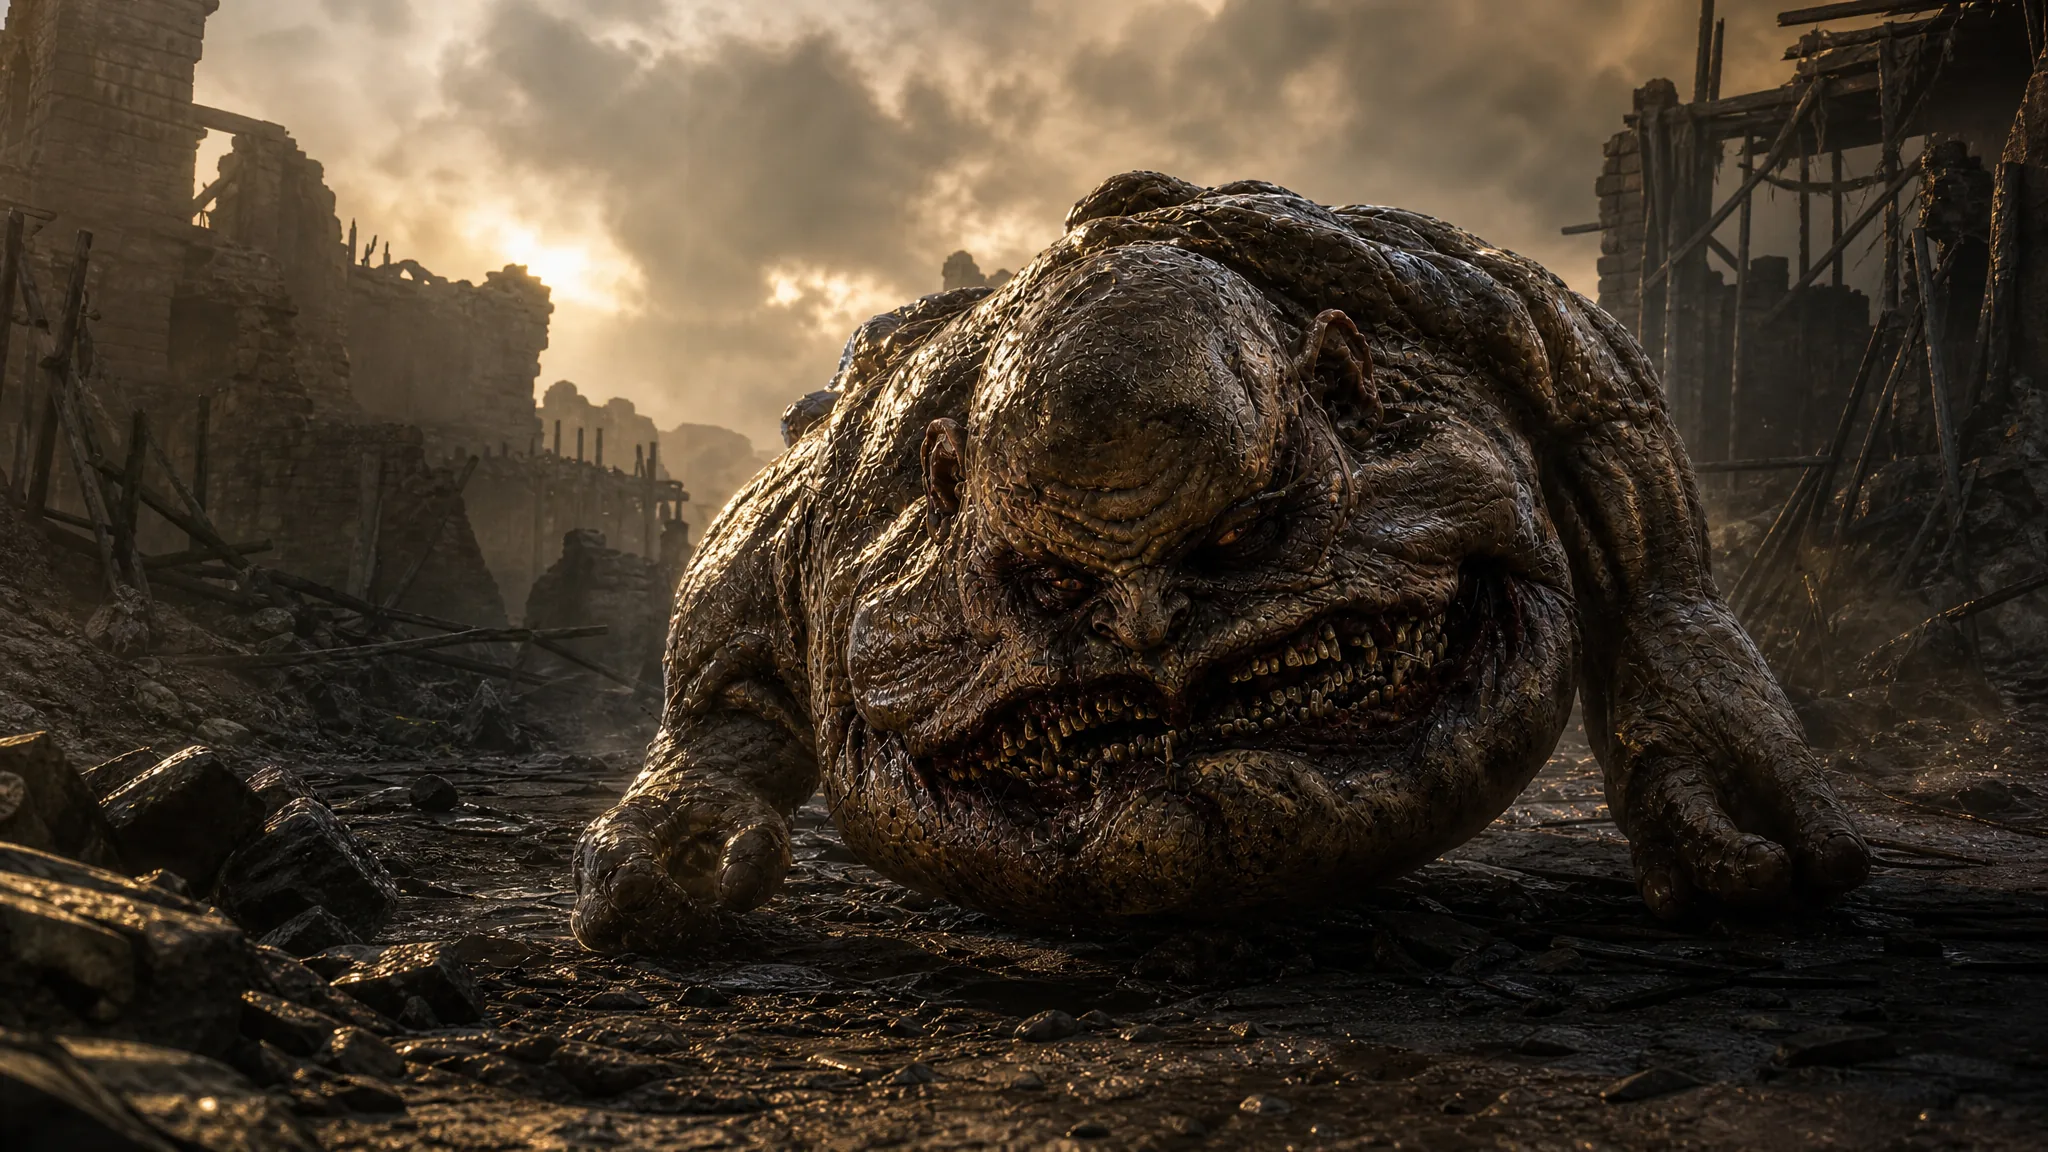
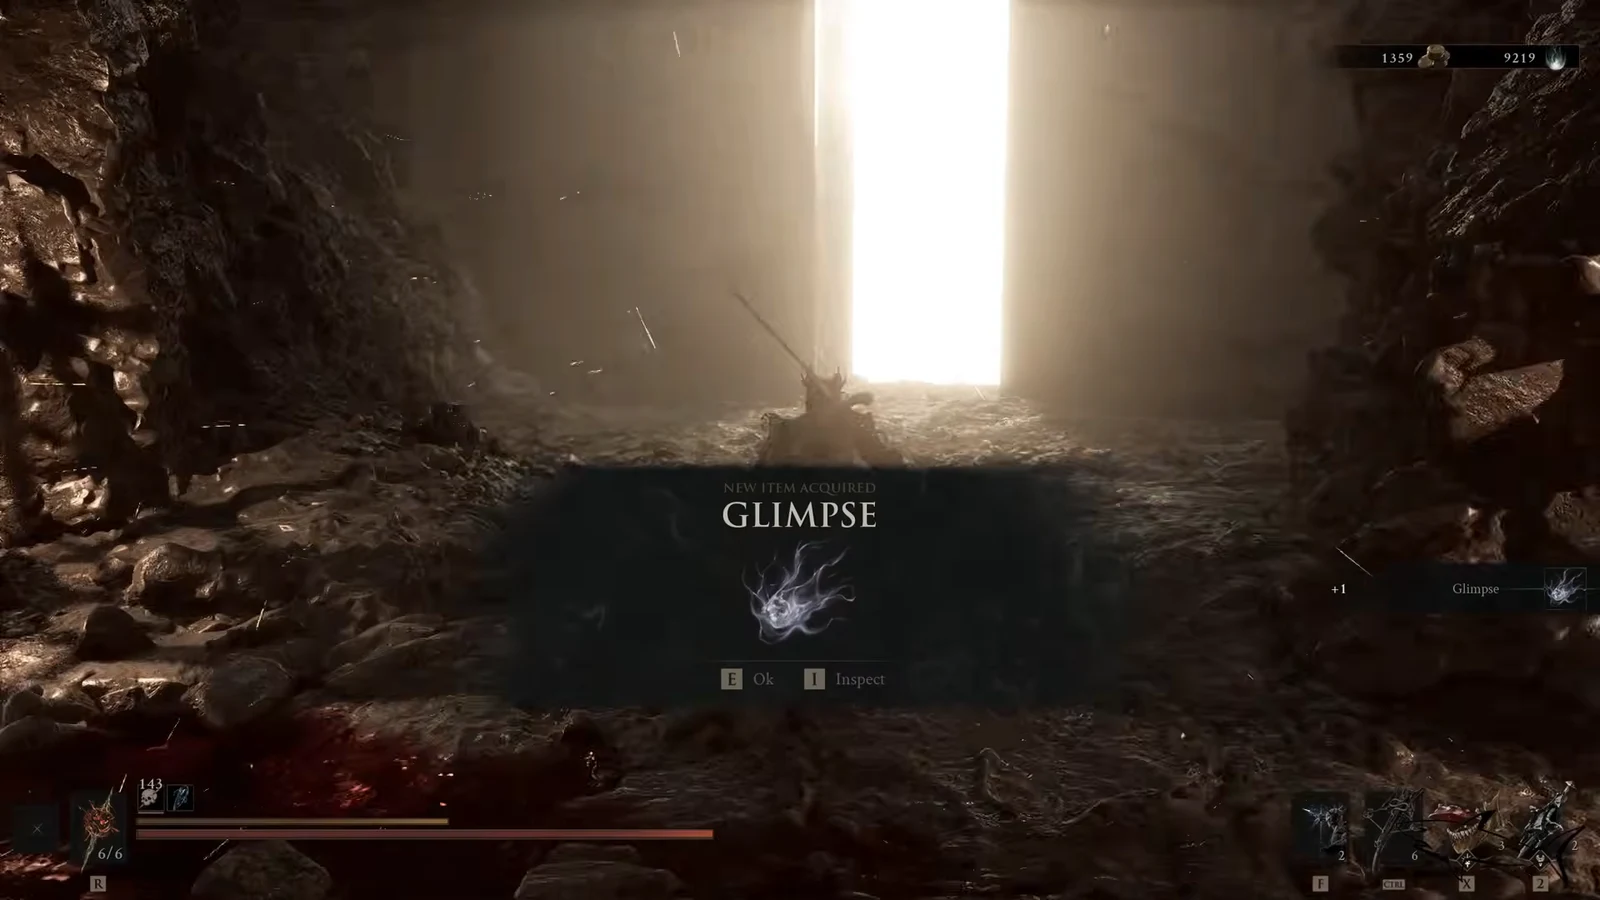
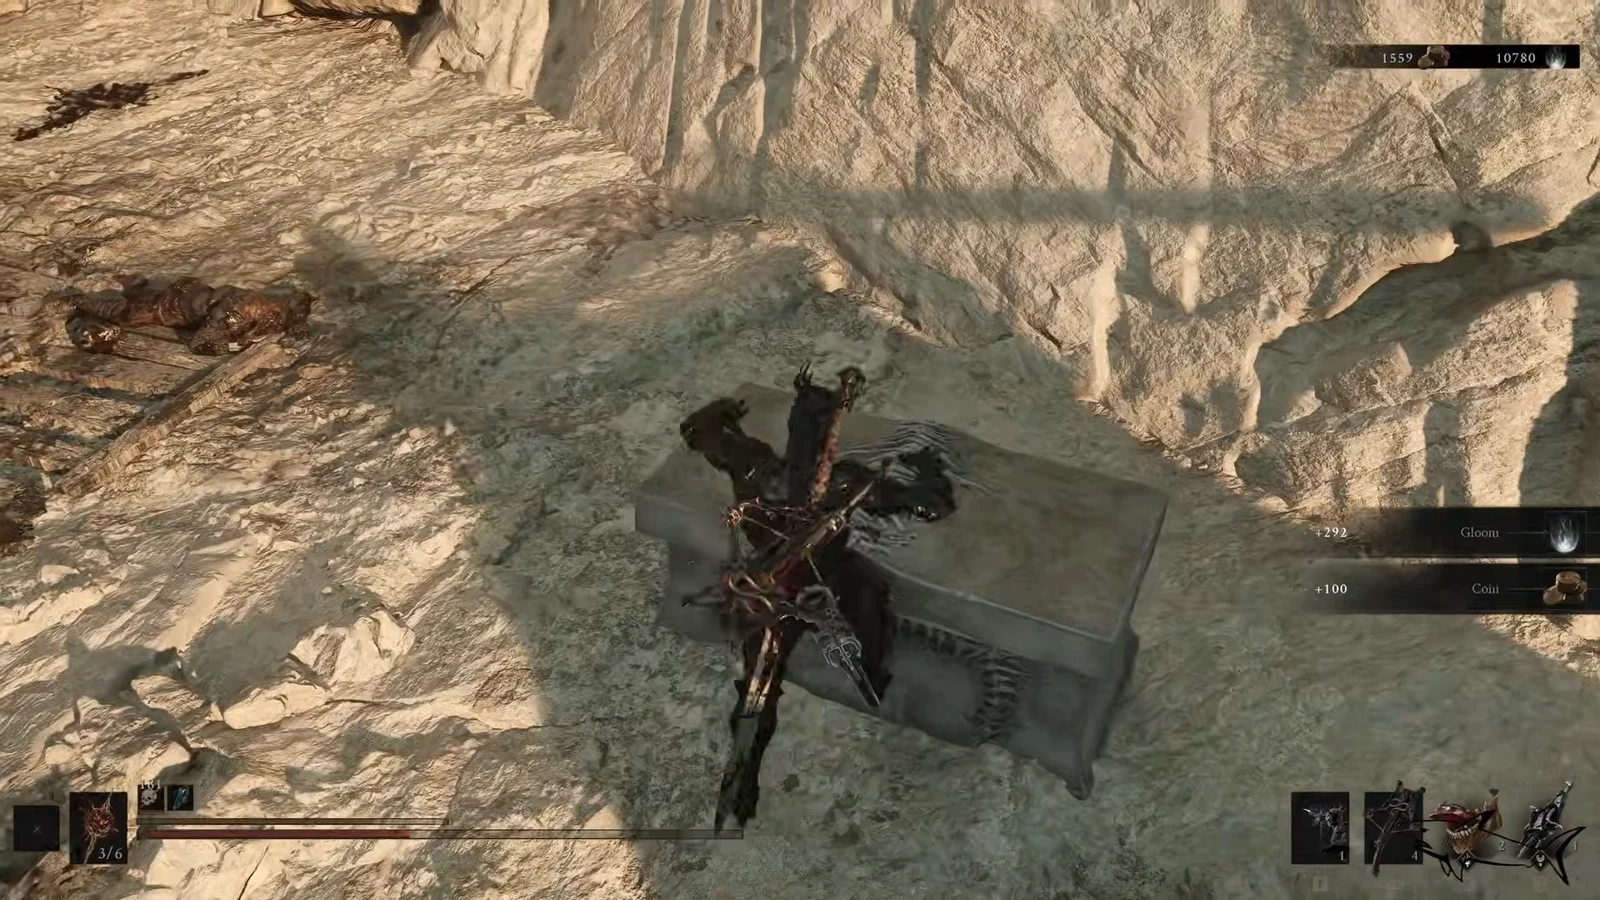
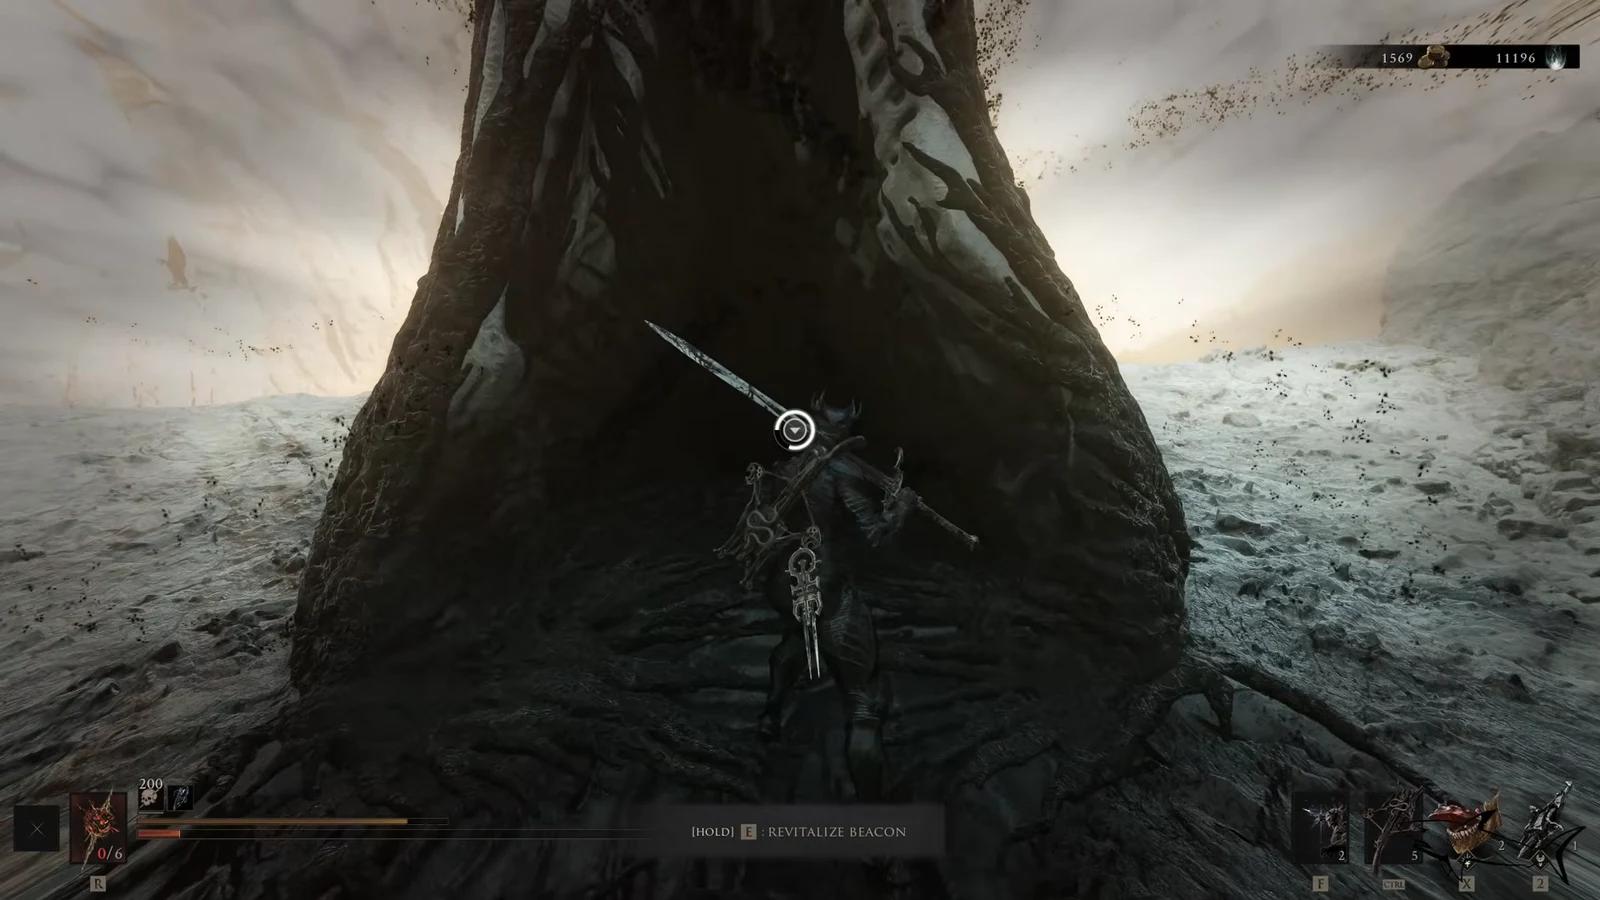
The Lost Child is the main boss of the Sanguine Caverns (Gate) in Mortal Shell 2, a Corrupted Gate dungeon reached through the Sanguine Caverns in Fainweald. Getting to it means cleansing a beacon to open the gate, pushing through a second cavern section, and clearing the Tarblighted Stoner miniboss that guards the arena entrance.
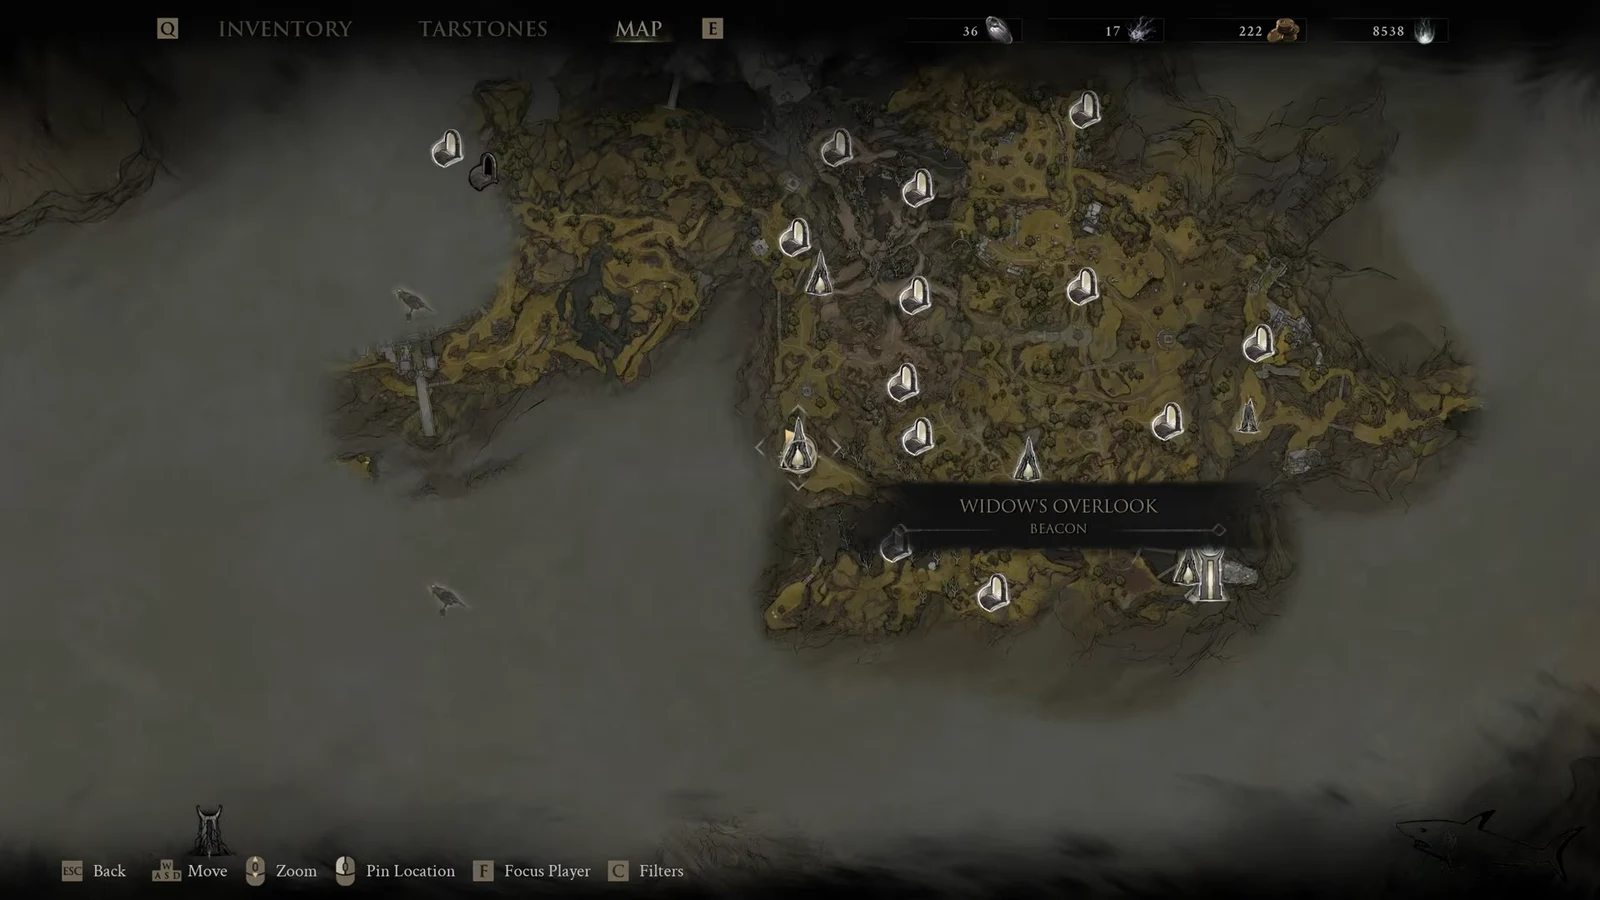
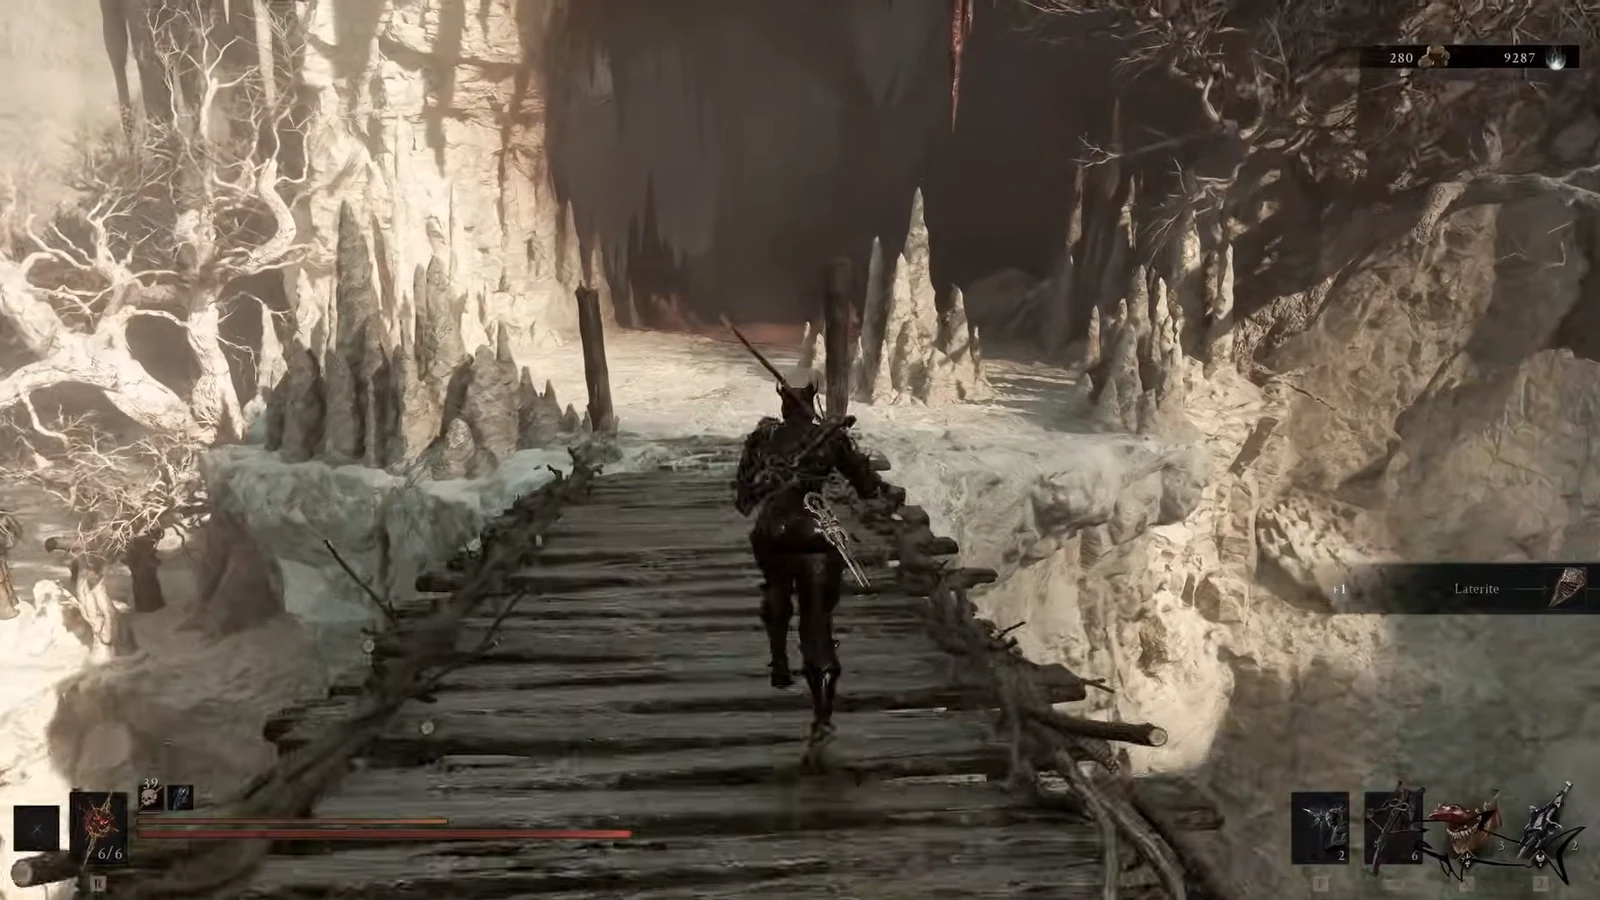
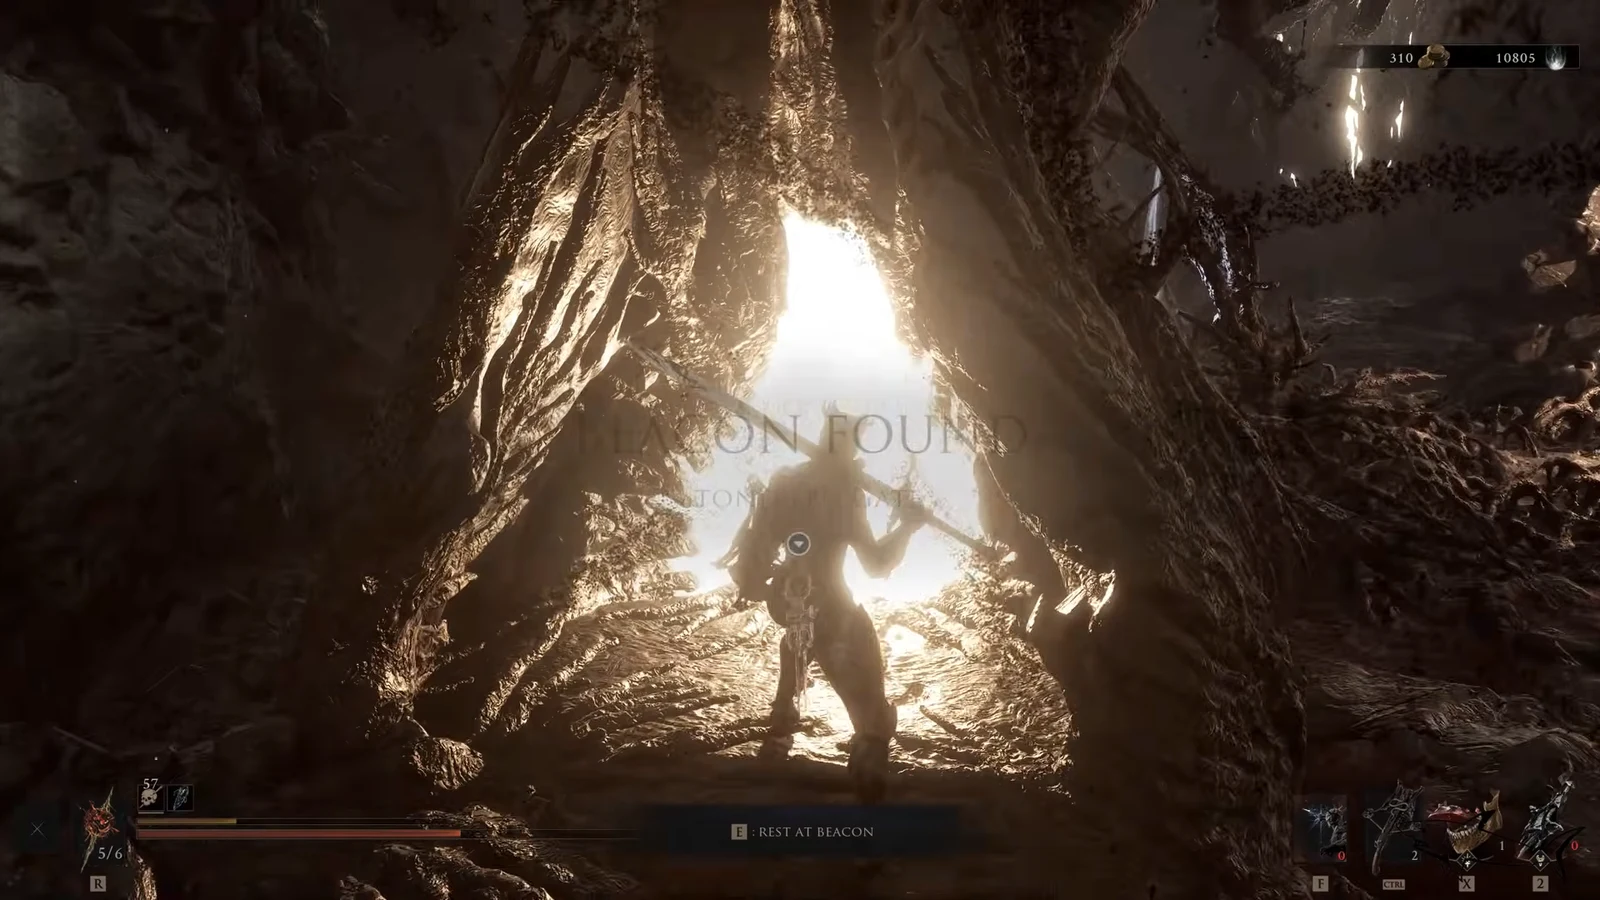
Quick answer: Fast travel to the Sanguine Shoreline Beacon (listed under Sanguine Caverns), follow the cave path forward, cleanse the beacon to open the Corrupted Gate, beat the Tarblighted Stoner, then drop into the arena to fight The Lost Child.
Route to the Sanguine Caverns (Gate)
The whole run starts in the overworld and ends inside the gated dungeon. If you have already unlocked a nearby beacon, use Mether’s Breath fast travel and select Sanguine Shoreline under the Sanguine Caverns heading to land right at the entrance. Otherwise, follow the overland path below.
How to beat The Lost Child
The Lost Child is a massive pile of flesh with a gaping, tooth-lined maw. It has no legs and drags itself around the arena using its one good arm. Most of its attacks are heavily telegraphed, so once you learn where to stand, the fight becomes a matter of patience.
The safest position is close range, tucked into the space between its tail and its arm. From there you can dodge into attacks and land clean hits, then reposition. Several of its moves leave it animation locked for a few seconds, which is your window to punish it before it recovers.
Attacks to watch for
| Attack | How to handle it |
|---|---|
| Body slam | The boss jumps up or rears its maw into the air before crashing down. Dodge clear of the landing point. |
| Arm swipe | Comes with a long windup at close range. Dodge to the side, or use Harden. Parry builds work well here for filling the Break bar. |
| Ranged rear attack | It turns and fires a noxious projectile from its back end with huge reach. Dodge sideways repeatedly and avoid standing directly behind it. |
| Vacuum inhale | It opens its jaws and sucks in air. Stay out of range, hit it from behind, then start side-dodging as it spits everything back out. |
Second phase and the grab
Once you drop its health to half, it adds a fast red grab attack that eats you and spits you out from behind. This can one-shot a low-level Harbinger. When it winds up its head and you see the red glint, dodge backward immediately, then move back in for a few hits.
Below half health it does not gain other major moves, but arm swipes come out slightly faster and it jumps around more. Its conal breath attack is easier to survive up close, since you can move around its side rather than backing into its full reach. Keep dodging into the boss and stay near its flank throughout.
Rewards and confirmation
Beating the boss plays a defeat cutscene and drops the on-screen prompt for the new tarstone. You also earn the achievement Meat’s Back on the Menu, Boys! for defeating The Lost Child.
| Reward | Detail |
|---|---|
| Lost Clotstone | Tarstone that consumes 60 Resolve to spin in place and release your weapon with brutal force. Works with the Obsidian Hammer and Veteran’s Battle Axe. |
| Gloom | 13,019 |
| Achievement | Meat’s Back on the Menu, Boys! |
Note: After cleansing the final beacon in the dungeon, head into the innermost chamber to find a Blackmarrow Key. That key opens sarcophagi in Marrow Keep, which unlock new color schemes for shells you already own.
The Lost Child is the second of the game’s ten major bosses, sitting between Magdalena, the Lady of the Woods and the Nameless Captive in the recommended order. Clearing it advances the Corrupted Gate progression toward the Ovum of the UnderMether and opens the next stretch of Fainweald.





