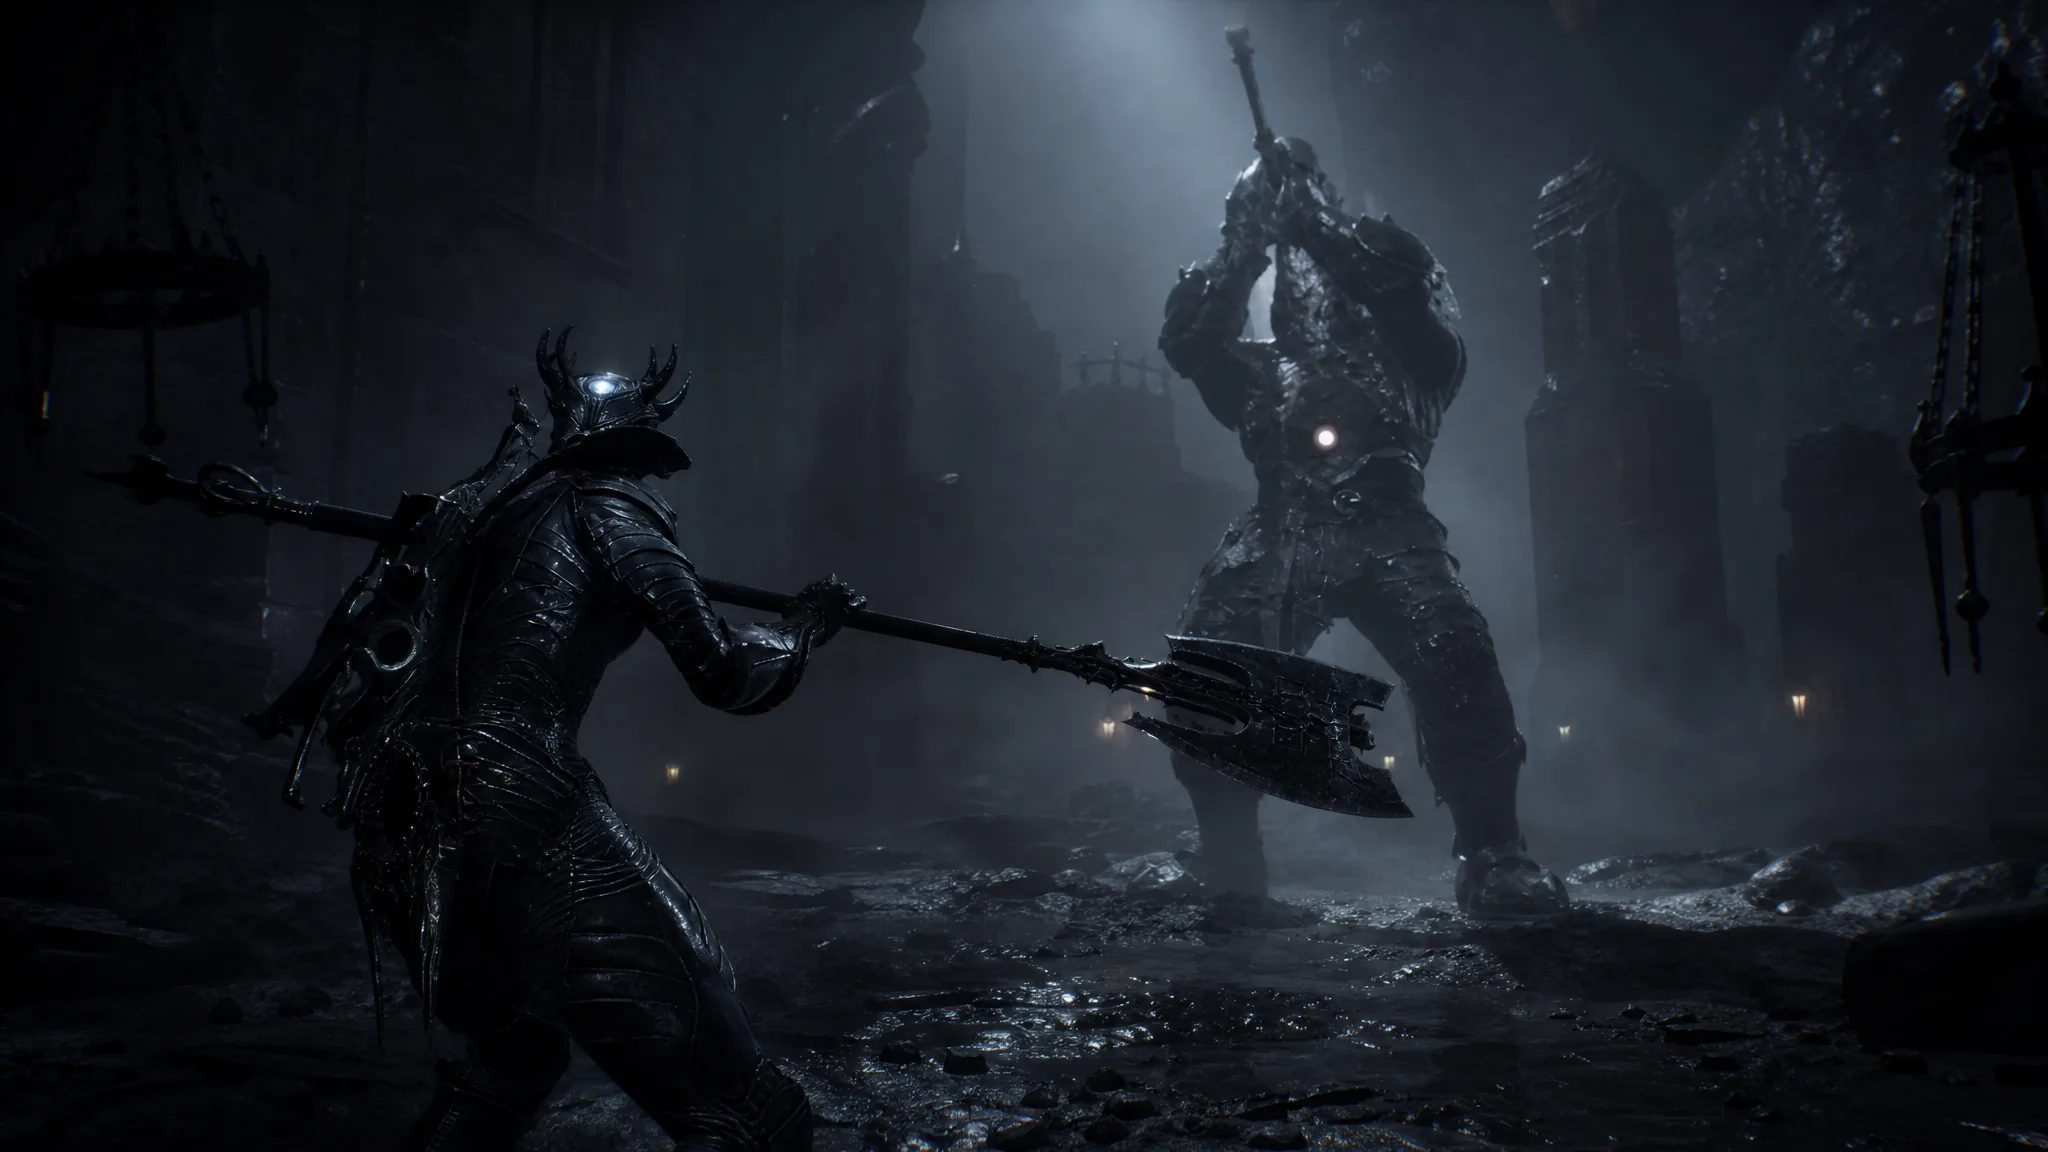
The Nameless Captive wants you inside the arc of a sword bolted through its skull. Wide slashes, multi-hit headspins, and a second phase full of hits you cannot guard make that a bad place to stand. The cheese is to refuse the invitation, hold spacing, and empty the health bar from across the pit.
Quick answer: Summon a spectral hammer clone to hold aggro, back off, and drain The Nameless Captive with a rapid-fire crossbow plus Axatana bursts until the Captive’s Scabstone drops.
Prisoner’s Domain pit location
The fight sits in the Prisoner’s Domain, the western Corrupted Gate in Fainweald next to the Nochtean Gate beacon. From the Executioner’s Pulpit Beacon, clear the route, beat Tishina’s Confessor, and jump into the pit. That drop is the arena. There is no second chance at this bout in the same playthrough, so set the cheese loadout before you fall in.
Cheese loadout for The Nameless Captive
Melee trading is how this boss clips you. The safe kit is a weapon that can dump burst when the clone has its attention, a sidearm that fires quickly from outside swing range, and something that keeps the Captive looking the other way.
| Slot | Bring | Role in the cheese |
|---|---|---|
| Weapon | Axatana (axe form) | Fiery weapon ability for burst when the boss is occupied |
| Sidearm | Rapid-fire crossbow | Steady chip from outside the blade’s reach |
| Coating | Fire (Bolt-on) | Extra damage on shots and swings while you stay away |
| Repeat summon | Spectral hammer clone | Draws aggro so you are not the target |
| Spirit ally | Eredrim (1 Glimpse) | A second body in the pit if you have the unlock |
Spending one Glimpse lets you lock a spirit ally into this arena. Eredrim is the usual pick because he can eat attention while you set the ranged loop. The clone you can keep putting back down is still the piece that makes the cheese reliable. If the Captive turns toward you, kite it away from the clone so the summon lasts longer.
First riposte, then leave melee
You only need one close-range window. After that, the fight should happen at the edge of the pit.
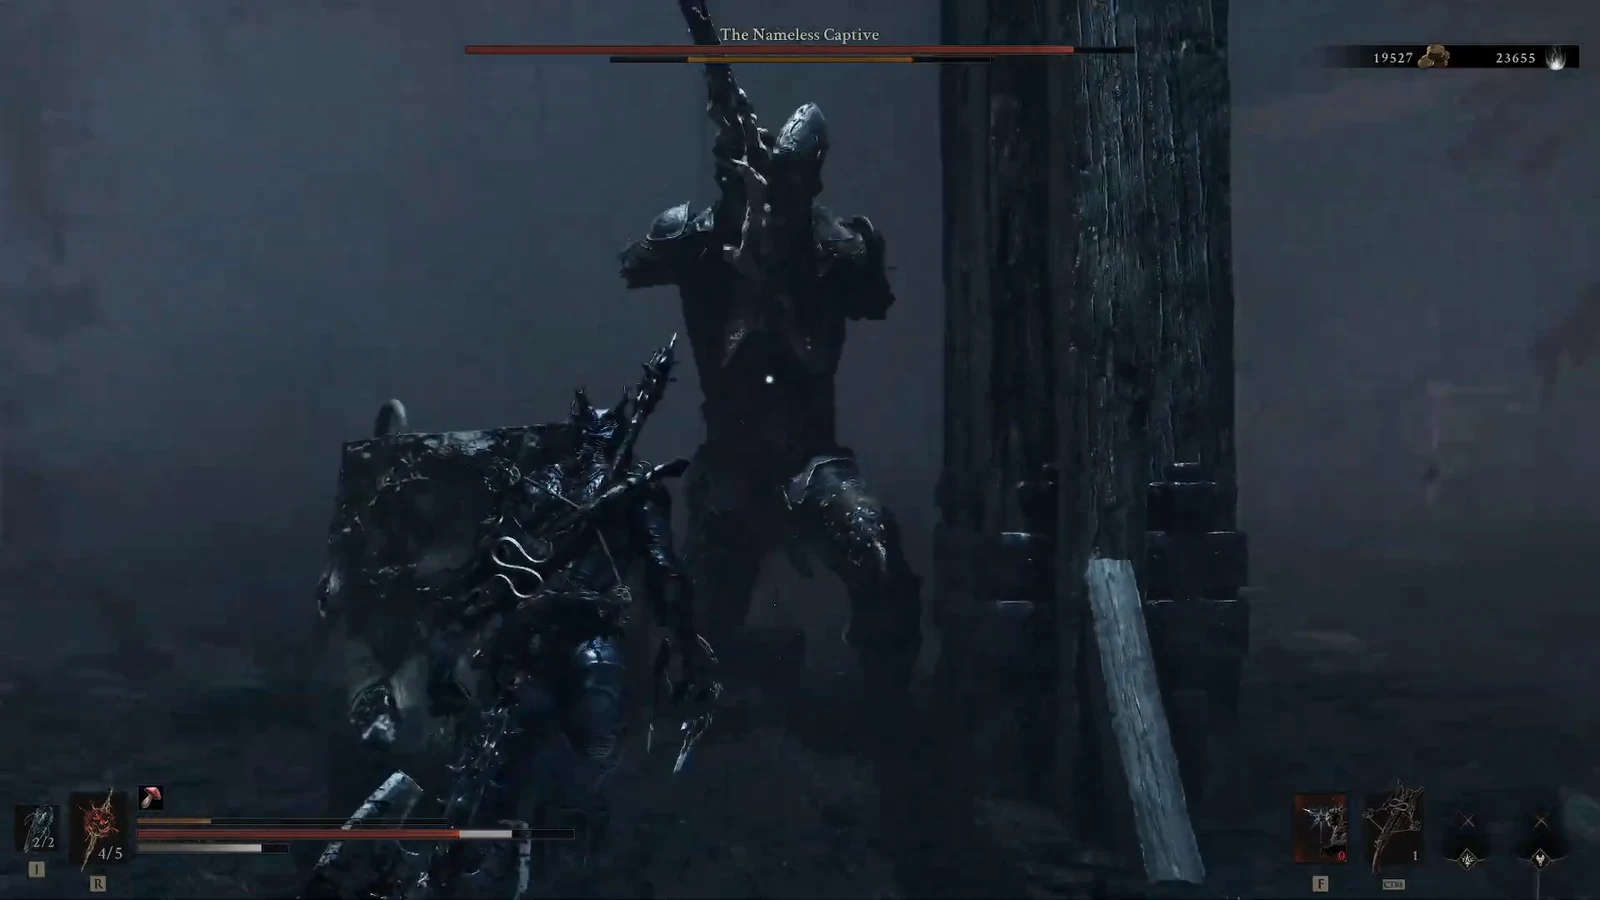
Spectral clone and crossbow loop
This is the cheese. Keep the clone between you and the boss, fire the rapid-fire crossbow in a steady stream, and re-summon the hammer clone whenever it drops. The Captive’s reach is longer than it looks. A small sidestep is not enough on the wide sweeps, so give yourself a full body-length of space and strafe rather than backpedal in a straight line.
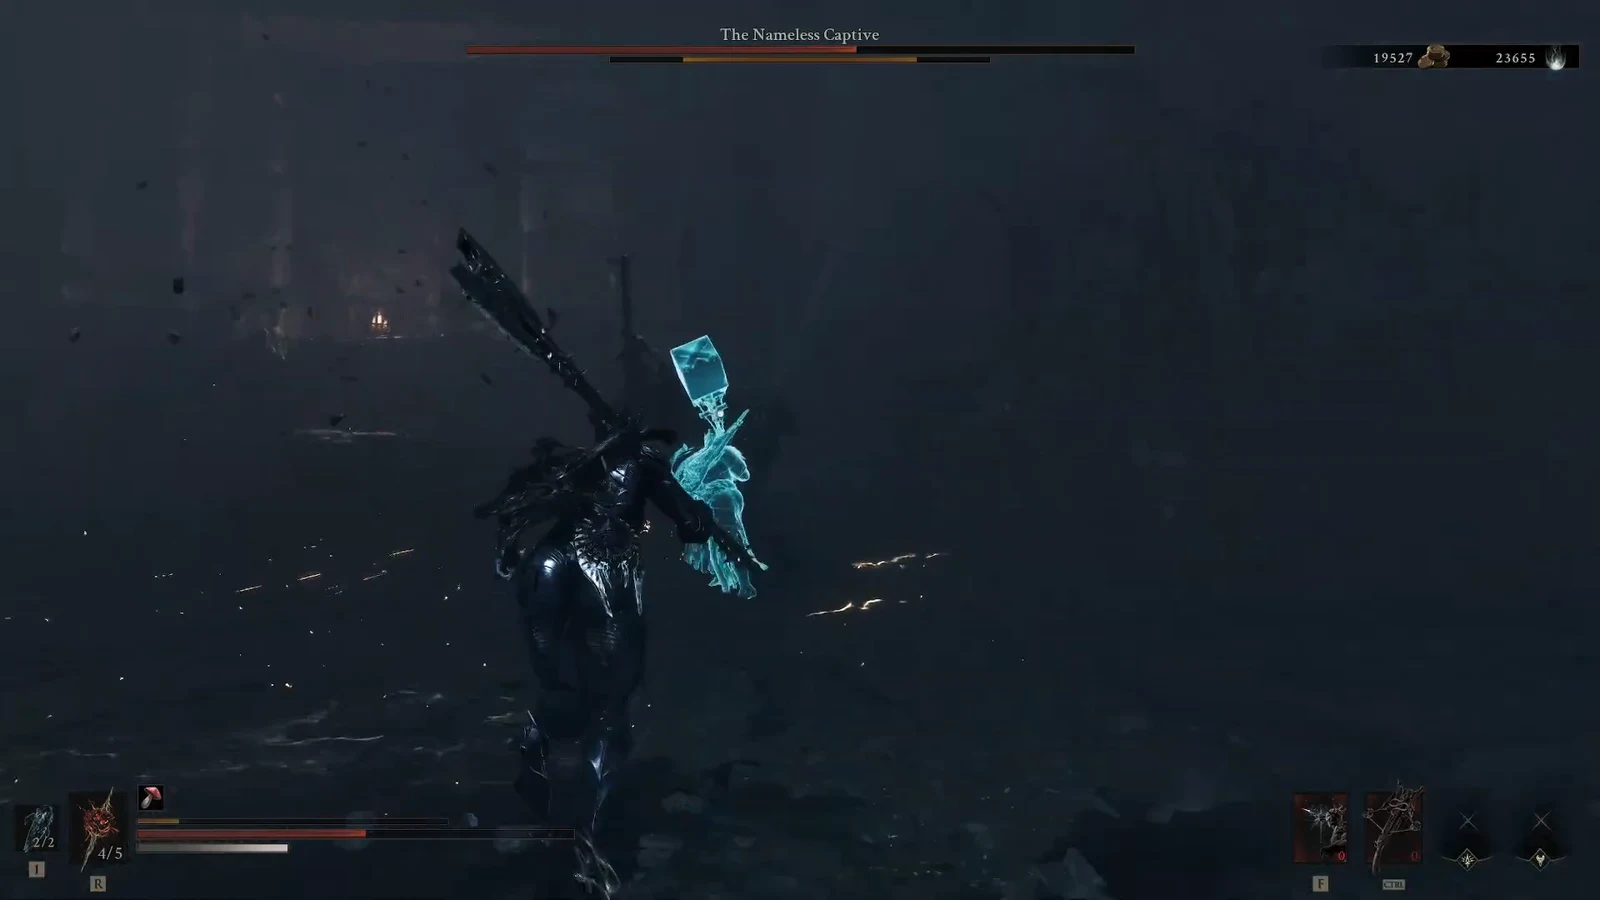
When the clone has aggro, you can stand still long enough to empty a volley. When the boss turns, stop shooting, dodge the approaching swing, and put another clone down. Do not chase. The loop only fails if you walk back into melee to “finish a combo.”
Axatana burst windows
The crossbow is the drip. The Axatana is the chunk. Wait until the clone or Eredrim has the Captive locked, then use the fiery weapon ability for a burst. That ability is the main reason to keep the axe form on for this fight. Fire it, then return to spacing. You are not trying to stay in axe range after the animation.
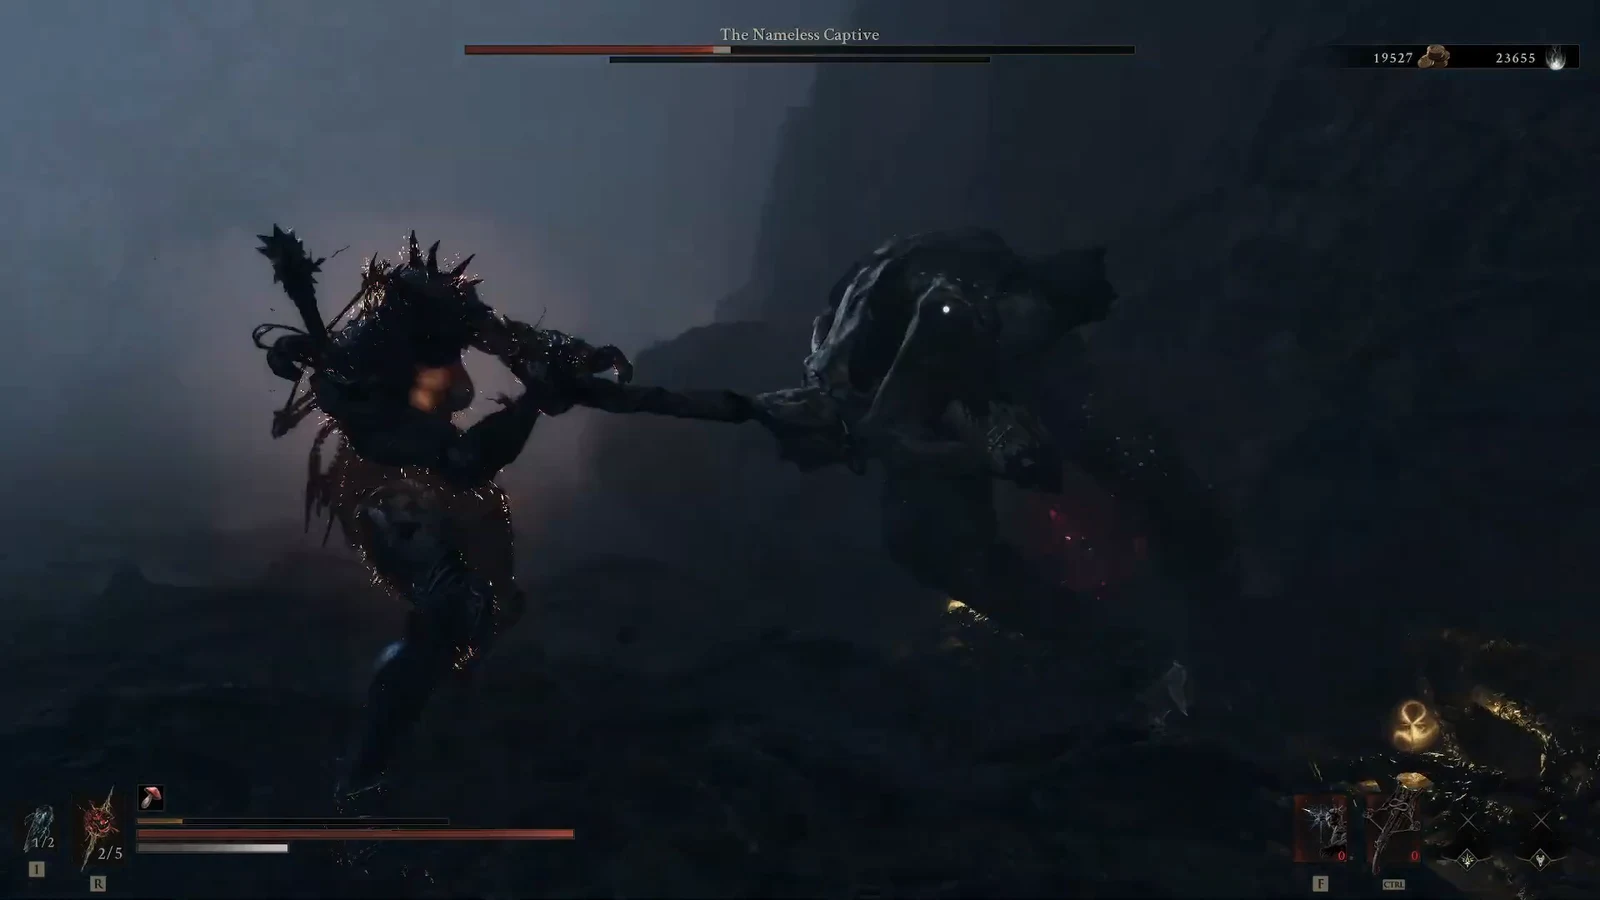
If a stagger window opens, you can spend it on a heavy jump attack and then immediately go back to bolts. Treat that jump as a single punish, not a signal to start a full melee string.
Second phase spacing
At half health a scripted riposte plays, burying the blade in the Captive’s head. After that, stay out. The boss opens the second phase with a fast spin, then adds unblockable leaps, stomps, and propeller-style headspins. The cheese does not change. The penalty for standing close does.
| Attack | What you see | Cheese response |
|---|---|---|
| Opening fan spin | Boss bends and spins the blade in a fast fan | Run to the far edge of the pit |
| Propeller headspin | Blade circles like a rotor and walks toward a target | Stay outside the circle until it ends |
| Leap slam | Boss jumps, then comes down on you | Sidestep at the top of the jump |
| Ground stab pull | Sword lodges, then wrenches back out | Do not step in after the first stab |
| Stomp follow-up | A stomp, then a hit you cannot parry | Dodge twice and keep firing from range |
You can knock the propeller spin off early with a Special Attack if you are already close. For the cheese you should not be close. Distance ends the same attack without spending the resource. Red-glow kicks in this phase also want a slightly late dodge, not a parry.
When the bar is almost empty, land one heavy jump attack if the boss is staggered, then finish with crossbow bolts. Do not linger in axe range for the last sliver.
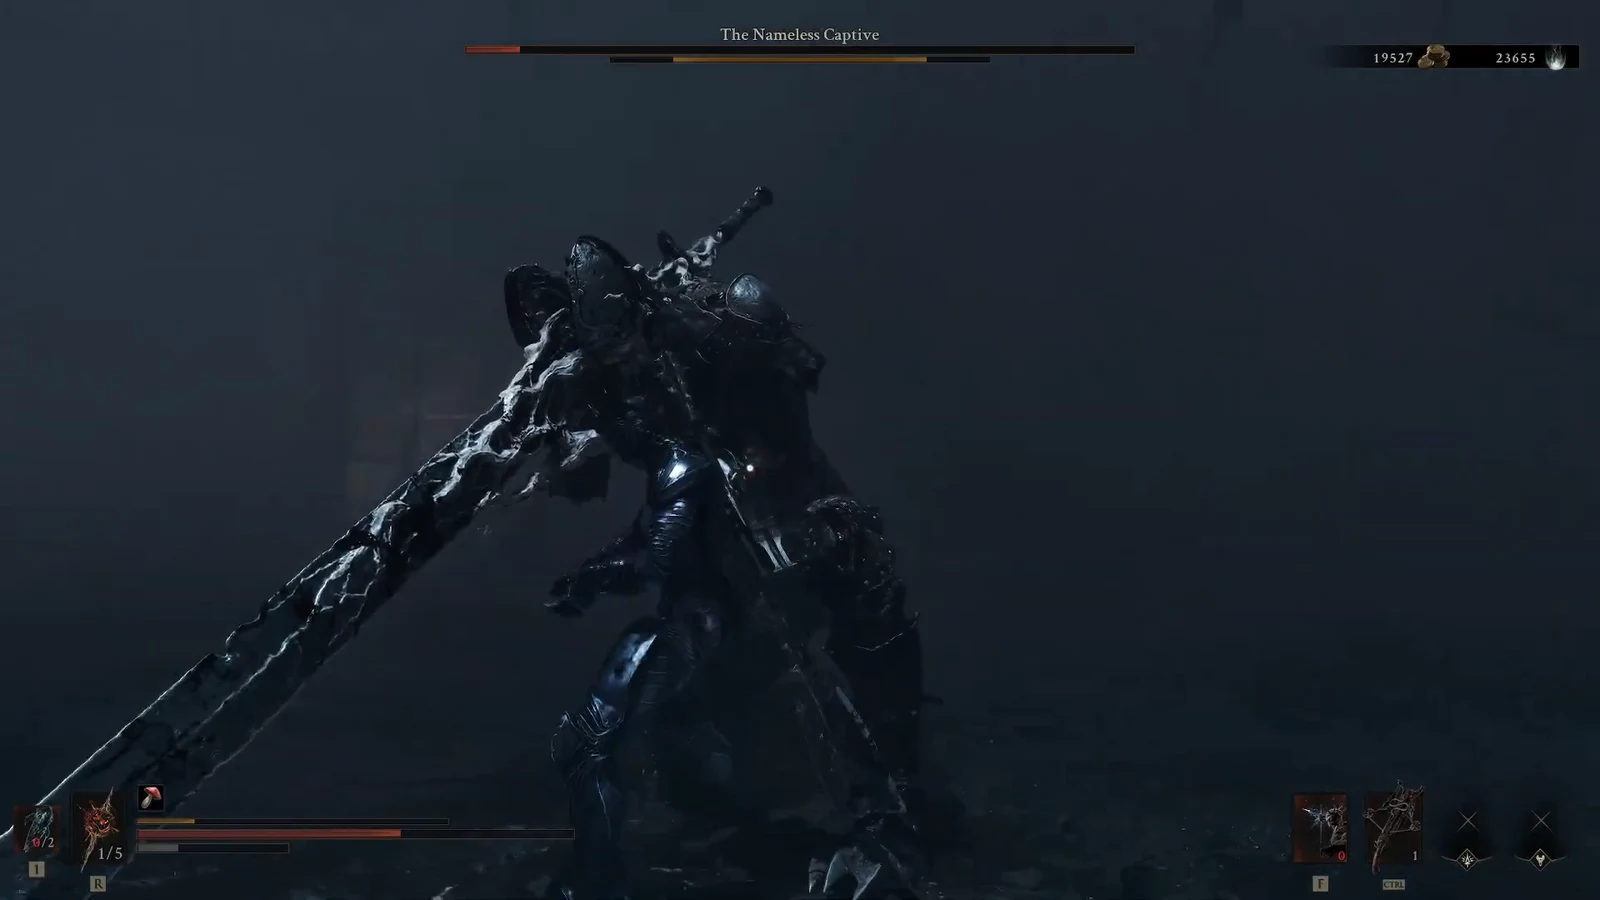
Captive’s Scabstone reward
The bout is over when the on-screen pickup reads Captive’s Scabstone Acquired and the item sits in your inventory as +1 Captive’s Scabstone. You also receive Gloom and a Glimpse. The Scabstone is a Tarstone for the Great Martyr’s Blade. It consumes 100 Resolve to swing the weapon in a violent arc and hit anyone standing close.
Once that pickup appears, the pit is done. A beacon with Ova spawns after the major Corrupted Gate bosses, and you can leave without fighting the Captive again.