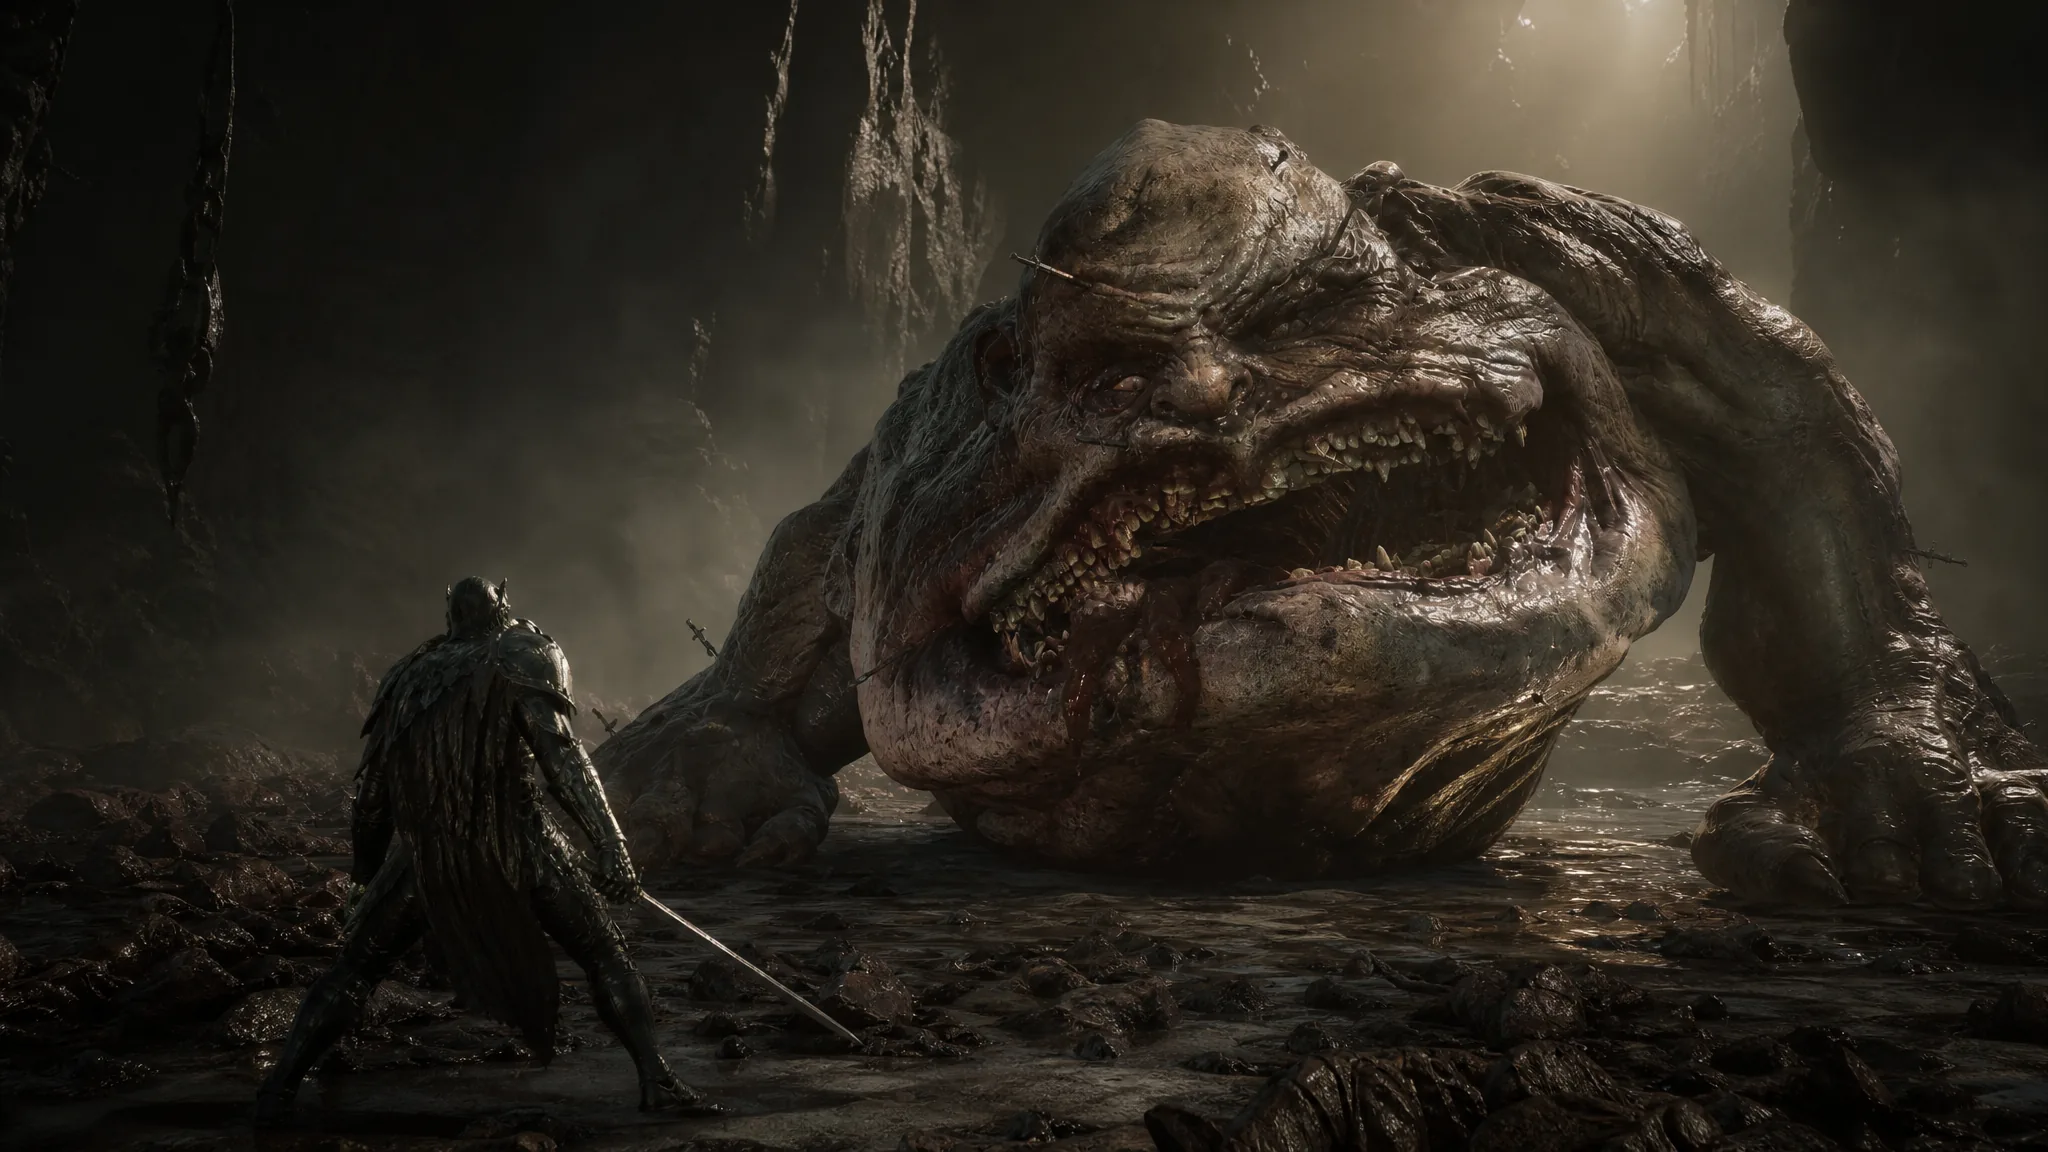
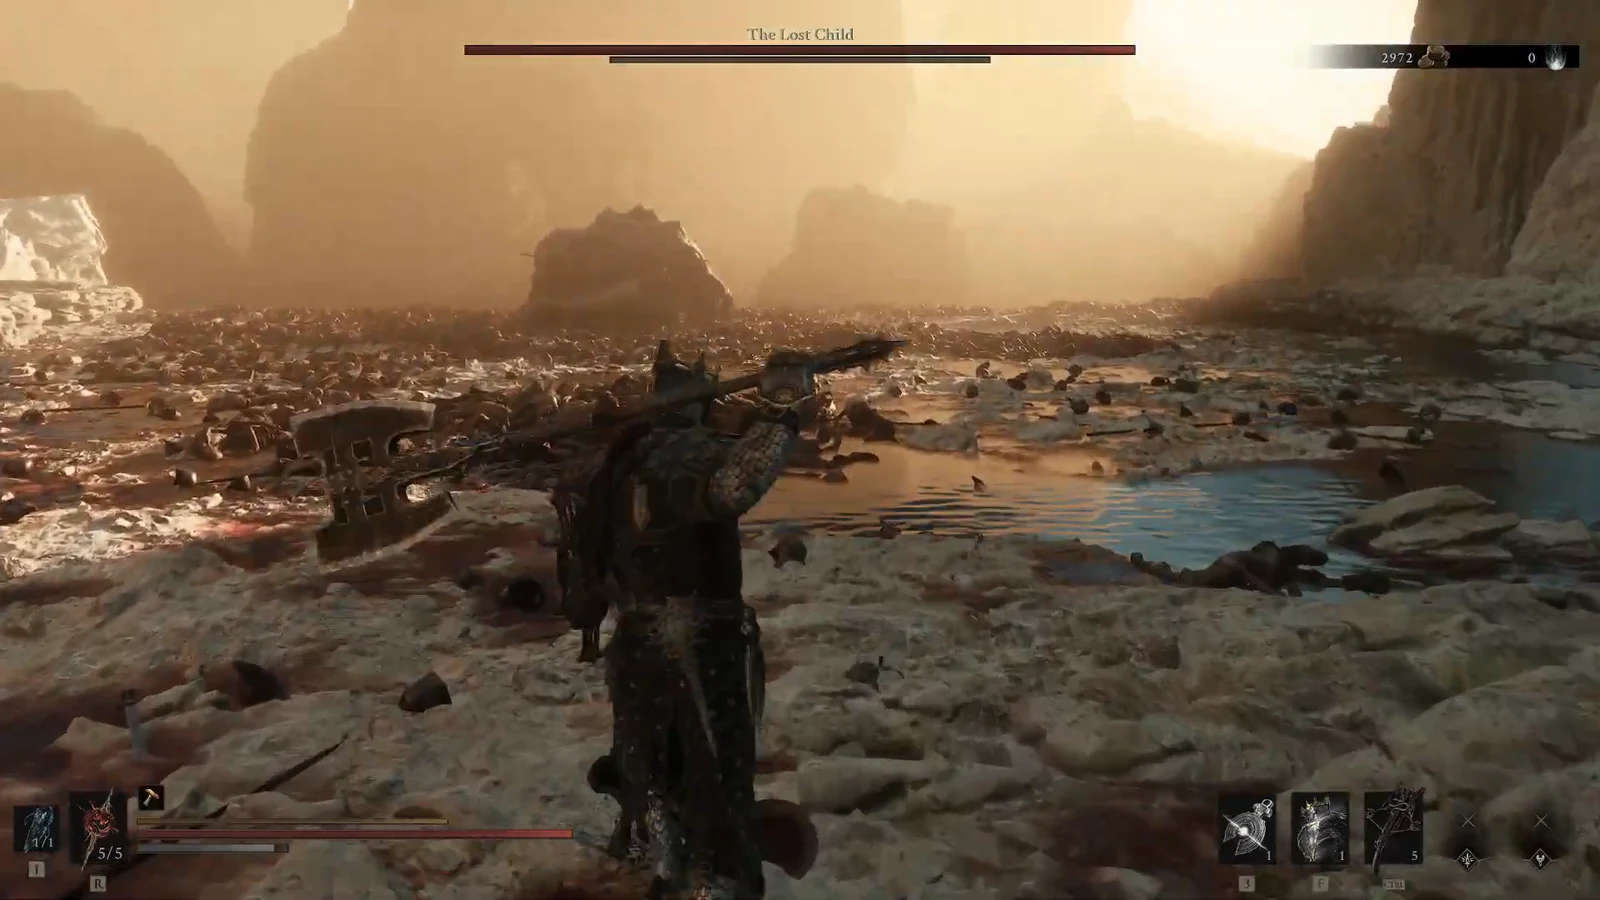
The Lost Child sits at the end of the Sanguine Caverns gate in Fainweald, and it is the fight where a lot of Mortal Shell 2 players learn that mobility beats aggression. It is a huge slab of flesh with a gaping maw, one working arm, and a habit of covering the entire arena with ranged filth. The good news is that almost everything it does is slow, loud, and telegraphed.
Quick answer: Spend 1x Glimpse to summon Tiel just past the updraft outside the arena, open with crossbow shots while it pulls aggro, then fight from the boss’s left side in the gap between its tail and arm. Dodge backwards the instant its head winds up with a red glint, and attack freely while it holds its suction wind-up.
Lost Child location in Sanguine Caverns
The boss guards the northernmost Corrupted Gate in Fainweald. Start from the Sanguine Shoreline Beacon, head into the Sanguine Caverns, and follow the route through the dungeon until the tunnels open out into the wide arena. If you have already lit the beacon, Mother’s Breath will let you fast travel straight to Sanguine Shoreline and walk the short stretch of bone ledges to the boss door.
What to bring into the fight
Weapon upgrades matter more than anything else here, so stop at the Tarforge in Marrow Keep before you commit. A weapon sitting at +4 will grind this fight out; the same weapon closer to +9 shortens it dramatically and removes several dangerous cycles from the encounter.
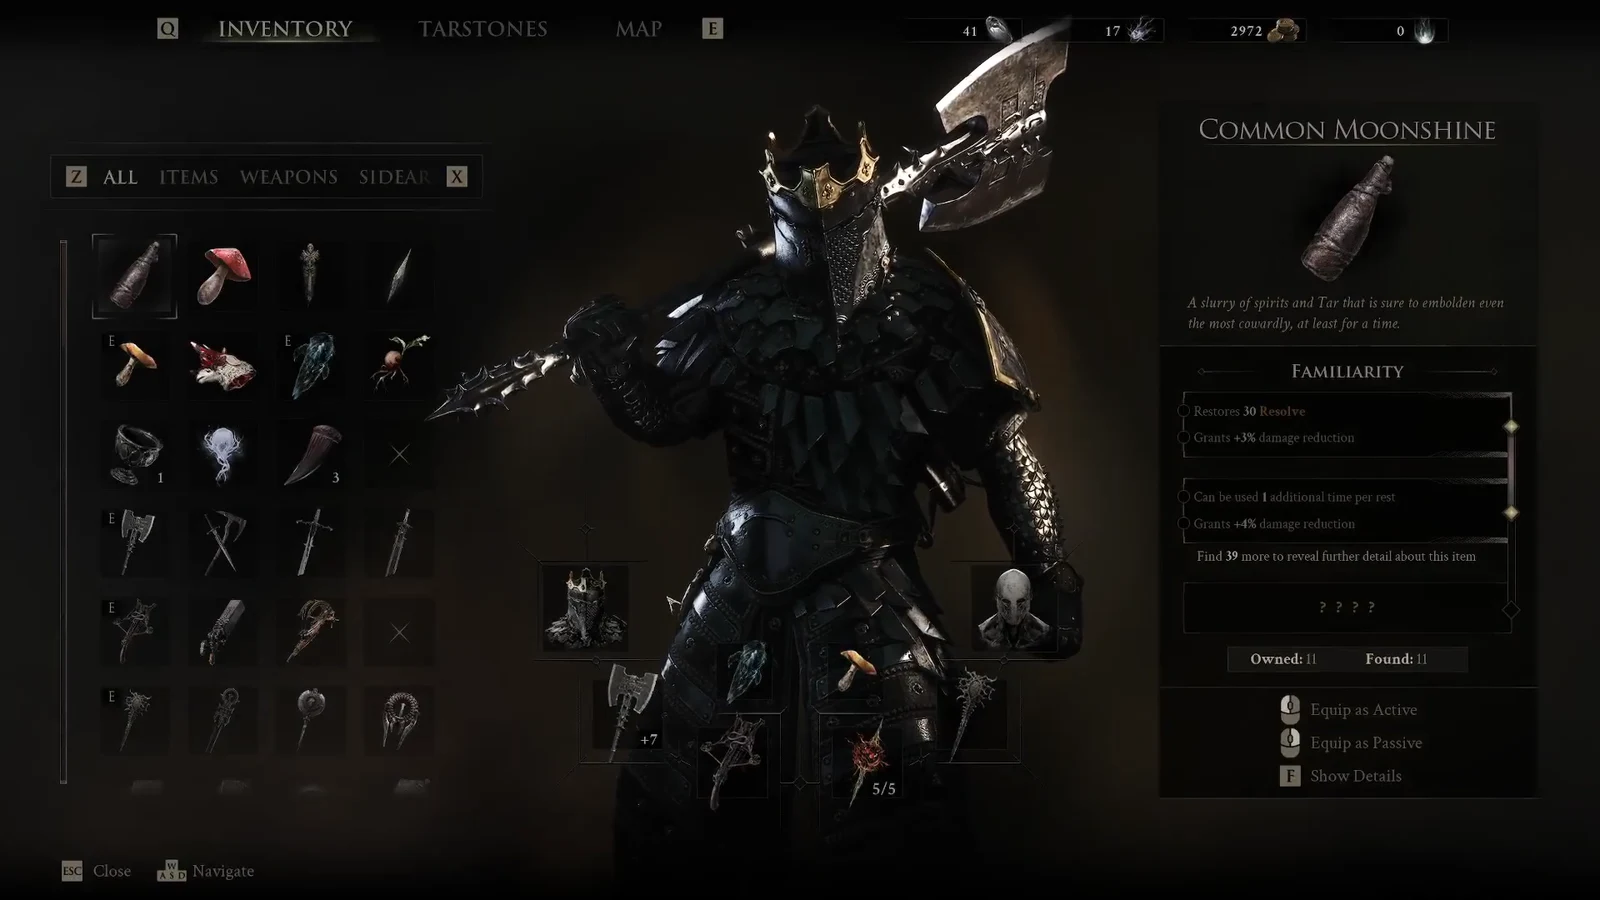
For consumables, keep something on hand for poison. Tarspore works well in the secondary slot for poison mitigation, with Grusha Remnant as the active item and Common Moonshine as backup healing. Vatras’ Seal is a strong pick because it enables Harden, which lets you soak a hit you misjudged instead of losing the run to it.
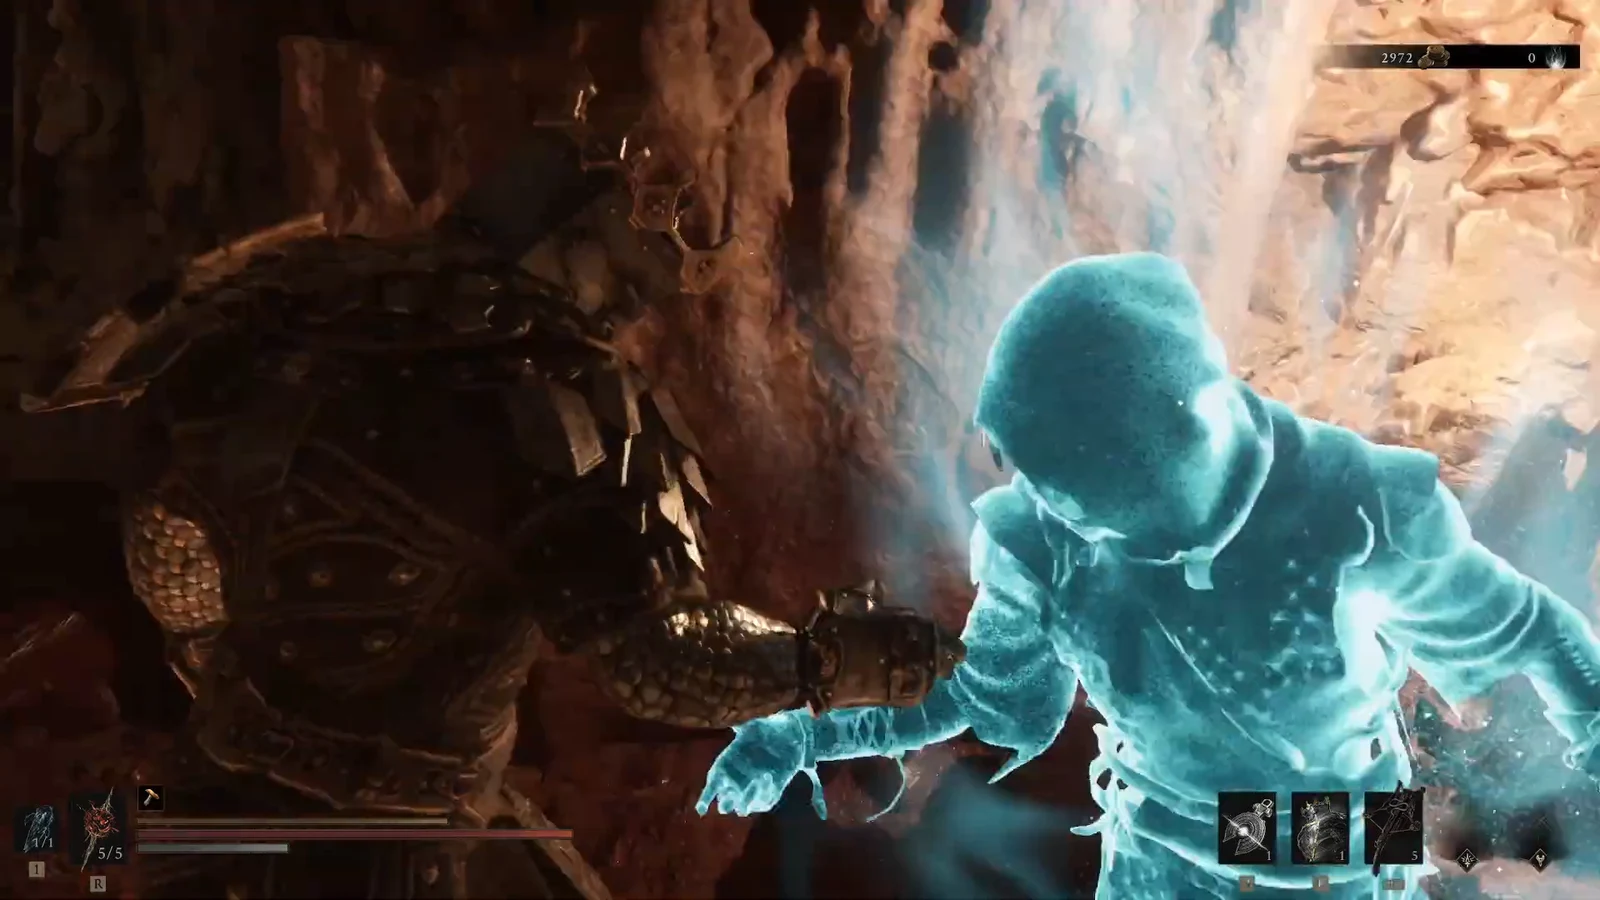
Shell choice is flexible, but two options stand out. Tiel can dodge at the last moment to turn invisible and follow up with a shadow strike, which pairs neatly with the boss’s telegraphed slams. Proxima is the alternative if you struggle with the ranged phases, since her ability closes the gap after the boss lurches away.
Summon Tiel before you walk in
The summon sign for this encounter sits just past the updraft leading up to the arena. Activating it costs 1x Glimpse, so make sure you have some banked before you head down, and treat it as a required step rather than an optional one. A spectral ally holding the boss’s attention is the single biggest reason this fight gets easier.
Lost Child attacks and how to answer each one
| Attack | Your response |
|---|---|
| Body slam — jumps or rears its maw up before crashing down | Dodge to the side, then punish while it is animation locked |
| Arm swipe — a single close-range sweep with its good arm | Dodge sideways or hold spacing; good parry practice for the Break bar |
| Belching Breath — a cone of regurgitated carcasses aimed at you | Stay close and circle around its flank instead of running straight back |
| Rear projectile — turns around and fires a noxious shot with arena-wide reach | Dodge laterally on repeat and never stand directly behind it |
| Poison spray | Roll out immediately; keep dodging until the cloud clears |
| Suction — opens its jaws and vacuums everything toward it | Stay out of the pull, hit its side, then dodge sideways when it spits |
| Digest & Excrete — fast red grab in the second phase | Dodge backwards the moment the head winds up |
Opening the fight and landing the first riposte
Where to stand for safe damage
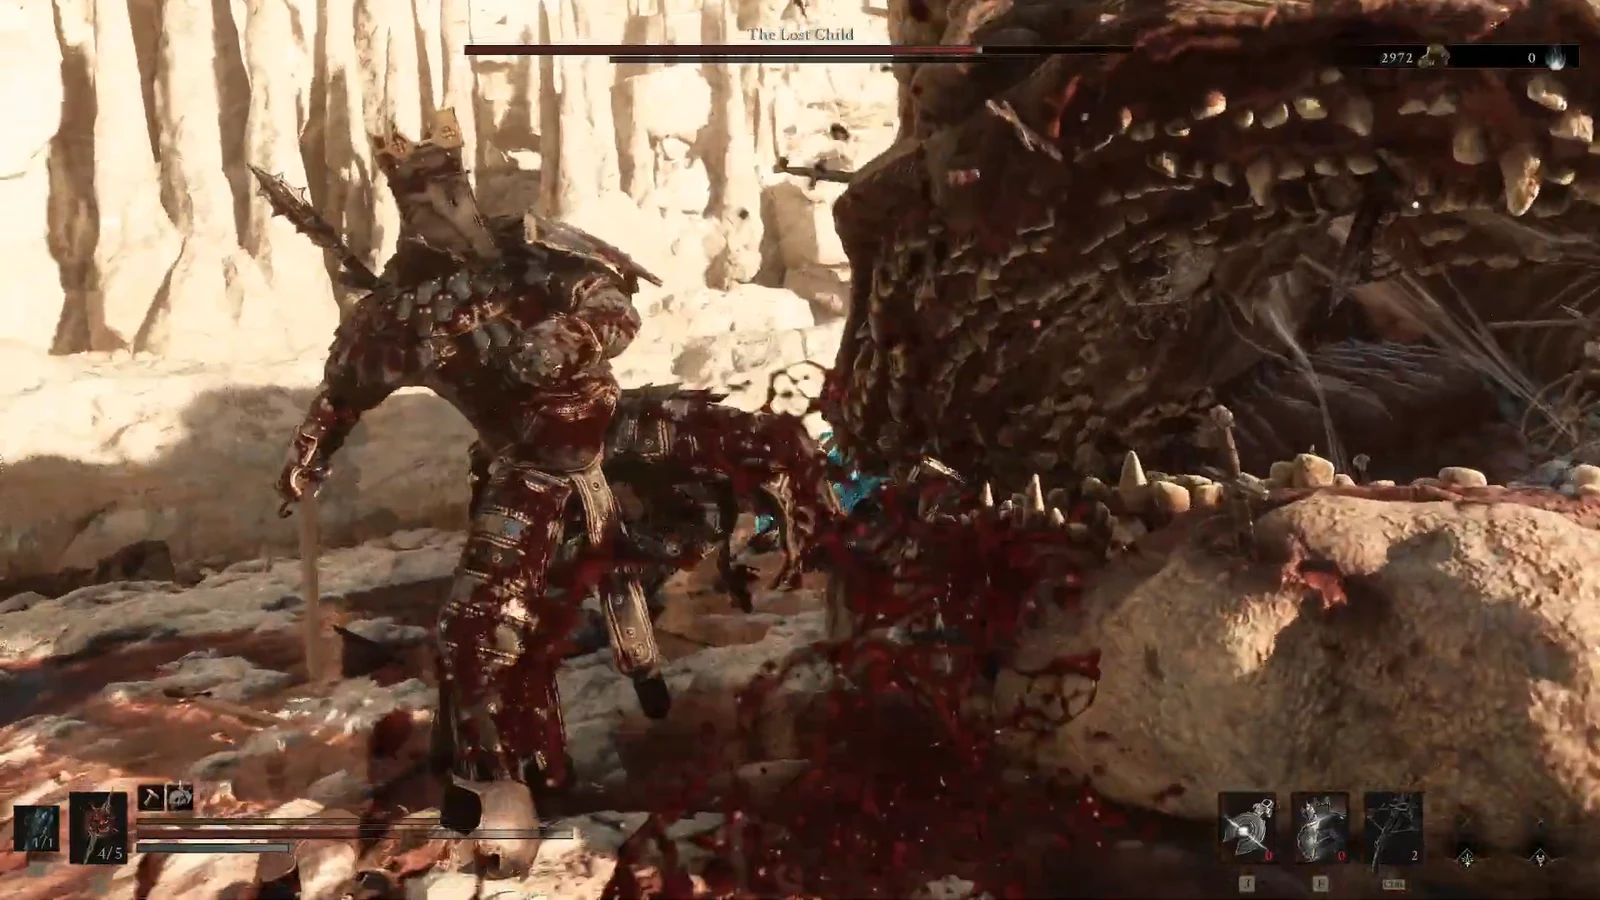
Two positions carry this fight. The first is the gap between the boss’s tail and its arm, which sits outside most of its swings and behind the worst of its frontal spray. The second is its left leg, which is where the bulk of your melee damage should land once the boss commits to an animation.
Counterintuitively, backing off makes things worse. Its rear projectile can cross the arena, so retreating just puts you in the open with nothing to punish. Dodge into its attacks, reposition to the flank, and take three or four hits before rolling out again.
Tip: When it does lurch away and open up with ranged shots, run diagonally toward it rather than straight at it. You can outpace the projectiles while shortening the distance, which puts you back on its side as the animation ends.
Second phase: the red grab that one-shots you
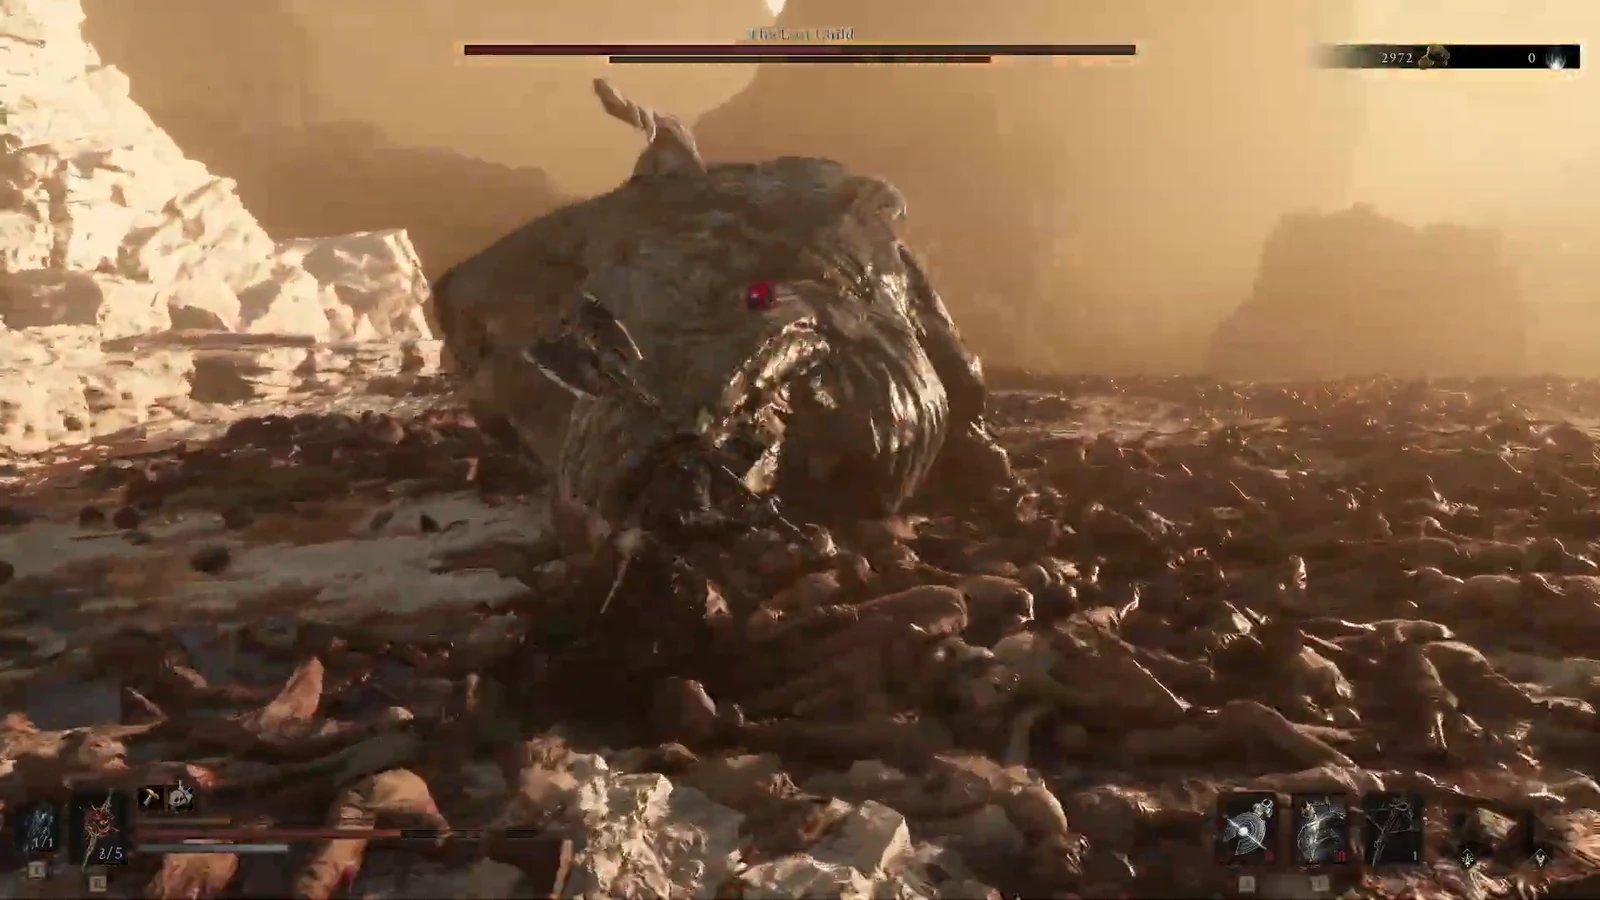
At roughly half health, the Lost Child adds a fast red attack to its rotation. It lunges, swallows you, and expels you out the back, and at lower levels it can end a run in a single hit. The tell is short but consistent, so watch its head rather than its body.
The moment the head rears back with a red glint, dodge backwards. Every other unblockable in its kit is slow enough to read comfortably, which means this grab is the only move that genuinely demands a reaction. Clear it and you get a free window to land a few hits before it recovers.
Turn the suction attack into free damage
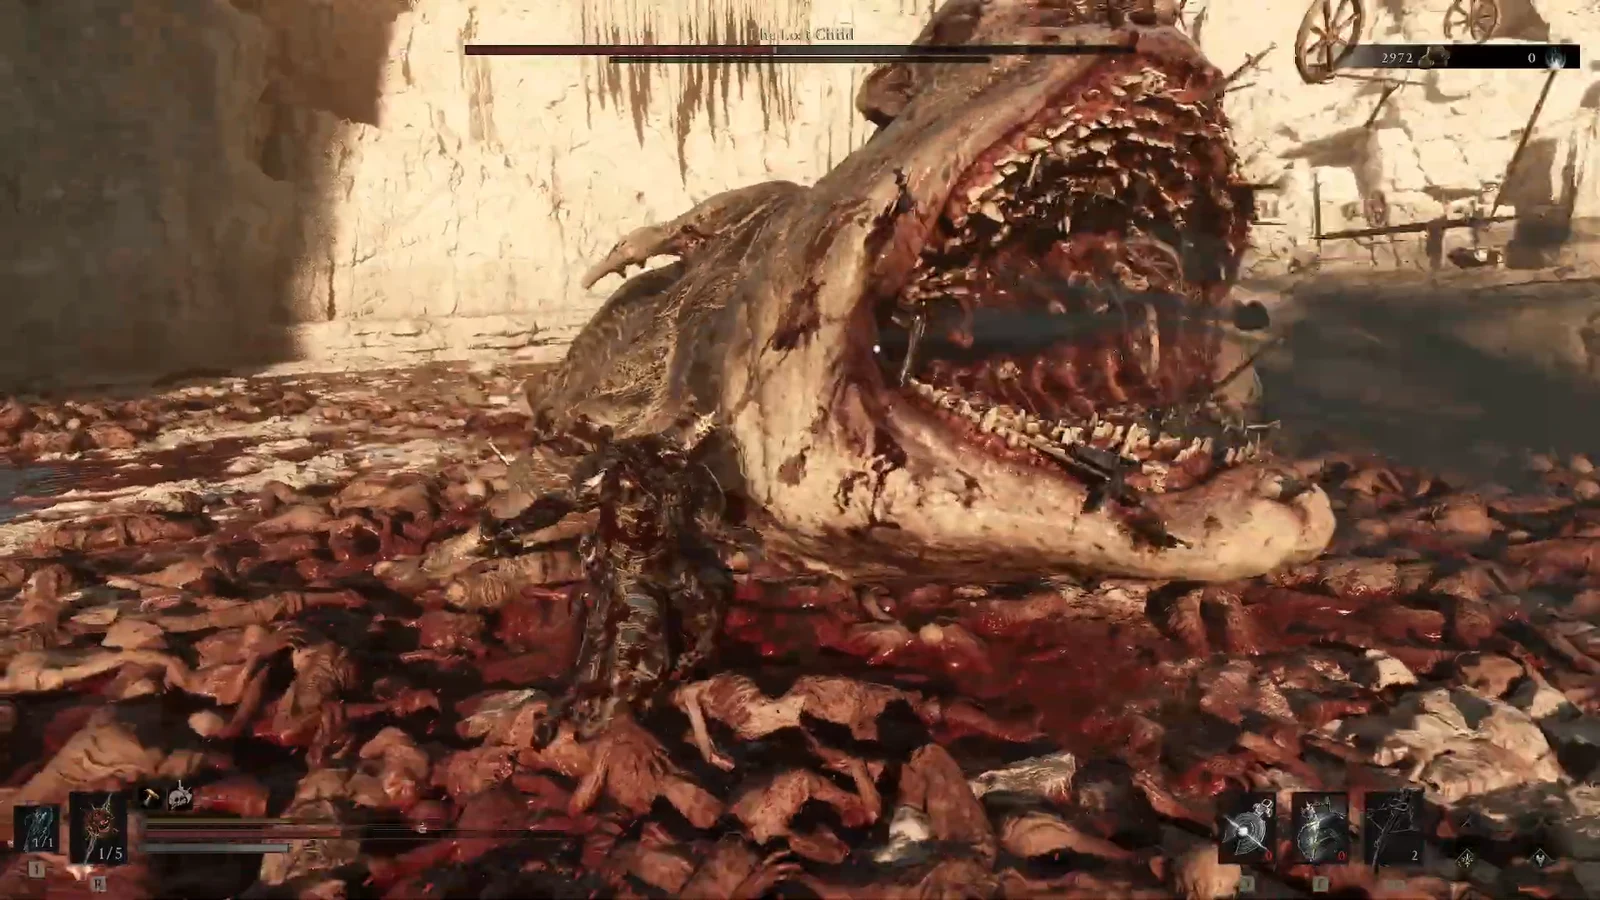
The vacuum move is the biggest gift in the fight. While the boss holds its jaws open and pulls everything toward it, it cannot swing at you, and it stays locked in that animation for several seconds. Position yourself outside the pull radius, next to its left leg, and swing continuously.
The one thing to watch is the follow-up. Once it stops inhaling, it spits everything back out in a wide arc, so start dodging sideways as soon as the suction animation ends. Getting greedy for one extra hit is how this window turns into a health bar you cannot afford to lose.
Rewards and how to confirm the kill
You will know it worked when the boss collapses and the trophy “Meat’s Back on the Menu, Boys!” pops. Clearing the gate also spawns a beacon containing 26x Ova, which you need for campaign progression.
| Reward | Details |
|---|---|
| Lost Clotstone x1 | Tarstone; consume 60 Resolve to spin in place and release your weapon with brutal force |
| Compatible weapons | Obsidian Hammer and Veteran’s Battle Axe only |
| Gloom | 13,019 |
| Trophy | Meat’s Back on the Menu, Boys! |
Check the Tarstones tab in your inventory to confirm the Lost Clotstone landed. If you are running a weapon outside those two types, the stone will sit unequippable until you swap.
Why runs fail against the Lost Child
- Entering with no Glimpse banked, which leaves the summon sign unusable and the boss focused entirely on you.
- Fighting from long range, where the rear projectile still reaches you but nothing you do reaches back.
- Standing directly behind the boss during the suction, which lines you up perfectly for the spit follow-up.
- Dodging sideways instead of backwards against the second-phase grab.
- Skipping Tarforge upgrades, which stretches the fight long enough that one mistimed roll undoes several minutes of work.
There is no trick that skips this encounter. It rewards patience more than damage numbers, and once you stop treating distance as safety, the Lost Child turns into a slow target with long recovery frames and one attack worth respecting.