Chapter 1: Blood Ties is the opening chapter of Resonance: A Plague Tale Legacy, and it holds just two collectibles. You collect one Blade and one Artefact here, with no Resonance Points to worry about. Both are easy to secure on a first run, and neither requires a detour off the main path.
Quick answer: The Rusty Sword blade unlocks on its own the moment the game begins. The Handled Cross artefact sits in the middle of the courtyard, under the white tree branch, during the “Loot the bodies” objective in Sub-Chapter 3.
Chapter 1: Blood Ties collectibles list
Two items count toward 100% completion in this chapter. There are no Resonance Points to find in Blood Ties, so the chapter tracker only needs these entries.
| Collectible | Type | Sub-Chapter | How to get it |
|---|---|---|---|
| Rusty Sword | Blade | 1 – A new home | Unlocks automatically at the start of the game |
| Handled Cross | Artefact (Relic of the Present 1/14) | 3 – The search for the key | Middle of the courtyard, under the white tree branch |
Rusty Sword blade (Sub-Chapter 1 – A new home)
The Rusty Sword is a story unlock, so there is nothing to search for. It registers on the chapter tracker as soon as you begin the game, during the opening in Sophia’s past. You cannot miss it, and it needs no input beyond starting a save.
Note: The Rusty Sword is the default weapon with no perks. In the expanded edition you also gain access to the Falchion and the Hero’s Blade later on, but those are separate from this chapter’s tracker entry.
Handled Cross artefact location (Sub-Chapter 3 – The search for the key)
The only artefact in Blood Ties is the Handled Cross, logged as Relic of the Present 1/14. It appears once Sub-Chapter 3 begins and you take control in the desert ruins.
You will know it worked when the pickup prompt confirms the relic and the chapter tracker updates its Artefact total. With that in hand, both Blood Ties collectibles are done.
Sub-chapters with nothing to collect
Two sub-chapters hold no collectibles, so you can play through them without stopping to search. Sub-Chapter 2 – Faro’s cabin and Sub-Chapter 4 – The fighting pit are both clear. Focus on the combat prompts here instead, since this is where the game teaches blocking, parrying, and Focus attacks.
Missing an item and using chapter select
Neither Blood Ties collectible is truly missable. If you skip the Handled Cross, you can return through chapter select and grab it later. The one thing chapter select does not restore is Resonance Points, but this chapter contains none, so nothing is lost by replaying it. Everything needed for full completion in Blood Ties can be picked up on a return visit.
What to grab next in Chapter 2: Felons
The pace picks up straight after Blood Ties, and Chapter 2 hides several pickups that are far easier to walk past. Here are the ones to watch for as you continue.
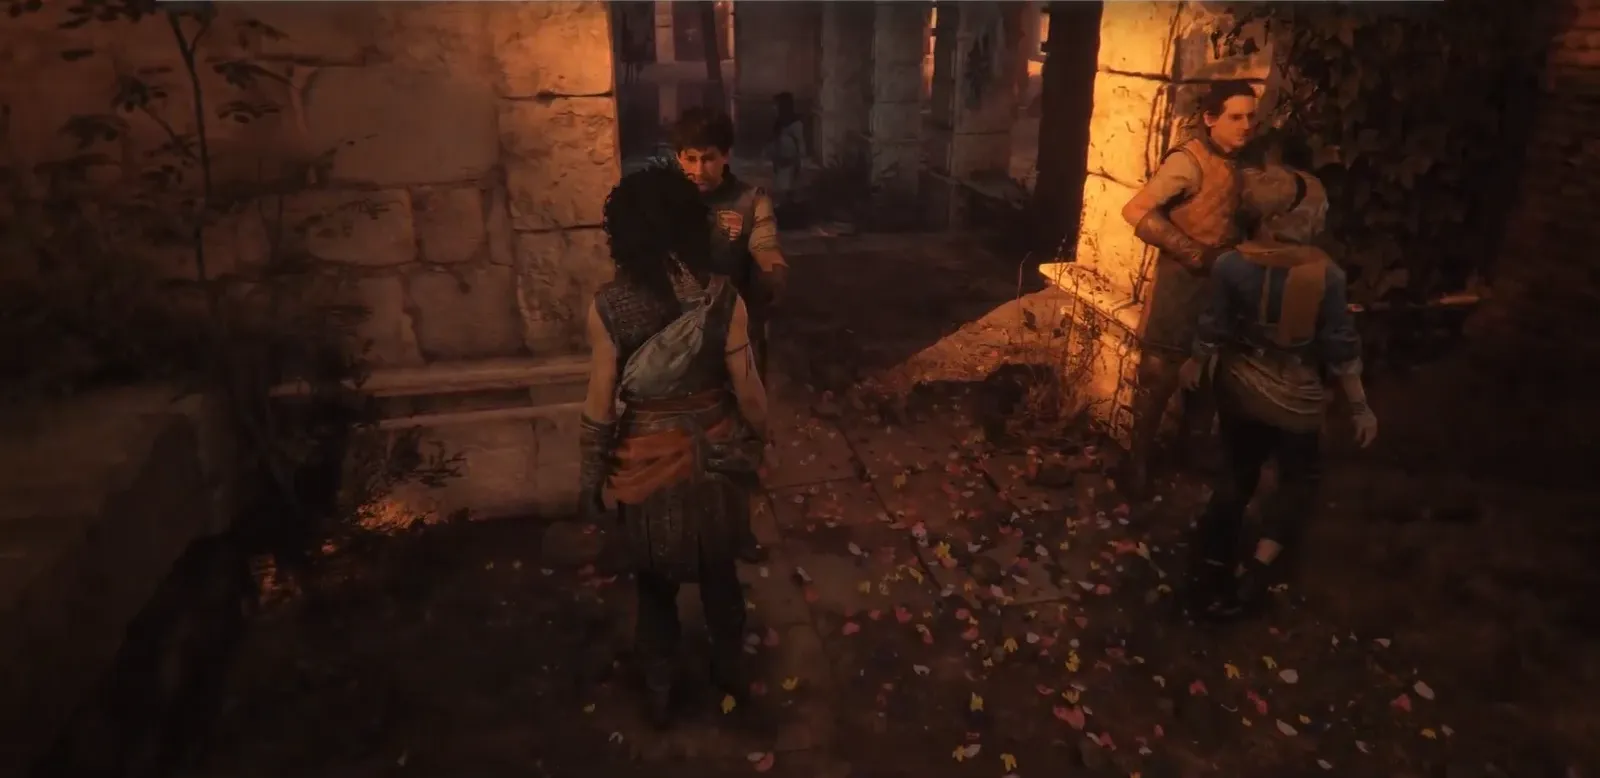
With the Rusty Sword and Handled Cross secured, Blood Ties is fully cleared, and the Felons pickups above keep your relic and charm totals on track as the story moves into the city.