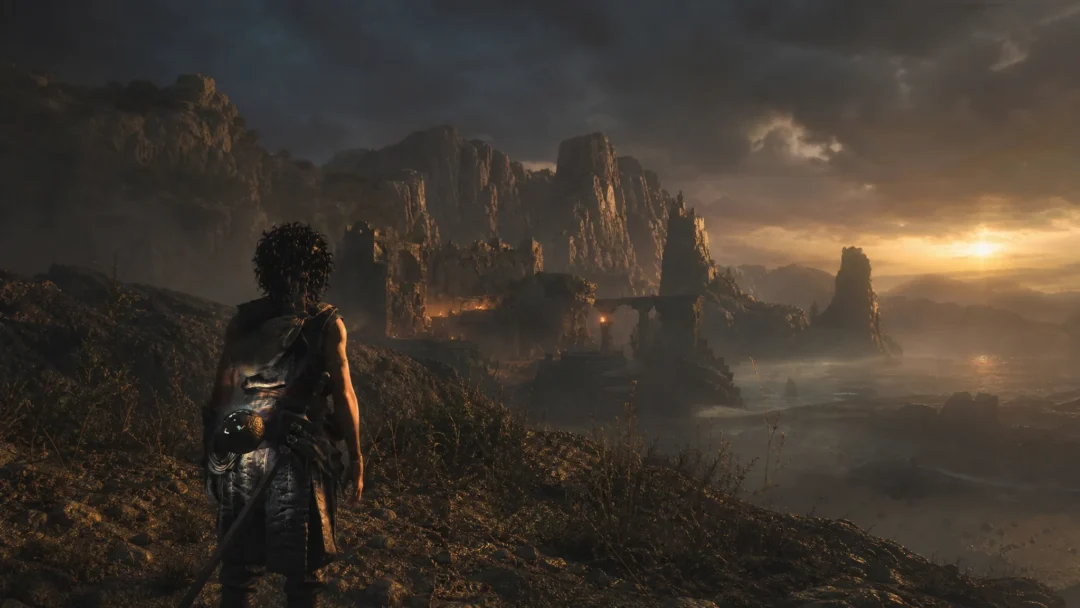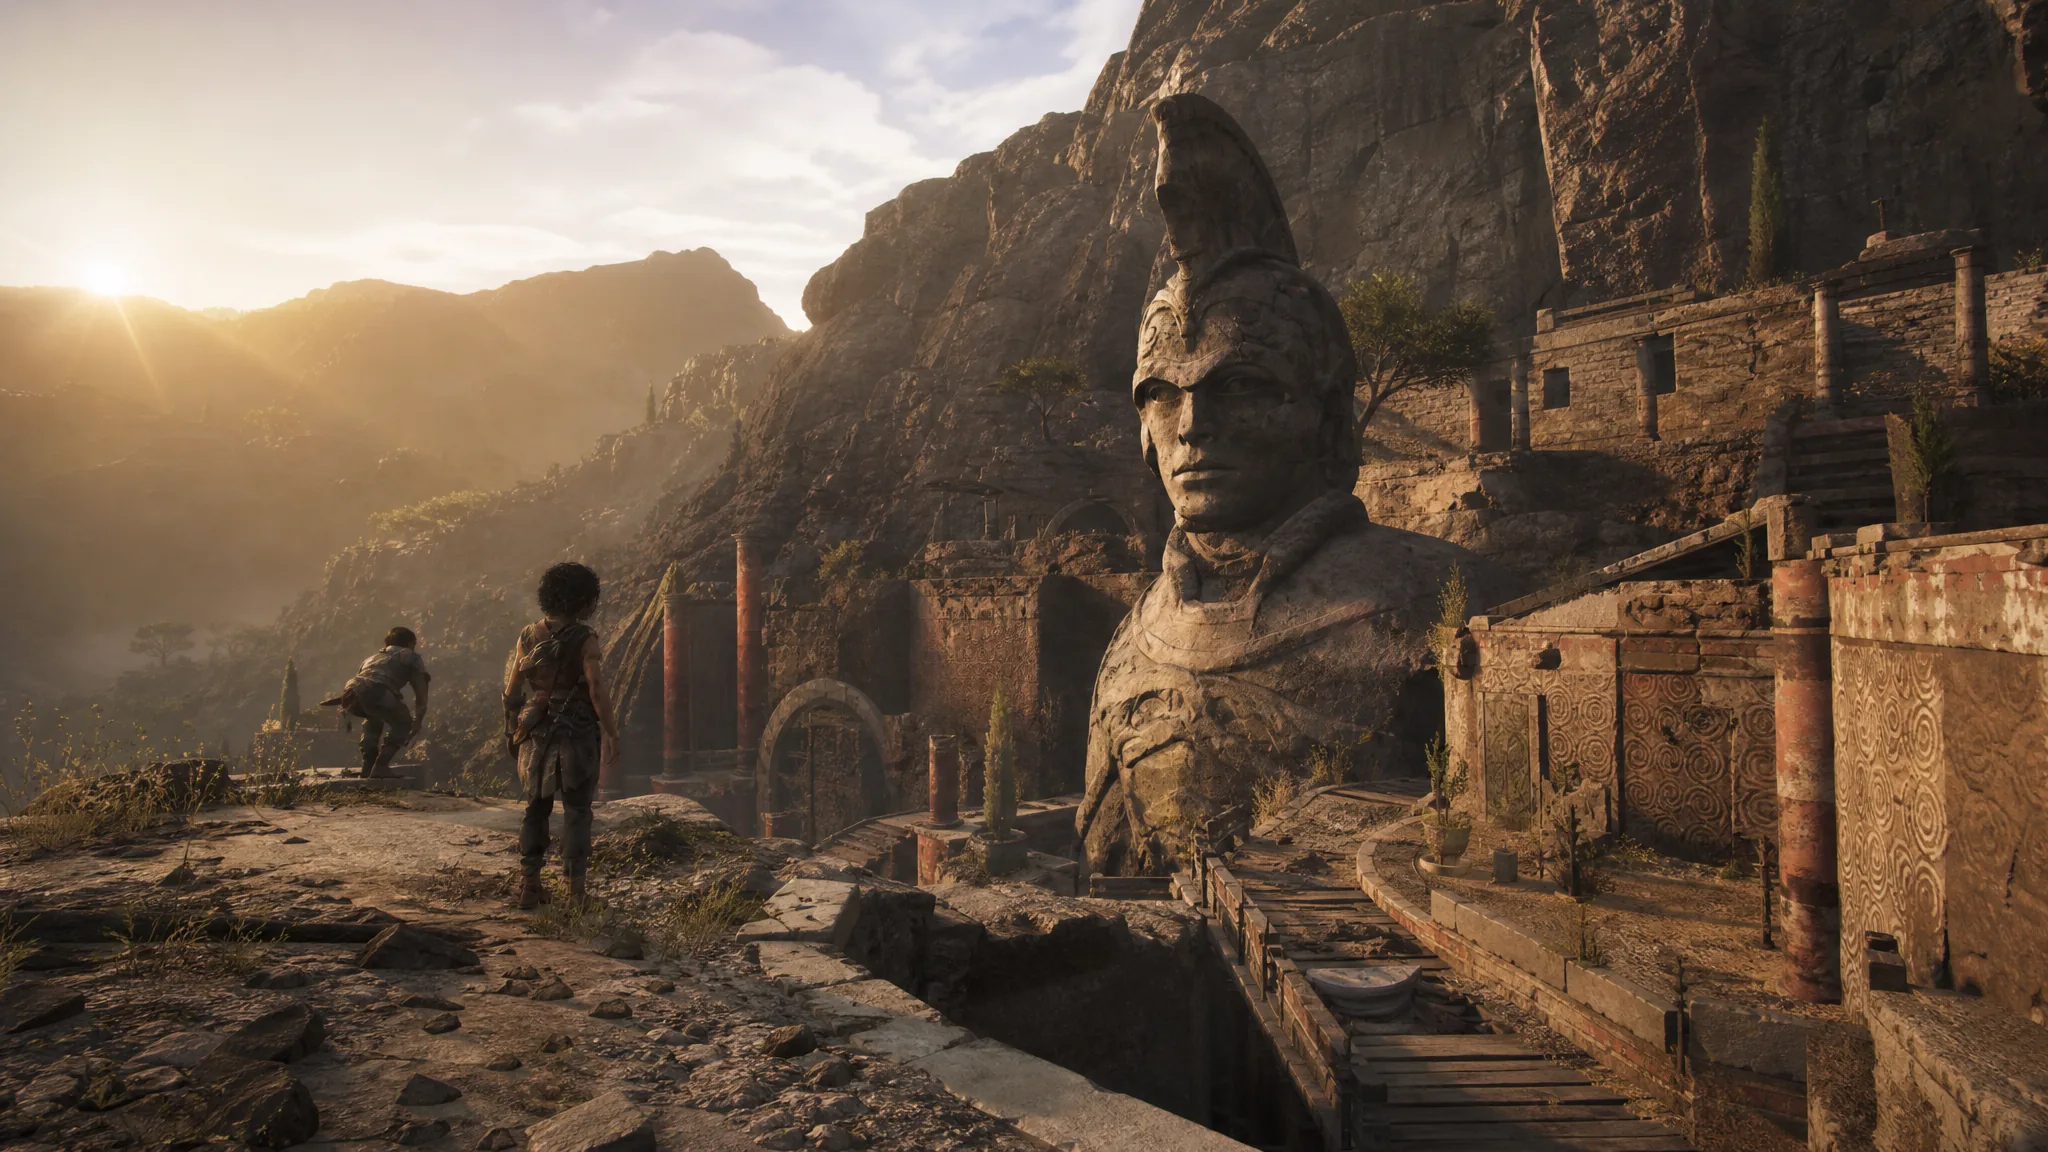
Chapter 4, “From Hell It Rose,” is the point where Resonance: A Plague Tale Legacy opens up its light-puzzle systems, and it hides several collectibles behind combat, ruins exploration, and Minoan Sphere puzzles. Sophia and Leni start at the Trial’s Entrance, and the chapter mixes automatic pickups with items you can walk right past. Missing a few is easy if you rush the puzzles.
Quick answer: Chapter 4 contains a run of early Resonance Points, the Charm “Arm Band #2,” the Artefact “Polished Cornicello,” and the Kopis blade found inside a sphere-locked tomb after the overhead spike section. Grab the Resonance Points as you see them, because they do not carry over if you reload the chapter later.
Chapter 4 collectible types and counts
Four collectible categories appear across the game, and Chapter 4 features members of each. Resonance Points act as skill points, Charms give passive buffs from small chests, Artefacts are the “Relics of the Present and the Past,” and Blades are the swords pulled from Heroes’ Graves.
| Collectible | What it does | Chapter 4 notes |
|---|---|---|
| Resonance Point | Skill point for the 6 mastery branches | At least five appear early, some awarded automatically |
| Charm | Passive buff, found in small chests | Arm Band #2 |
| Artefact (Relic) | Counts toward the Hoarder set of 37 | Polished Cornicello |
| Blade | Usable sword from a Hero’s Grave | Kopis, inside a sphere-locked tomb |
Why Resonance Points must be collected on this run
Resonance Points are the one collectible type that does not carry over through Chapter Select. They only lock in when you reach the next checkpoint, so if you die before then you must collect them again. Reloading an earlier chapter resets your total to whatever you had when you first played it, and it will not transfer points earned in later chapters.
You need 165 of the 200 total Resonance Points across the game to buy every skill and unlock all six mastery branches. That leaves room to skip 35, but if you miss ten or more in a single chapter it is better to restart the chapter immediately rather than push forward. Charms, Artefacts, and Blades are safe to clean up later through Chapter Select.
Resonance Points at the Trial’s Entrance
The chapter front-loads several Resonance Points around the entrance fight and the ruins just past it. Two are handed to you for winning combat, and the rest sit on crates and ledges nearby.
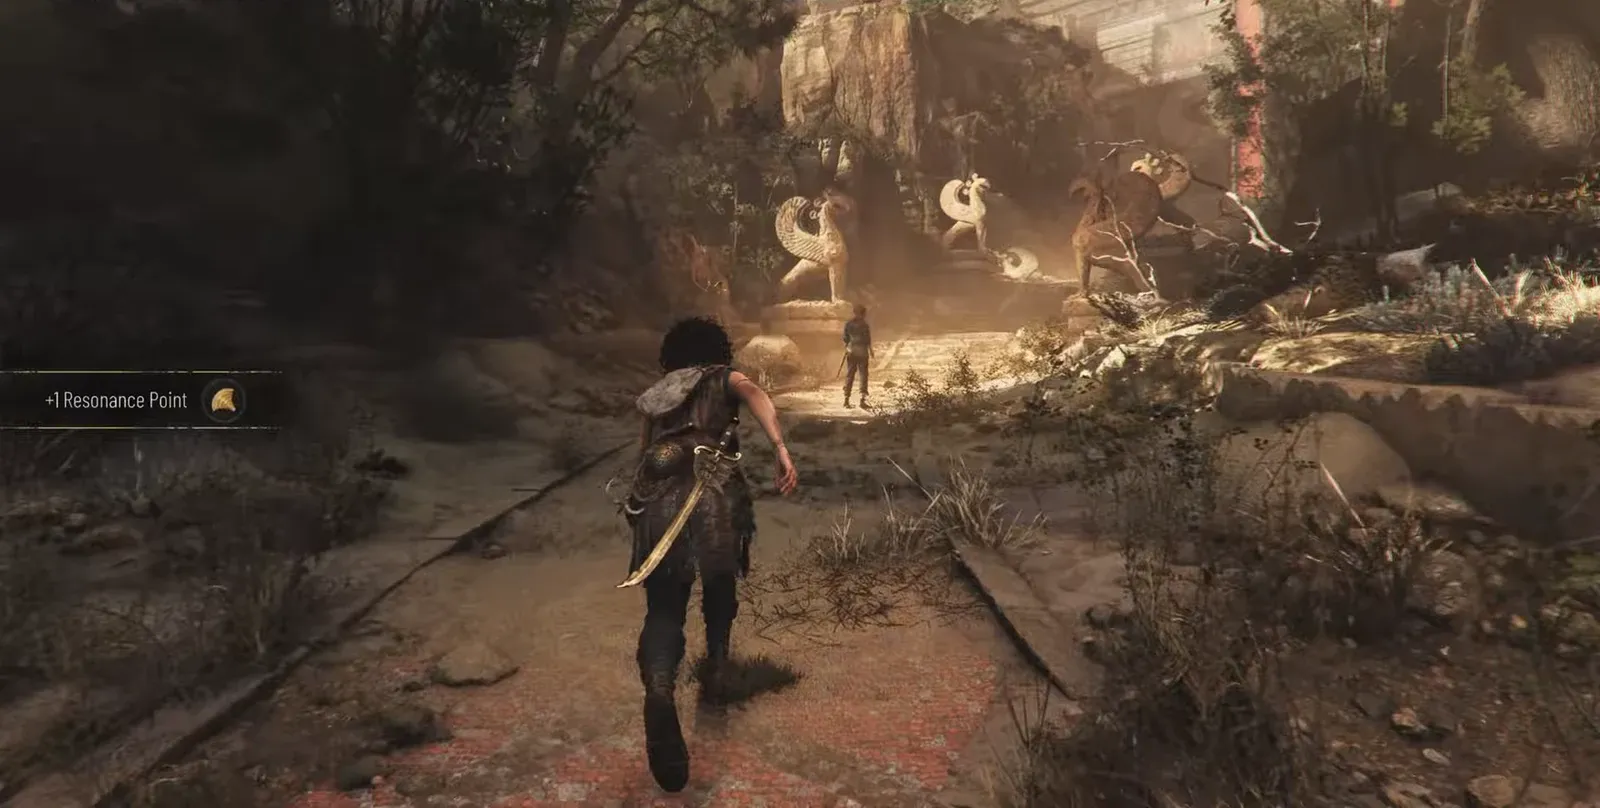
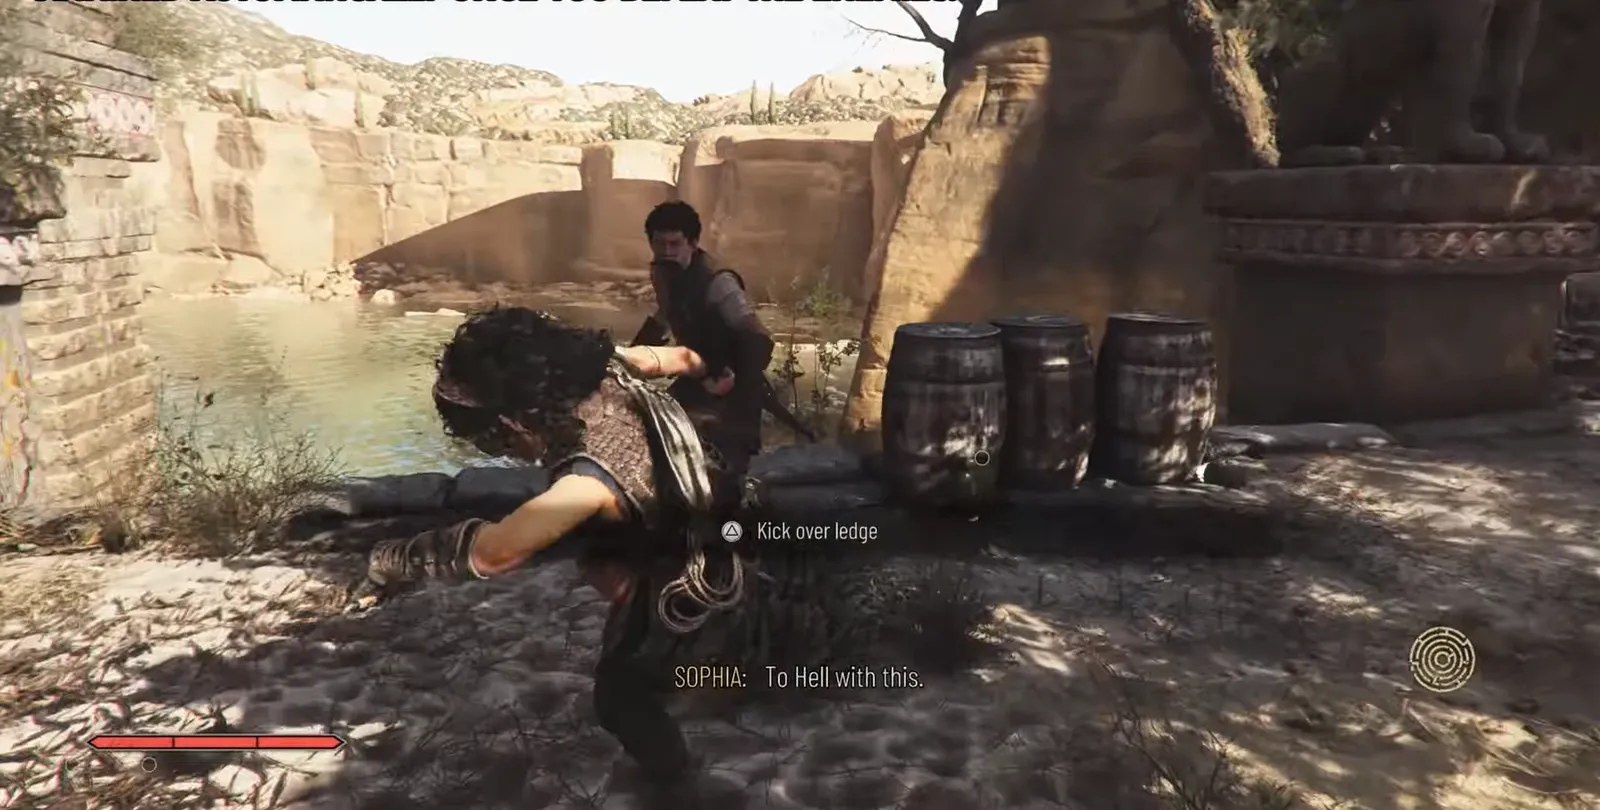
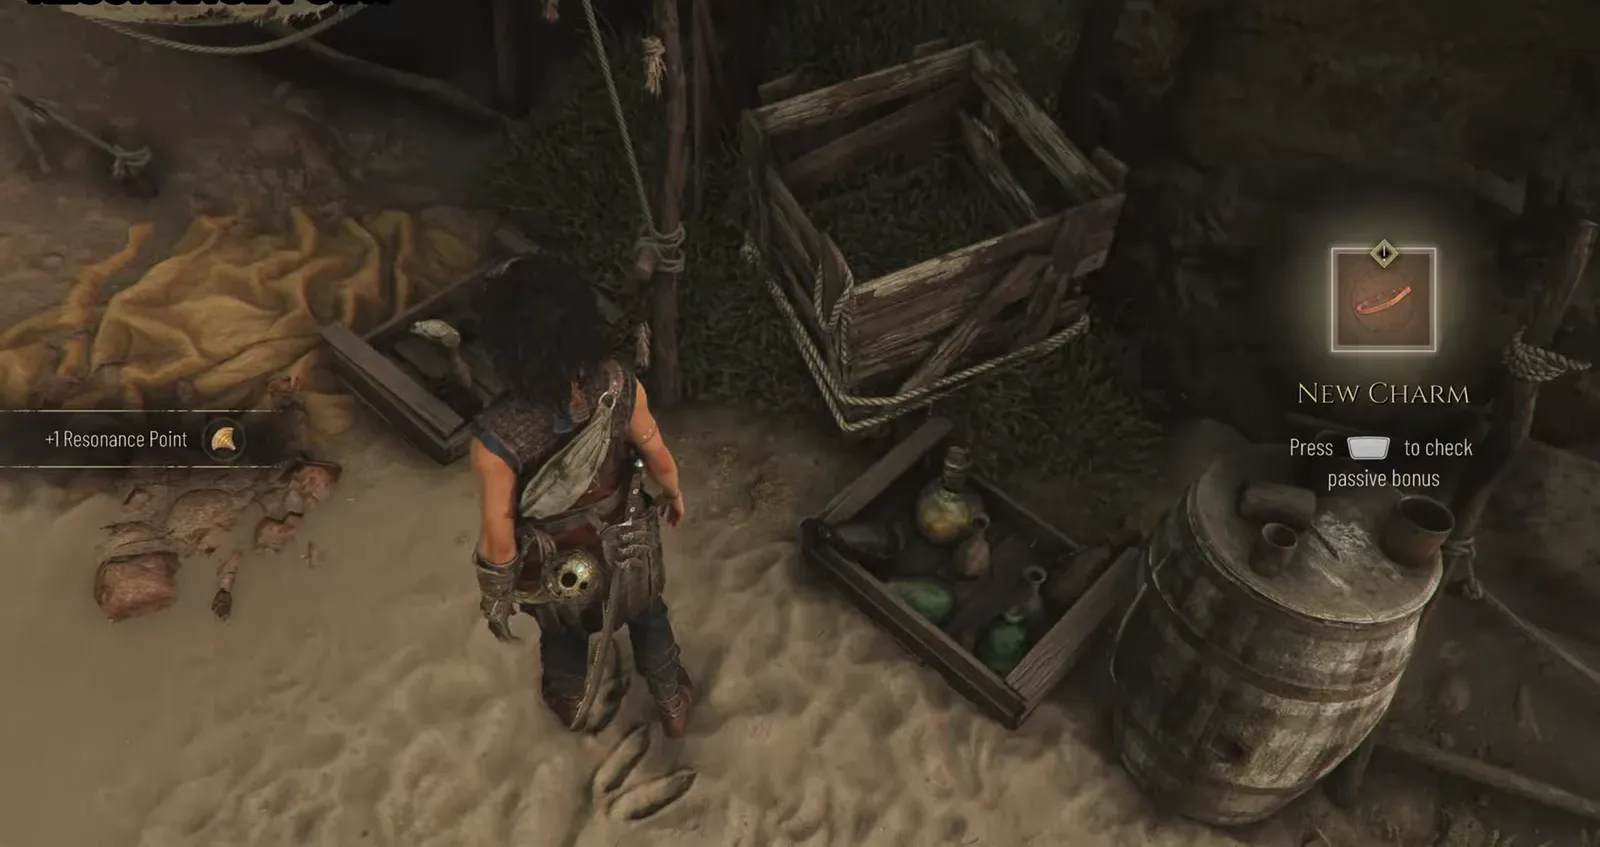
Charm: Arm Band #2
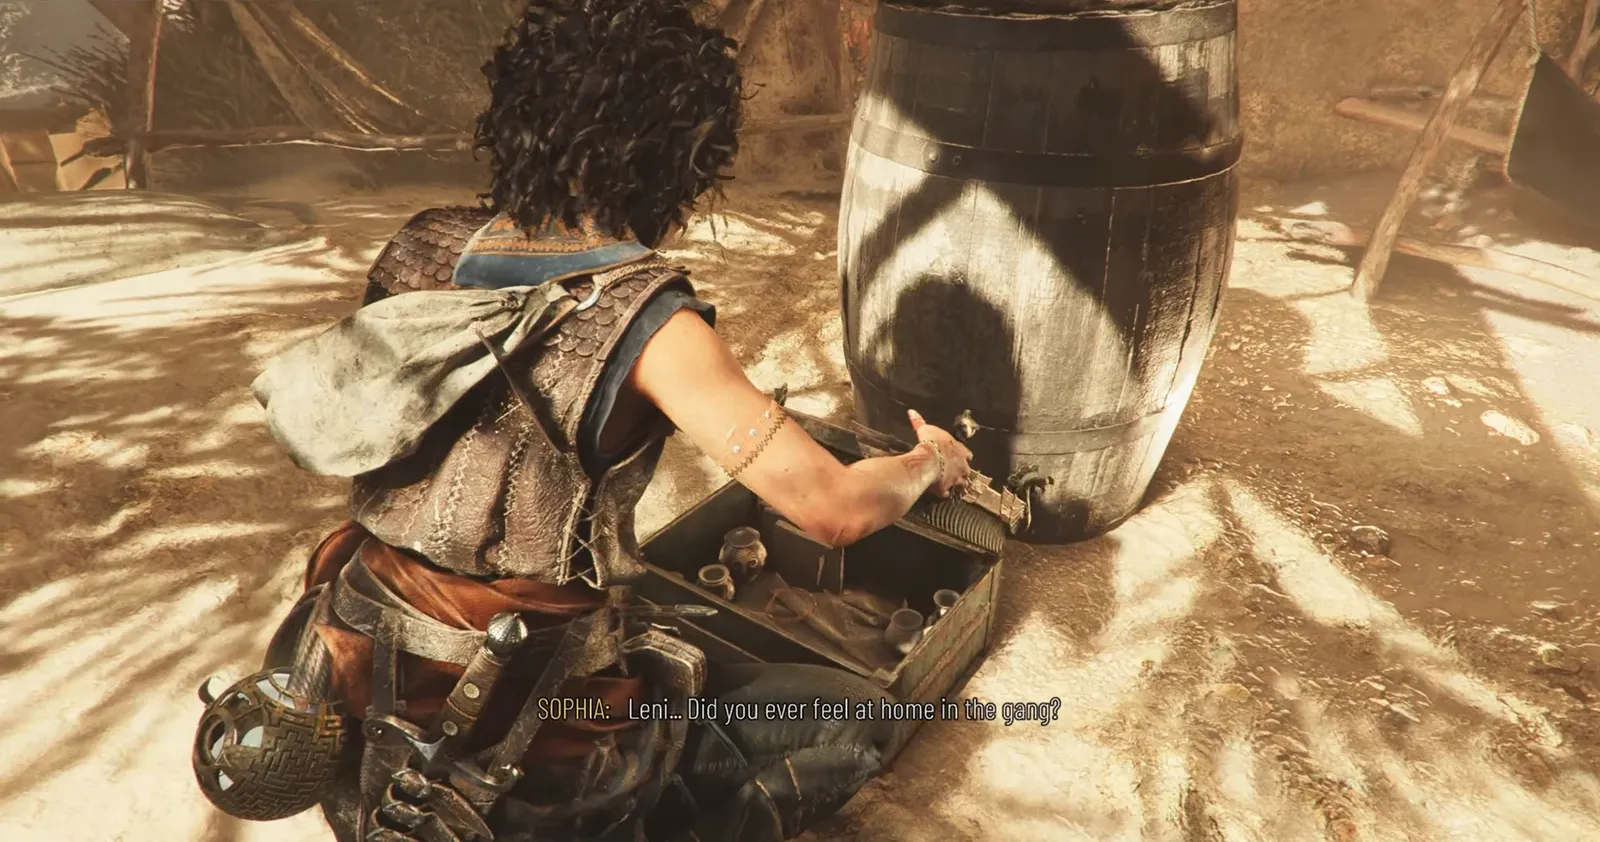
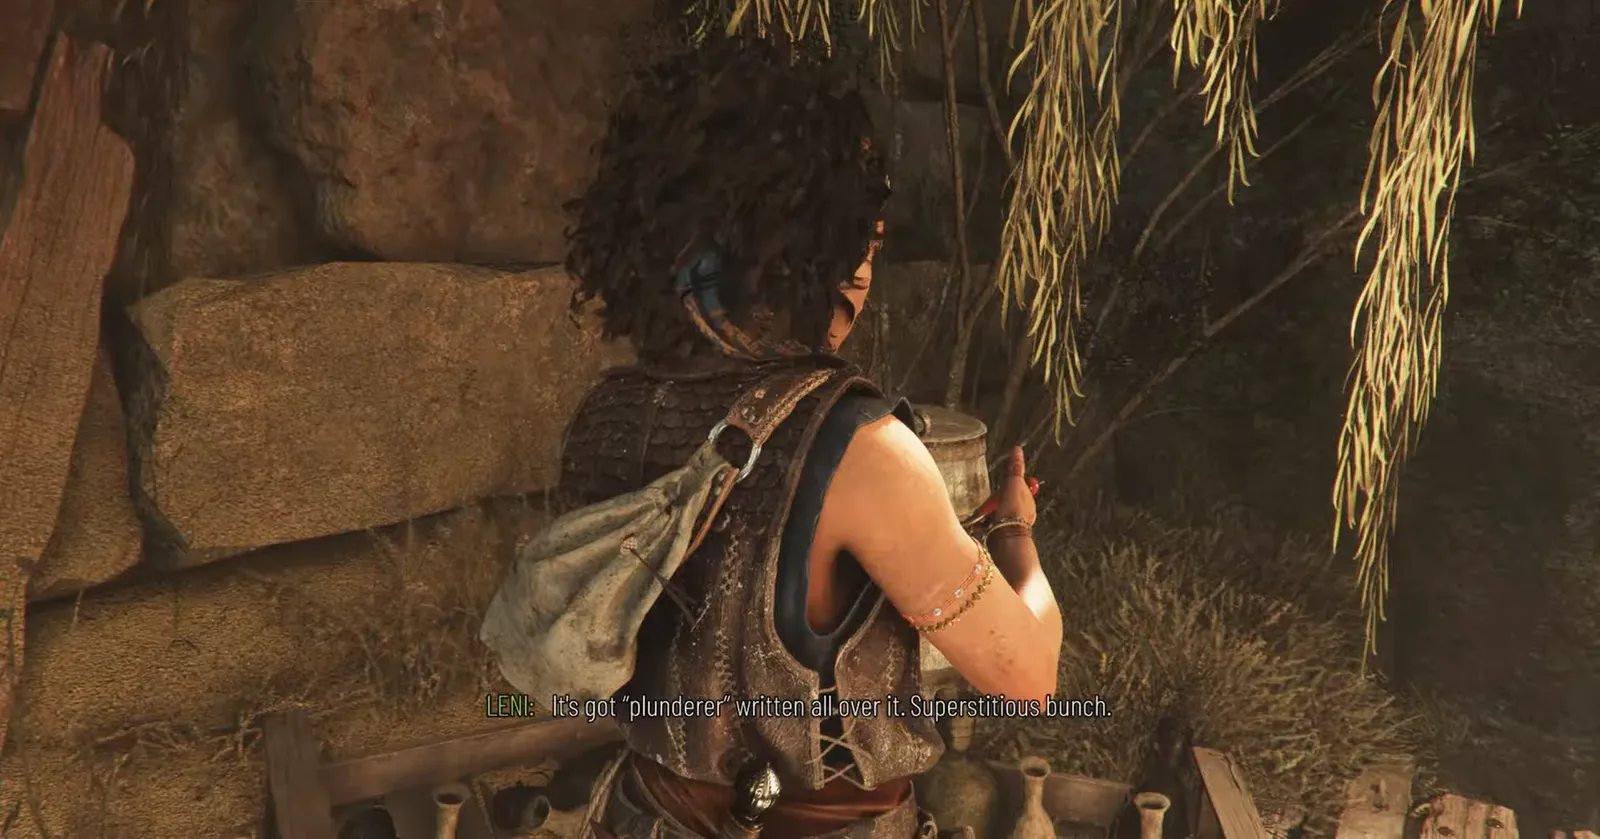
The Charm in this chapter is Arm Band #2, tucked inside a chest as you explore the ruins. It sits in the camp area near a barrel, and opening the chest adds it to your Charm total along with a “+1 Resonance Point” near the same spot.
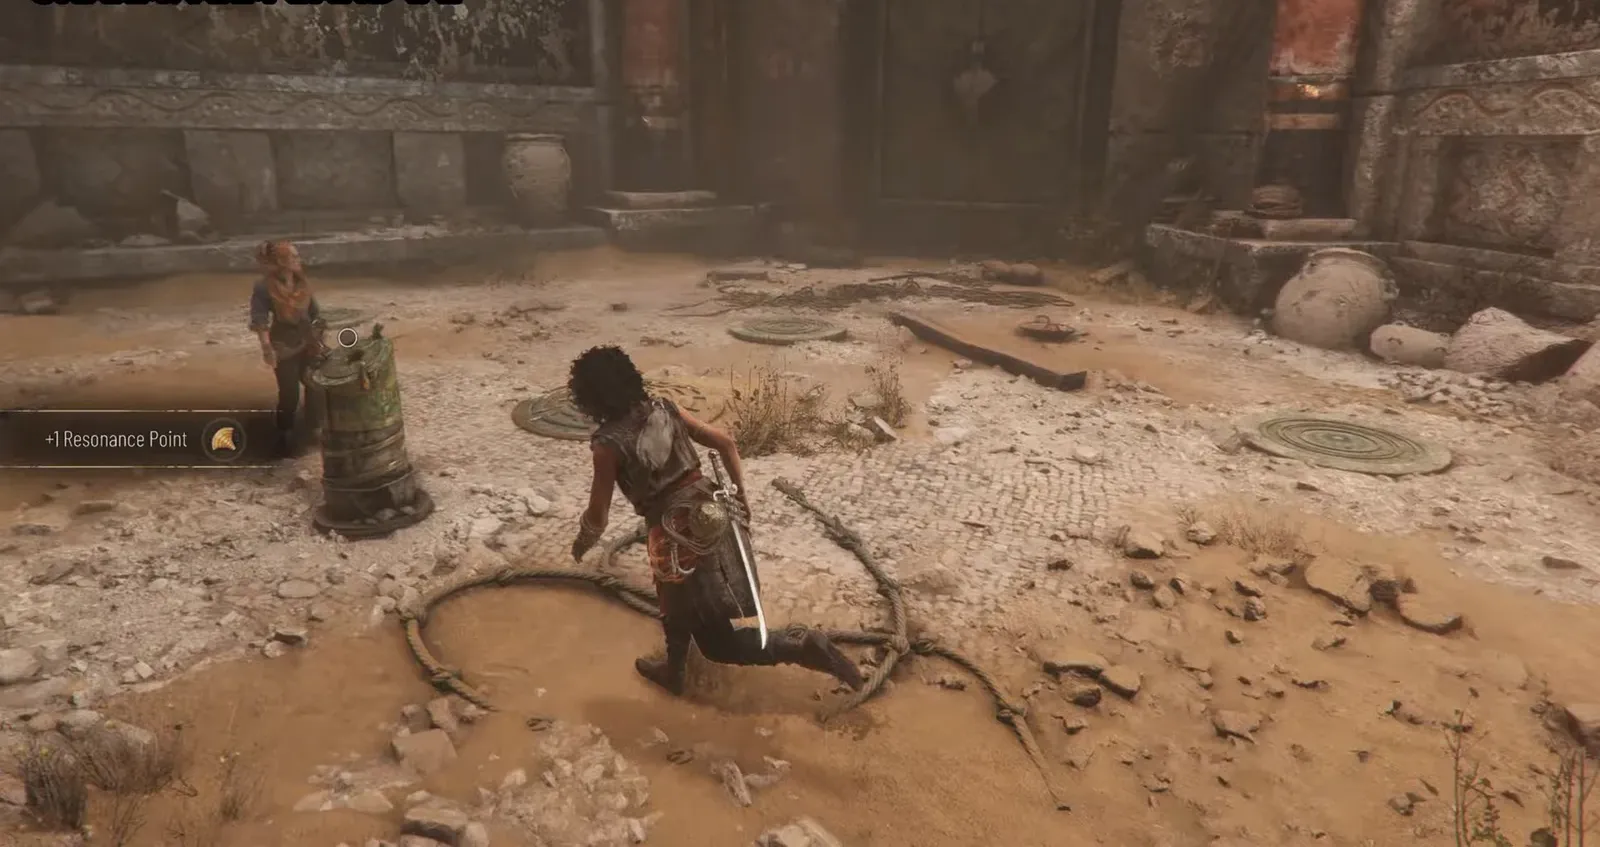
The chest is the large barrel-style container in the camp. Interact with it to claim Arm Band #2 before you leave the area.
Artefact: Polished Cornicello
The Polished Cornicello is the chapter’s Artefact, one of the 37 Relics needed for the full set. It rests on a wooden platform in the ruins, close to the ladder route where Resonance Points #4 and #5 sit, so sweep the platform before climbing up.
Blade: Kopis in the spike-trap tomb
Chapter 4 holds one of the game’s eight Blades, the Kopis. It comes later in the chapter, after the section where you dodge overhead spikes. Leni offers her hand to Sophia while she is shimmying across a gap, and a short cutscene plays.
After that cutscene, keep pushing forward and to the right. You will reach a tomb sealed by a Minoan Sphere lock. Use the sphere to open it, then step inside to claim the Kopis. Collecting every Blade across the game earns the Plunderer trophy, and using each one to kill an enemy adds the Adaptable trophy.
Chapter 4 puzzle solutions
Several puzzles block progress in “From Hell It Rose,” and solving them quickly keeps you from backtracking past collectibles. The solutions below are grouped by subchapter.
3 Pedestal Symbols (Subchapter 1)
Shine the light sphere at the pedestals to reveal blue lines on the floor. Follow each line to the symbol on the wall it connects to, then rotate the three pedestals to match. The solution from left to right is Y, C, and up-arrow.
Light Reflector Puzzle (Subchapter 2)
Stand on the floor plate at the start of the room to make the light appear. Route the beam from reflector to reflector so it finally hits the door symbol. The order is left reflector, right reflector, front-left reflector, front-right reflector, then the door symbol.
Maze Puzzle (Subchapter 2)
Shine the light at the floor and trace the blue lines from the pedestals to their linked symbols. The left pedestal is set to “O” and the right pedestal is set to “I.”
Spike Trap Puzzle (Subchapter 3)
In the spike-trap corridor, shine the sphere to reveal wall symbols showing what is safe. Platform 1 is Left, Left, Left. Platform 2 is Right, Middle (jump to it), Middle. At the spike wall, interact with the front-left wall slot.
In the large room that follows, boost Leni up the left side so she shines the reflector back at you. Hold the sphere button to see a blue line marking the safe path. Walls block the light in places, so read the route from a distance and memorize it before crossing.
Bull Mirror Puzzle (Subchapter 5)
Look at the ground between the mirrors for white symbols on a red background. Some carry a blue outline that links them. Each wall holds a copy of the ground symbols, and you must shine mirrors at both blue-linked icons on the walls at the same time. There are two pairs, done separately.
| Pair | Mirror action |
|---|---|
| Pair 1 (Bell and T icons) | Right mirror at front-left wall (1st icon from left); left mirror at back-right wall (3rd icon from left) |
| Pair 2 (Inverse S and Triangle icons) | Left mirror at front-right wall (3rd icon from left); right mirror at front-left wall (4th icon from left) |
| Final (h and w icons) | Left mirror at front-right wall (4th icon from left); middle mirror at front-right wall (1st icon from left) |
Once the bull lowers its hands, aim the sphere at the rings on its hand to reveal the “h” and “w” symbols, then solve the final pair above. Use the pedestal that appears to finish the puzzle.
How to confirm you got everything
Chapter Select shows a counter for each collectible category, so you can check your Artefact, Charm, and Blade totals against what a full run should have. The Resonance Point count sits under the Artefacts menu at the bottom left, and it should climb by at least five during Chapter 4.
Note: if your Resonance Point total drops after a death, you lost points that had not yet reached a checkpoint. Replay from the last checkpoint and re-collect them, since a chapter reload will not restore points earned later. Charms, Artefacts, and Blades stay counted through Chapter Select, so those are the only three you can safely leave for a cleanup pass after the credits.