Yen is the currency that funds almost every meaningful upgrade in Jujutsu Zero. You need it to learn abilities like Black Flash and to refine accessories such as the Divine Wheel, which costs 250,000 Yen per refine attempt at level 3. The fastest income comes from a small set of repeatable actions, and which one is best depends entirely on how much damage your build can output.
Quick answer: If you can clear a Calamity Overworld Raid in one to three seconds, run raids on repeat, open the crates they drop, and sell duplicate gear for the bulk of your Yen. If your clears are slow, farm the Level 1,950 Sealed One quest from the Curse Manipulator instead.
Which Yen method is fastest for your build
The decision comes down to enemy health versus reward. The Sealed One quest enemy has 100,000 HP and pays 74,300 base Yen. The Manifested Star raid on Calamity pays more per clear, but its effective health is roughly 350 million, making it about 3,500 times tankier for only around 41 percent more direct Yen. That trade only makes sense when your damage lets you delete the raid almost instantly.
| Method | Direct Yen | Enemy health | Best for |
|---|---|---|---|
| Level 1,950 quest (Sealed One) | 74,300 base | 100,000 HP | Lower or mid damage builds |
| Manifested Star raid (Calamity) | Up to 105,000 with boosts | ~350 million effective | Near-instant clears only |
| Opening crates and selling gear | Very high, scales with drops | N/A | Fast raiders who farm crates |
Method 1: Farm the Level 1,950 Sealed One quest
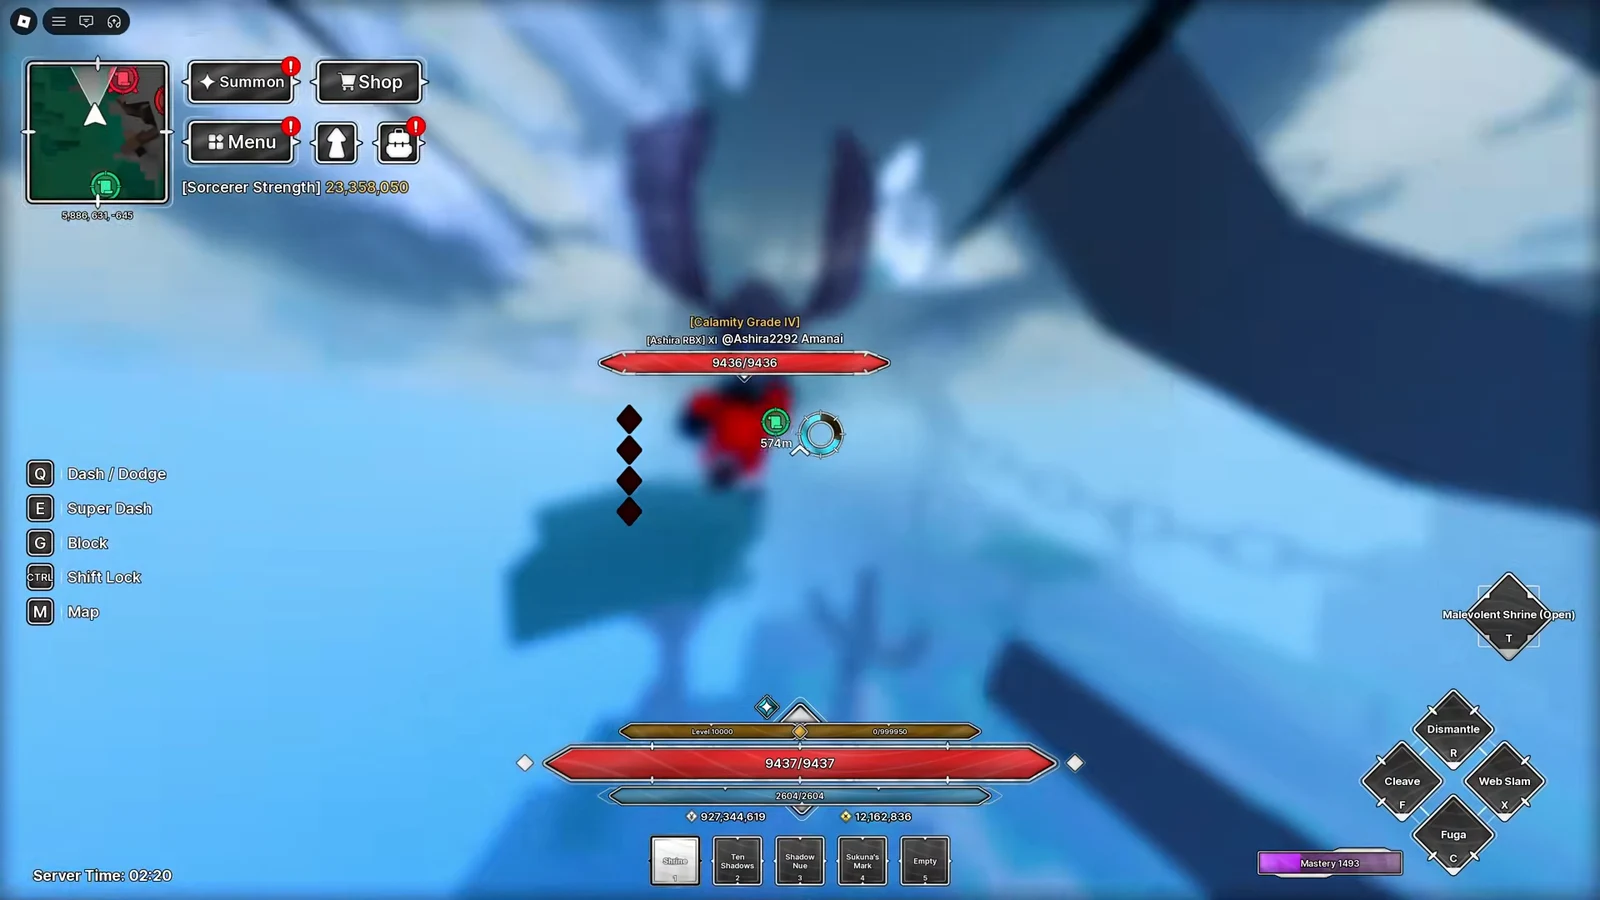
This is the reliable fallback that works even without extreme damage. The quest chain runs through the Curse Manipulator NPC and rewards a fixed amount of Yen each time you finish it.
Method 2: Run fast Overworld Raids
Overworld Raids pay the most direct Yen per clear, but only if you can end them in seconds. The Manifested Star on Calamity difficulty is a strong target once your damage is high enough.

Note: If a Calamity clear takes more than a few seconds, the quest in Method 1 earns more per minute. The raid’s real value shows up in the crates it drops, which feed the selling method below.
Method 3: Open crates and sell duplicate gear
The largest single Yen payouts come from selling gear pulled out of raid crates. A single Calamity Manifested Star clear can reward 7 Void Crates, and high-tier gear inside them sells for hundreds of thousands or even over a million Yen each.

| Gear | Set | Sell value (Yen) |
|---|---|---|
| Anti Matter | Void Set | 105,100 |
| Dark Star | Void Set | 200,125 |
| Omen of Disaster V | Disaster Set | 500,150 |
| Blood Wave | Crimson Set | 800,150 |
| Bane of Nonexistence | Void Set | 900,150 |
| Totality | Chimera Set | 1,200,150 |
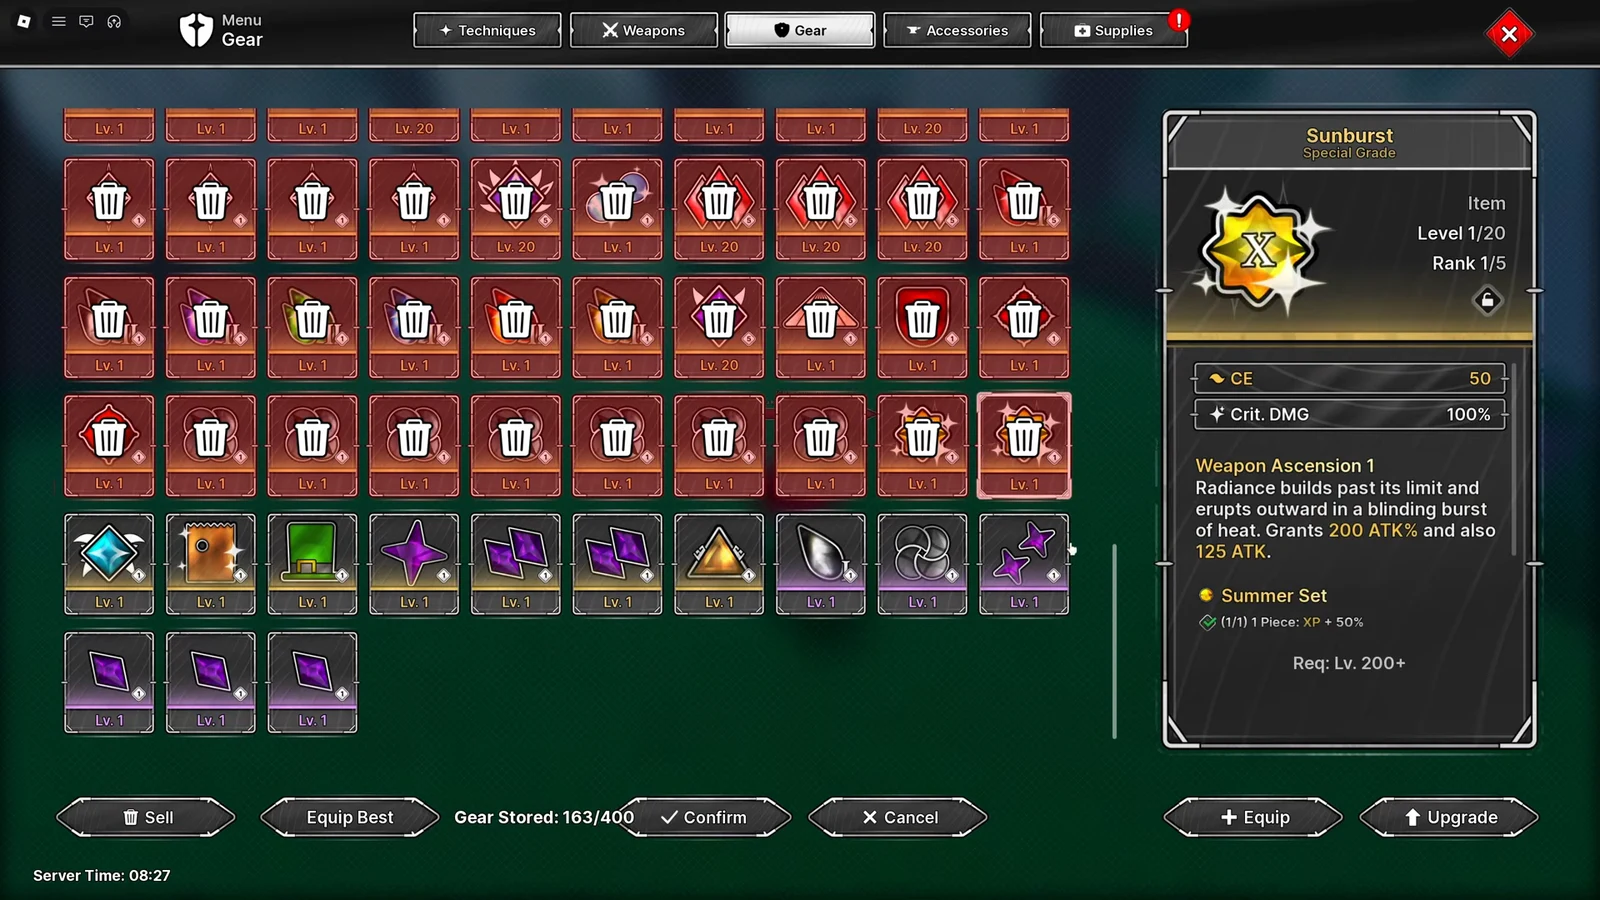
You will know it worked when the sale confirmation shows the combined Yen total and your balance updates. Large batches of Special and Disaster grade gear can push a single confirmation into the millions.
Yen boosts that raise your income
Two boosts stack on top of any farming method and are worth activating before a session. The Yen Vow is a consumable that drops commonly from Daily, Flame, and Calamity Crates, so you often have several on hand. The Yen Boost gamepass is a permanent multiplier.
| Boost | Effect | Duration / cost |
|---|---|---|
| Yen Vow (consumable) | +20% Yen gain | 10 minutes per use |
| Yen Boost (gamepass) | +100% Yen gain | Permanent, 320 Robux |
Tip: Use a Yen Vow right before a run of fast raid clears so the timer covers as many kills as possible.
Putting the farm together
The optimal loop is to activate your boosts, run the fastest Calamity raid you can clear near-instantly, open the crates it hands you, and let auto-sell convert duplicate gear into Yen. That combination stacks direct raid rewards with high-value gear sales, which together outpace anything else.

If your raid clears are too slow to justify the tanky health pools, drop back to the Level 1,950 Sealed One quest and grind it on repeat. It earns less at the top end, but its low health requirement means it never leaves you standing around waiting for a boss to die.