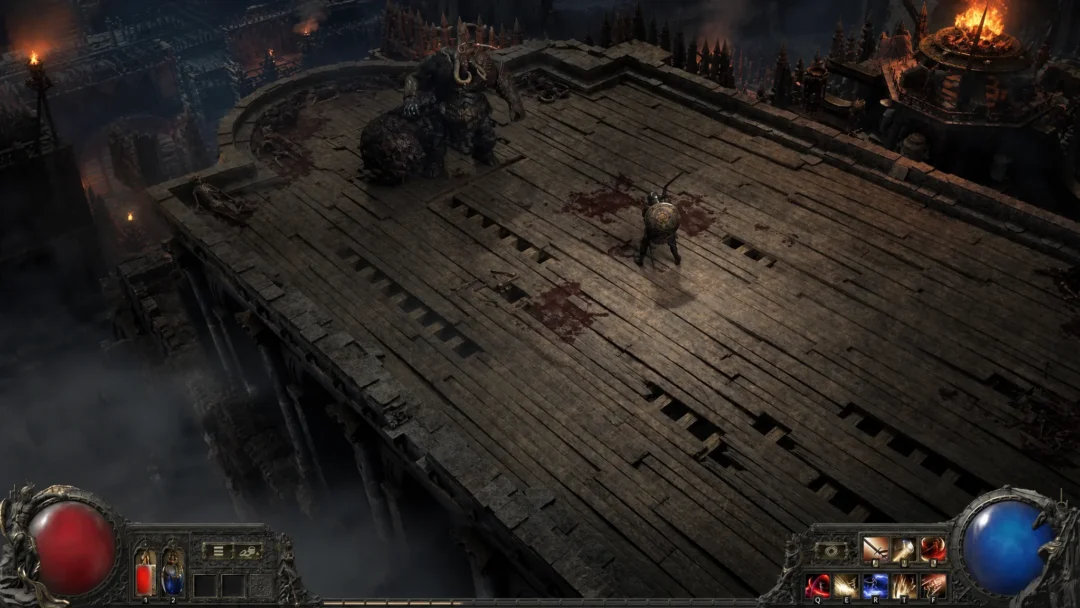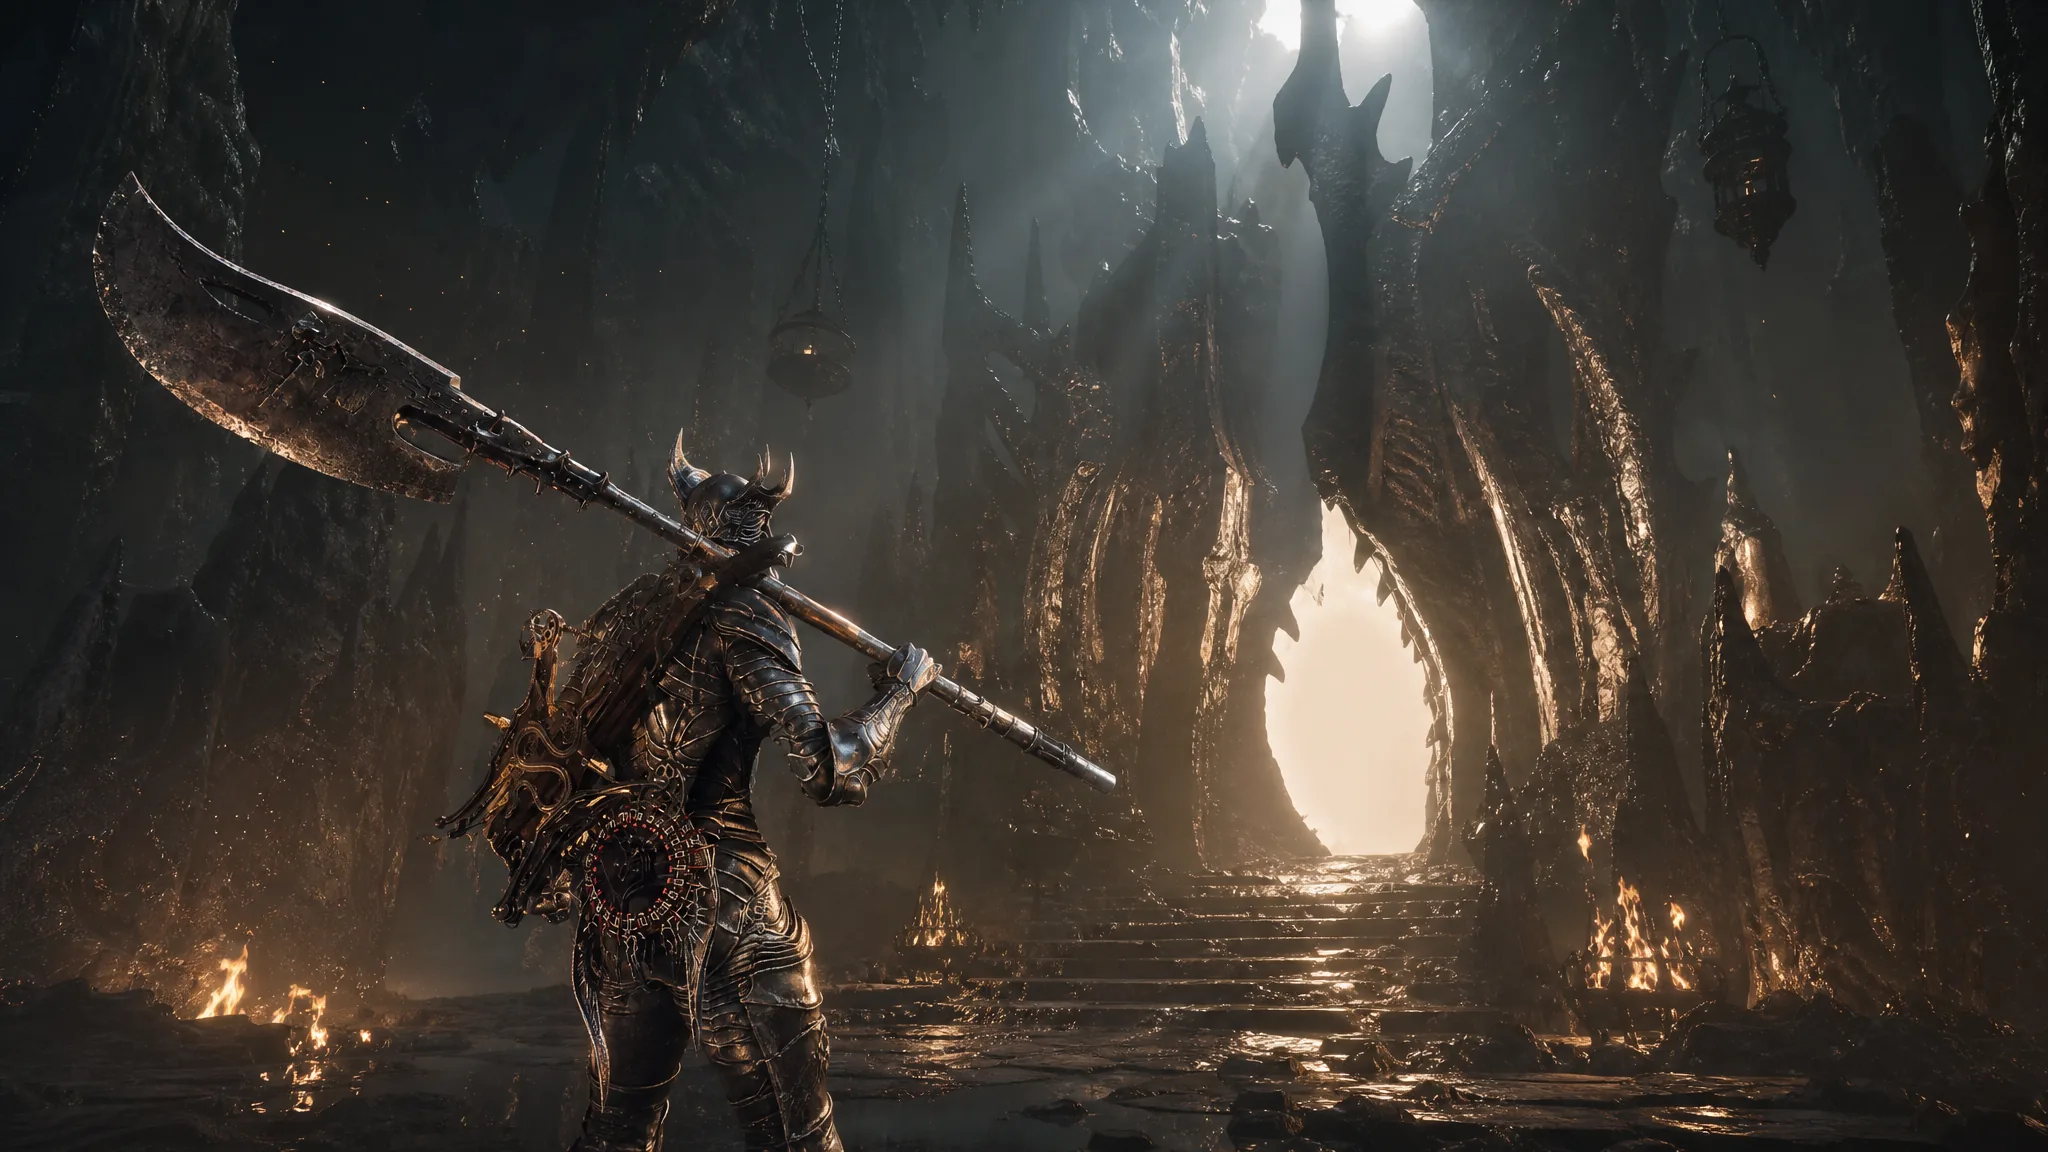
The Sester’s Gate Beacon opens into Sester’s Bastion, a mandatory dungeon on the road through the Ruins of Mammon. Clearing it means solving a set of bell-activated bridge puzzles, surviving several ambushes over deadly drops, and defeating a two-stage boss encounter. Finishing the fight hands you the Black Needle weapon and the Sester’s Crest, then lets you cleanse the corruption and collect the Ova.
Quick answer: Cleanse the Sester’s Gate Beacon, ride the elevator into Sester’s Bastion, shoot every bell with your sidearm to rebuild the bridges, then beat the Twin Sesters (kill the ranged Black Sester first) followed by the Stray Sester. Defeating them awards the Black Needle and Sester’s Crest. Cleanse the corruption and grab the Ova to complete the run.
Where Sester’s Bastion is and what you get
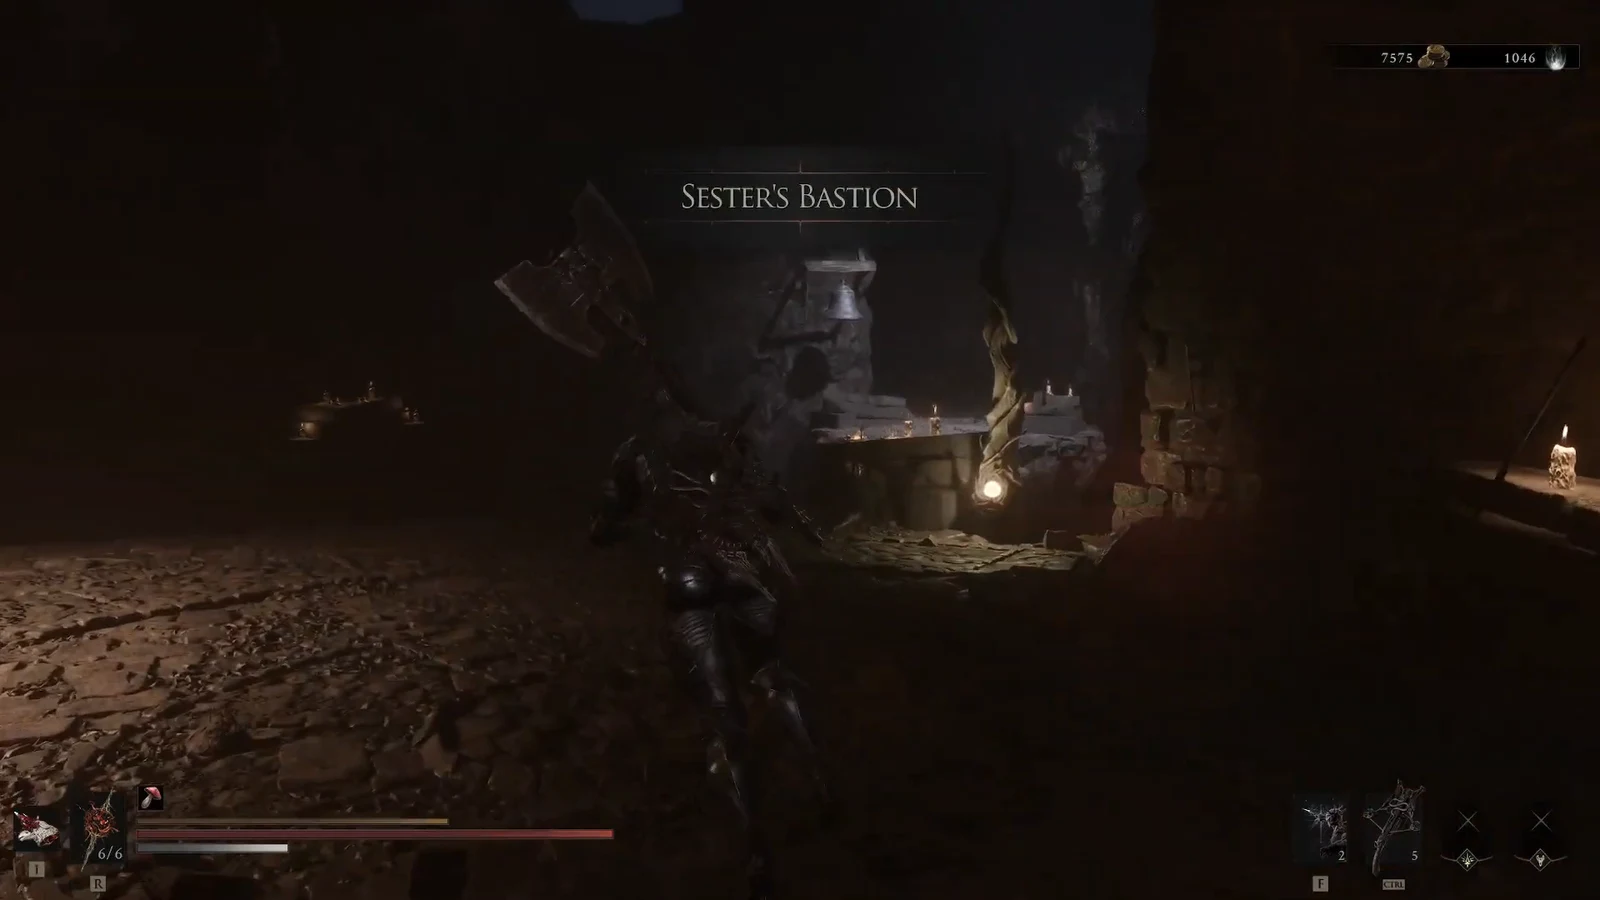
Sester’s Bastion sits inside the Sester’s Gate Beacon, found to the east of the Ruins of Mammon. This is a progression-gate dungeon, so you cannot skip it. The core mechanic throughout is your sidearm. Bells mounted on walls and pillars must be shot to raise stone bridges across the chasms, and there is no way forward until each gap is filled.
Here is everything the run gives you from start to finish.
| Reward | Where it comes from |
|---|---|
| 2,000 Coins | Large chest/sarcophagus near the entrance |
| Laterite | Bone Stand in the corner of the three-bell room |
| Black Needle (weapon) | Defeating the Stray Sester |
| Sester’s Crest (item) | Defeating the Stray Sester (tradeable for 3,000 coins) |
| Ova x3 | Cleansing the corruption in the boss arena |
| Glimpse | Enemies cleared along the route |
The Black Needle is the massive pike the Stray Sester uses against you. The Sester’s Crest has no combat use and can be traded for 3,000 coins if you would rather have the currency.
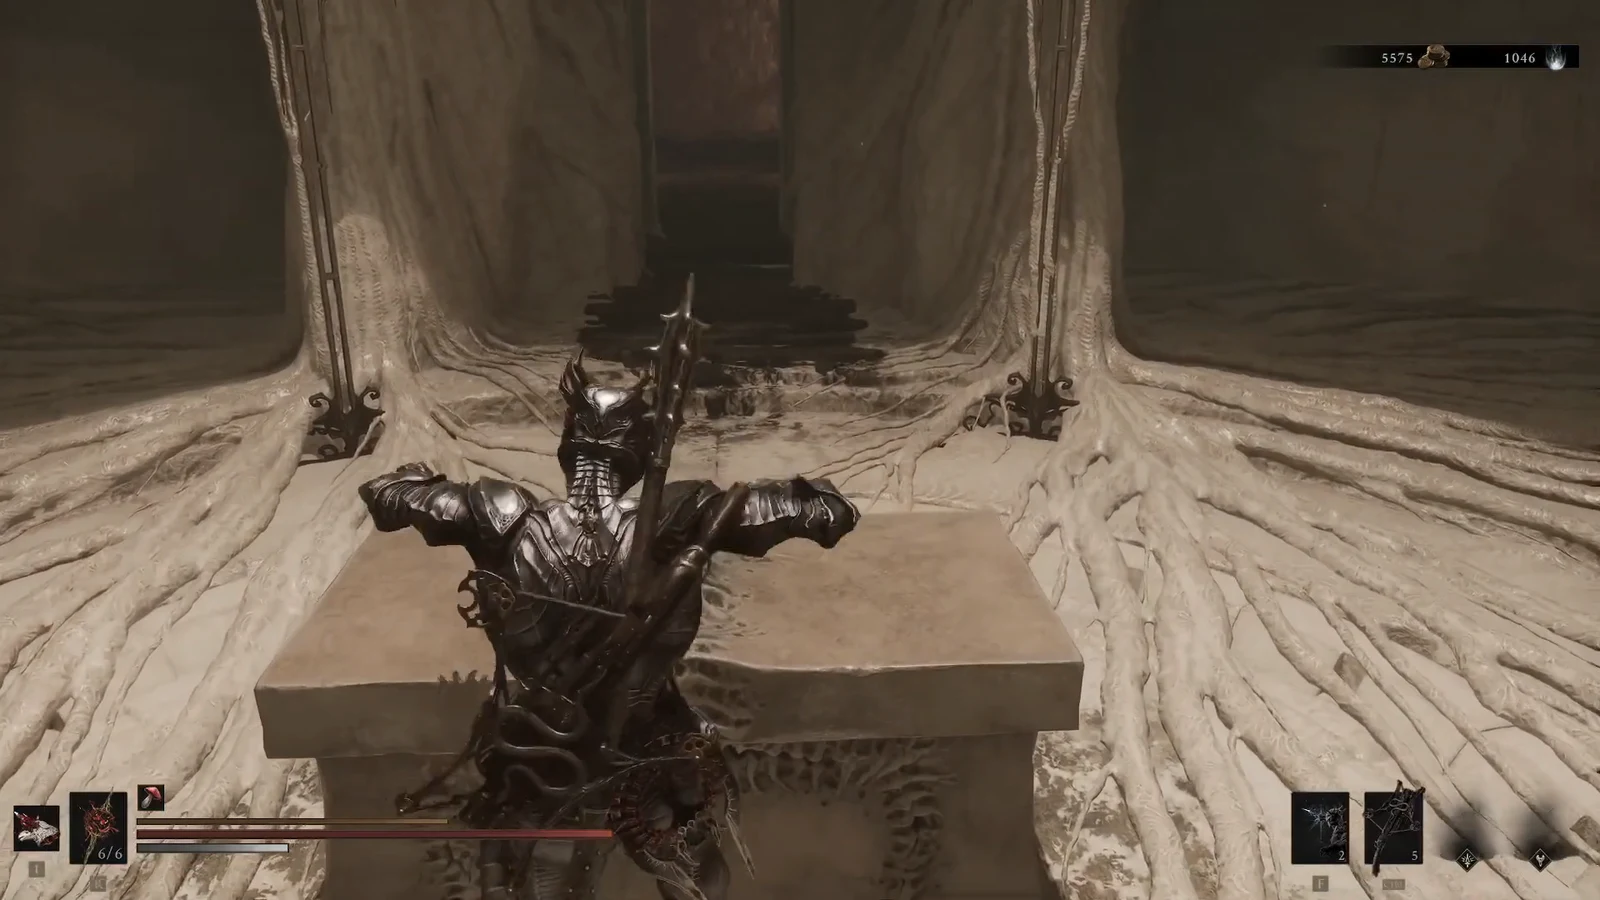
Entering the beacon and the elevator descent
Solving the bell bridge puzzles
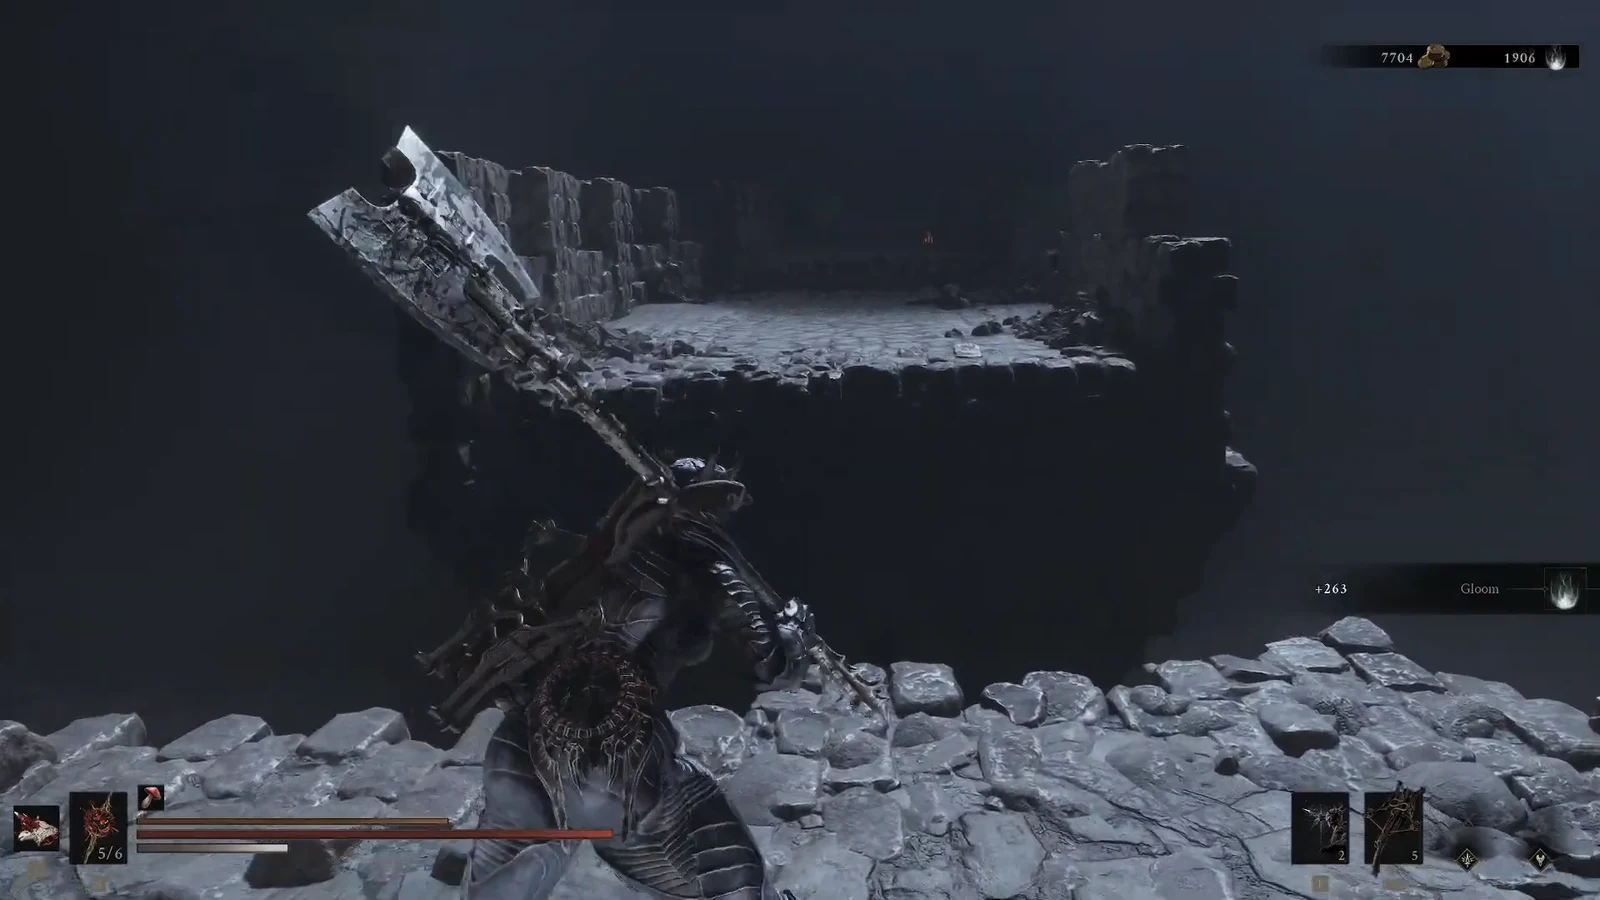
Every bridge in the bastion is raised by shooting a bell with your sidearm. Ammo is limited, but focus pillars scattered through the rooms can be struck with a melee weapon to refill your sidearm and focus, so top up whenever a bell is out of reach. The chasms are lethal, and several enemies will try to knock you off the edges, so clear threats before you line up a shot.
Twin Sesters and Stray Sester boss fight
The encounter runs in two phases. First you face the Twin Sesters, two lithe fighters who share a single health bar at the top of the screen but each carry their own portion of it. Once both fall, the larger Stray Sester enters as the second phase.
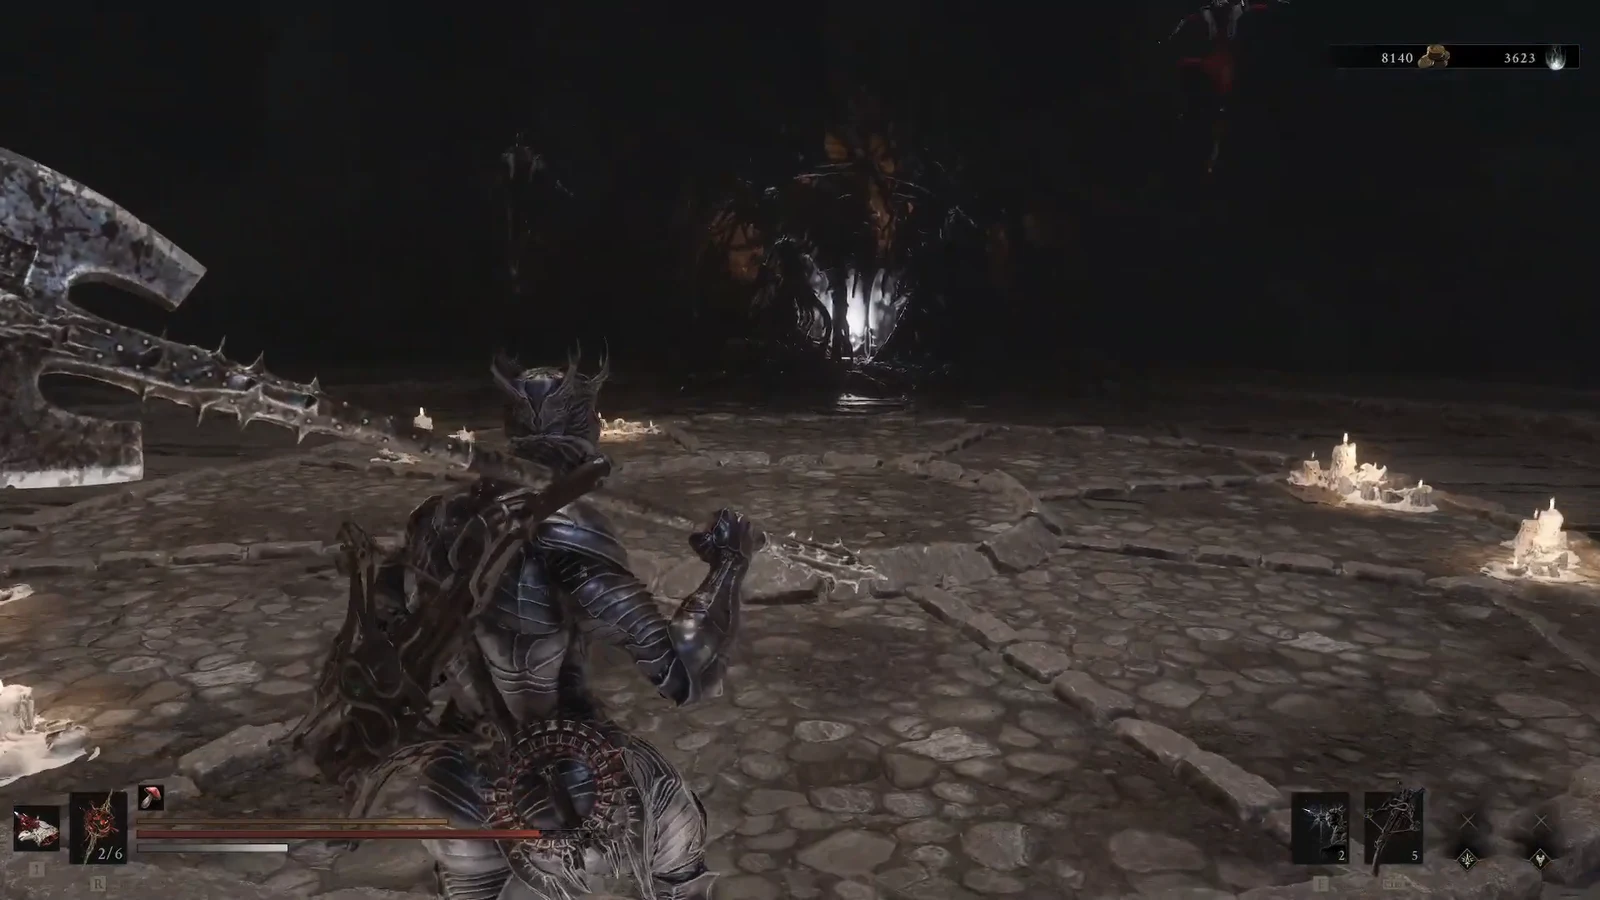
The two sisters are told apart by color. The Black Sester wields a ballista that doubles as a mace up close, so rush her and take her out before she can land long-range shots. The Red Sester uses a fast rapier, so dodge her swipes and stabs and keep pressure on her once her sister is down. Harden works well to block the Red Sester’s strikes while you focus fire.
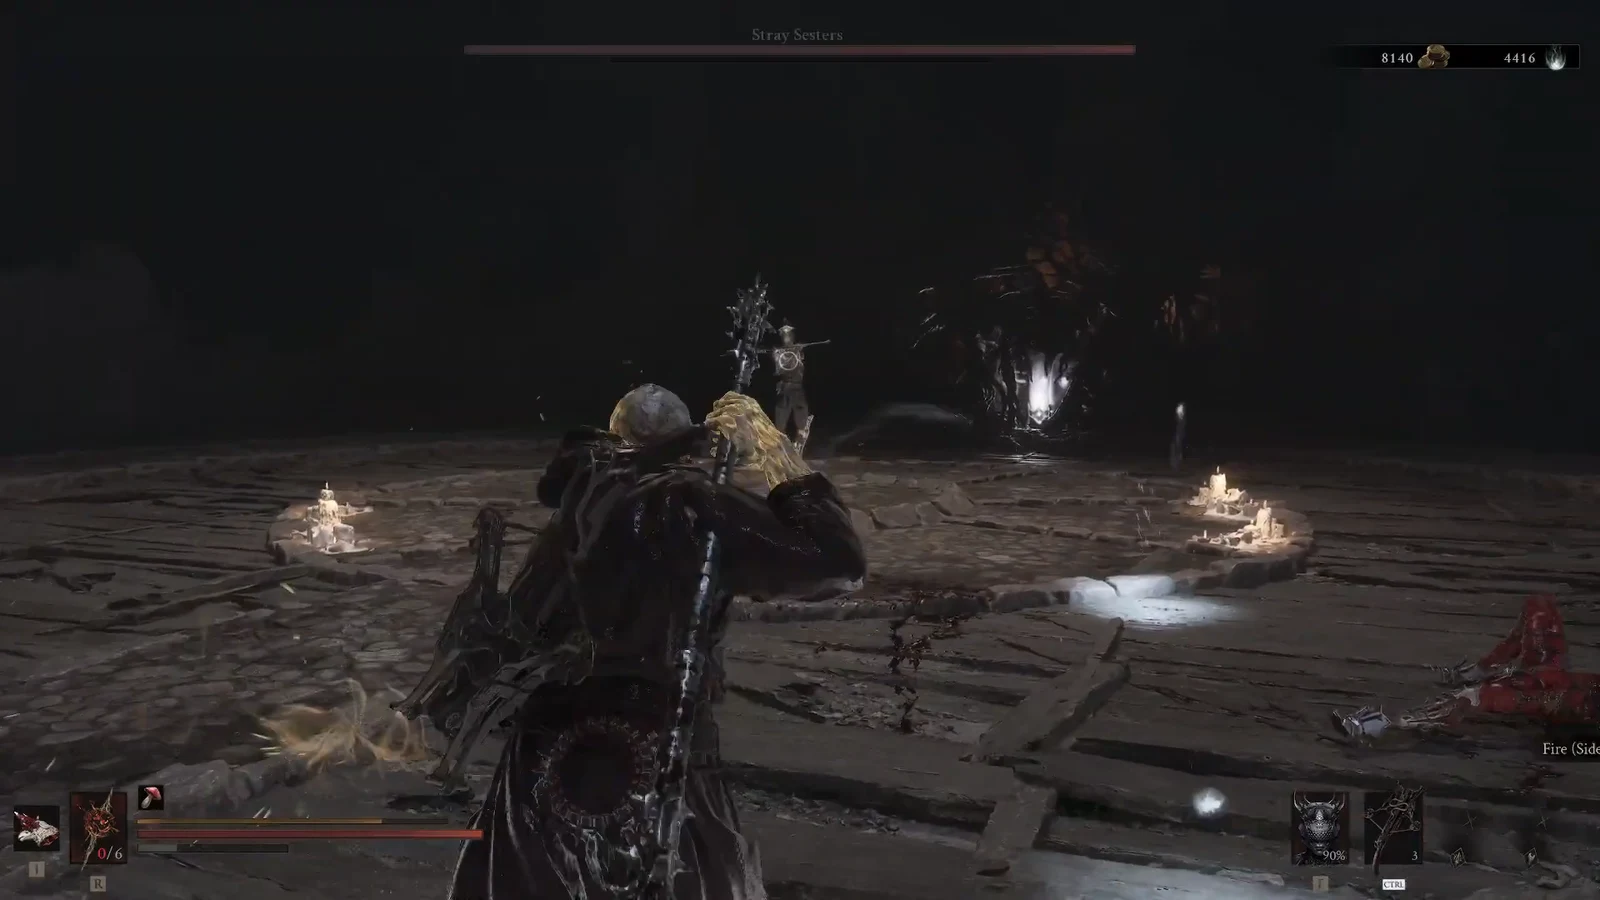
The Stray Sester is the toughest of the three and swings a massive pike that reaches across the arena. Do not roll straight backward, since her polearm covers that distance easily. Instead, dodge diagonally forward into her dead zone and punish the recovery frames after her thrusts. Avoid getting caught inside her long combos and keep the pressure on until she drops.
Claiming the Black Needle and cleansing the beacon
When the Stray Sester falls, you immediately unlock the Black Needle weapon and the Sester’s Crest. You will see the new weapon and item confirmations on screen, which is how you know the boss stage is finished.
With the fight over, cleanse the corruption and collect the Ova from the far side of the arena. Grabbing the Ova completes the Sester’s Gate run and returns you to the beacon, now fully cleansed. From there you can level up, change equipment, or fast travel back to Marrow Keep.
If the fight is giving you trouble, the most common mistakes are letting the Black Sester keep her distance during the first phase and rolling backward away from the Stray Sester’s pike in the second. Close the gap on the ranged sister early, and turn every backward instinct into a forward diagonal dodge against the Stray Sester, and both phases become far more manageable.