

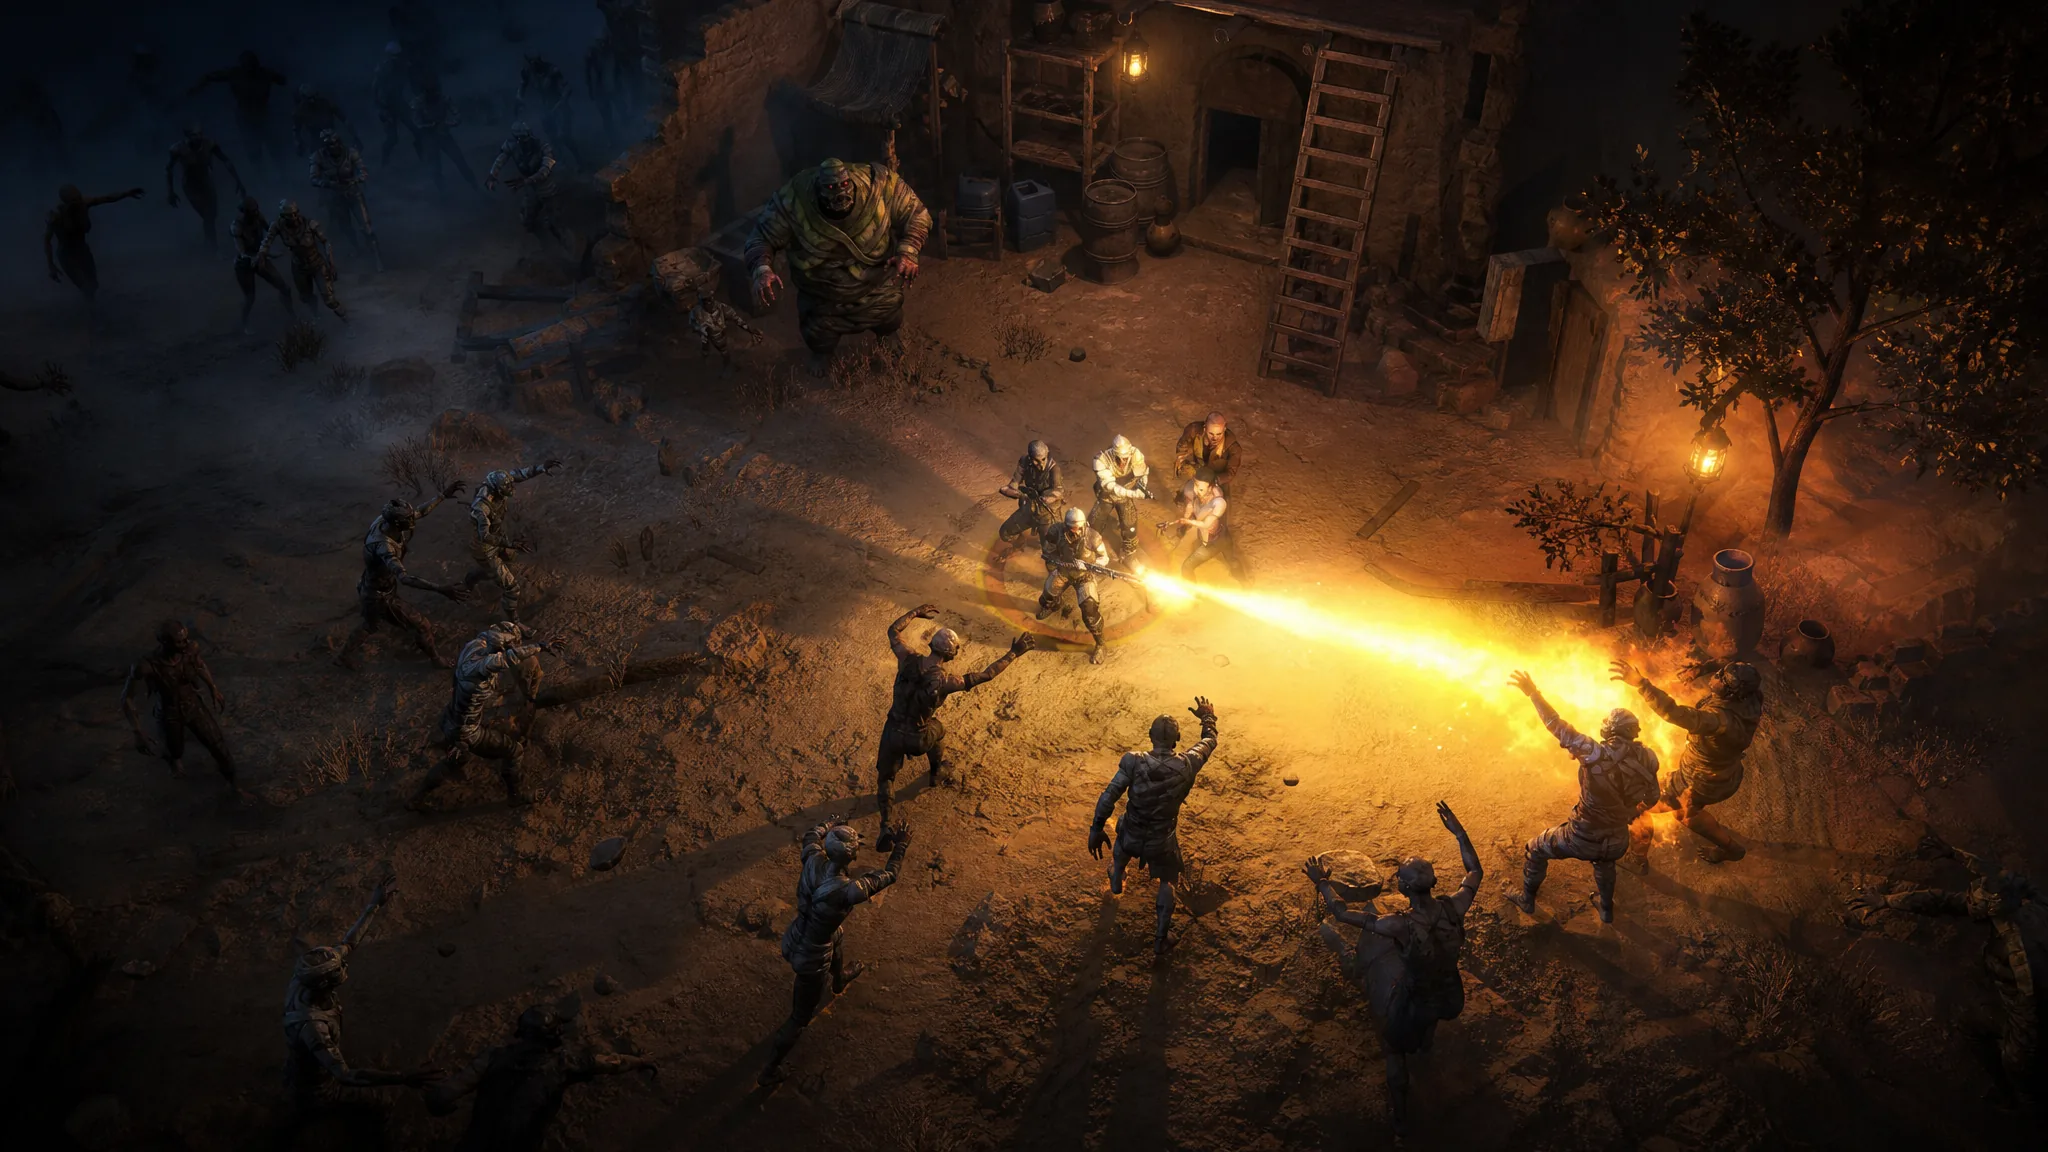
The 1.0 launch of Yet Another Zombie Survivors keeps the full early access roster and adds the Ranger, so you now have nine survivors to slot into a three-person squad. Every run starts by choosing one leader for a full-strength perk, then rescuing up to two more bodies that each pay half their perk. Ranks matter too, since hitting rank 2 and rank 3 doubles a leader perk and opens extra powerups. That mix of role, rank, and mode is what actually decides which survivors carry a run.
Quick answer: Lead with SWAT and rescue Engineer plus Tank or Huntress. That trio clears Default dawn and Hardcore with steady damage, a screen-clear, and the Energy Shield that keeps you alive to minute sixteen.
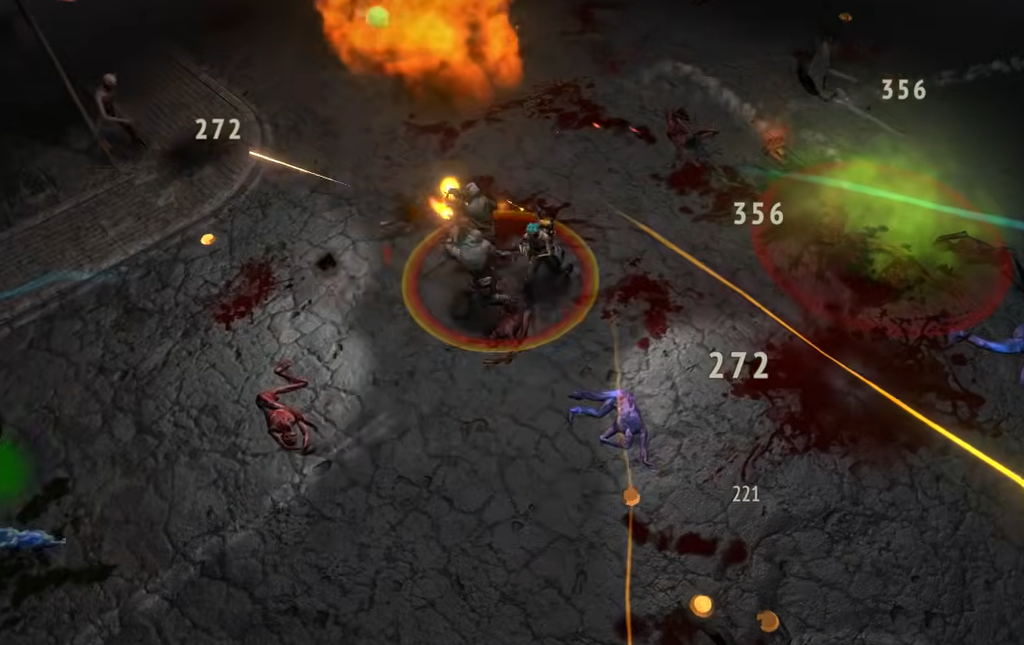
Yet Another Zombie Survivors 1.0 class tier list
The table below ranks every 1.0 survivor for standard runs on Isolated City through Bio Lab, from Default dawn up to Hardcore. Placement reflects how a class performs with average hands at a normal rank, not a fully maxed prestige build.
| Tier | Survivors |
|---|---|
| S | SWAT, Engineer |
| A | Tank, Huntress, Ranger |
| B | Ghost, Mechanic, Medic |
| C | Pyro |
Freshness: this ranking reflects the 1.0 roster as of August 2026, including the Ranger. Older 2023 lists that parked Huntress at the bottom no longer match the current meta.
How this was ranked
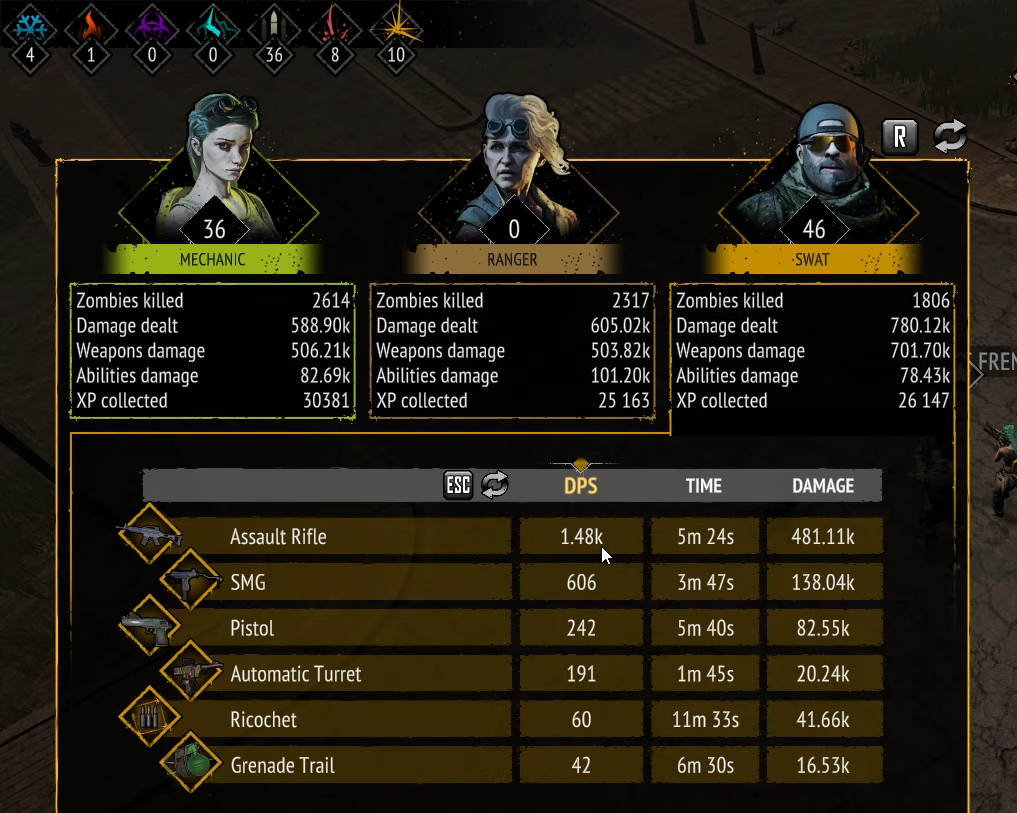
Three things move a survivor up or down. First is role, because a leader delivers a full perk while a rescue only delivers half, so a class can grade differently depending on where it sits. Second is rank, since 5,000 kills as leader reaches rank 2 and another 20,000 reaches rank 3, doubling the perk each step. Third is mode, because Default runs reward consistent guns and a shield, while Hardcore rewards speed and a screen-clear before you kite.
| Rank | Kills needed | Effect |
|---|---|---|
| 1 | Starting rank | Base leader perk |
| 2 | 5,000 | Perk doubled, extra powerups |
| 3 | 25,000 total | Perk doubled again |
S tier: SWAT and Engineer
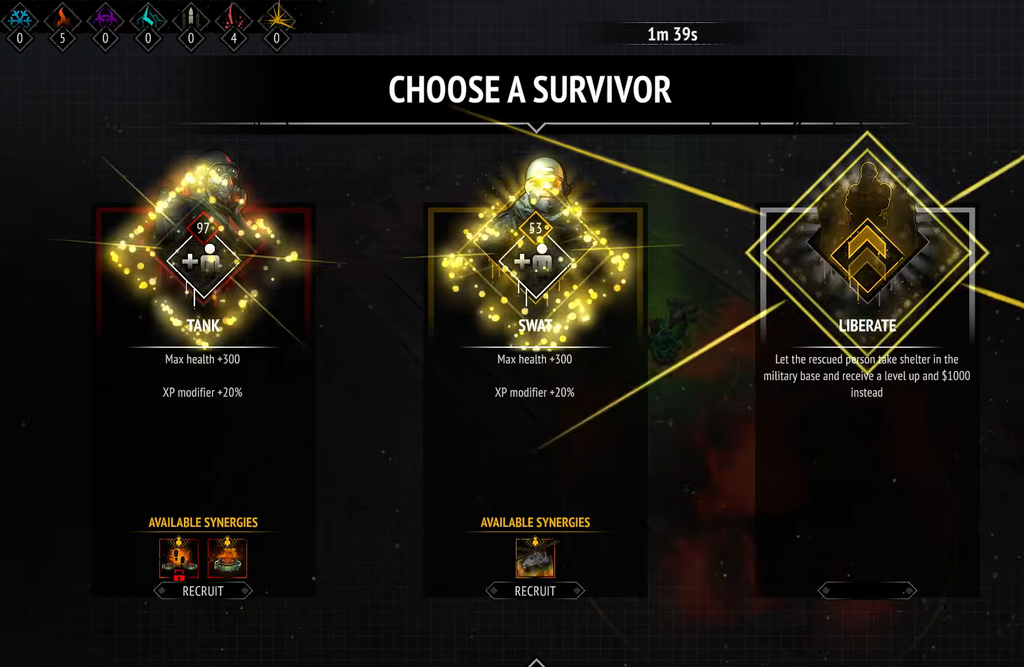
SWAT is the most reliable pick in the game. He comes with a strong default skill set and one of the highest damage ceilings, built around the Assault Rifle line, Helicopter Strike, and a turret with no awkward resource to manage. He zones enemies, controls their pace, and the turret makes him effective against elites and bosses. As a leader he makes runs readable, and as a rescue he still dumps damage into whatever tanky perk you started with.
Engineer is available from the start and offers the best crowd control on the roster. The Energy Shield is the single biggest reason new players survive to the mid-game, and the Tesla weapon, Electric Turret, and Electrocution pulse clear space when a crowd traps you. Base damage is low, which holds Engineer back as a solo carry, so most accounts should park her in the second slot until Hardcore feels easy. Cooldown training pushes her value even higher, though a sliver of cooldown should stay to avoid client hitching.
A tier: Tank, Huntress, and Ranger
Tank is unlocked by default and levels the fastest, which makes him forgiving for beginners. His health pool covers bad positioning, and his AoE-focused weapons, the rockets, minigun, and Bombing Strike, delete packs once they evolve. Early Tank before the rocket comes online can feel slow, which is why he sits in A rather than S, but he is excellent in the closing minutes of a Hardcore run.
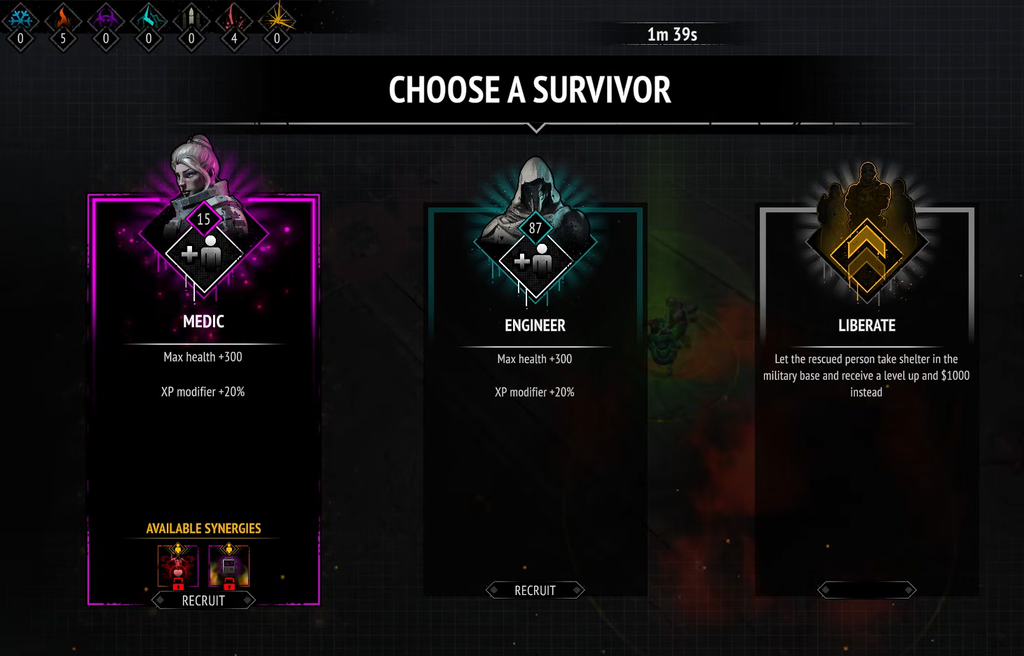
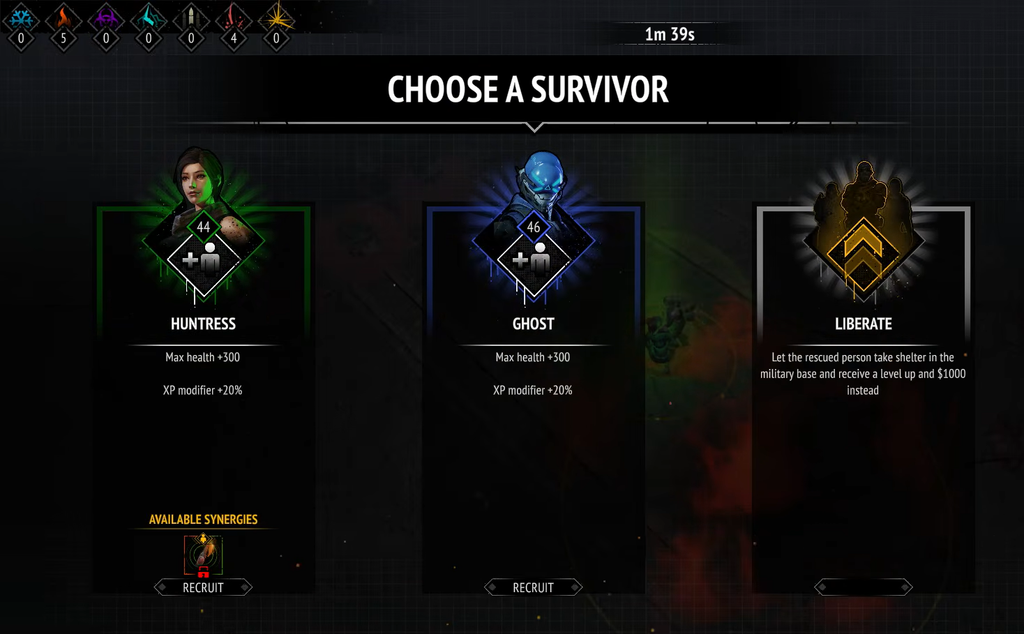
Huntress has outstanding range and a team-wide crit perk in Eagle Eye, which makes her one of the best rescues in the game the moment you unlock her at fifteen minutes. Her weakness is her own abilities. Arrow Rain looks powerful but its landing spots are too random to trust, so her bow needs stacks and investment before she peaks. As a leader she is solid, and as a crit-focused rescue she is close to S.
Ranger arrives with 1.0 and brings Fear, a unique effect, plus a crit and luck aura tied to heals. The ceiling is high, but the first nights feel clumsy and the kit wants ranks before it shines. Bio Lab is where Ranger looks best. Do not swap out SWAT for an unranked Ranger on your first Hardcore attempt.
B tier: Ghost, Mechanic, and Medic
Ghost is a close-range specialist with heavy single-target damage through Thousand Cuts and the temporary spike from Protocol: Critical. He melts bosses and shines in Endurance clips, but his defense is limited to a small dodge boost, so he needs a shield partner to survive standard dawns. Farm him after Huntress.
Mechanic runs ice, ability amplification, and wrench guns. She is a niche pick until you enjoy reading skill trees, but she becomes close to S in ability-stacking squads alongside Engineer. She is not a first leader and unlocks after a few thousand ability activations.
Medic is the split verdict on this list. Her damage is poor, so she costs you a gun slot in short or Hardcore runs and drops toward the bottom there. In any mode that runs past twenty minutes, her sustained team healing through Ph.D. and lifesteal via Transplantology becomes hard to replace, and many long Endurance runs end early without her. Treat her as an S-tier answer for long survival modes and a weak DPS choice everywhere else.
If a 1.0 HUB quest specifically asks for a Medic leader, take her on purpose for that objective, then return to a higher-damage leader afterward.
C tier: Pyro
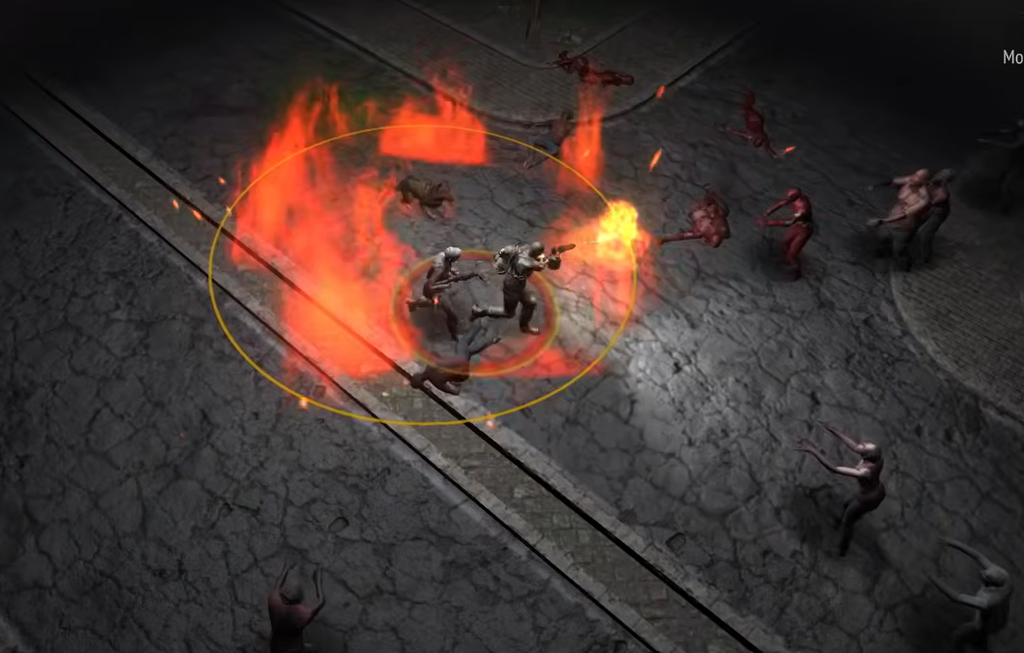
Pyro brings flashy elemental damage but is fragile, and the weapons are mediocre. The kit lacks the AoE and crowd control needed to hold up at higher difficulty, so runs with Pyro as a carry turn inconsistent fast. He can work in a burn lane on maps where packs clump together, such as Green Hell, but you will want a Tank or Engineer beside him so you can exist while the fire does its job.
Best squad by goal
Unlock order is not tier order, so build around what a run needs rather than what silhouette you just earned. The pairings below cover the common goals.
| Goal | Leader and rescues |
|---|---|
| Learning and Hardcore | SWAT lead, Engineer, Tank |
| Crit damage | SWAT lead, Engineer, Huntress |
| Boss killing | SWAT or Ghost lead, Engineer, Huntress |
| Bio Lab | Ranked Ranger or SWAT, Engineer, Huntress |
| Long Endurance | Include Medic for sustained healing |
Ranks and account training shift these letters more than any single swap, so a rank 3 survivor with the right items can outperform a class one tier above it. If your favorite class sits in B or C, it can still clear content once you invest, but keep the safe S-tier trio for badge attempts and save the experiments for after the win.





