

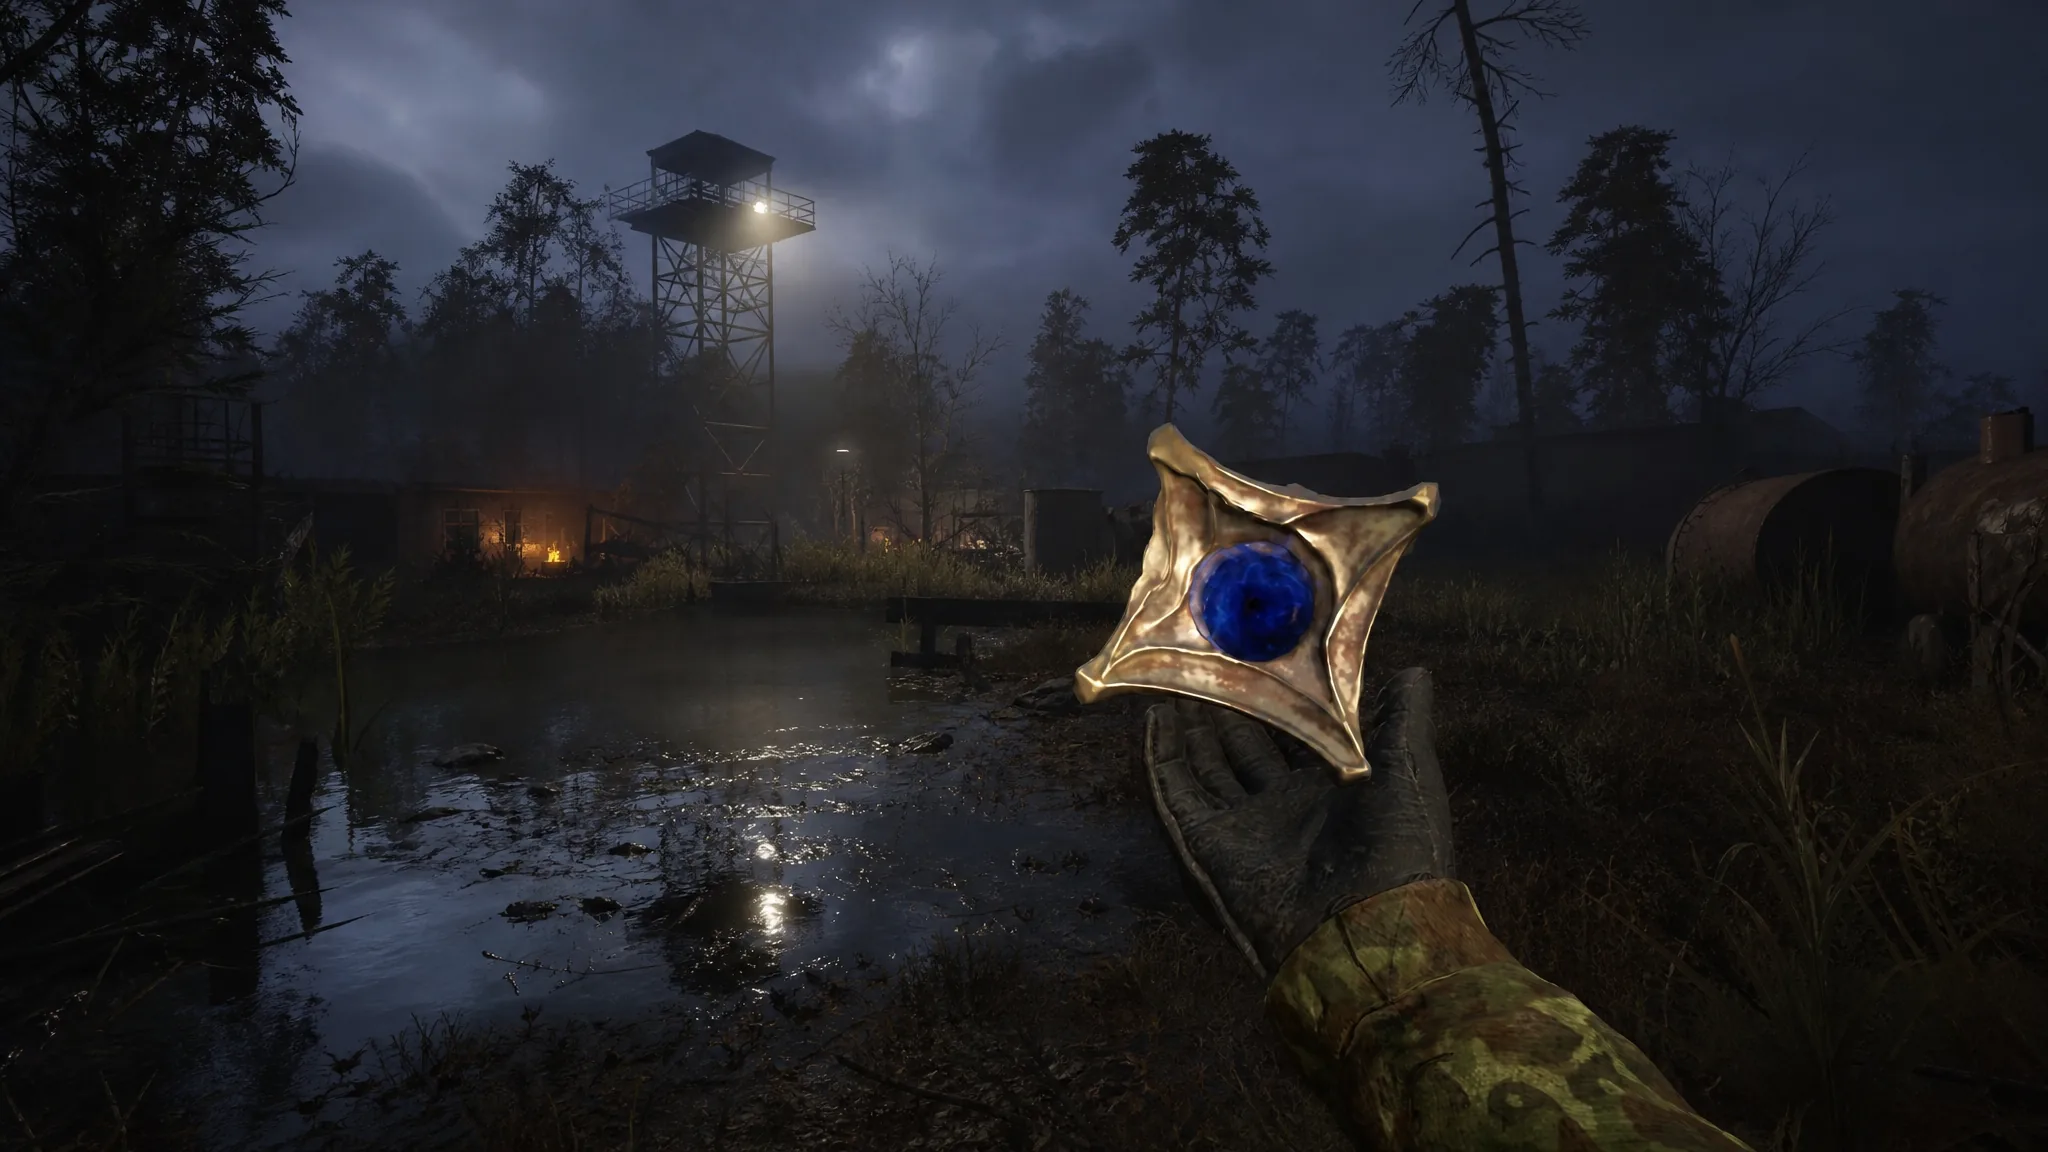
The Hypercube is a legendary thermal artifact that pushes Thermal Protection and Bleeding Resistance to their highest ratings, at the cost of maximum radiation. It never appears in a fixed spot. Instead, it has a very small chance of spawning in any thermal anomaly field across the Zone, which makes it one of the harder legendary artifacts to secure without patience.
Quick answer: Stand near any thermal anomaly field, make a quicksave, scan with a detector, and check the artifact that spawns. If it is not a Hypercube, reload the quicksave and scan again. Each reload rerolls the artifact, so keep repeating until the Hypercube appears.
Hypercube stats and effects
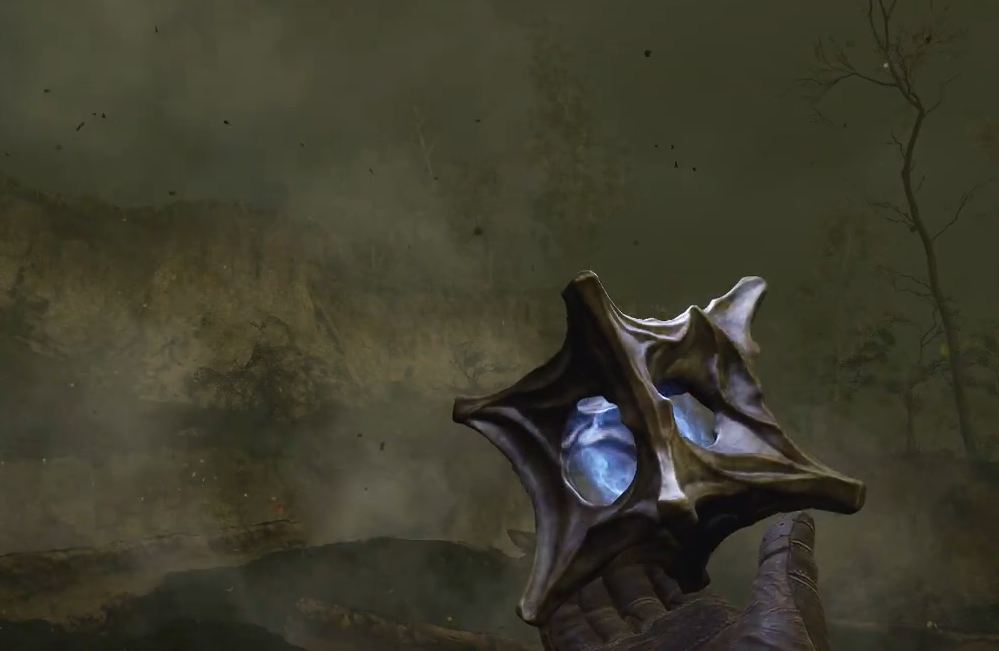
The Hypercube significantly increases your resistance to thermal damage and makes bleed effects expire much faster. The trade-off is severe radiation. You cannot safely equip it without either radiation-suppressing artifacts in your other slots or a suit with a lead-lined container.
| Property | Value |
|---|---|
| Rarity | Legendary |
| Anomaly type | Thermal |
| Thermal Protection | Maximum (5/5) |
| Bleeding Resistance | Maximum (5/5) |
| Radiation | Maximum (5/5) |
| Weight | 0.6 kg |
| Inventory value | 67,900 Coupon K |
| Selling price | 24,153–16,096 Coupon K (Rookie/Stalker) |
On Veteran difficulty, reduce the selling price by 50%. The in-game description reads: “A legendary artifact found in thermal anomalies. The full potential of this artifact has yet to be discovered. It emits ultra-long radio waves and has potential applications in space navigation.”
Because a single Hypercube already covers your entire thermal need, it frees up your armor upgrade paths. You can spend upgrades on other resistances and still run suits that offer little fire protection on their own.
How to cancel the Hypercube’s radiation
The Hypercube emits maximum radiation, so radiation will build up and damage you over time while it sits in an artifact slot. There are two reliable ways to stop that buildup.
- Equip artifacts with maximum or higher combined Radio Protection in your other slots to offset the emission.
- Place the Hypercube inside a suit that has a lead-lined container, which blocks the radiation entirely.
Note: While actively hunting inside a thermal anomaly, carry Thermal Protection and healing items. The flames can burn through your supplies if you linger too long without protection.
Where to farm the Hypercube
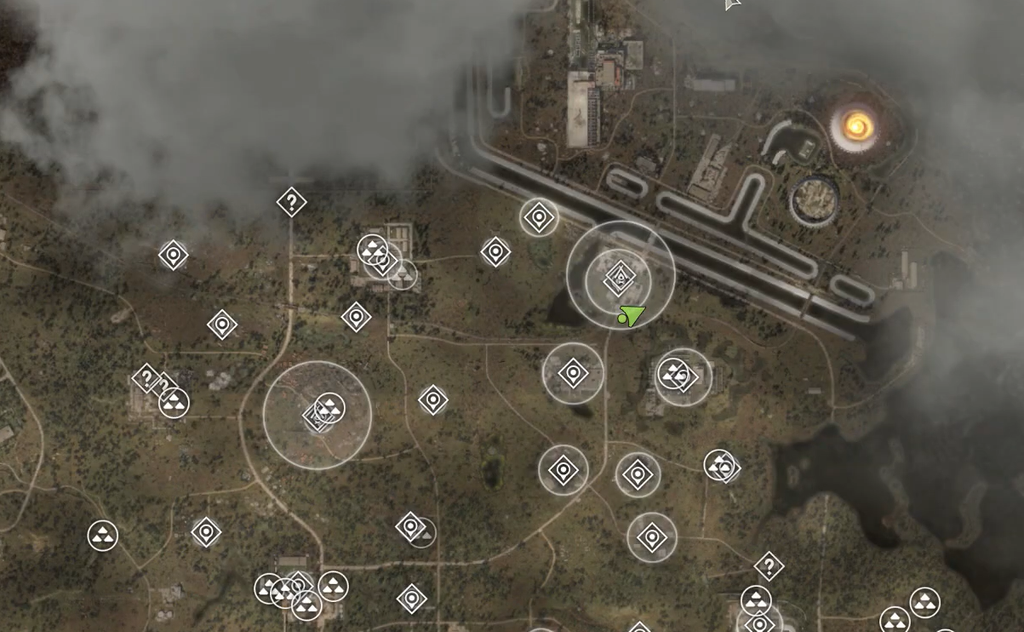
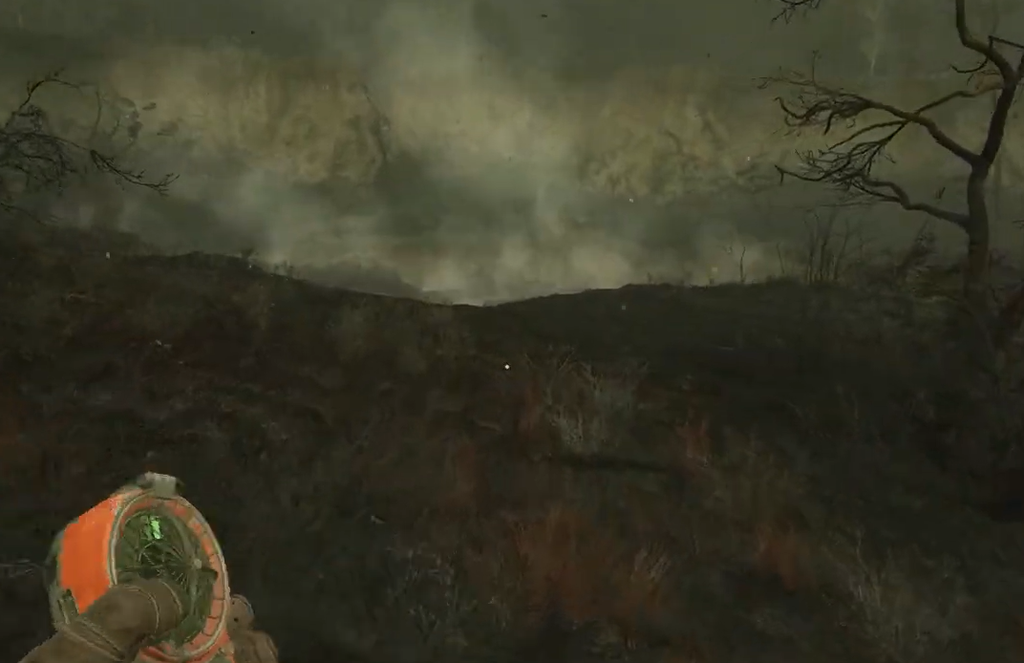
Any thermal anomaly field can drop the Hypercube, so the “best” spots are simply the ones that are easy to reach and quick to reset. The Magnetic Cave is one of the earliest options, since you pass through that flame-filled tunnel shortly after the prologue. Head inside, pull out your detector, and hope the roll lands on a Hypercube rather than a lesser thermal artifact.
| Region | Thermal anomaly POIs |
|---|---|
| Magnetic Cave | The early flame tunnel after the prologue |
| Garbage | Detention Center, The Brood |
| Cement Factory | Hell (search the scorched road) |
| Cooling Towers | Burning Fire Depot |
| Burnt Forest | Northwest of Cheverach (east), Conflagration (central north), Burning Rift (southwest), Helicopter Base (west) |
| Zaton | The Boiler, The Circus |
| Prypiat | School Stadium |
The Burnt Forest is worth the trip because it packs four separate thermal fields in one region, even though they sit fairly far apart. If the earlier fields do not cooperate, that region gives you the most reroll chances without long travel between anomaly types.
Watch for hostile stalkers and mutants around several of these fields, especially the Garbage POIs. Clear threats before you start save-scumming so a firefight does not interrupt each roll.
Farming method using quicksaves
Every artifact inside an anomaly is randomly generated each time the field spawns one, so reloading a save rerolls the result. This is the fastest way to force a Hypercube.
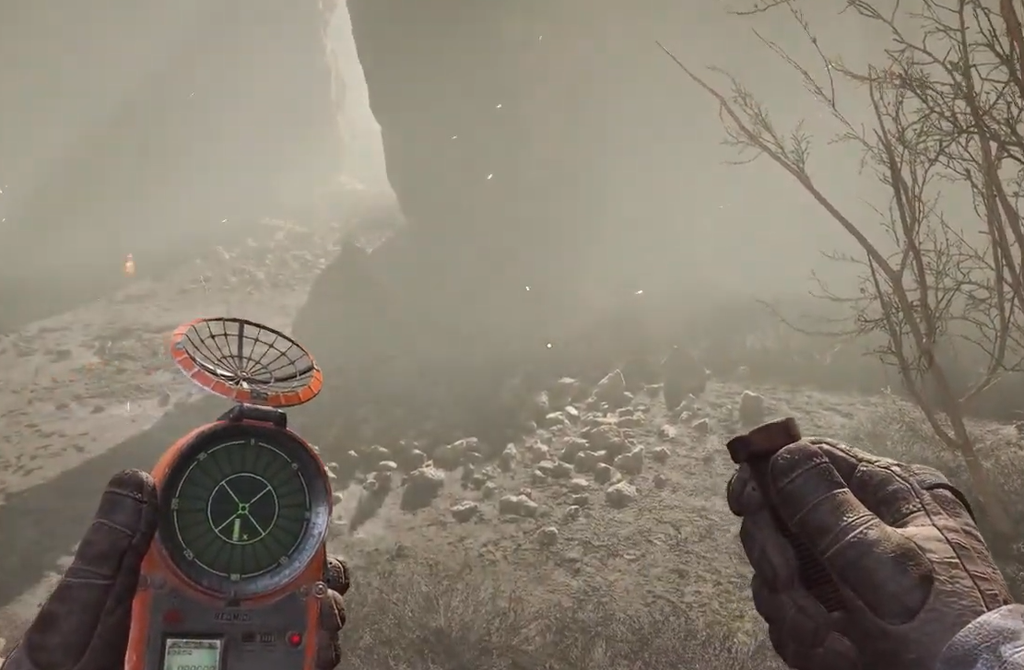
You know it worked when the artifact you pick up reads Hypercube, with Thermal Protection, Bleeding Resistance, and Radiation all at maximum. If a location keeps giving you nothing, it may already have been triggered earlier in your playthrough, in which case move to a different field.
Best detectors for the hunt
A detector only works when it is equipped and out. The Veles detector is ideal here because its radar shows the precise artifact location as a red dot along with nearby anomalies, which saves reroll time. A Bear detector is more than enough as a fallback, since it adds a direction indicator to point you toward the artifact.
A radiation-free alternative to the Hypercube
If all you want is the thermal coverage, you can skip the legendary hunt entirely. Two Fireballs and a Plasma together produce almost the same Thermal Protection value as a single Hypercube, and their combined Radiation Dispersion cancels out their own radiation, so no lead-lined container is needed.
Add a Petal to that setup and you gain a 4/5 Bleeding Resistance rating on top of the thermal protection. The Petal emits noticeable radiation, but the three thermal artifacts have enough dispersion to absorb it. That combination trades the Hypercube’s single-slot convenience for a cleaner, radiation-neutral build while you keep farming for the real thing.





