Zero Company starts you with room for seven Operators, which fills up fast once Authored characters like Trick and Kabb Uppercut join and you start hiring custom recruits at the terminal. The recruitment screen will simply refuse to hand you a new Operator when that number is maxed. Two systems in the Den raise the ceiling, and they stack.
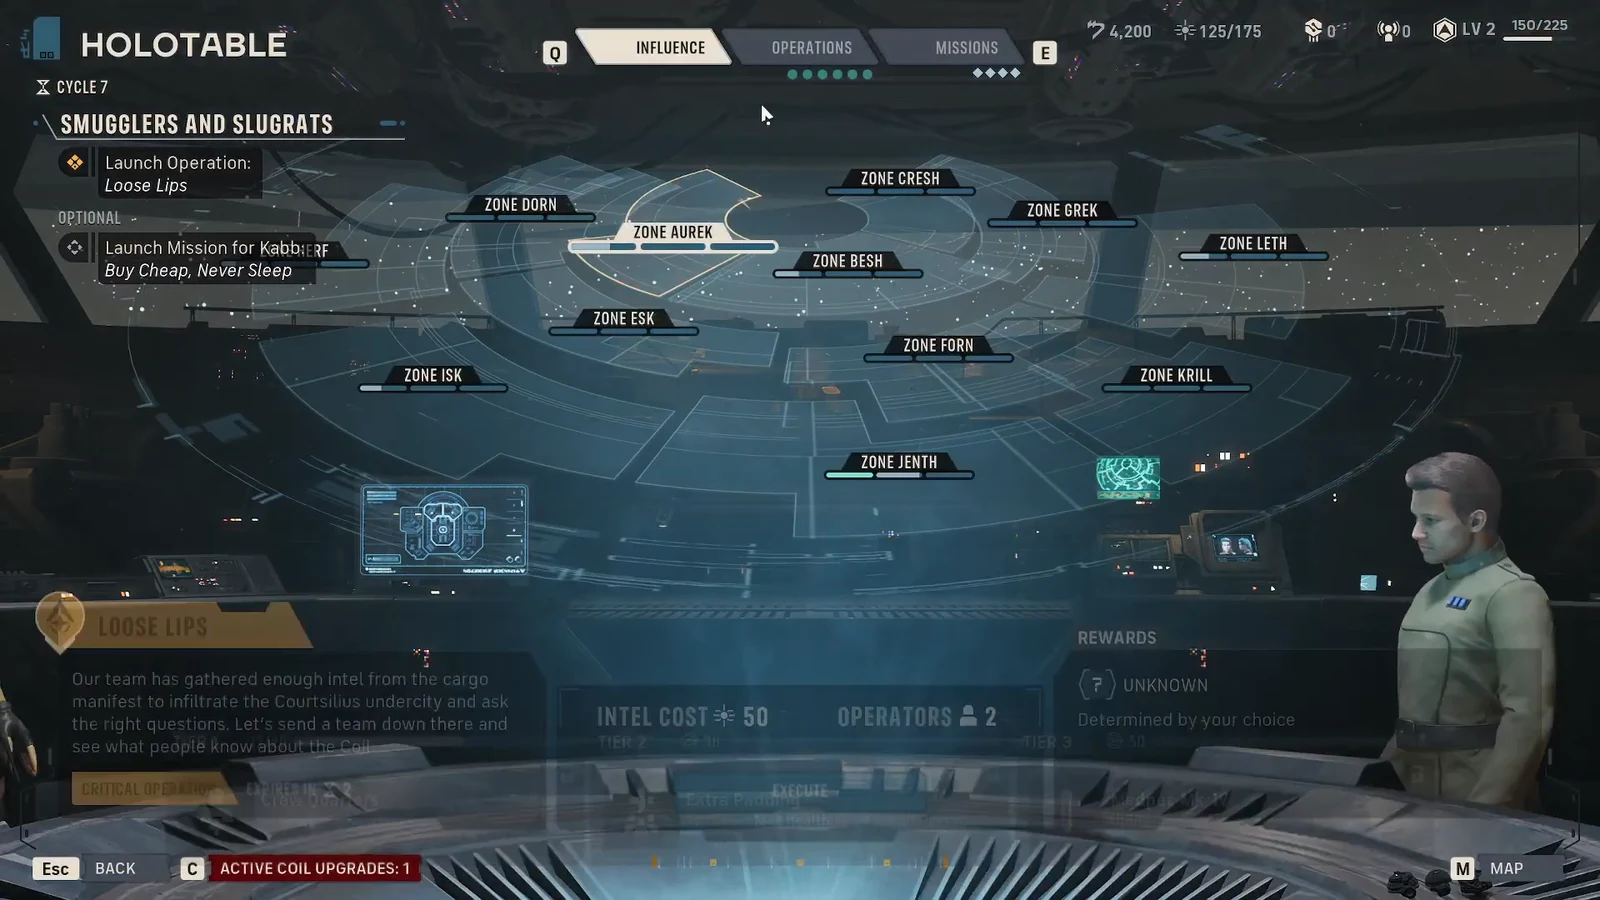
Quick answer: Buy the Crew Quarters upgrades in the Crew tab of the Den’s Upgrade terminal, and raise Zone Aurek and Zone Krill to Tier 1 on the Holotable’s Influence tab. Each purchase or Influence reward adds +1 Roster Capacity, for a combined total of eight extra slots.
Roster capacity vs. squad size in Star Wars Zero Company
These are two separate numbers, and mixing them up is the most common reason players go looking for upgrades that do not exist. Roster capacity is how many Operators can live at the Den at once. Squad size is how many you deploy on a mission, and that stays at four.
Nothing in the Crew Quarters upgrade line touches your field squad. Hawks is mandatory on every story mission and occupies one of those four slots, leaving three seats for everyone else. A handful of story maps temporarily hand you extra controllable characters, but that is scripted and does not represent a fifth permanent slot. Deluxe edition cosmetics do not change it either.
| Number | Value | How it changes |
|---|---|---|
| Field squad | 4 Operators | Fixed; certain missions grant extra temporary units |
| Starting roster | 7 Operators | Your campaign default |
| Roster cap | 20 Operators | Den upgrades, Influence rewards, story progression, Authored joiners |
Where the extra slots come from
Two of them are Influence rewards you unlock by pushing zone control on the Holotable. The rest are paid upgrades at the Den’s Upgrade terminal. Beyond that, Authored Operators who join through the story arrive with their own capacity attached, which is how the ceiling reaches twenty by the end of a campaign.
| Source | Where | Gain |
|---|---|---|
| Zone Aurek, Tier 1 | Holotable > Influence | Crew Quarters, +1 Roster Capacity |
| Zone Krill, Tier 1 | Holotable > Influence | Crew Quarters, +1 Roster Capacity |
| Increased Crew Quarters II, III, IV | Upgrade terminal > Crew | +1 maximum Operator each |
| Story progression | Campaign | Authored Operators join with capacity |
Buy Crew Quarters upgrades at the Upgrade terminal
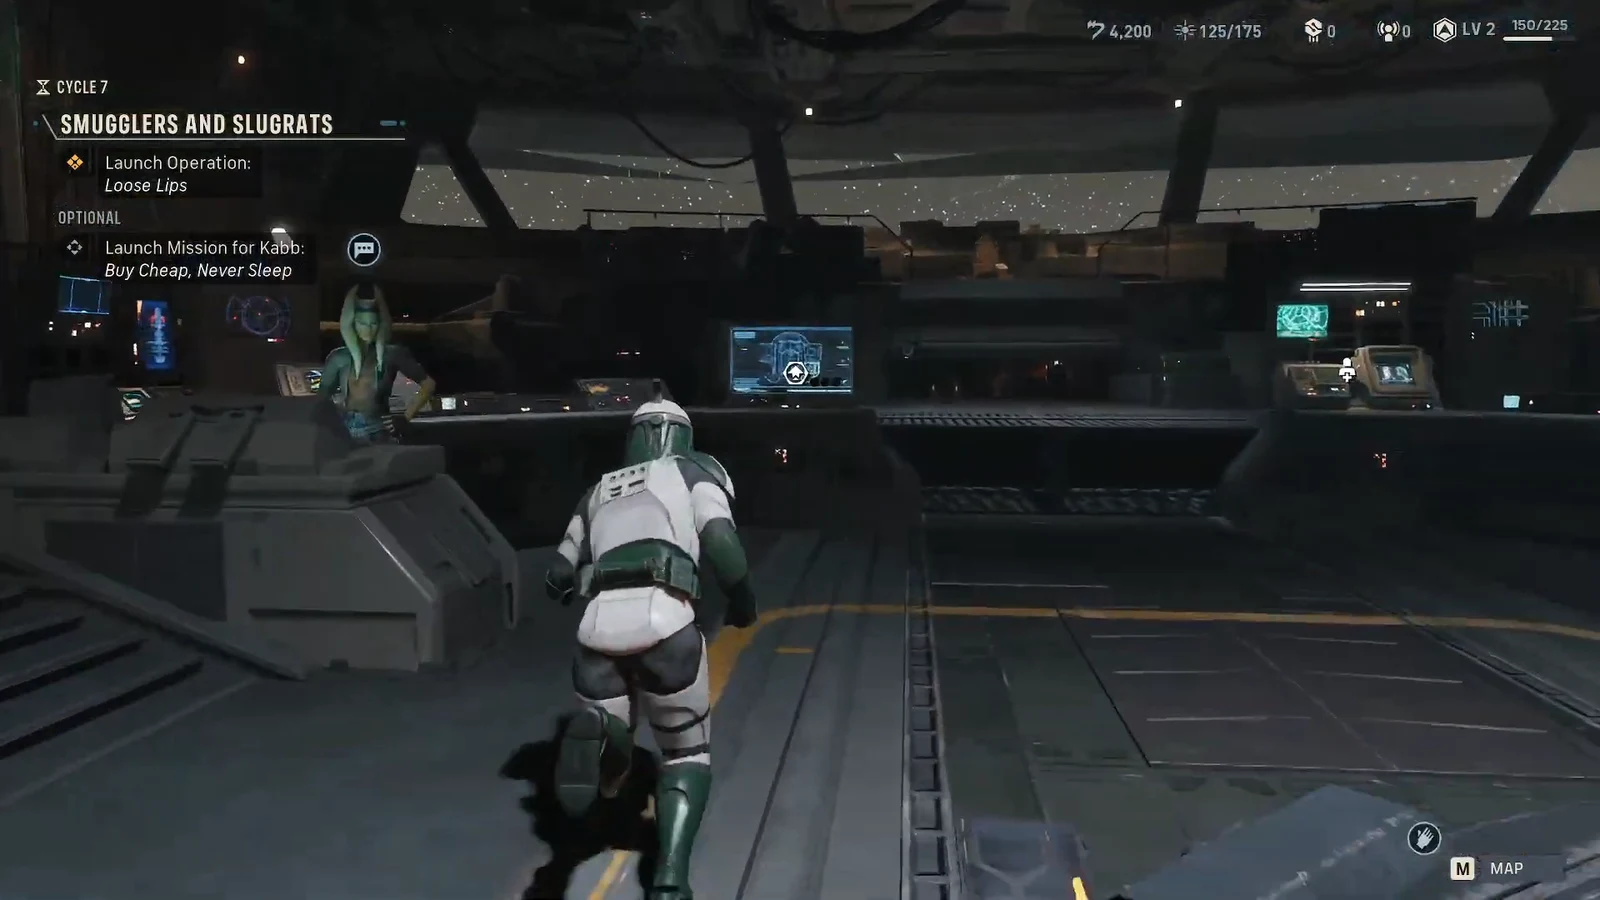
This is the faster of the two routes, since it only costs resources rather than campaign progress. The Upgrade terminal sits to the left of the recruitment terminal, which itself is tucked behind the Holotable in the Command Center.
Unlock the Crew Quarters Influence rewards at the Holotable
Influence is tracked per zone, and hitting the first tier in two specific zones pays out roster space. These are one-time rewards, so once you have both, there is nothing further to chase on the Influence side.
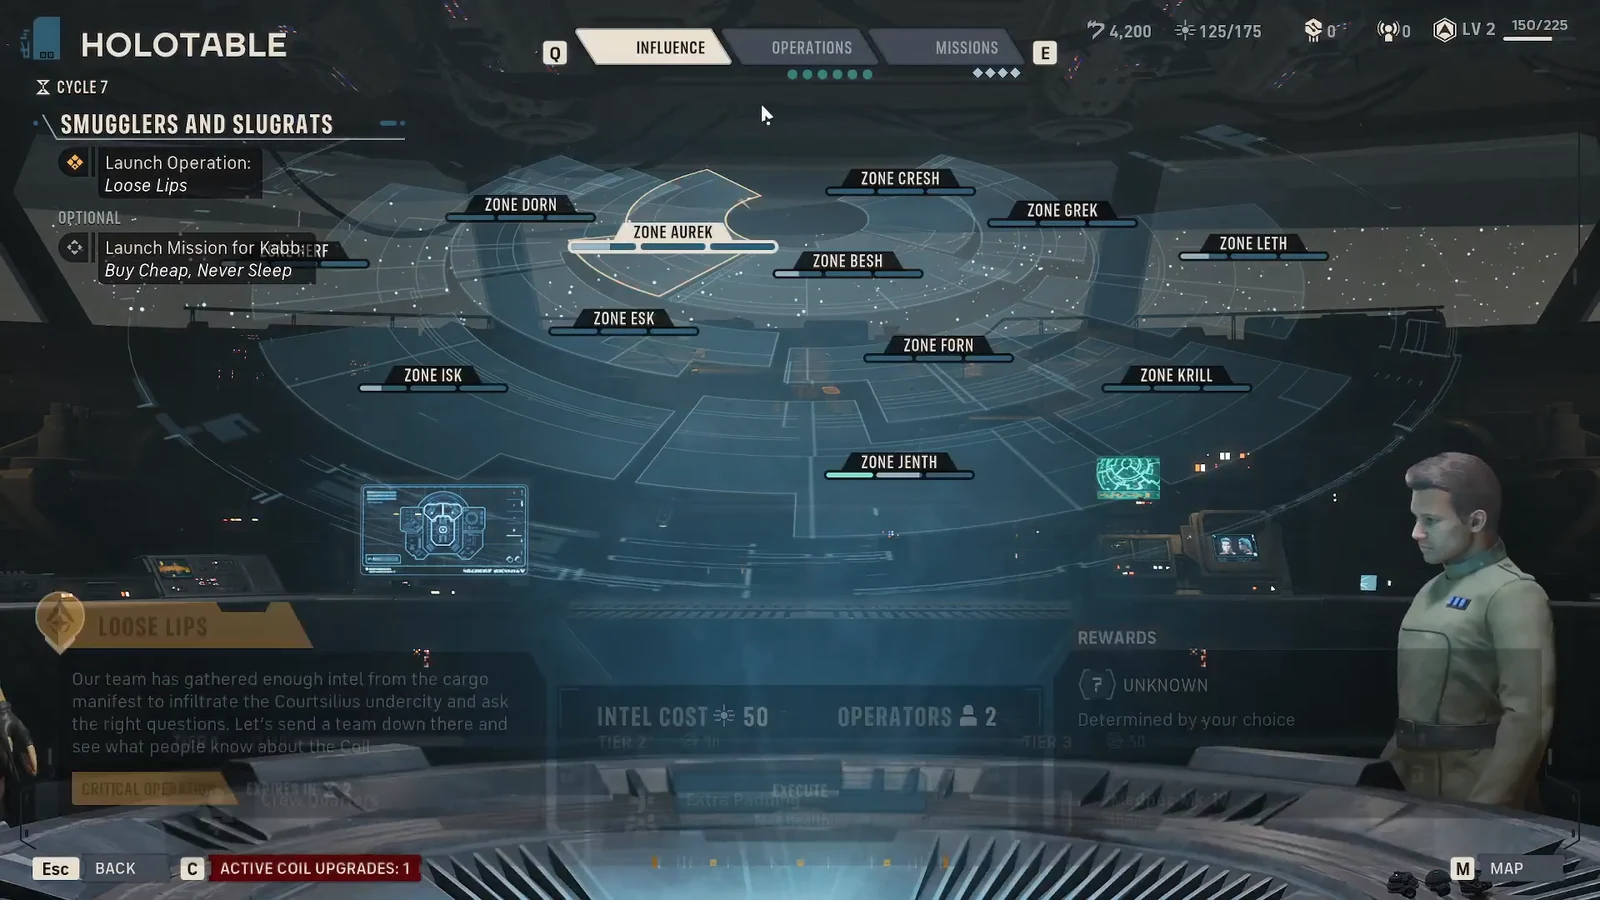
Note: Influence tiers are earned through the Operations you run between missions, and Operations cost Intel. If you are short on capacity right now, the Upgrade terminal is the quicker fix.
How to confirm the roster cap went up
Open the recruitment terminal behind the Holotable. Your current Operator count and the maximum are displayed at the top of that page, so the number on the right should tick up by one for every Crew Quarters purchase or Influence reward you claimed. If it has not moved, the upgrade did not go through and the tier is still available to buy.
Once there is space, hiring works as normal. Recruits cost Credits, and that price climbs with every Operator you take on. New hires arrive with some Focus Points already banked so they are not hopelessly behind your veterans, though their Bonds start from zero.
What to do when the roster is full
If every Crew Quarters tier is bought and both Influence rewards are claimed, the only way to make room is to clear a seat. Fire an Operator from the terminal on the right side of the recruitment area, and the slot frees up immediately. A permadeath also opens a slot, which is a grim but real part of roster management given that three accumulated Injuries kill an Operator on standard difficulty.
Keep in mind that Authored Operators occupy roster seats the same way custom recruits do. A large roster is really about depth and injury cover rather than raw firepower, since you are still only fielding four bodies per mission. Twenty Operators on the books is twenty people to rotate, heal and bond with, not twenty guns on the map.