Ruins of Nochte Walkthrough: All Secrets and Dungeons in Mortal Shell 2
A complete route through the Ruins of Nochte, covering both beacons, three dungeons, and every notable item.
A complete route through the Ruins of Nochte, covering both beacons, three dungeons, and every notable item.
by Reyaan Verma
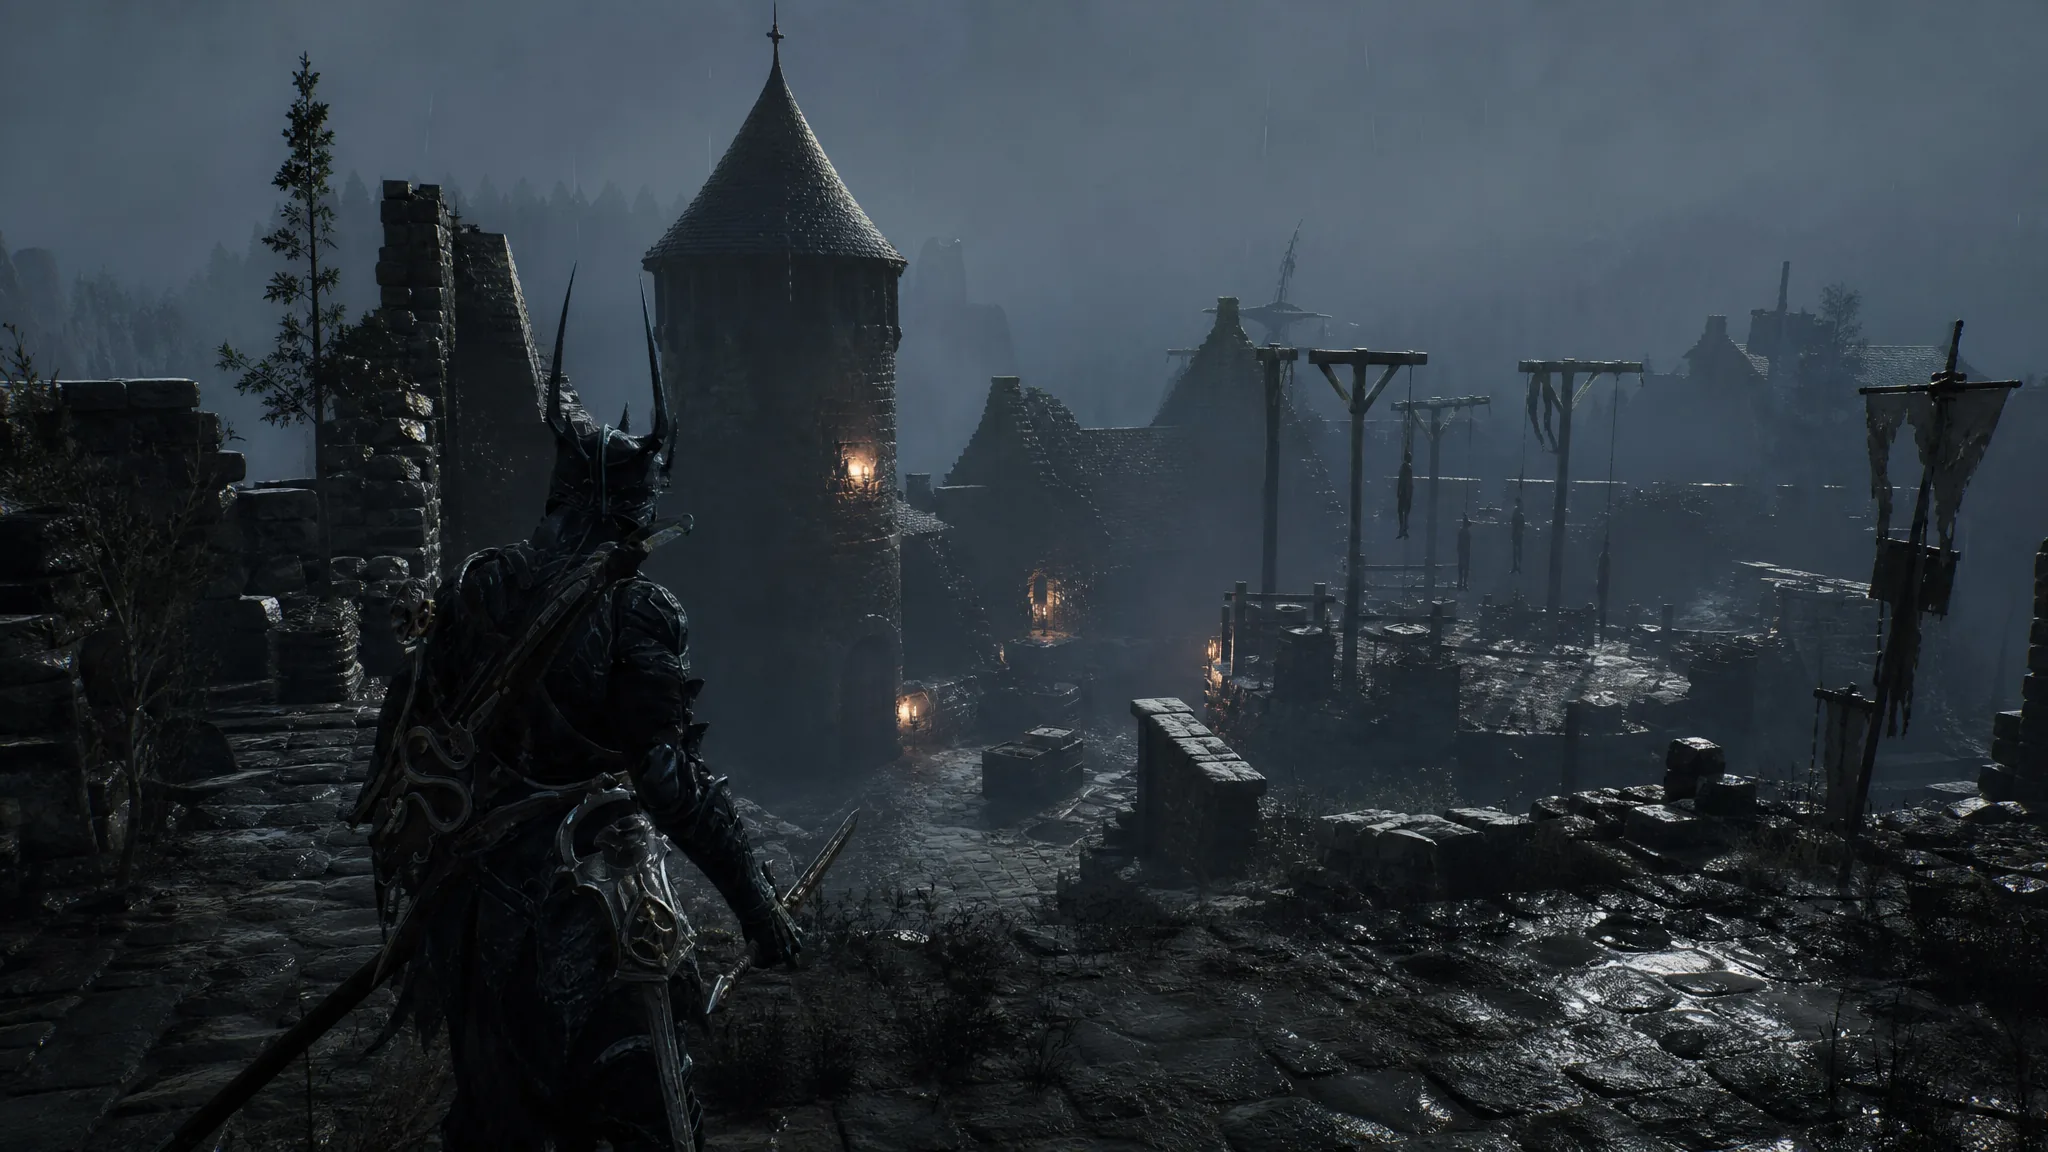
The Ruins of Nochte is the southern region of the island of Nochte in Mortal Shell 2, and it stands between you and the Nochtean Gate that opens the path to the Prisoner’s Domain. The area holds two beacons, several dungeons, a new Shell, and the boss Vrago, Solikar Champion. Clearing it fully means cleansing the Nochtean Gate, finishing the Ravaged Tomb and Thieves Retreat, and collecting the Duality Stone, Voltaic Crown, and Revered Gland along the way.
Quick answer: Enter Nochte through the right-most Bone Gate south of Desolate Peak, cleanse the Nochtean Gate Beacon (Abandoned Shrine) by beating Vrago to earn the Voltaic Crown, clear the Ravaged Tomb for the Duality Stone, and finish the Thieves Retreat for the Revered Gland. The elevator by the Nochtean Gate then leads into the Prisoner’s Domain.
What you get in the Ruins of Nochte
Before running the route, here is what the region contains and where each reward sits. Use it as a checklist for a full clear.
Reward
Location
Effect
Voltaic Crown
Abandoned Shrine, after beating Vrago
Infuses weapons with lightning
Duality Stone
Ravaged Tomb altar
Level 1 tarstone that strikes twice in light attack combos; strong for dual-wield weapons like the axatana
Revered Gland
End of the Thieves Retreat platforming
Increases your ability to see Mether’s Pulse
Smert (Shell)
Prophet’s Rest ritual area
Time-halting Fight Stance that builds Chaos into a status effect
Laterite
Hanging structure near the Corrupted Gate
Upgrade material
The two beacons are the Outskirts of Nochte and the Nochtean Gate. Dungeons in the region include the Ravaged Tomb, Thieves Retreat, Waterfall Camp, and the Abandoned Shrine, which sits inside the Nochtean Gate Beacon itself.
From Desolate Peak, cross the bridge beyond Baghead to the Bone Gate on the south side. This Bone Gate connects to two destinations; look toward the right-most one to travel into the Ruins of Nochte.
After passing through, kill the Brigands and Stoners who attack you and loot the Ventrium from their camp. Take the right-hand path rather than the bridge, which leads into the main fort you will save for last.
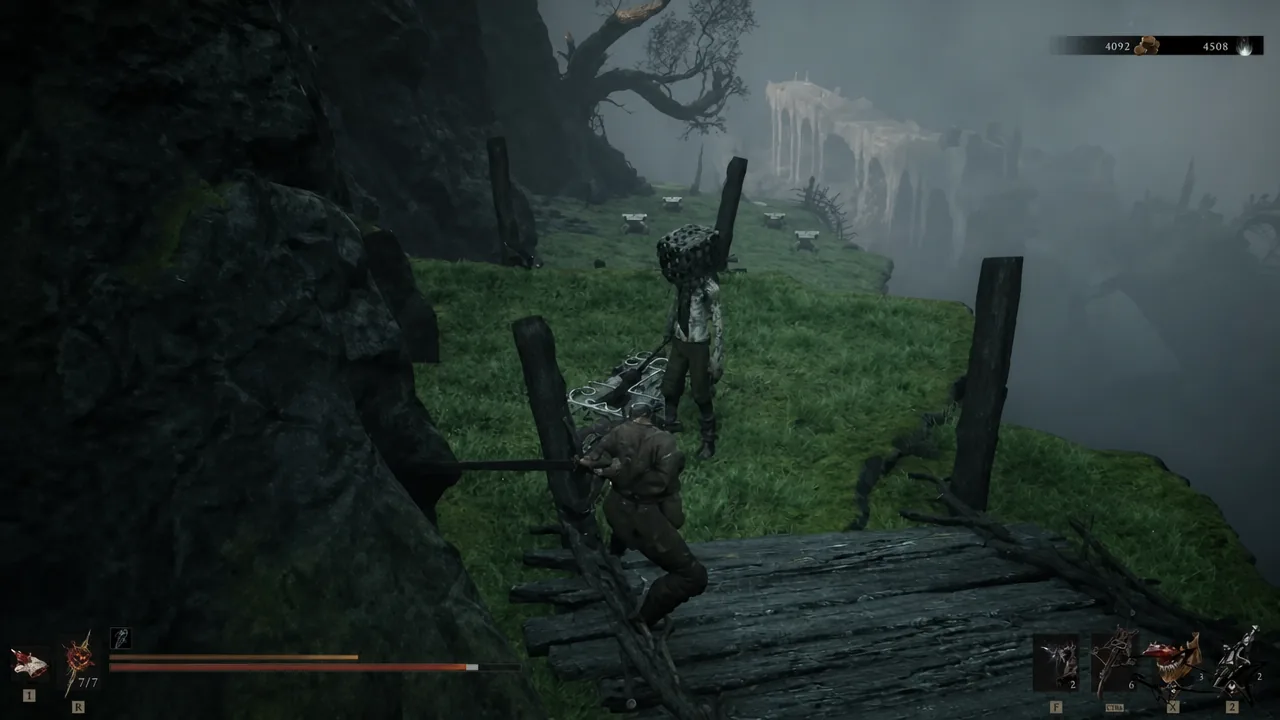
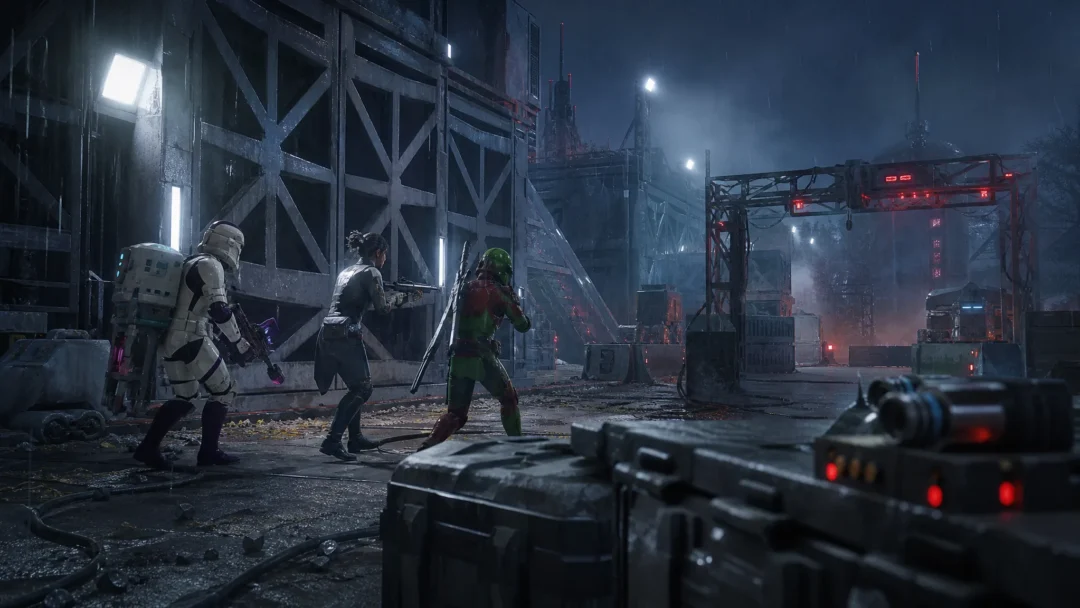
Early combat on the cliffside path after entering the Ruins of Nochte. Image: Cold Symmetry
Work down the winding slope, then round the rock to reach Prophet’s Rest, a ritual area guarded by several groups of Cultists including a Faceless Clerik. Three rings on the ground must be filled with blood. Kill enemies on or near each ring to fill them, or interact with a ring to fill it with your own blood, which instantly drops your current health to zero.
With every enemy dead and all three rings filled, approach the center to find a new Shell. Interact with it to unlock Smert and enter the Memory “The Convert.” Attack the Hierarch when prompted to finish the Memory and gain the Shell.
Head down the slope into the water on the opposite side of Prophet’s Rest. Ignore the Skulks and Rootbound Lurks ahead, turn left, and pass through the archways to reach the Outskirts of Nochte Beacon.
Note: Smert’s Fight Stance halts time and pummels enemies to build Chaos, which converts into a random status effect once time resumes. It costs a large chunk of health, so use it when you can get real value from a single activation.
The Infested Den sits inside the Outskirts of Nochte Beacon and is packed with Skulks. As you leave the elevator, watch for an ambushing Skulk on the left, then strike the wall directly behind the ground campfire to dispel it.
Clear the first room, head around the back-left past another Skulk, and climb the wooden stairs. On the upper platform, kill three more Skulks, then shoot the vertical wooden surface across the gap to drop it into a bridge.
Cross and clear the next Skulks, grab the 500x Coin Pouch, and break the Bone Statue for a Laterite. Ride the air current to a higher ledge, defeat the Skulks, and open the chest for the Hag Stone, a tarstone that infuses your Forgotten Crossbow with Poison.
Push through the cave to the final room. Thin out the Skulks with your Sidearm from above, drop down to kill the Leechtongue, then cleanse the corruption at the far side for a Glimpse and an Ovum.
Back outside, take the archways opposite your entry point, deal with the Rootbound Lurk and two Lithopods, then take the right-hand slope up to Ruk. He hands over the Map of Fainweald, which reveals the whole Ruins of Nochte on your map.
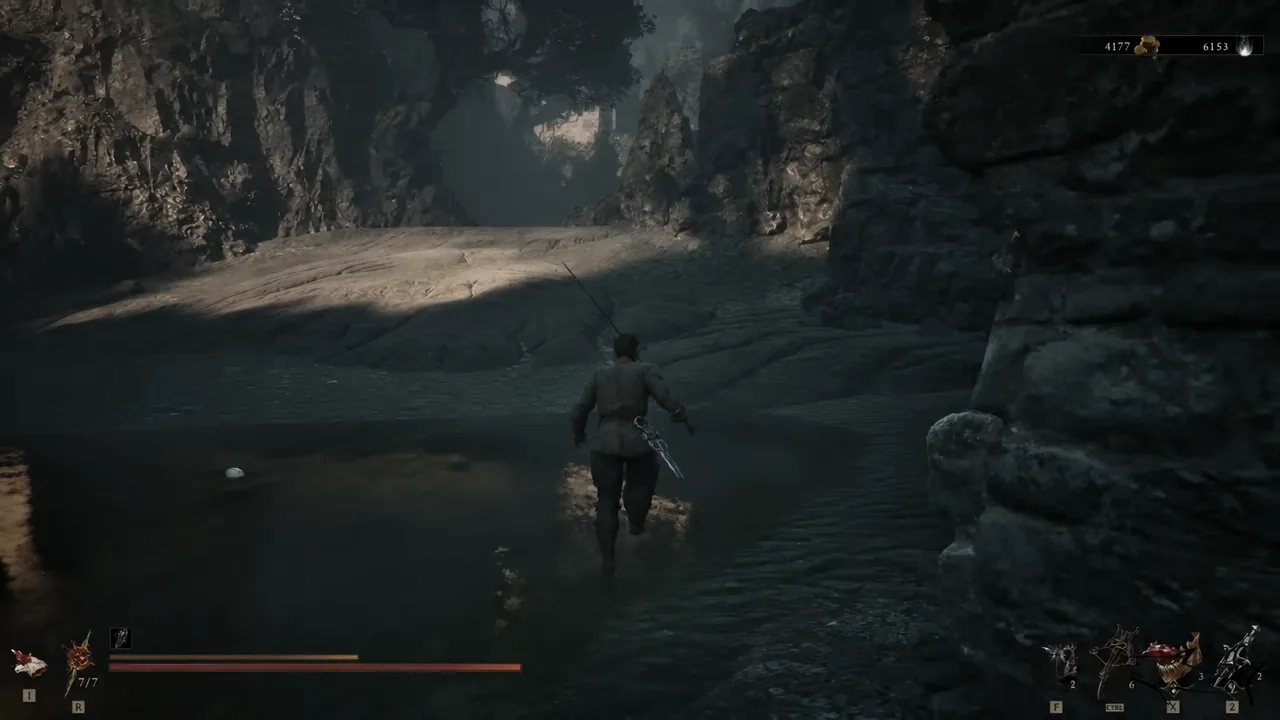
Moving through the interior passages on the way toward the Nochtean Gate. Image: Cold Symmetry
Cross the Hag’s Path
The Hag’s Path is a central swamp thick with enemies and Tarspores. Most of the middle holds little of value, so hug the edges to hit only the worthwhile spots.
Backtrack from Ruk and take the left-hand path. Kill the six sleeping Lithopods around a Bone Statue at the cliff edge and loot it for a Laterite, then continue past a couple more Lithopods and a Rootbound Lurk into the Hag’s Path.
Entering the swamp, kill three Skulks and a Tarred Vestige, then hug the left wall to a clearing with ritual totems and a Wortbinder Witch. Skip the Witch at first, go left through the archway, and kill the three Frog Cultists on the slope.
Return to the ritual circle and kill the Witch. A Tarred Vestige spawns in the center on her death, so finish it off too. Loot the Ventrium from the statue near the archway, then follow the upper walkway to its end for another Laterite.
Cross the river to the far side, where two Batushka and a Cannibal Knight patrol and two Rootbound Lurks unburrow as you pass. Clear them and loot the Bone Statue on your left for another Laterite.
Follow the path beside the giant rock, grab the 150x Coin Pouch from the cart, and continue to the clearing with gnarled trees. The collapsed castle to the north here holds a Synaptic Vessel tied to Mether’s Pulse. From there, take the last right-hand turn toward the village and the Disciple’s Stash.
Fast travel to Widow’s Overlook and enter Nochte from the east side using the rock bridges. This drops you near the swamp that holds the Waterfall Camp dungeon, which contains a Coin of Mammon and a Ventrium.
Push toward the weathered barracks full of Knight enemies and a chest with 750 Gold. You can unlock the cages there to release distractions that help you get to the Bone Gate area. Lower the nearby bridge to open an extra path for later.
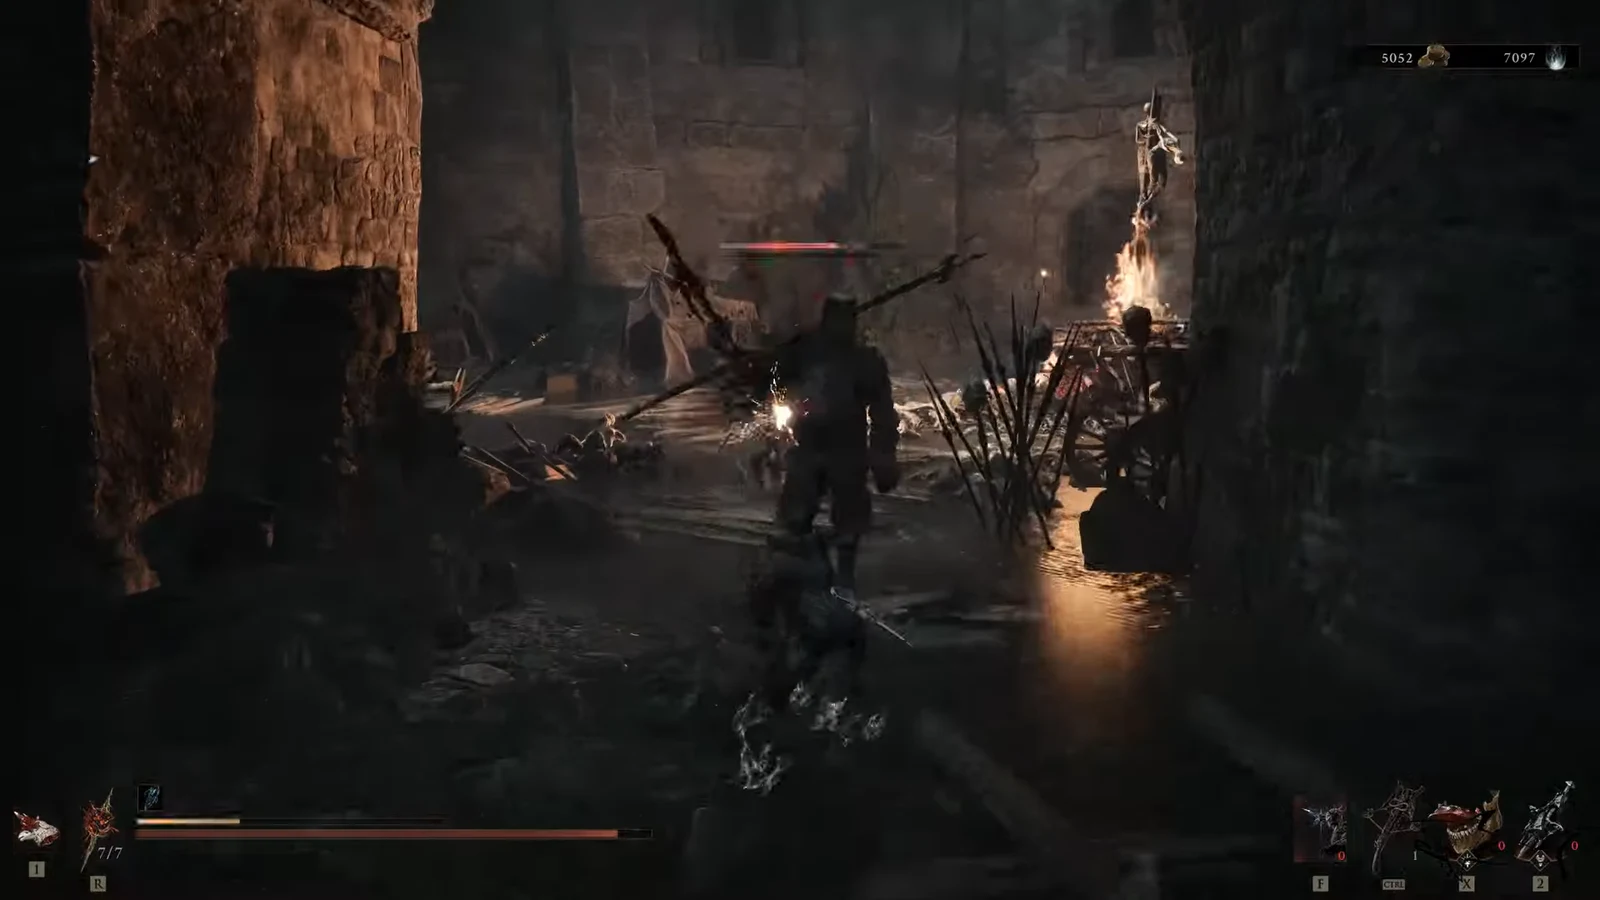
Clearing enemies on the way to the gate and elevator that reach the Nochtean Gate Beacon. Image: Cold Symmetry
Defeat the Brigands ahead and keep going until you reach the Nochtean Gate Beacon, which houses the Abandoned Shrine. Rest here to set your respawn point before tackling the dungeons.
Ravaged Tomb and the Duality Stone
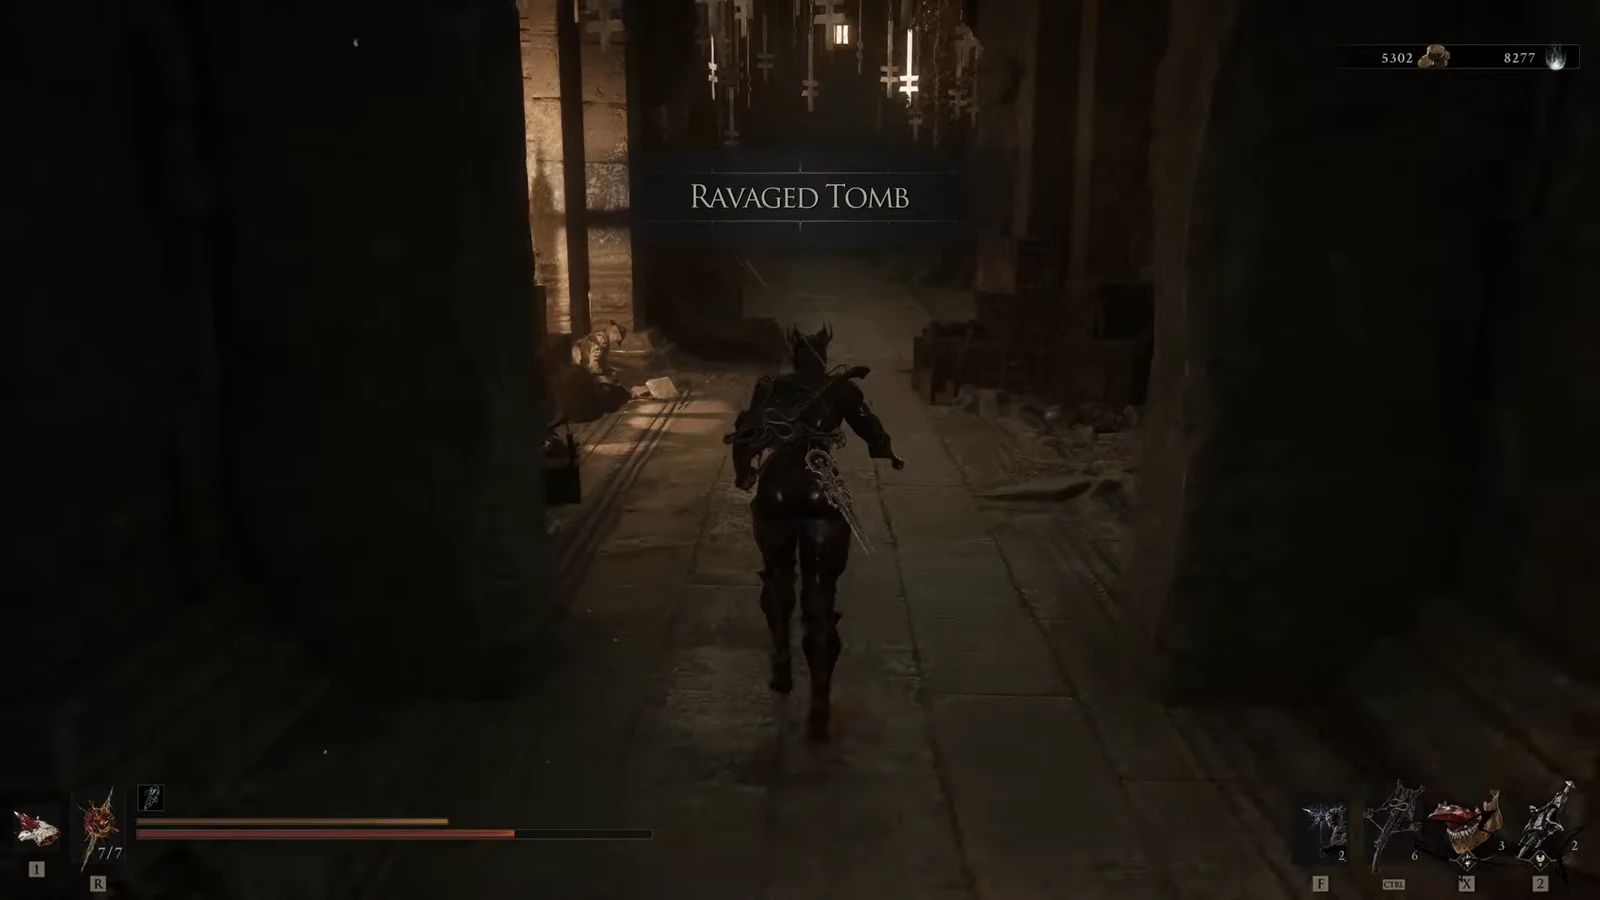
The Ravaged Tomb sits close to the Nochtean Gate. Take the elevator down from the beacon and open the gate to enter.
Entering the Ravaged Tomb dungeon below the Nochtean Gate. Image: Cold Symmetry
Fight through the enemies inside, then solve the gate puzzle. Hit the wall button and smash the stone pillar so it aligns, which unlocks the gate ahead.
Proceed through and collect the Duality Stone from the altar. This level 1 tarstone strikes twice during light attack combos, which pairs well with dual-wield weapons such as the axatana.
Drop down from the altar area to trigger the fight against Vrago, Solikar Champion in the Abandoned Shrine. The Shrike Stone, a level 3 tarstone, is a strong pick here because it enables high-damage plunge attacks that deal splash damage. Beating Vrago awards the Voltaic Crown, which infuses weapons with lightning.
Cleanse the Nochtean Gate Beacon by placing three Ova eggs from the altar behind it. This opens the Corrupted Gate. You will know it worked when the beacon is cleansed and the gate can be opened.
The Laterite chest outside the Corrupted Gate
A hidden chest hangs from a wooden structure just outside the gate. Aim your crossbow at the ropes holding it and shoot them to drop the cage, then collect the Laterite that falls out.
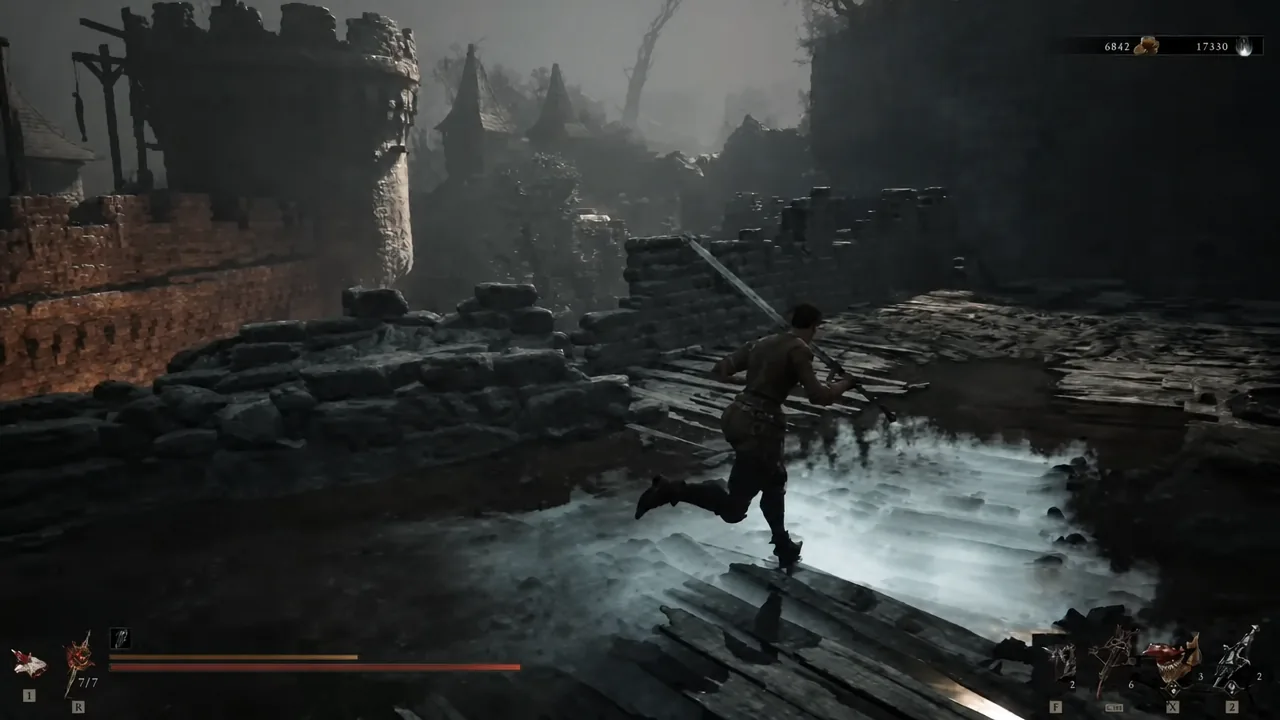
Crossing the fort rooftops near the hanging crossbow puzzle. Image: Cold Symmetry
Thieves Retreat and the Revered Gland
The Thieves Retreat sits north of the Nochtean Gate, inside the small destroyed castle. It rewards upgrade materials and the Revered Gland.
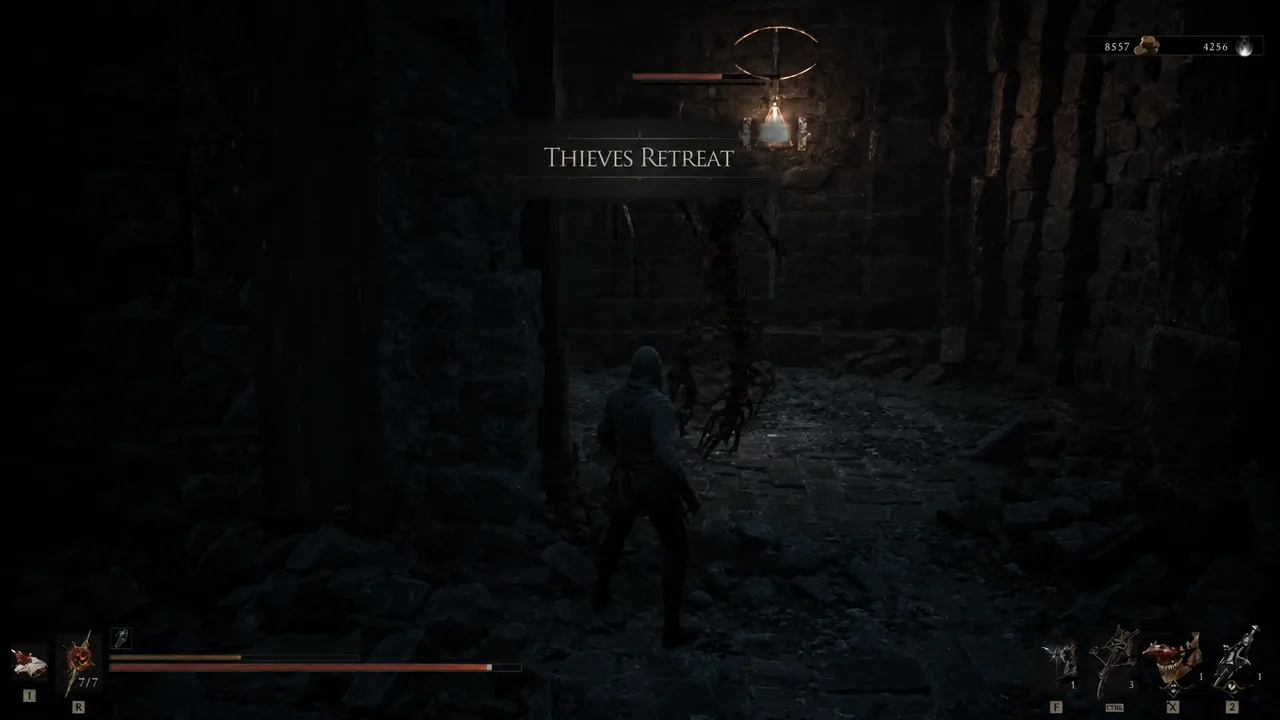
Entering the Thieves Retreat dungeon in the ruined castle. Image: Cold Symmetry
Return to the beacon and enter the Thieves Retreat. Inside, you face a platforming section across floating stone platforms while spectral enemies attack.
Exit the dungeon and return to the beacon. Drop down the bridge you lowered earlier, head to the gate you already opened to reach the lift, and ride it to move on into the Prisoner’s Domain.
With the Nochtean Gate cleansed and its Ovum claimed, Fainweald is effectively finished, and the region’s three dungeons plus Smert are all accounted for. From the elevator by the Nochtean Gate, the Prisoner’s Domain is your next stop, and cleansing this gate counts toward the six Corrupted Gates needed to open the Unfound Path back at Marrow Keep.