The Archives is a subfloor in DOORS that replaces The Rooms, sitting below the main Hotel route as a separate path you enter from the Lobby elevator. It runs across lettered sectors, each a stretch of 50 doors, for a possible total of 1,300 doors. You do not have to open every door, because sectors can be skipped with Gold, and safe boundary areas between sectors let you heal, loot, and decide whether to keep going.
Quick answer: Enter The Archives from the Lobby elevator, clear each 50-door sector or pay Gold to skip it (first skip costs 100 Gold, rising after that), heal at safe boundaries before each elevator, and finish at Z-50 or take an Emergency Exit if your health is too low to continue.
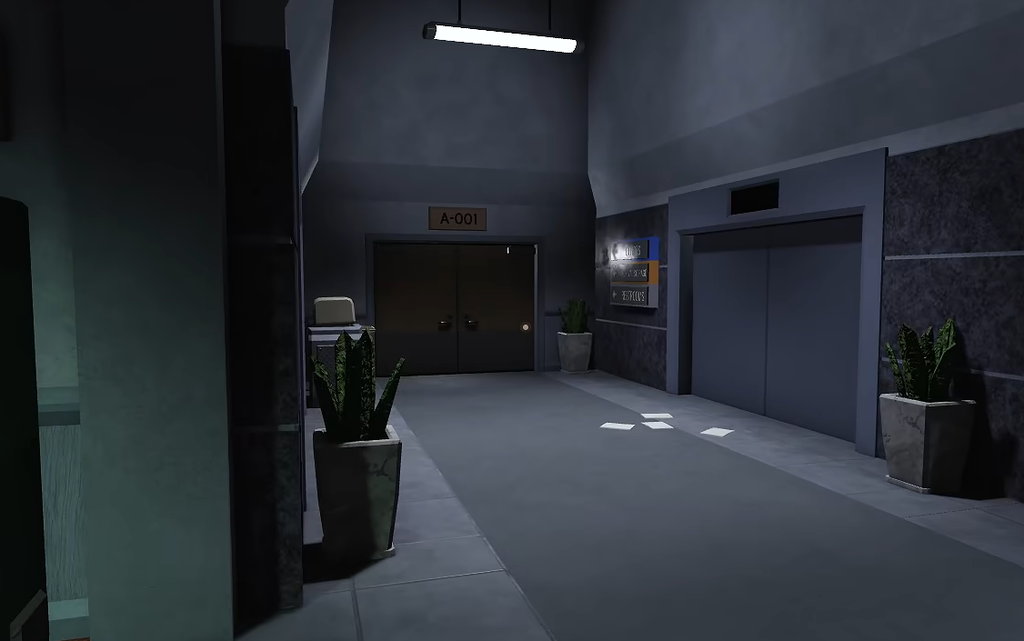
How to enter The Archives
The Archives is a free subfloor once you have discovered it. You do not spend Gold to enter, so keep your coins for skips and other route decisions inside the run.
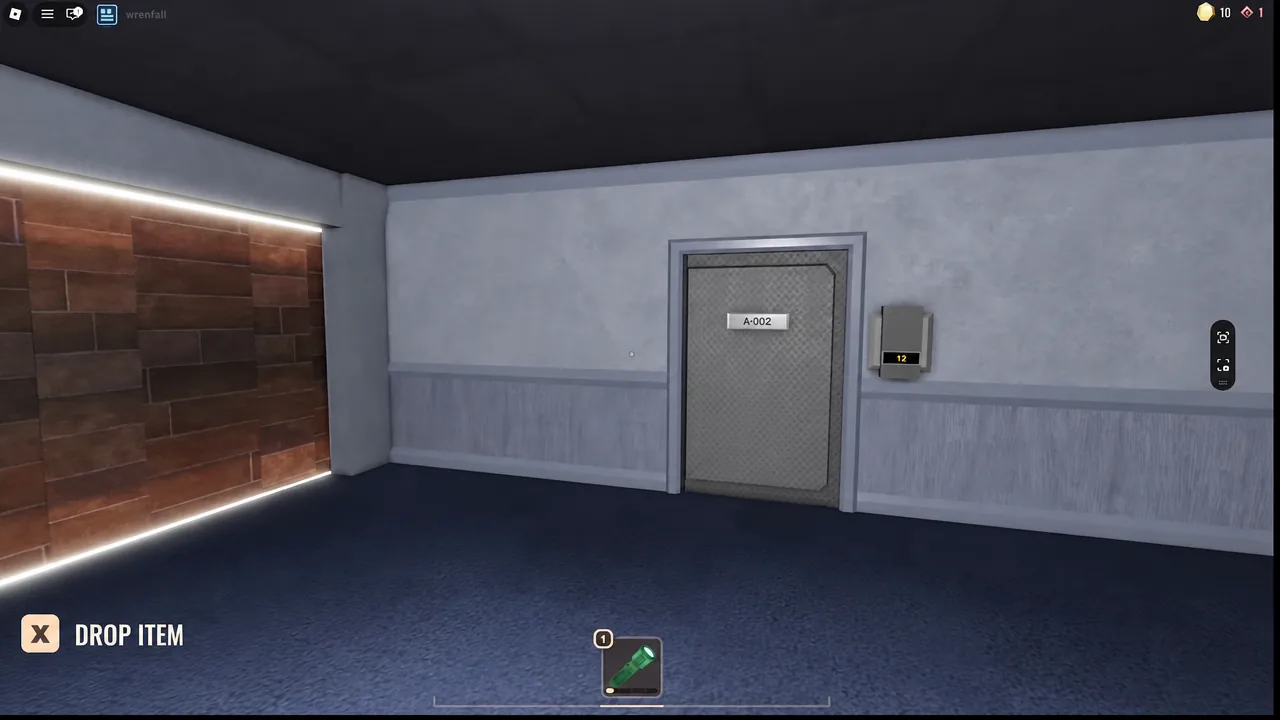
Entering for the first time awards the “FORGOTTEN MEMORIES” achievement. The first door of the run is A-000, and Section A is the tame opening stretch where you mostly meet Drones and Bash.
Sector structure, skips, and Gold
Each lettered sector is 50 doors long. At the end of every 50-door stretch, you reach a safe boundary area with an elevator to the next sector. Use that space to raise your health, top up on coins, and check your inventory before moving on. The next sector waits for you, so never carry avoidable damage forward.
You do not have to walk through every sector. If you have enough Gold, you can skip one entirely. The first skip costs 100 Gold, and the price climbs with each additional skip, so read the on-screen price before you pay. Spend Gold on a skip when your health or healing items cannot support the next stretch, and keep looting when you can afford to.
Sectors also carry modifiers shown in their descriptions. Ventilation Error, for example, turns many rooms dark. Slow down at each doorway under that modifier and confirm you have a usable hiding place before stepping in.
Pizza Party is the section to grind
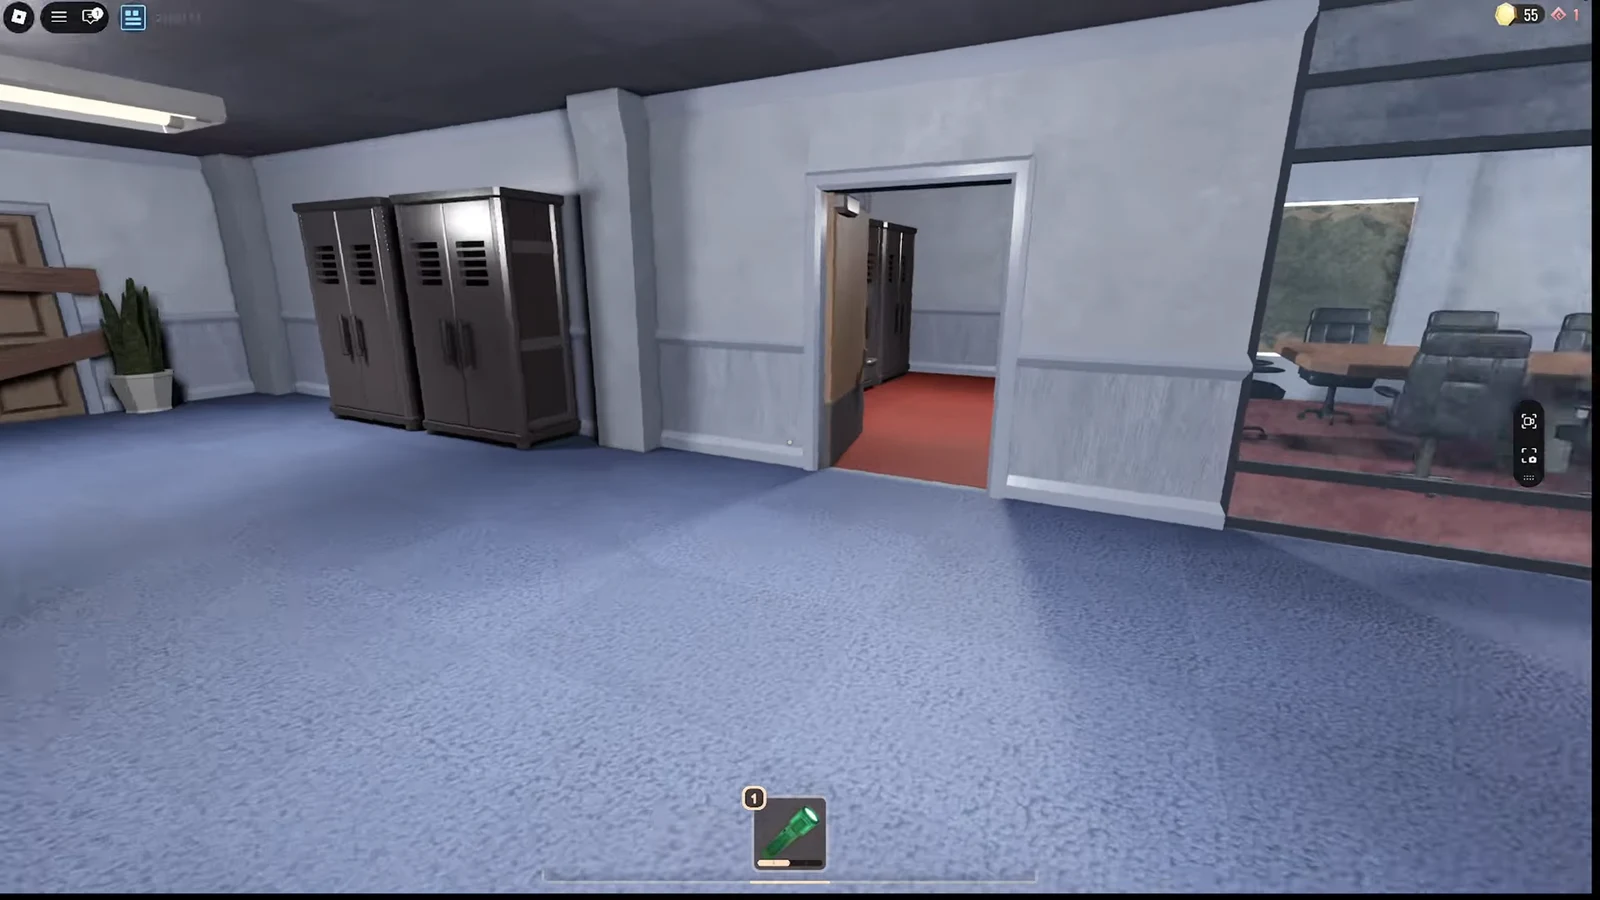
If a Pizza Party section is available, take it and search it fully before leaving. It is loaded with loot and food, which lets you rebuild Gold and stock Pizzas for later sectors. There are many Drones here, but they are easy to avoid, and the supplies are worth the visit. Pizza Party is not guaranteed to appear in every run.
How to heal in The Archives
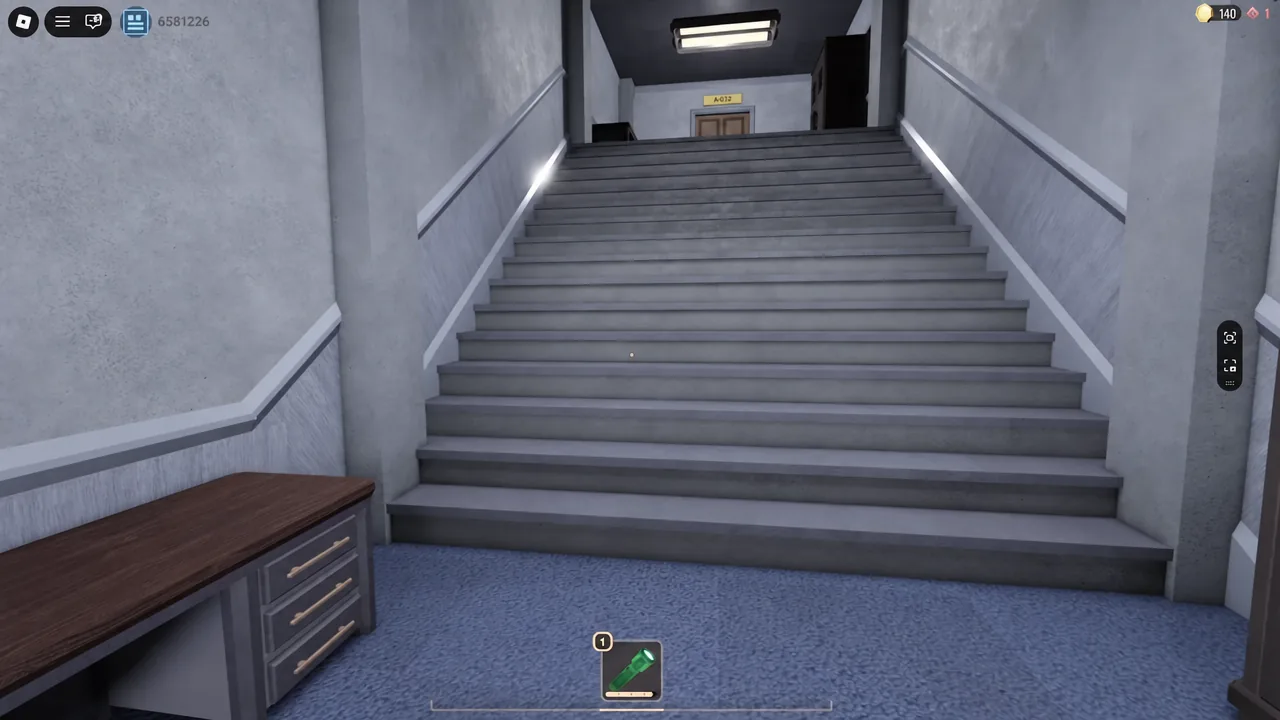
Your inventory holds a maximum of 6 items, so manage healing supplies carefully. Heal at a safe boundary before taking the elevator whenever possible, and keep at least one recovery option ready for the next sector.
| Healing option | How it works |
|---|---|
| Bandages | Found in drawers and on the floor. Small heal, but enough to survive a sudden Drone hit. |
| Pizza | Found lying in rooms. Carry as many as your 6 inventory slots allow. Keep one even at full health, since damage stacks fast. |
| Water Cooler | Slow but useful. Higher risk because wrong tap combinations damage you. |
Water Cooler taps: the safe combination
To use a Water Cooler, first pick up the paper cup from the side. You must pour into the cup twice to drink, and many combinations will hurt you. To regain health, pour from the red tap on the far left and the blue tap on the far right.
Note: The cup takes an extra inventory slot and cannot be dropped once picked up. If you mix a bad combination, your only choice is to drink it, take the damage, and heal again afterward.
Some cupboards are blocked by shelves or file holders that you must remove before you can hide inside. Check that a hiding spot is usable before an entity forces a quick decision.
Every Archives entity and how to handle it
The Archives has its own set of entities spread across the 1,300 rooms. Treat sound, a screen effect, or a room change as your warning, and react to the cue before grabbing anything nearby.
| Entity | How to deal with it |
|---|---|
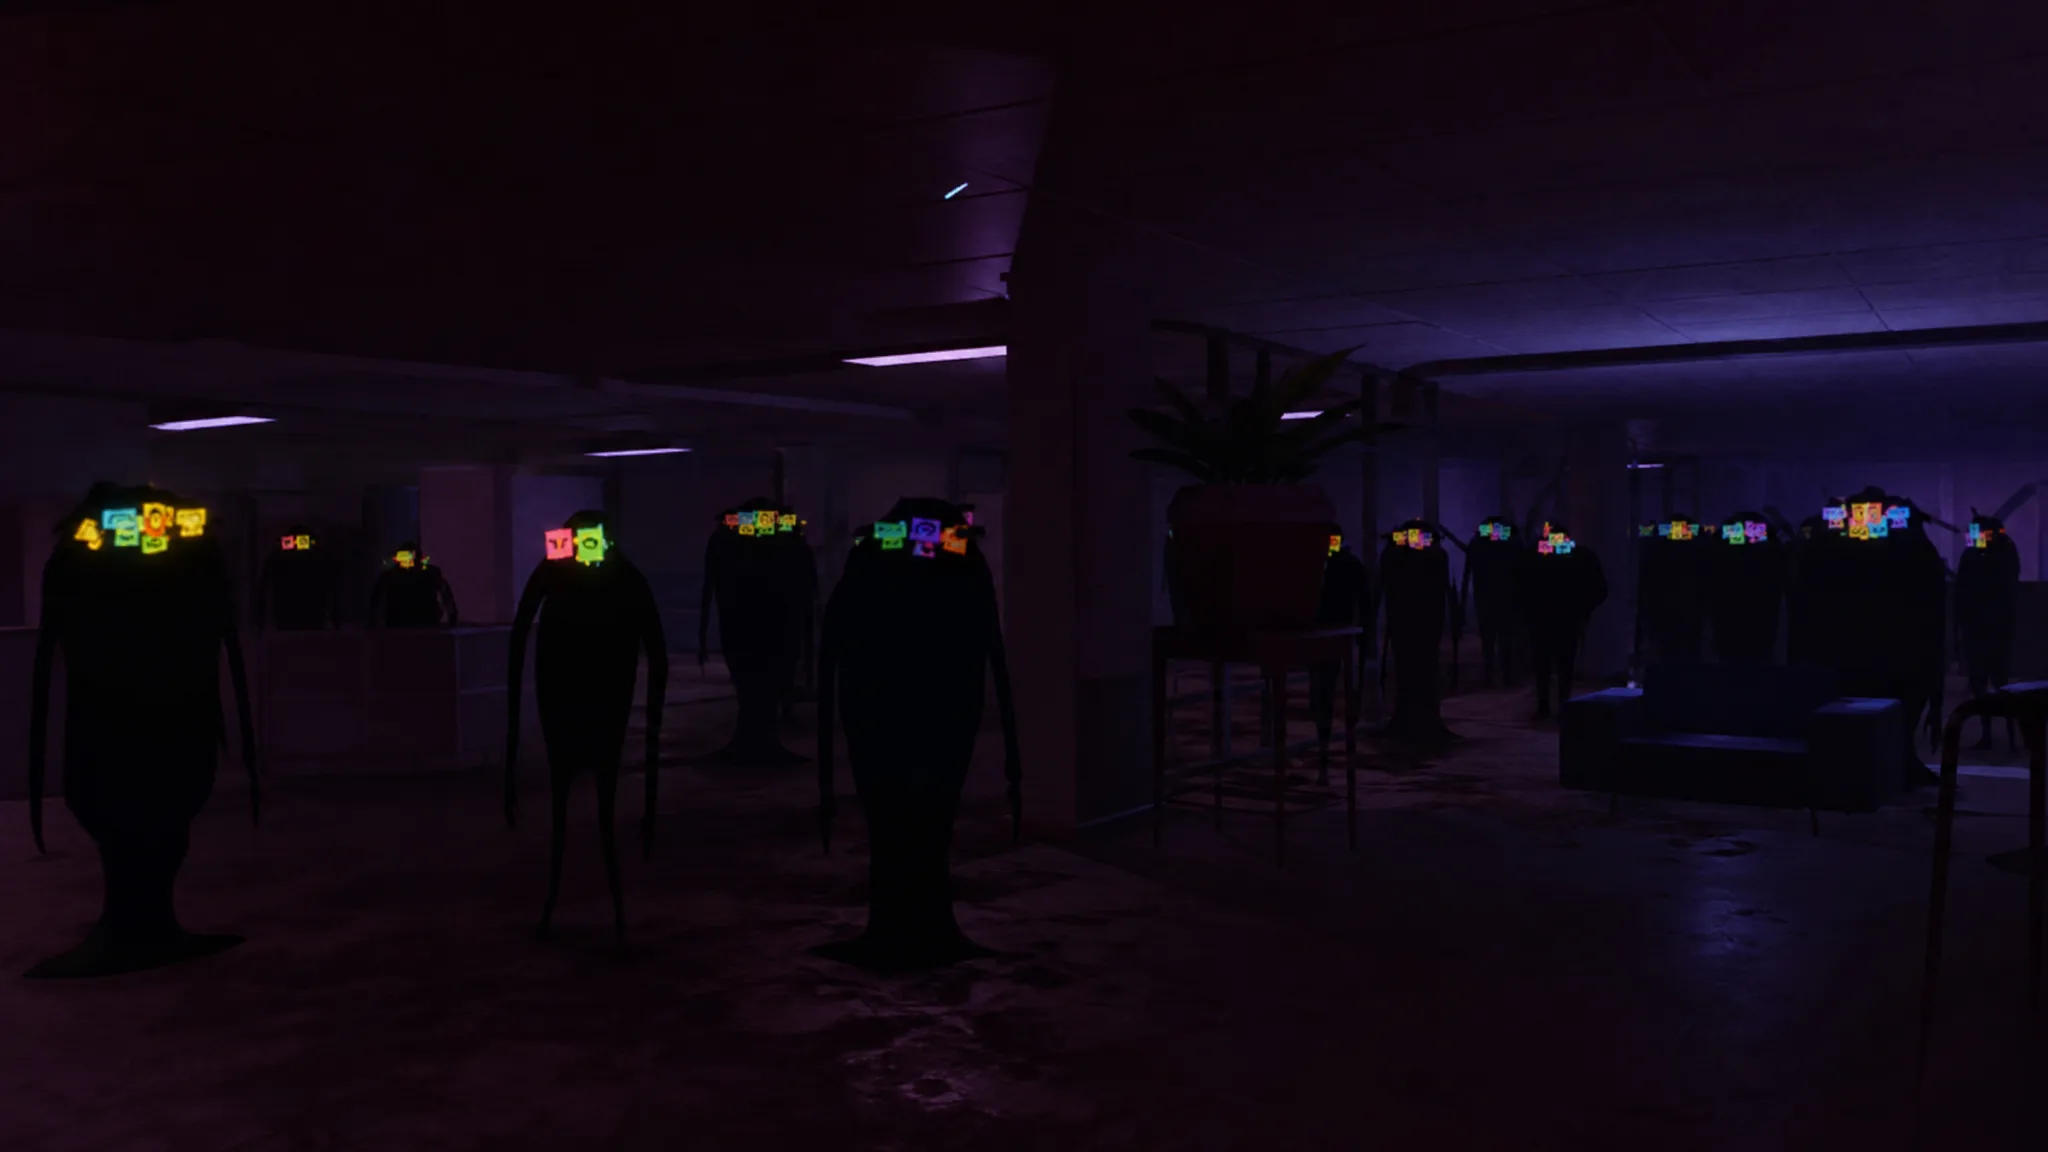
 Drones | Appear and despawn randomly in any room, so watch as you walk. Multiple hits take a big chunk of health. At 9 and 5 on the Clock they stampede, damaging you and knocking off items if you are in their path. Step into a room off the path, a closet, or behind a cubicle away from the door line. |
 Bash | Rushes through rooms like Rush from other floors. Standing in its path deals fire damage over time, so it is not an instant kill. Listen for a loud crackling whoosh and get off the main path, onto an upper floor, into another room, or a closet. |
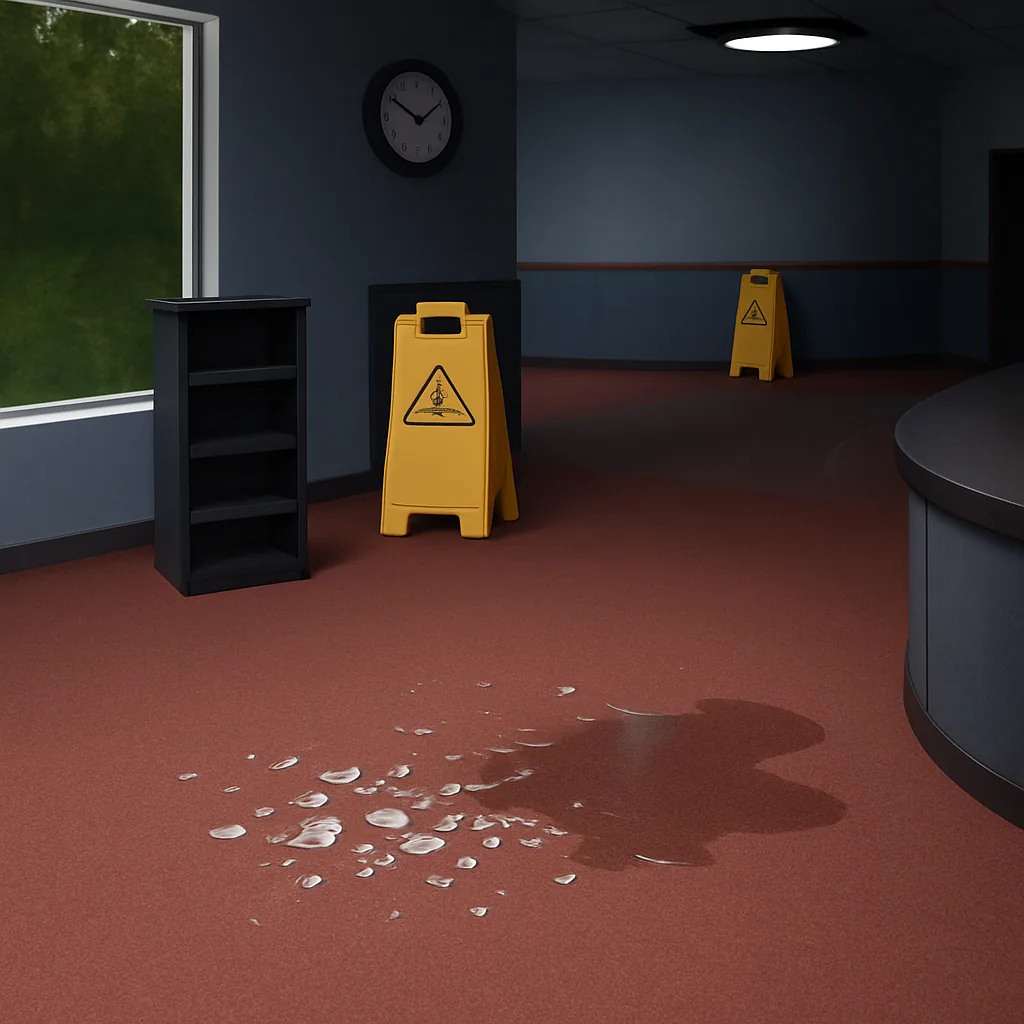 Currents | Puddles on the floor can carry electricity. If you hear crackling or see sparks above a puddle, it will harm you. When it is quiet, cross quickly, since the current returns fast. |
 Scribbles | Covers your screen and starts dealing damage. Get into a closet as fast as you can, because it cannot find you while you hide. |
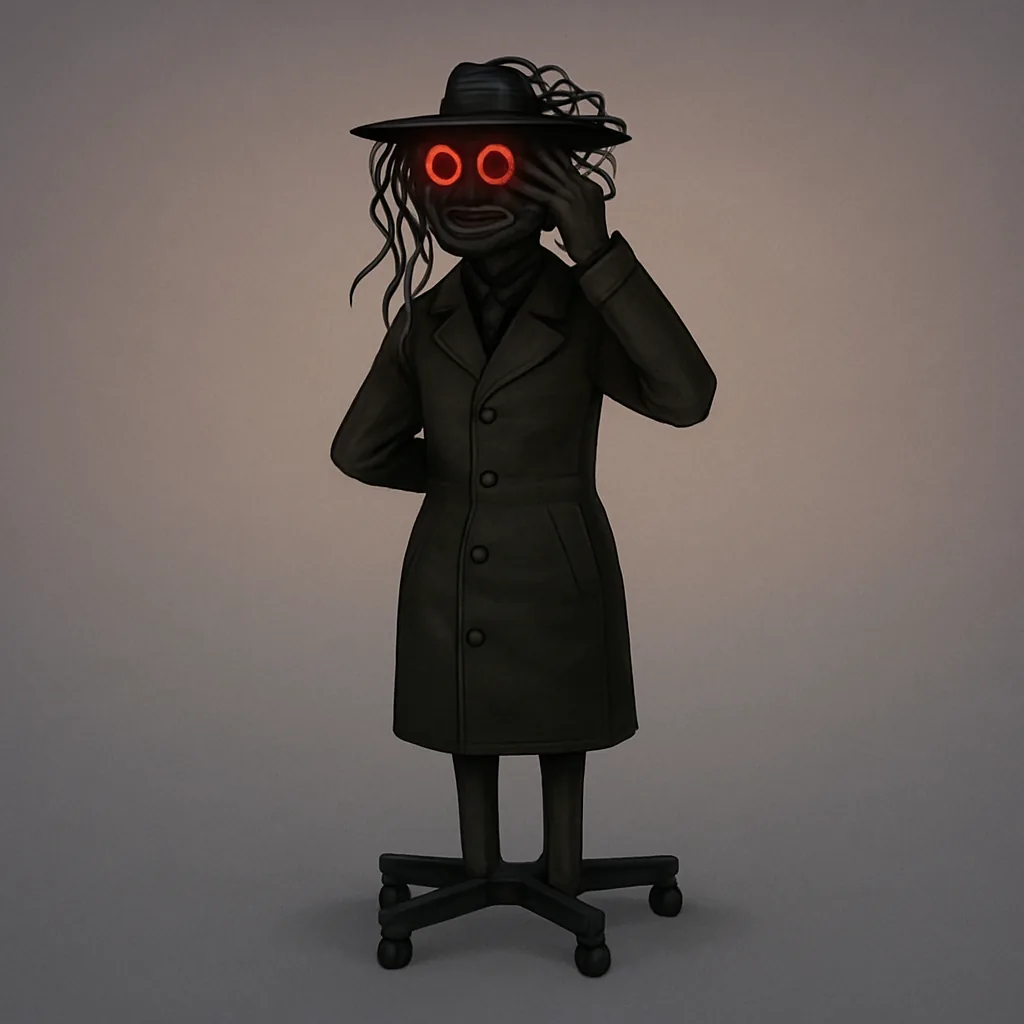 Teller | A long queue line means Teller is blocking the door. Take her ticket to pass. The ticket number is how many doors you may open before returning it. If the number is 4, hand it back after four doors or she attacks. Note that opening a door too closely, or Bash passing through, can make her keep moving. |
 Alma | A crying entity in the middle of rooms in later sectors. Avoid looking at her and you will not trigger her. The triggered minigame currently ends in death regardless of what you do, so avoid it entirely. |
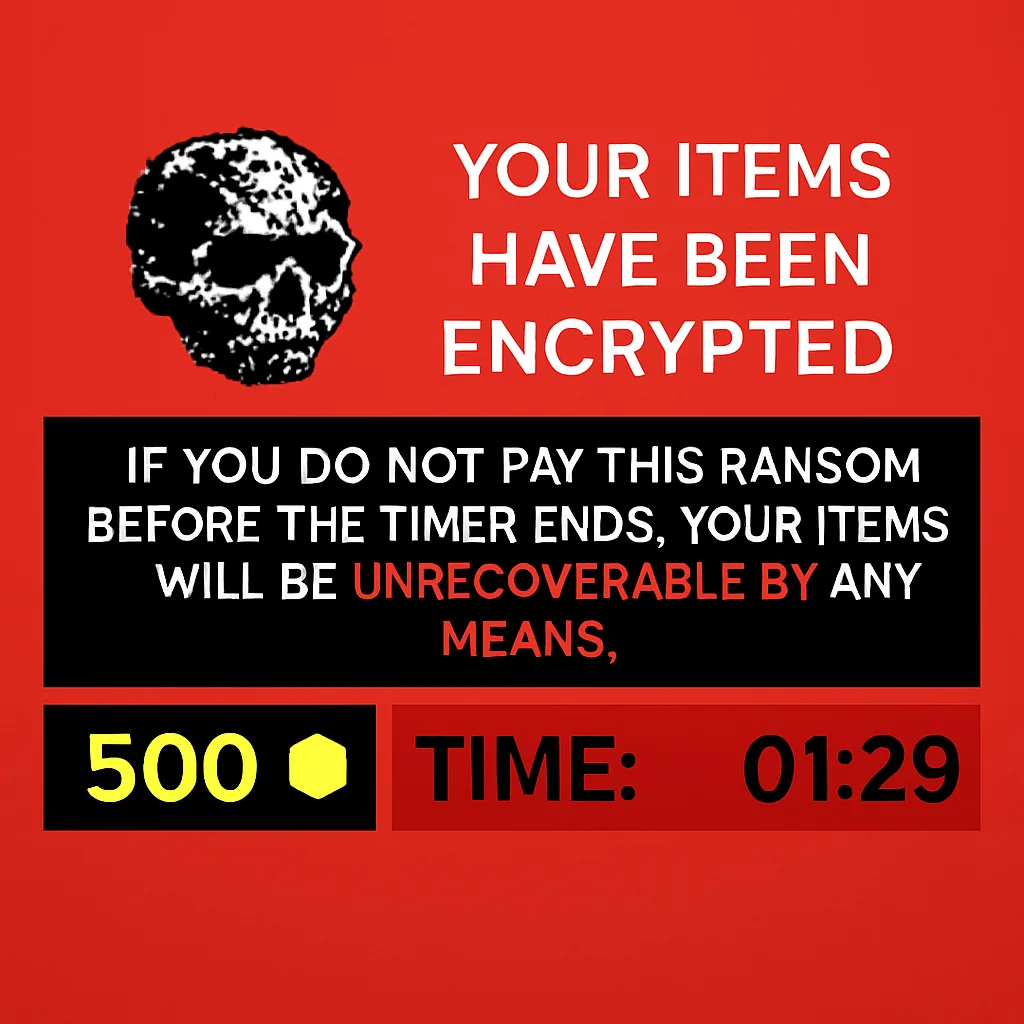 Ransom | Cannot hurt your health, but hacks your screen and inventory. Pay the Gold it demands by opening drawers, closets, and grabbing floor Gold. A pot of Gold clears it faster. |
 Fih | Harmless fish stuck in tanks. Find fish food and feed them to earn the “Fih are Friends” reward. After that, the fish food is useless and you can leave it. |
Forget-Me-Nots: the subway memory puzzle
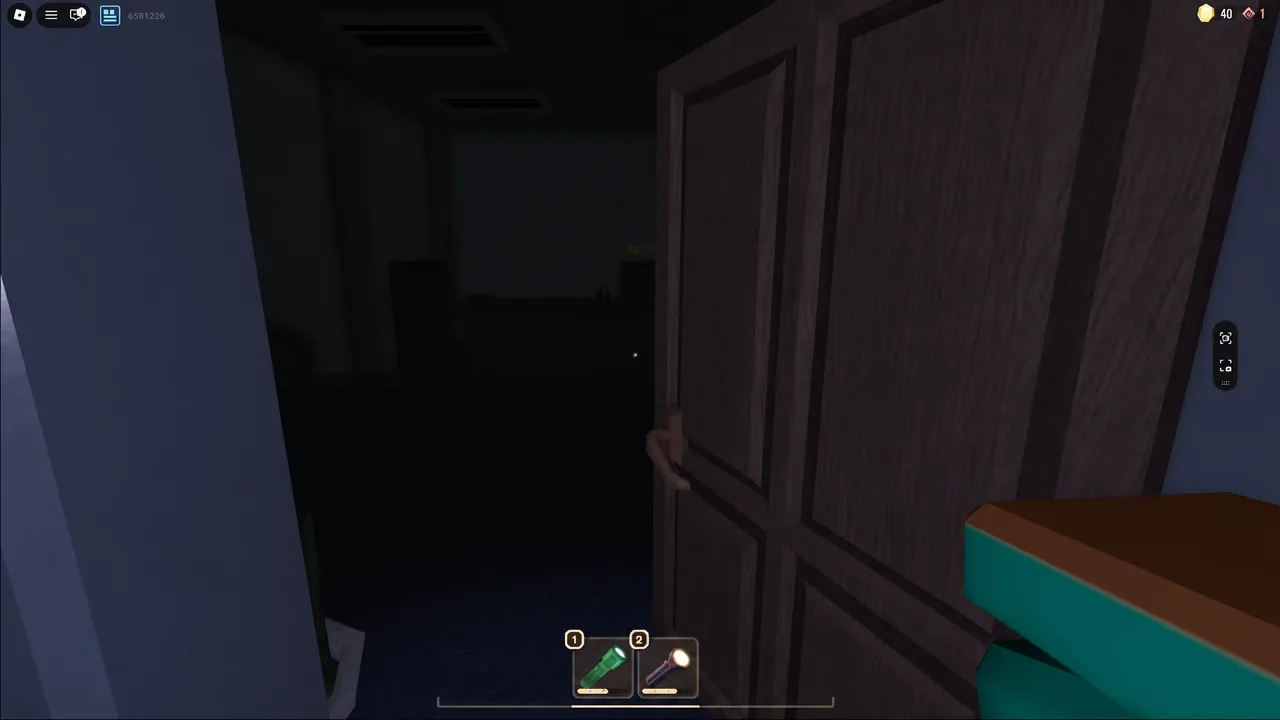
At some point you reach a subway section that triggers a memory minigame in the style of The Exit 8. It has two parts, and the first room you see is your reference point for everything that follows.
Do not decide by door number. Watch for changed colors, a missing wet-floor sign, or any other difference. The room change is the warning, and familiar-looking doorways are good at seeming safe when they are not.
Honcho’s box-sorting chase
When you reach the end of sector J or lower, the elevator to the next sector gets overridden. Taking it drops you into Honcho’s executive office. Walking up to the desk plays a cutscene where Honcho throws you into a pit and then jumps down to chase you.
During the chase, stack the numbered boxes in the correct order while moving through the area. Focus on the box numbers as your objective, not on where Honcho is. Being caught does not automatically end the run. If he grabs you, he throws you through the floor and you resume in the next sector, so get back to the box sequence instead of treating the chase as an instant loss.
Exit Doors and finishing at Z-50
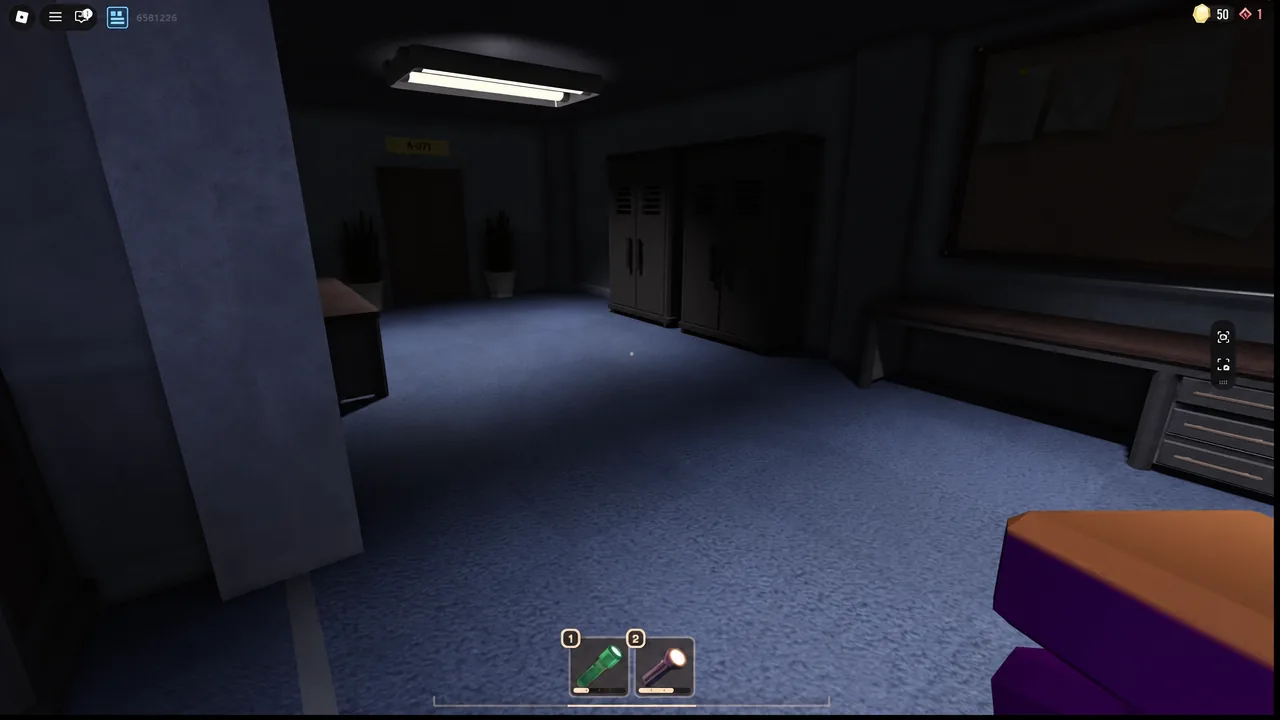
After Section C, every other sector spawns an Exit Door at the end. This lets you leave The Archives at that point and return to the Hotel, saving your progress. Emergency Exits do not follow a fixed pattern, so check the safe area after the opening sectors rather than expecting one every time.
Z-50 is the reliable final destination of The Archives. Take an available Emergency Exit when your health or supplies are too low for the next stretch. If there is no exit, ride the elevator and keep pushing toward Z-50. You know a sector is cleared when you reach its safe boundary area and the elevator to the next sector becomes available.
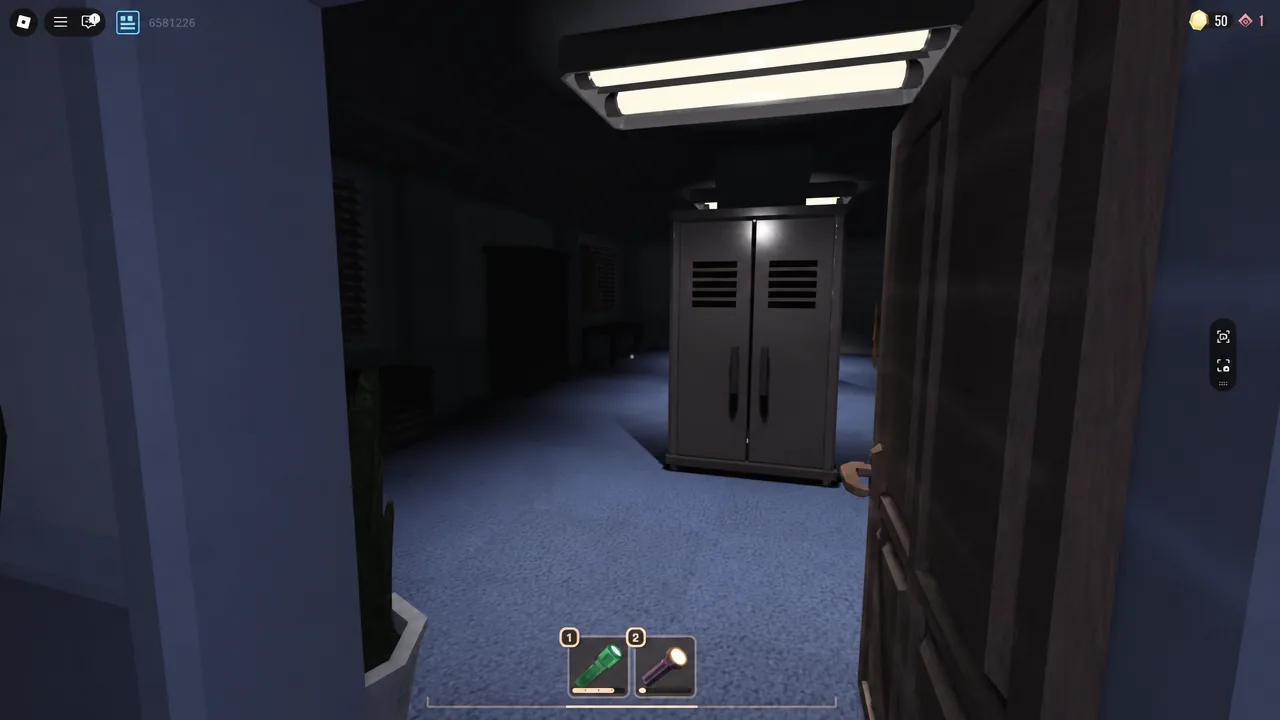
Gather Gold steadily, treat each boundary as a reset point, and keep one healing item in reserve. With skips to cut the worst sectors and a safe tap combination for the Water Cooler, the run from Section A to Z-50 comes down to reading each entity’s cue and hiding before it reaches you.