

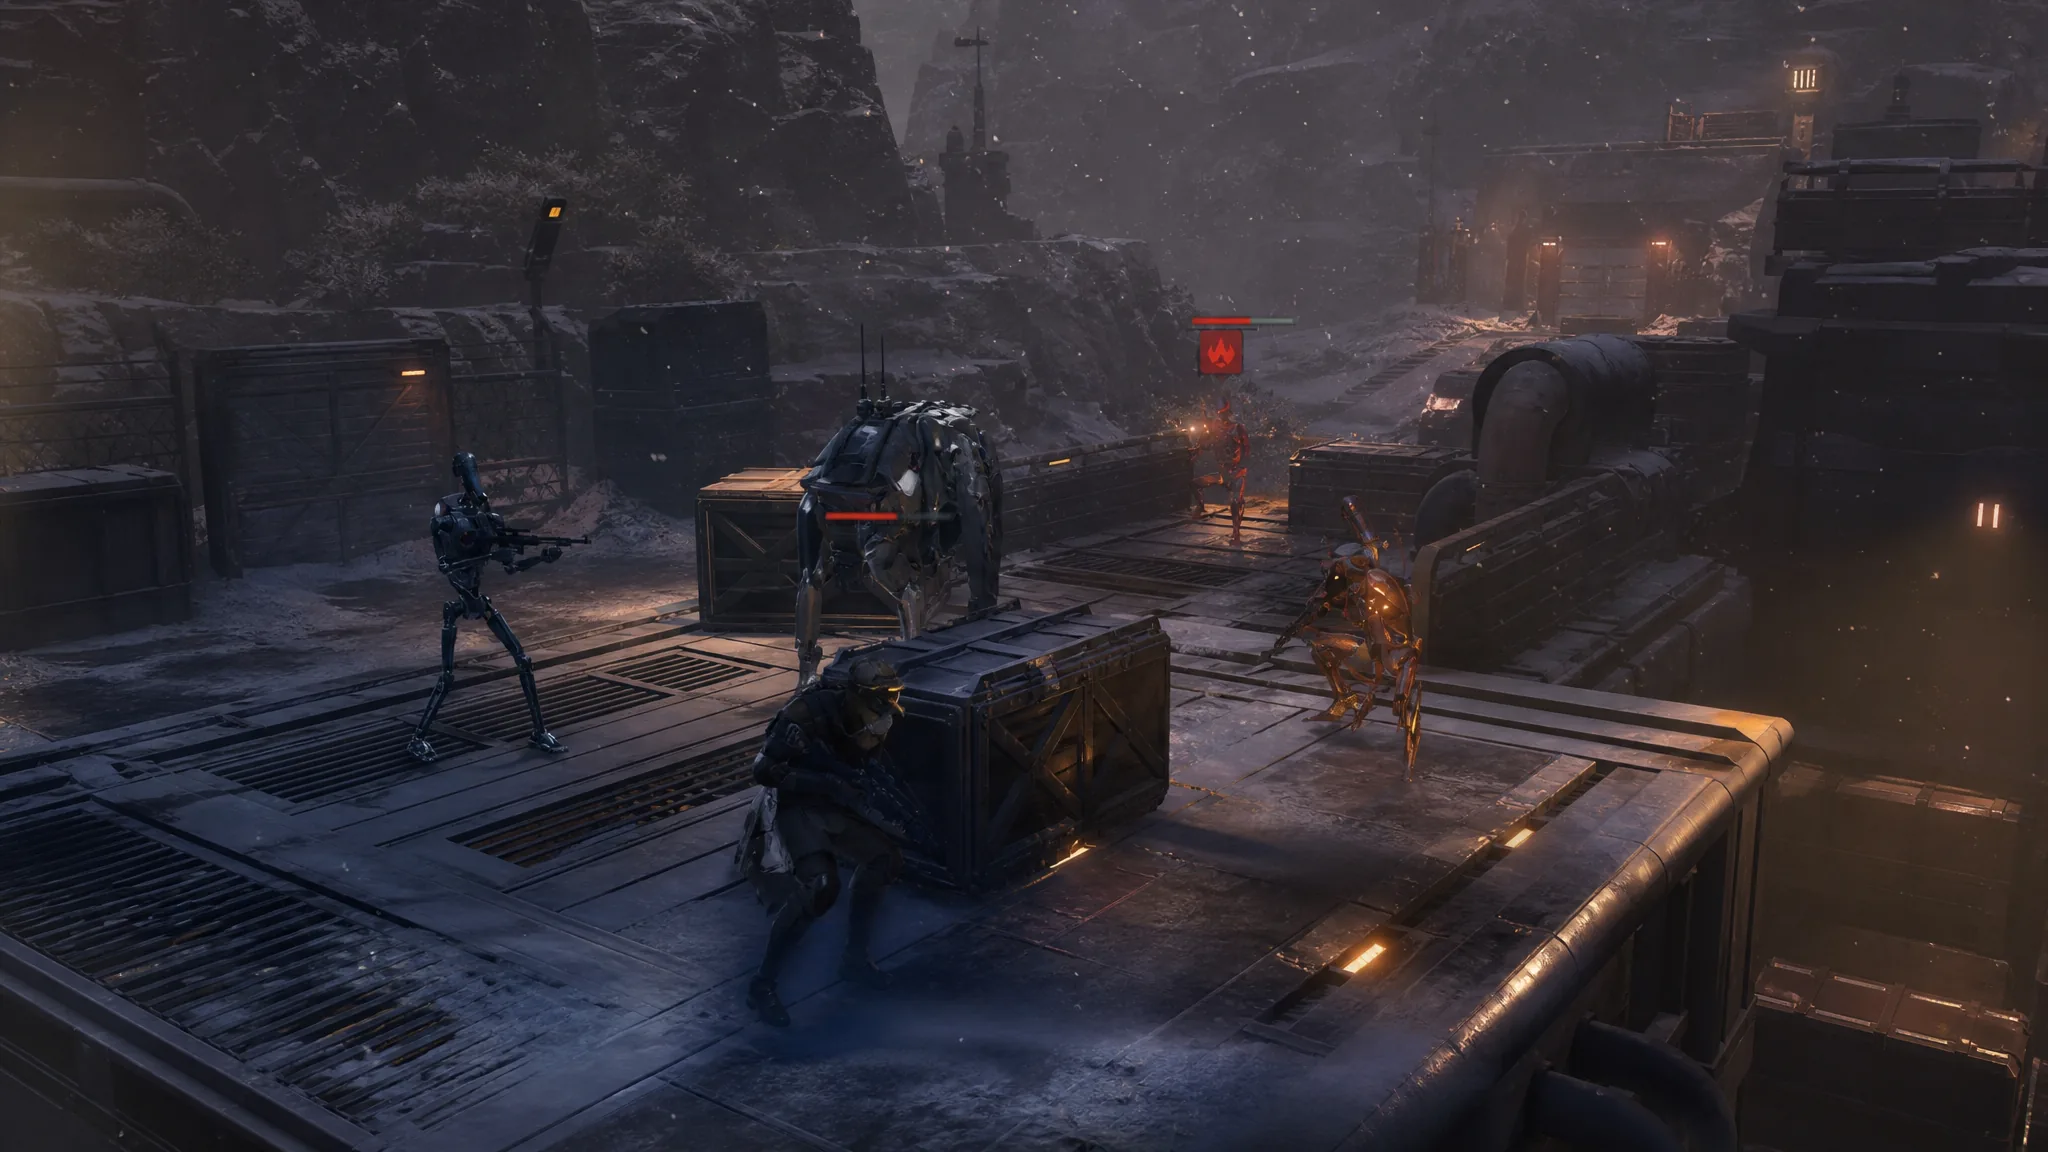
Abduction is a rescue-and-extraction job in Star Wars Zero Company, and it punishes the instinct most tactics players bring with them. The Coil keeps feeding units onto the map, so a squad that sets up a firing line and grinds through droids will simply be surrounded. The mission is won by covering ground quickly, grabbing the captive, and getting everyone into the pickup area before the exit is blocked.
Quick answer: Push all four operators toward the captive on turn one, rescue the Kidnapped Spacer as soon as you are in range, then retreat immediately and move all five units into the marked evacuation zone. The target must survive; the droids do not need to die.
Abduction objectives and failure conditions
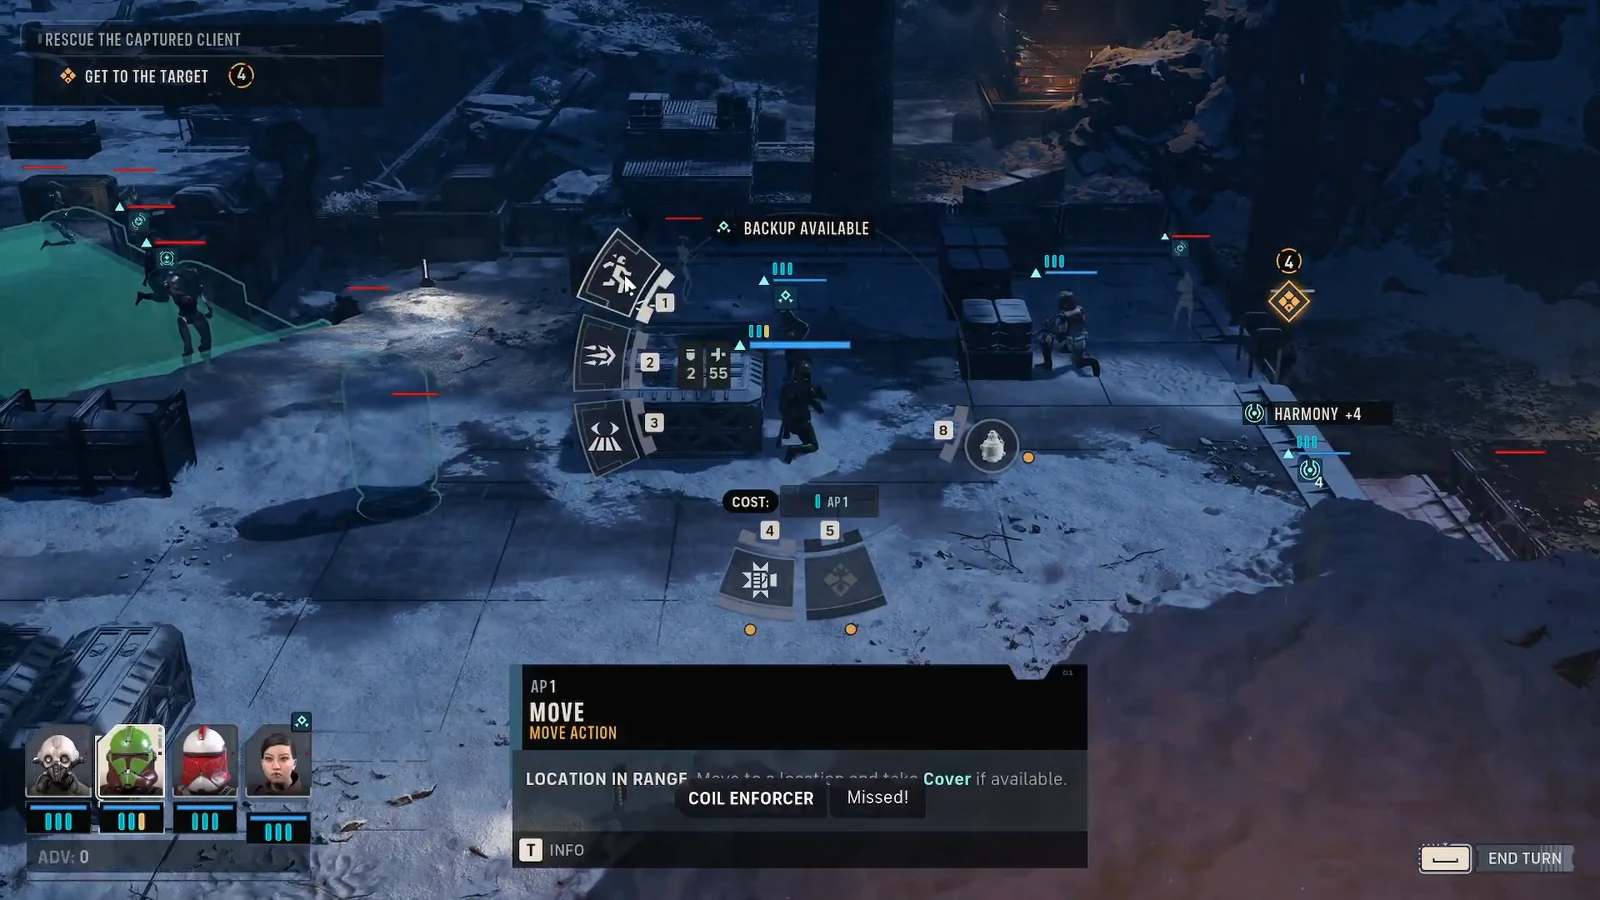
The objective tracker updates in three stages, and each one changes what the map is doing. Watch the top-left panel rather than the battlefield state you would prefer to leave behind.
| Stage | What it asks for |
|---|---|
| Get to the Target | Move the squad across the map to the captive’s position. |
| Rescue the Captured Client | Free the Kidnapped Spacer, who then joins the squad as a controllable unit. |
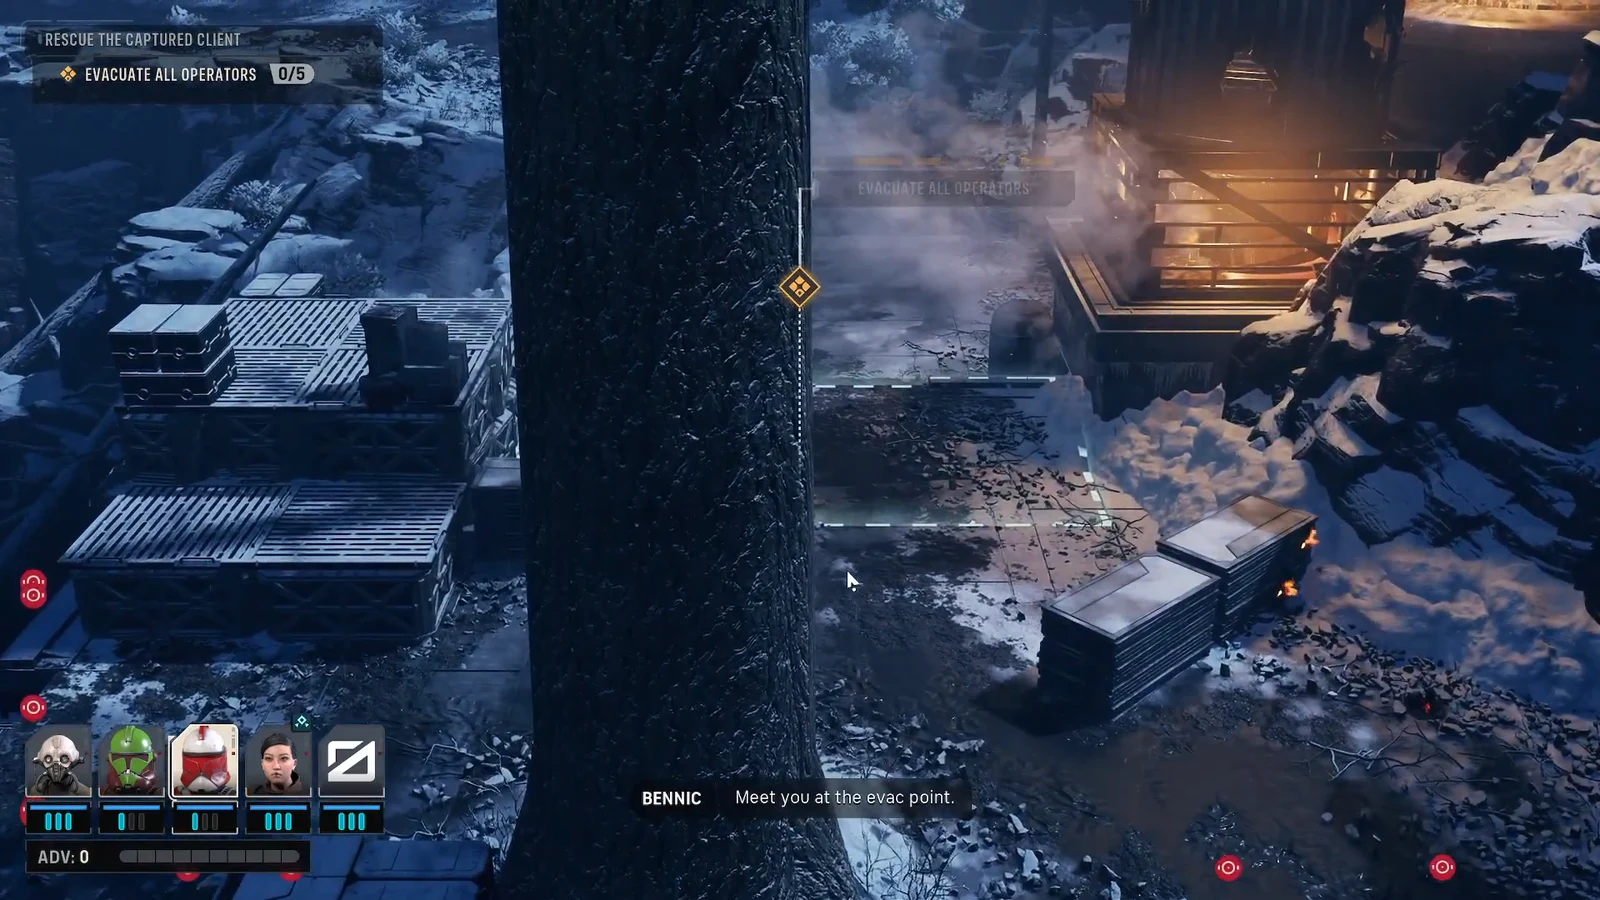
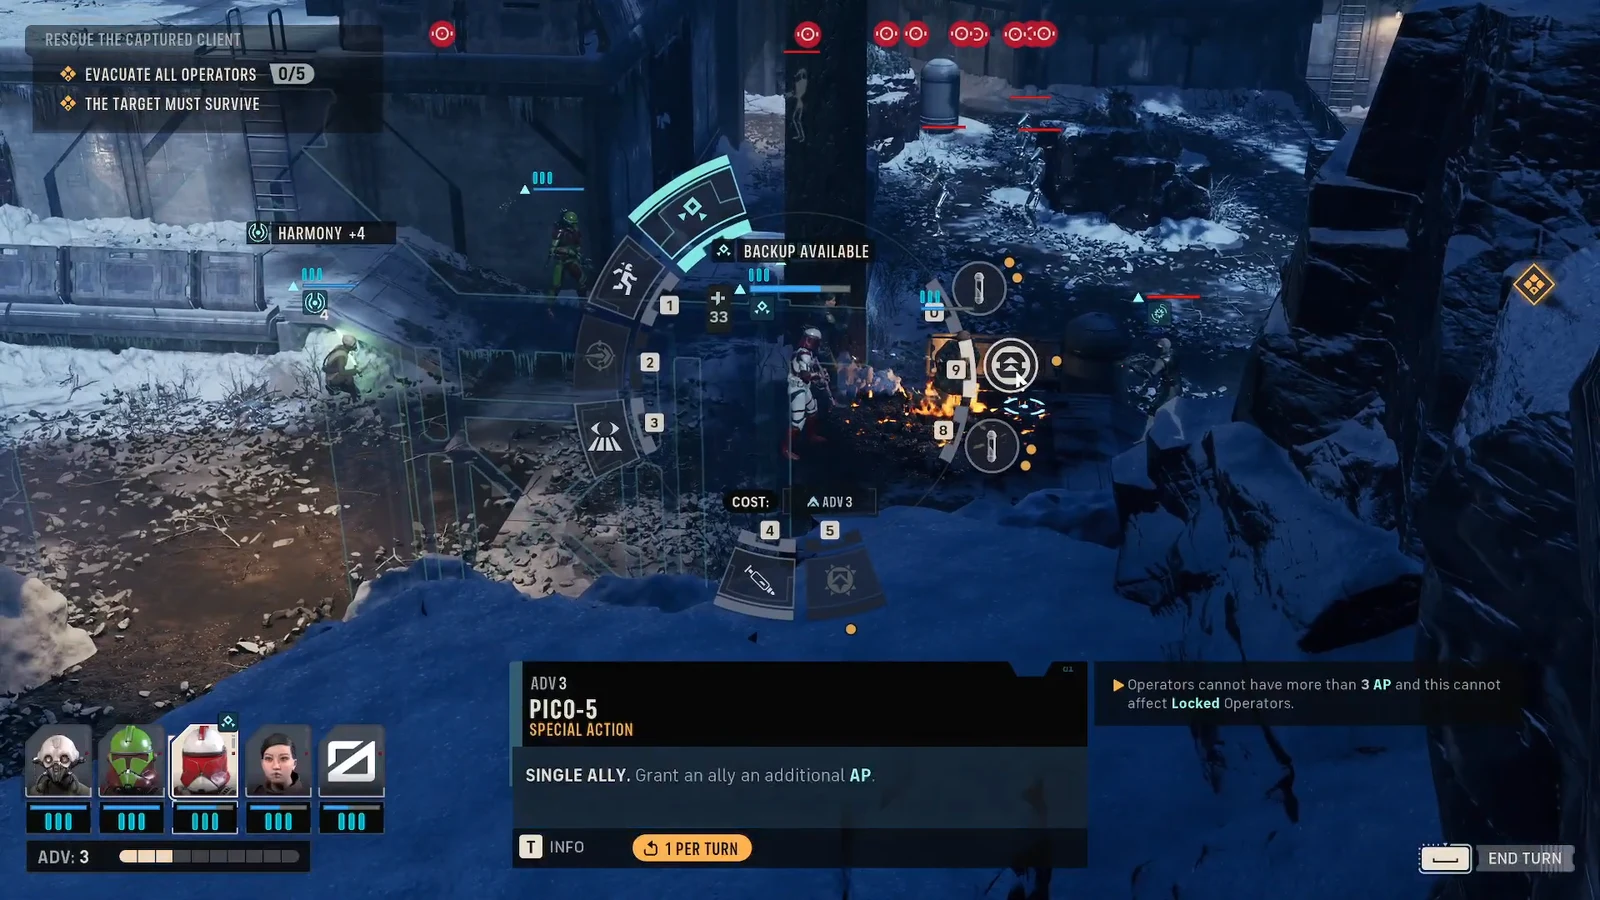
| Evacuate All Operators (0/5) | Get the four operators plus the rescued client into the marked evac zone. |
| The Target Must Survive | Standing failure condition. If the client dies, the mission is lost. |
Nothing in the list requires enemy elimination. That distinction matters because Abduction is built to make killing feel productive right up until the moment reinforcements land behind you.
Why the rush strategy works and Overwatch does not
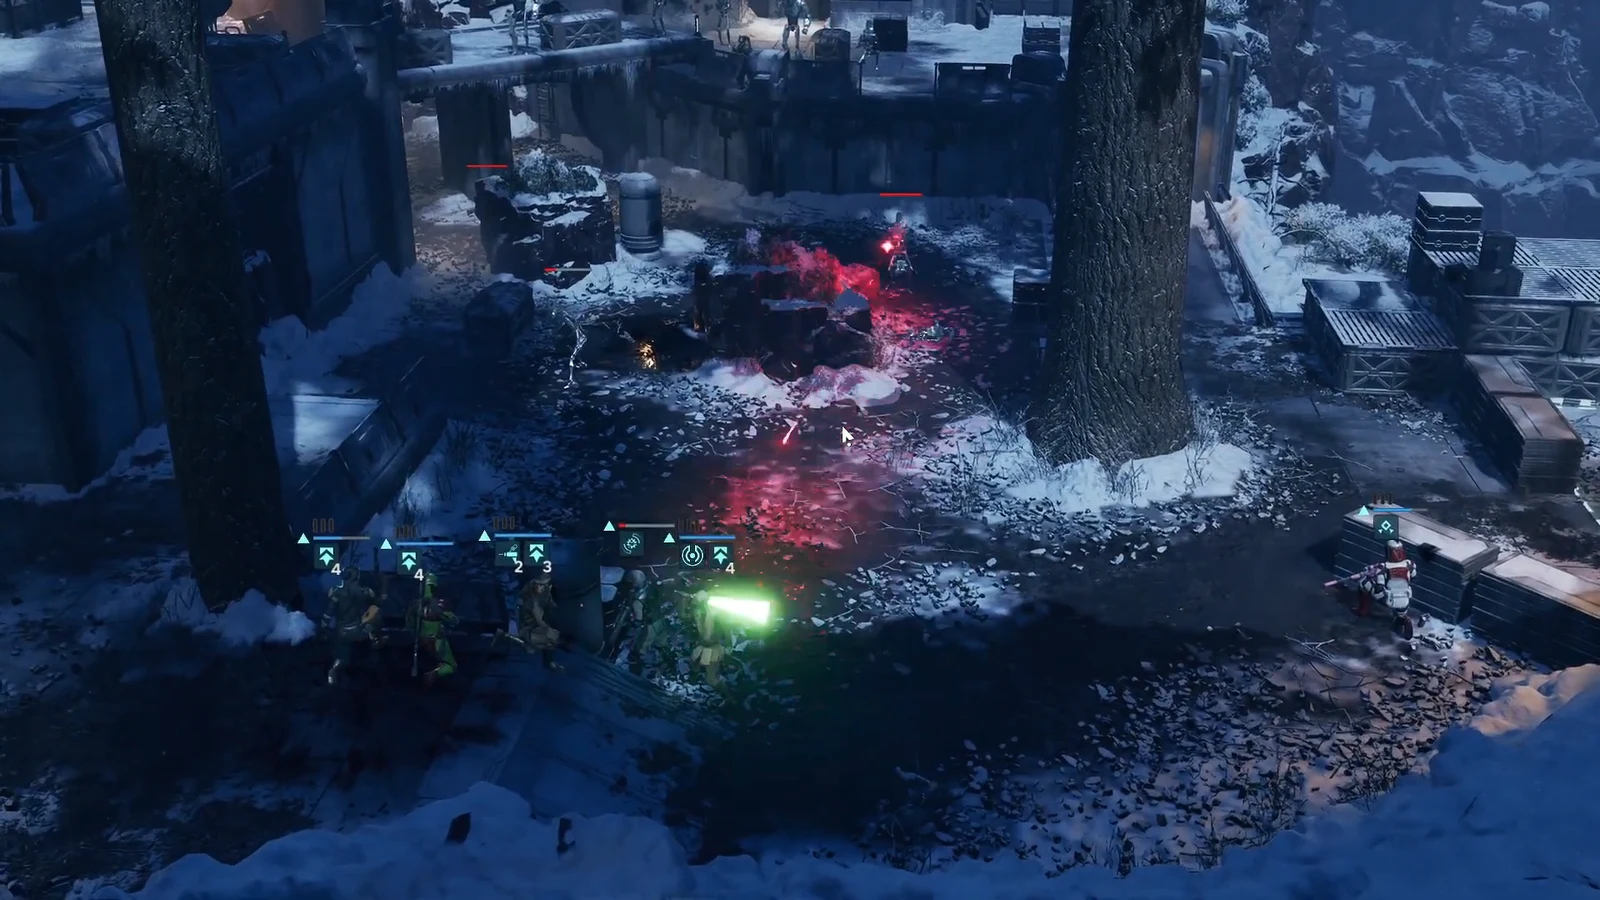
Coil reinforcements on this map are effectively endless, and they tend to spawn between the squad and the extraction point once the rescue triggers. Trading shots turn after turn only gives the game more time to stack Coil B1 Battle Droids, Coil B2 Super Battle Droids, Coil Enforcers, BX Droid Commandos and BX Droid Snipers onto the field. Every turn spent shooting is a turn the exit gets harder to reach.
Overwatch is the trap here. Holding remaining action points for reaction fire is strong on supply-run style missions where you defend a position, but it works against you on rescue and extraction jobs. An operator who ends the turn on Overwatch is an operator who did not move closer to the evac zone.
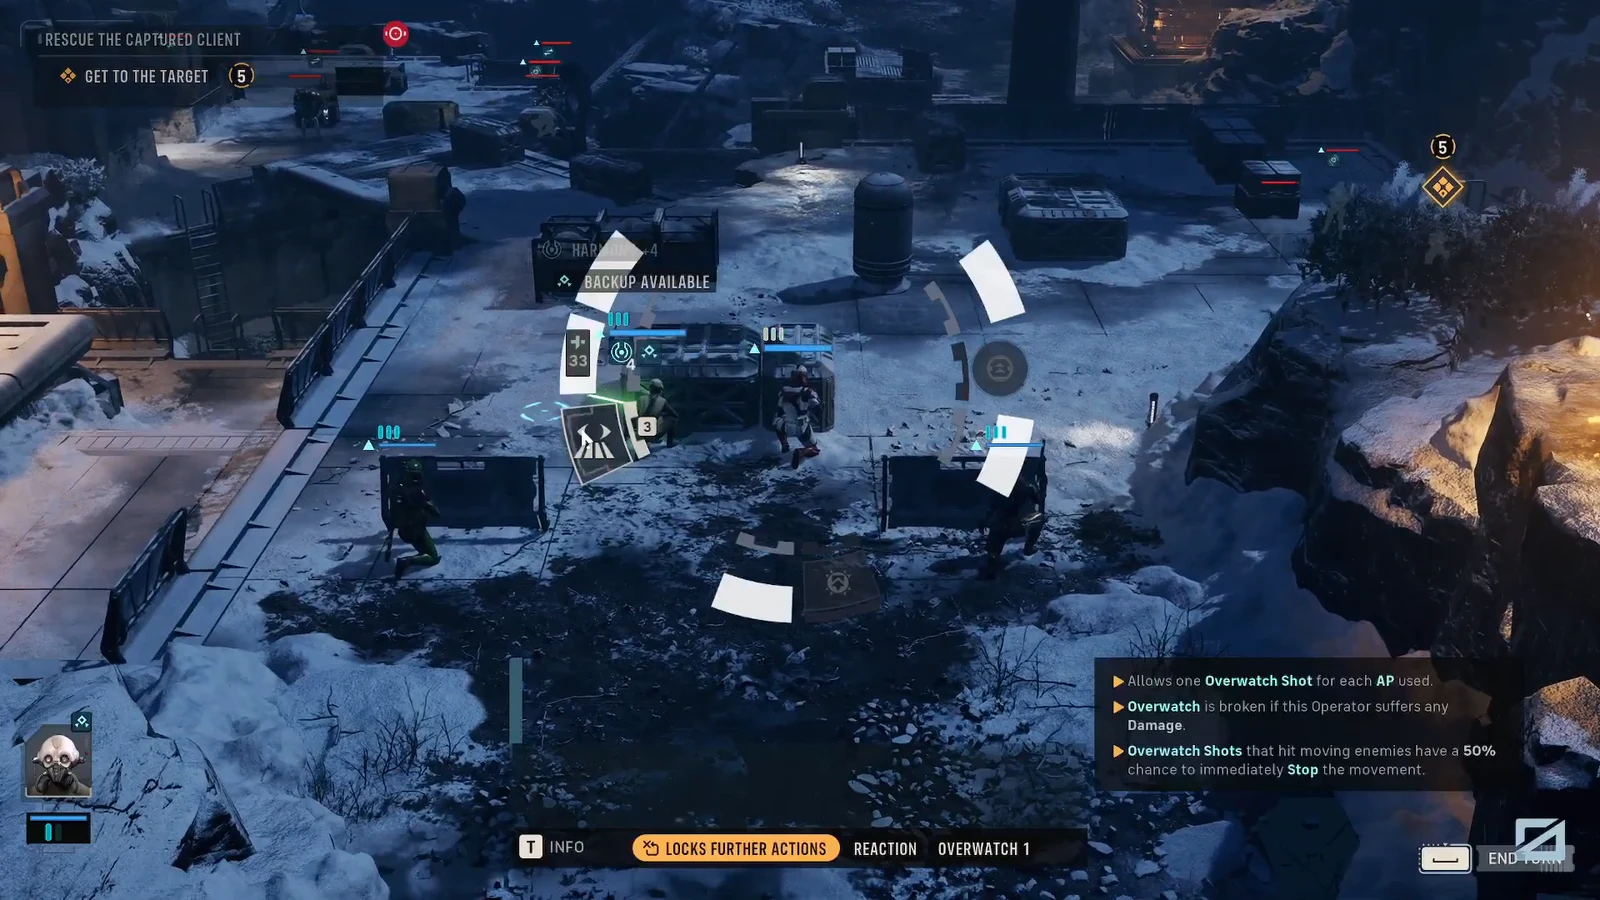
Note: you still want cover on the approach, just not stationary cover. Spend action points on movement that ends behind terrain, so the squad advances and survives at the same time.
Phase 1: Reaching the captive
Phase 2: The rescue and the fifth body
Phase 3: Fighting back to the evacuation zone
Items and abilities worth bringing to Abduction
| Tool | Use during the retreat |
|---|---|
| Impact Bomb | Clears droids that spawn directly on the route back to the pickup area. |
| Medpac Mk. II | Restores a wounded operator without giving up the whole turn. |
| Surgeon’s Tools | Extra healing throughput for the operator taking sniper and rocket fire. |
| Morale Boost | Support action to keep the squad functioning through sustained fire. |
| Noble Stance | Defensive posture for the operator holding the rear of the retreat. |
| PICO-5, Single Ally | Grants an ally additional AP for one turn, converting into movement. |
How to confirm the extraction succeeded
Success is confirmed by the evacuation counter filling and the mission resolving on the spot. Units are removed from the map as they enter the zone, and the mission ends the moment the last required unit is inside. Downed squadmates can still be carried out through the pickup area, so a knocked-down operator is not automatically a loss.
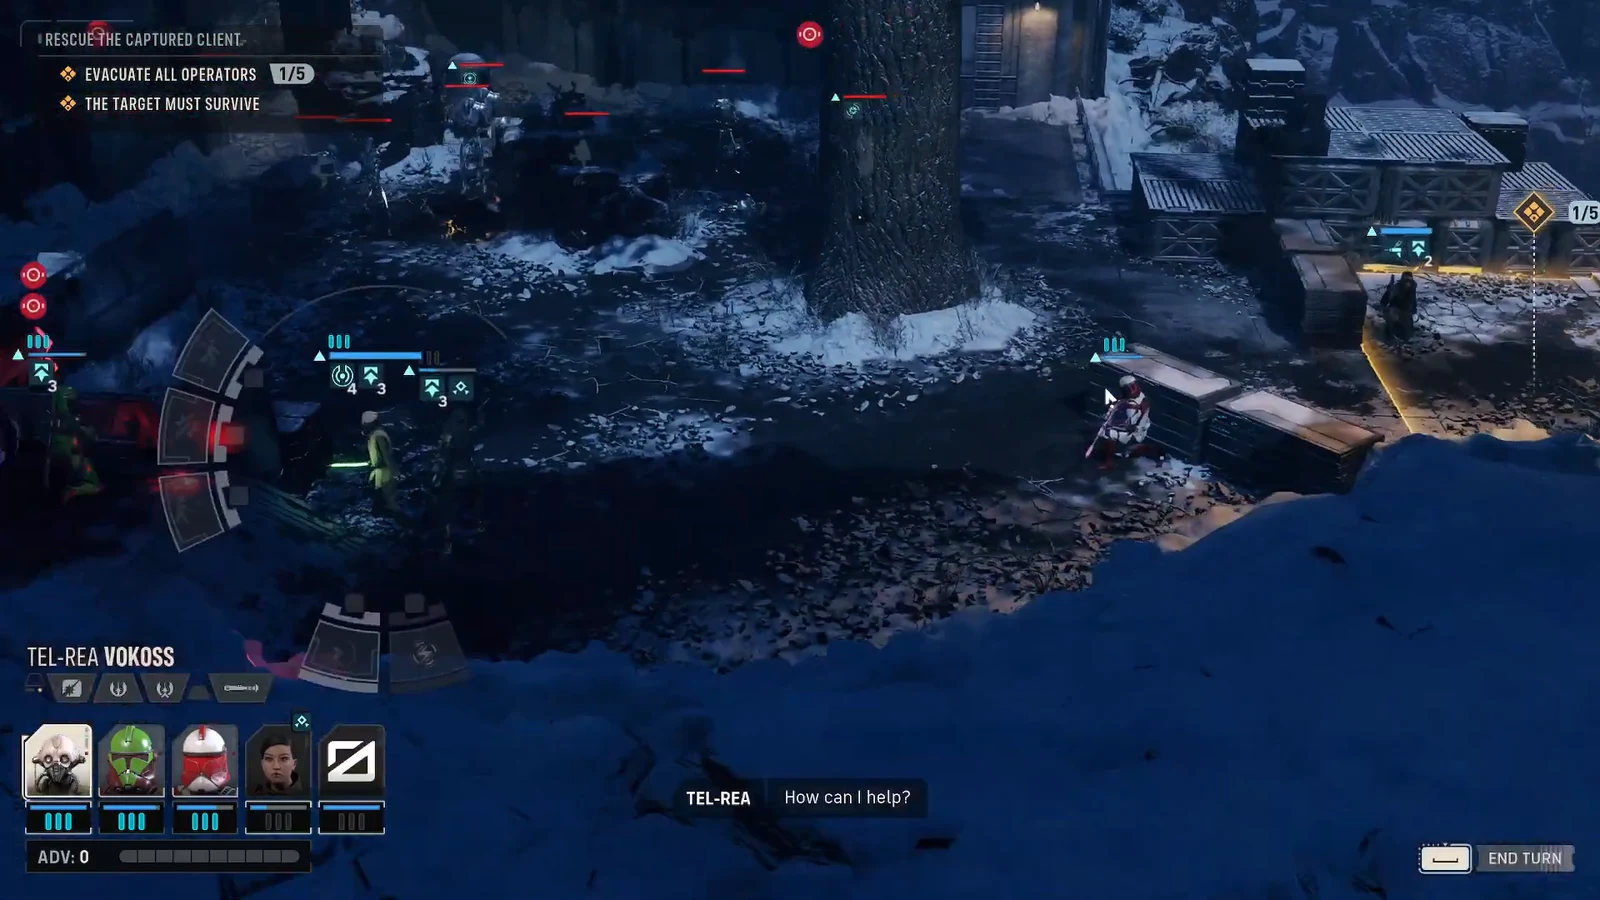
Abduction can also end in a partial win. Losing one non-essential operator on the way out does not cancel the extraction, and there are runs where giving up a body to get the rest of the squad into the zone is the correct trade. The client is the only unit that is genuinely non-negotiable.
Why the mission fails
- The Kidnapped Spacer is killed after the rescue, which trips the target must survive condition.
- The squad spends too many turns clearing droids, letting reinforcements seal the path back to the evac zone.
- Operators cluster inside or beside the evac area and get caught by rocket fire before the counter fills.
- Not every required unit reaches the zone, leaving the counter short of 5.
If a run collapses, the mission can be restarted from the game menu with the same operators, which makes Abduction a cheap place to test a faster route before committing to it. Bring the squad that moves well rather than the squad that hits hardest, and treat every turn as distance rather than damage.





