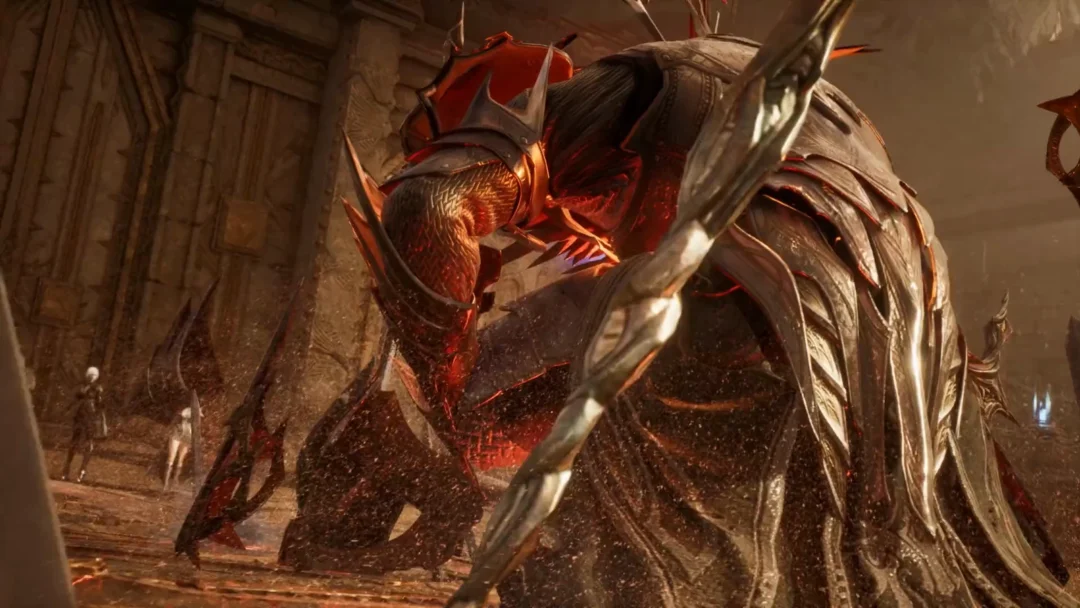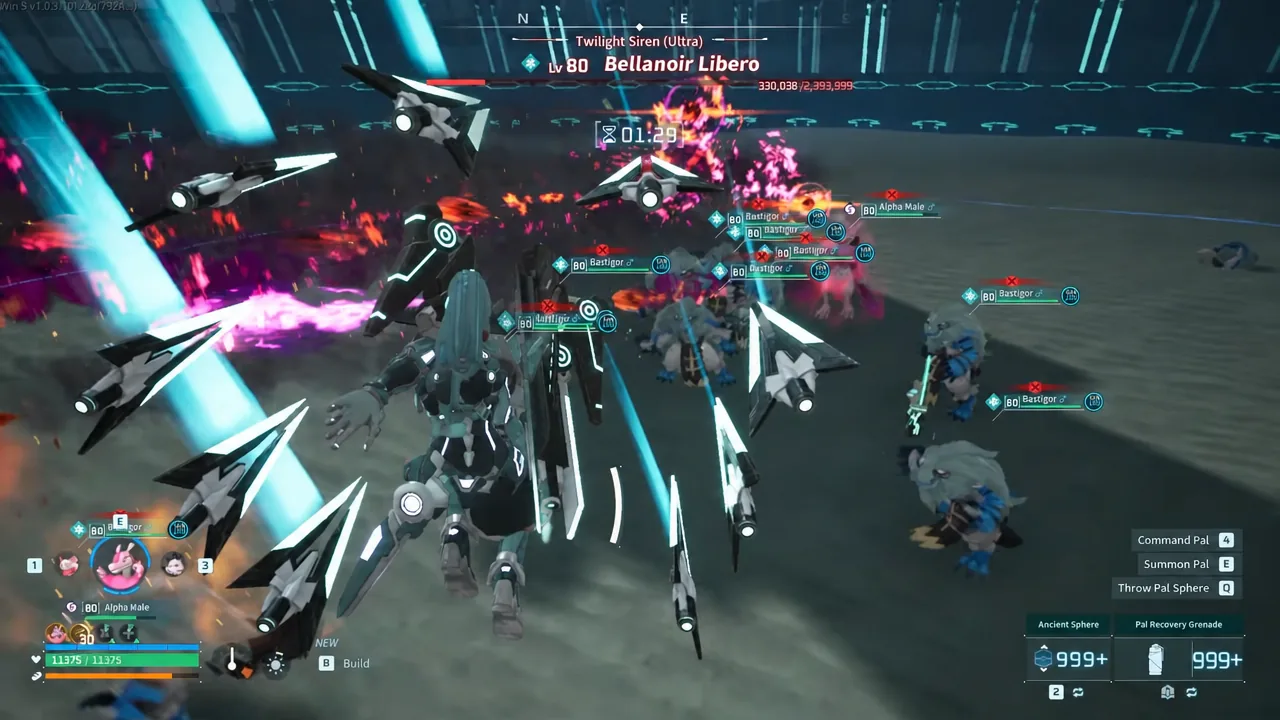
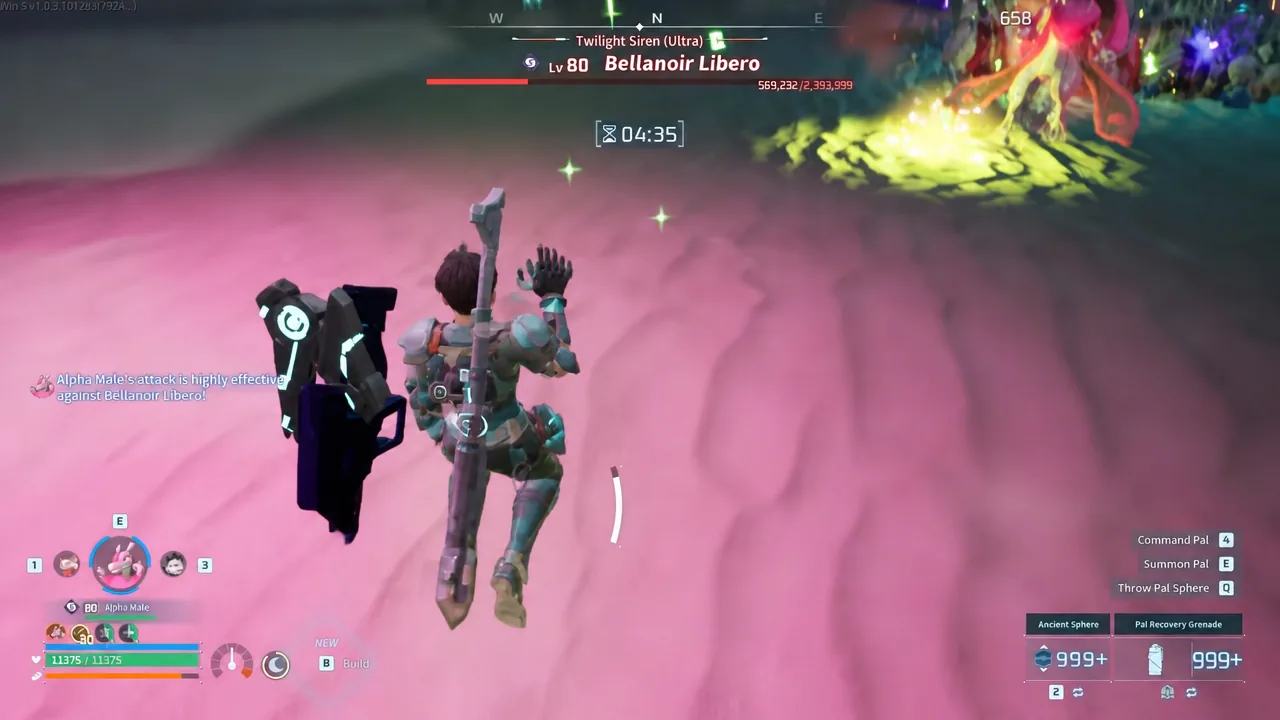
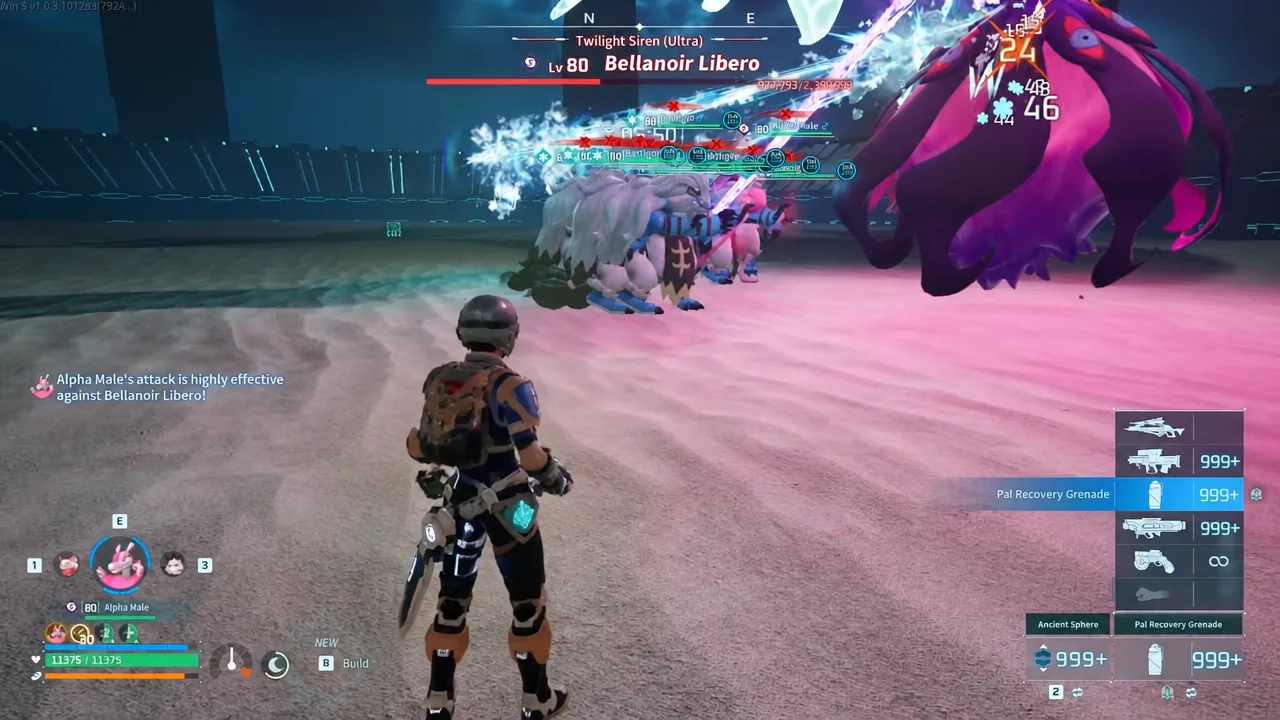
Ultra Raids are the point where most Palworld players start breeding a fresh counter-team for every boss. There is a lazier way. Instead of five elemental armies, you run one wall of Bastigor, hand the aggro to your Pals, and spend the whole fight as a flying medic throwing healing grenades at your own side.
Quick answer: Fill your raid base with Bastigor carrying Diamond Body, Sanctified Meat Shield, Serenity, and Immortality, keep Lovander (Alpha Male), Silvegis, World Tree, Orserk B, and Valentail in the active party, then hover above the arena spamming Pal Recovery Grenades instead of dealing damage yourself. Only the Bastigor active skills change between bosses.
Why Bastigor works as a single Ultra Raid army
Bastigor is picked for three concrete reasons. It has very high base defense, it has a small hitbox that keeps it from eating the full width of a boss AoE, and its Ice typing takes the sting out of Bellanoir Libero’s phase two attacks. Since raid bosses focus whoever is doing the most damage, the army holds aggro all fight while you stay ignored.
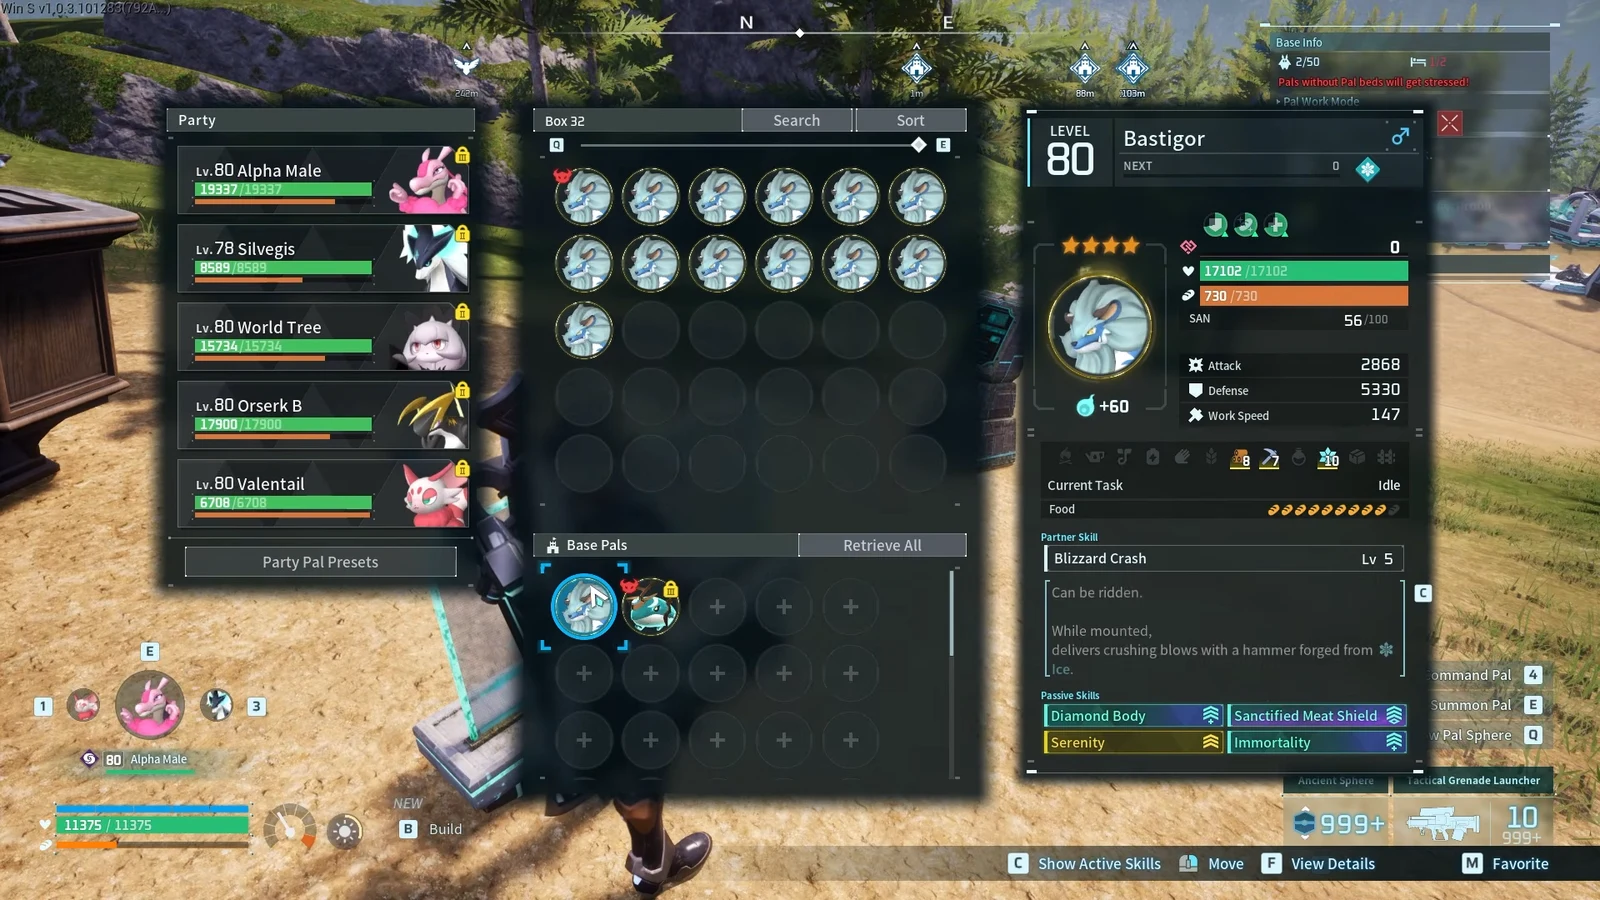
The passive spread is what turns them into a wall. Immortality is the one you cannot skip, because it lets a Bastigor heal back up after a stray AoE clips it. Diamond Body stops flinching and knockback, so they keep attacking instead of getting stunlocked, and it adds defense on top. Sanctified Meat Shield and Serenity round out the defensive block. If you want more raw survivability, Demon God can be swapped for Legend.
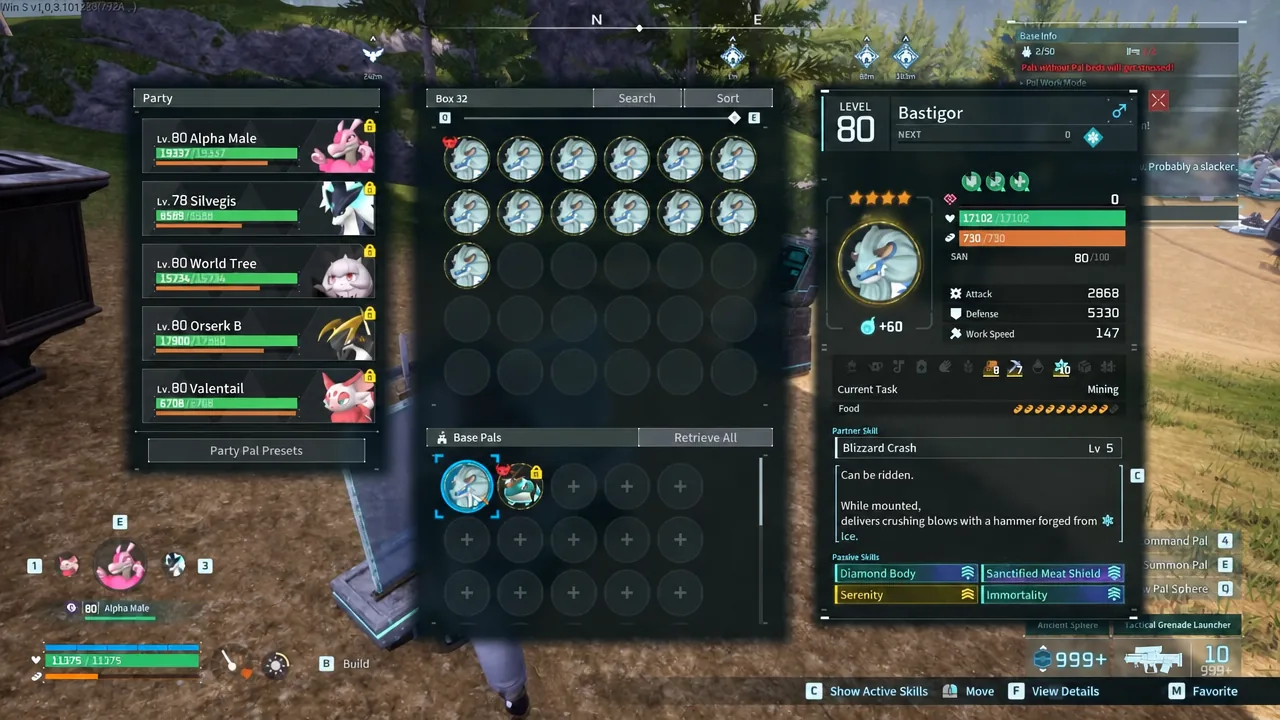
Feed the army before you place the slab. Food buffs are part of the defensive math here, not a nice-to-have, and Seafood Pasta in particular applies to your Pals as well as to you.
The five-Pal support party
None of the party Pals are there to fight. They exist to keep you alive, keep you airborne, and keep the army buffed while the boss chews on Bastigor.
| Party Pal | What it contributes |
|---|---|
| Silvegis | Cuts player shield regeneration delay by 60% and raises shield regeneration rate by 60% |
| Valentail | Grants a floaty jump, letting you hover over the arena for an overhead grenade angle |
| Orserk B | Every bullet you land gives the active Pal +5% attack and defense for 5 seconds |
| Lovander (Alpha Male) | Heart Drain returns health to the player through lifesteal |
| World Tree | Holds the final support slot in the booster core |
Passives on these five stack across the party, so roll them for Idiosyncratic, Stronghold Strategist, Vanguard, and Reload Master. That combination pushes up your defense and health regen while shortening reload time, which matters when your job is firing grenades on a loop.
Player loadout: weapons, accessories, and food
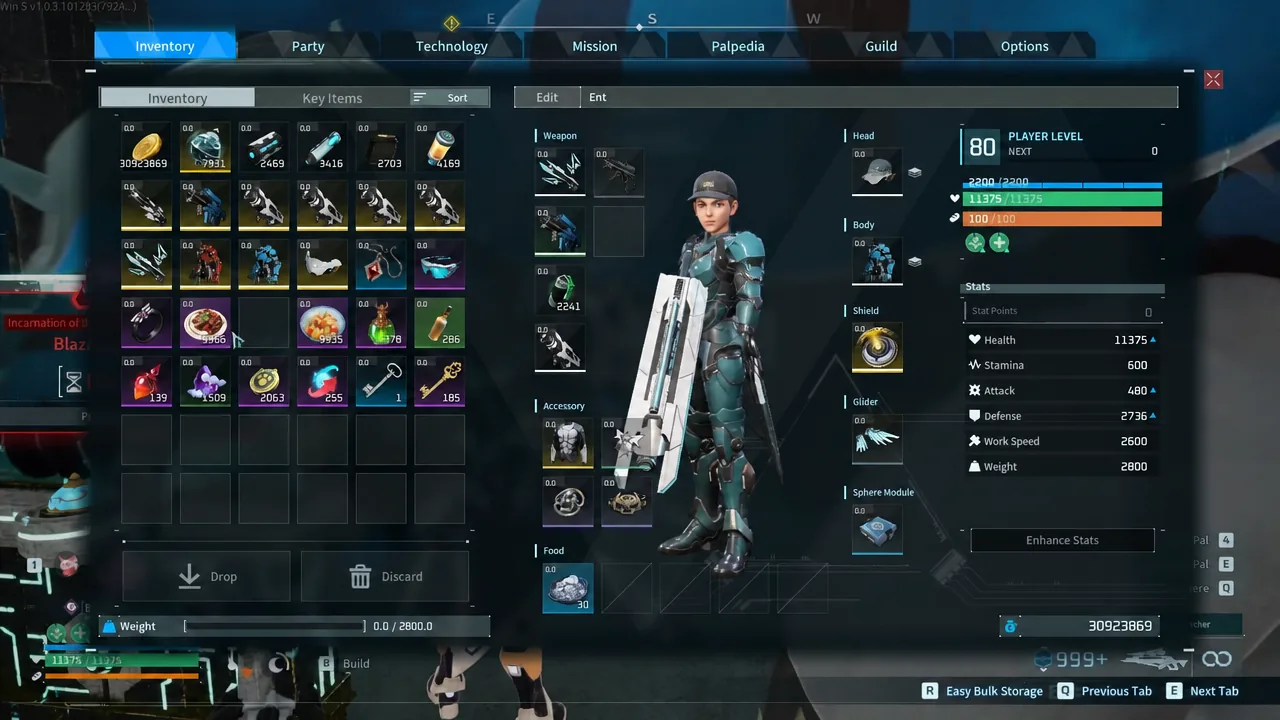
Your gear is split between one healing tool and a few utility pieces. Damage is optional and mostly exists to trigger the Orserk B buff.
| Slot | Item | Role in the fight |
|---|---|---|
| Primary | Pal Recovery Grenade | The core of the build; keeps the Bastigor army topped up |
| Launcher | Tactical Grenade Launcher | Delivery system for the recovery grenades |
| Utility | Beam Launcher | Interrupts boss charge attacks |
| Damage | Drone Launcher, Plasma Rifle | Passive chip damage and bullet hits to proc Orserk B |
| Accessories | Phantom Ring, Explosion-Resistant Undershirt | Survivability against explosive attacks |
| Consumables | Seafood Pasta, Galeclaw Nikujaga, Mammorest Curry, Nutrient Tonic, Advanced Recovery Meds | Buff food before the pull, plus self-healing mid-fight |
How the healing loop runs during a raid
Active skill swaps for each Ultra Raid boss
The army itself never changes. Between fights you only re-roll the three active skills on your Bastigor to match the boss’s weakness, which takes minutes rather than a breeding cycle.
| Boss | Bastigor active skills |
|---|---|
| Zenara & Astralym | Sand Twister, Circle Vine, Apocalypse |
| Blazamut Ryu (Ultra) | Geyser Gush, Splash, Sand Twister |
| Hartalis (Ultra) | Thunderstorm, Psycho Gravity, Lightning Bolt |
| Moon Lord (Master) | Wind Burst, Hydro Slicer, Beam Slicer |
The Blazamut Ryu set is doing double duty on purpose. Water hits hard against its Fire and Dragon opening phase, and Sand Twister covers the Ground weakness it picks up when it heals 30% at 10% HP and flips to Electric.
Per-boss adjustments that decide the run
Bellanoir Libero (Ultra) is the fight where losses are expected. At 10% HP it heals 30%, switches to Ice, gains 75% attack, loses 25% defense, and picks up a 20% Dark damage bonus. Bastigor’s Ice typing blunts the new attacks, but a clean run can still finish with a handful of the army dead. That is fine as long as the Pal Box survives.
Blazamut Ryu (Ultra) is the food-buff fight. Eat Seafood Pasta before you summon it and explosion damage is nullified for you and your Pals alike, which removes most of what would otherwise shred the army.
Against Zenara & Astralym, keep the Beam Launcher on the bar. Its whole purpose is to interrupt the boss’s charge attack before it lands on the pack.
Hartalis (Ultra) opens as Water and Grass, which is why the electric skill set goes on, then raises a barrier that makes it immune to damage. Use the barrier window for the Palbox retrieve-and-resummon trick so the army is healed and clumped when it drops.
Moon Lord (Master) is a movement fight for you personally. Its eye laser is dodged by moving back and forth across the arena rather than trying to outrun it in a straight line, and damage only registers on its eyes and heart, so let the army handle the aiming.
Raid rules and the only two ways to lose
Every raid runs on a 10-minute timer. You fail if that timer expires or if your Pal Box is destroyed, and nothing else. Your own death does not end the run, which is why a support player with no aggro is such a safe role here.
Two logistics notes before a farming session. Both the Slab and the Summoning Altar are consumed by each fight, so keep stone and Paldium stocked. And fight in the dedicated Raid Area rather than your production base, bringing materials for a Remote Palbox Device once you are there.
Note: You only see an Ultra Raid at all after clearing the standard version of that boss, which is what drops the Ultra Slab.
If a run stalls, it is almost always one of two things. Either the army is spread too thin for a single grenade to reach enough of them, in which case regroup through the Palbox, or you drifted into out-damaging your own Pals and pulled the boss onto yourself. Keep the Bastigor clustered, keep the grenades in the air, and the ten-minute clock does the rest.