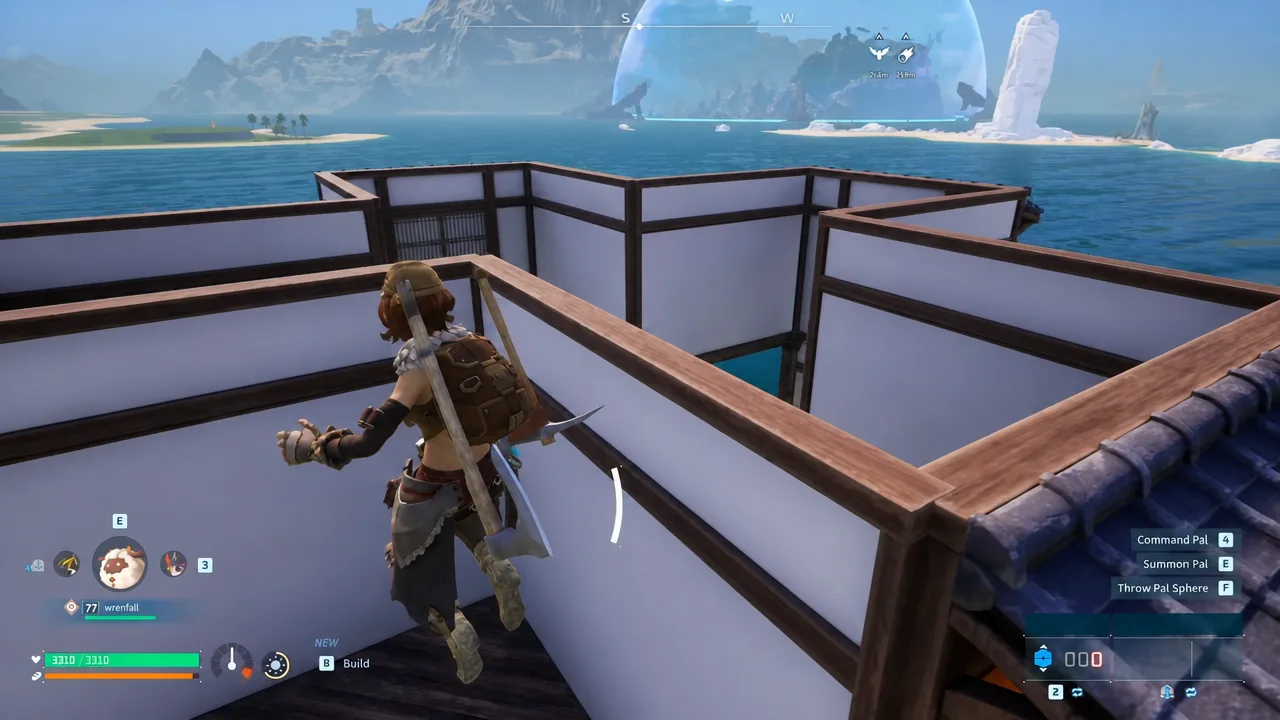
Floating bases in Palworld stopped being a mod-only fantasy once the Aquatic Construction Kit arrived. With the kit unlocked, ordinary foundations snap straight onto open water, which makes it possible to build a large, symmetrical Japanese-style settlement out at sea using nothing but the standard build menu. The layout below centers on a multi-tiered pavilion ringed by four matching villas, and it is sized to sit entirely inside one Palbox radius.
Quick answer: Unlock the Aquatic Construction Kit at Level 66, fly to coordinates -599, 93, and lay a glass-and-wood octagonal platform. Build the two-story Japanese-style pavilion in the middle, then copy one villa design to all four outer platforms and drop the Palbox in the center.
Requirements: Aquatic Construction Kit at Level 66
You cannot place anything on water until the Aquatic Construction Kit is crafted. It sits in the Ancient Technology column of the Technology menu at Level 66 and costs four Ancient Technology points to unlock. After that, it is a crafting job at a Production Assembly Line 2 or an Advanced Workshop.
| Item | How to make it |
|---|---|
| Cement (per 10) | 20 Stone, 1 Bone, 1 Aquatic Fluid at a High-Quality Workbench |
| Coralum Ingot (per 1) | 2 Coralum Ore, 5 Coal in a Gigantic Furnace |
| High-Quality Wooden Board (per 1) | 10 Hardwood, 10 Wood, 2 High-Quality Cloth at a Production Assembly Line 2 |
The kit needs 50 Coralum Ingots and 100 High-Quality Wooden Boards along with a large stock of Cement. Coralum Ore comes from salvage spots around Feybreak Island or from chests on the Rayne Syndicate Oil Rig, while Hardwood is easiest to farm from the trees on the Sakurajima islands. Wooden Board itself unlocks back at Level 11 in the Technology tree, so check that first if the High-Quality version is missing from your recipe list.
Note: You only need one kit for your entire save. It lands in the Key Items tab and is never consumed, no matter how many water foundations you place.
Base location: coordinates -599, 93
Fly out to -599, 93 on a flying Pal. The spot is open ocean with enough clear space in every direction for the four outer platforms, and there is no terrain nearby to fight with snapping. Place a single foundation first to confirm the water accepts building, then plan the rest around it.
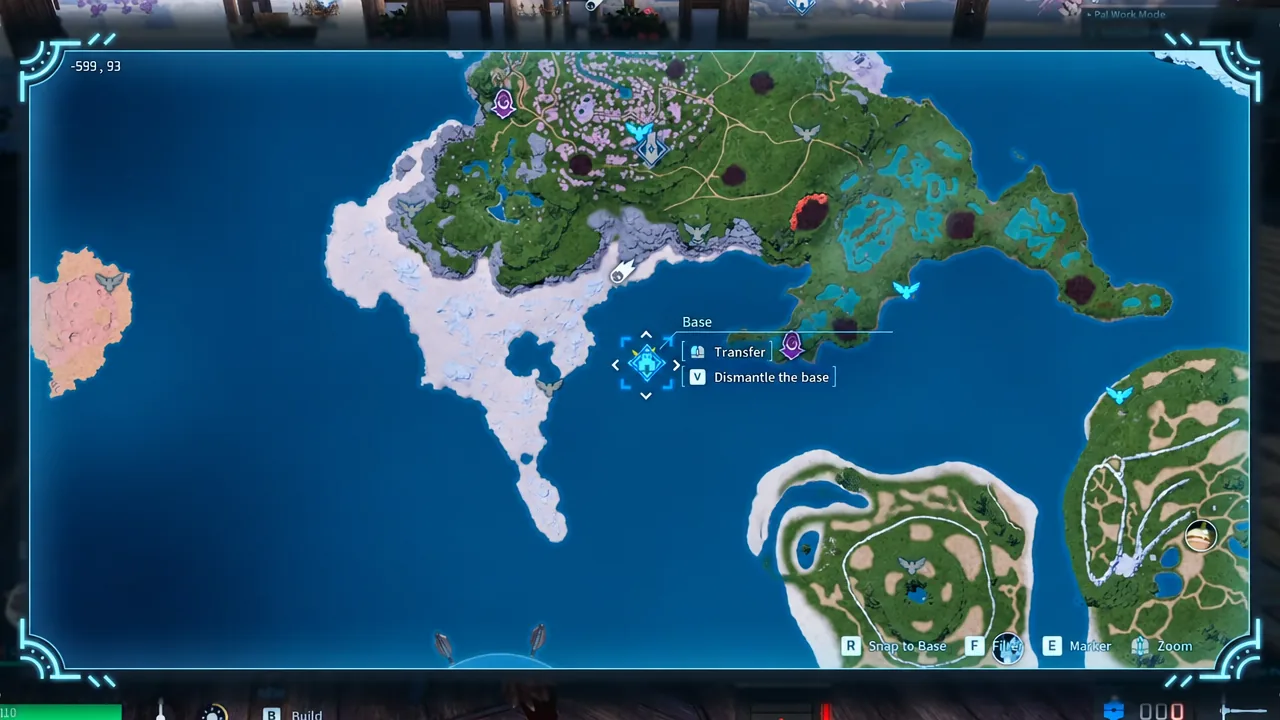
If you already have a base elsewhere and want to move it here, use the transfer option on the map rather than dismantling and rebuilding from scratch. The finished structure is sized to fit inside one Palbox radius, so a single base slot covers the whole thing.
Build the octagonal center platform
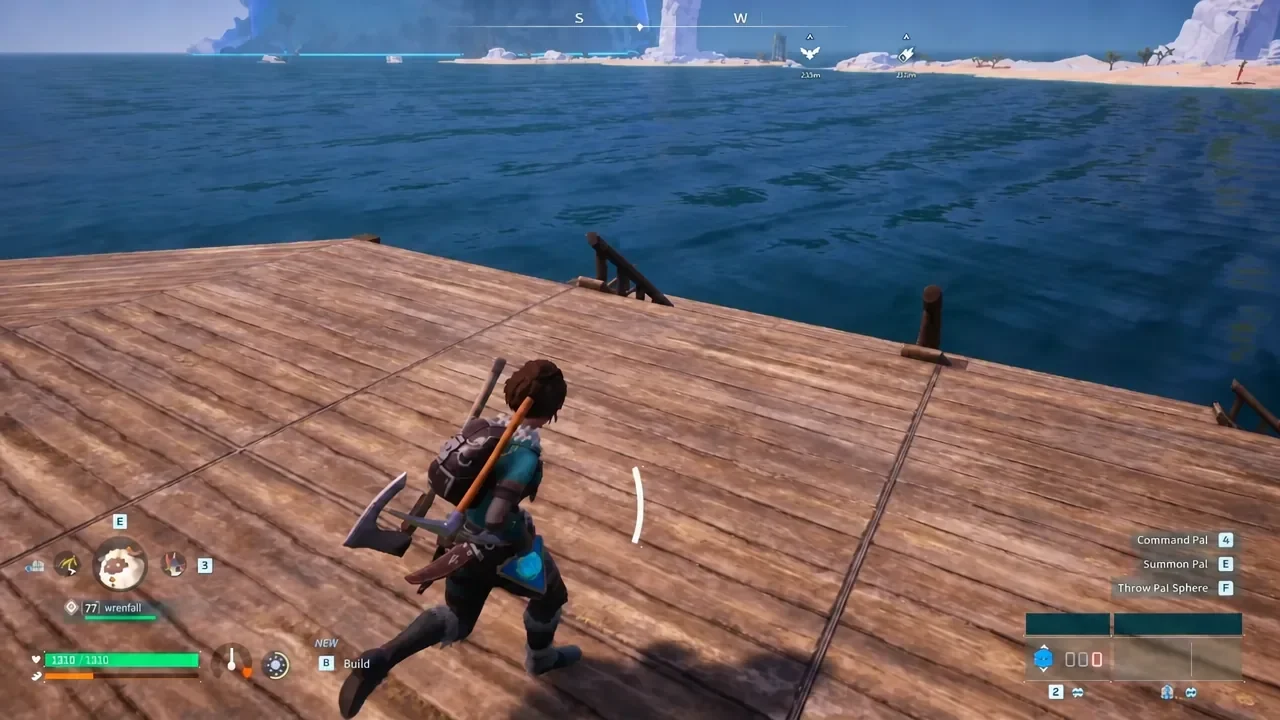
Everything else keys off this shape, so take your time getting it symmetrical. Turn on Alignment Mode in the build menu before you start — it keeps pieces snapping cleanly and saves a lot of dismantling later.
Frame and roof the central pavilion
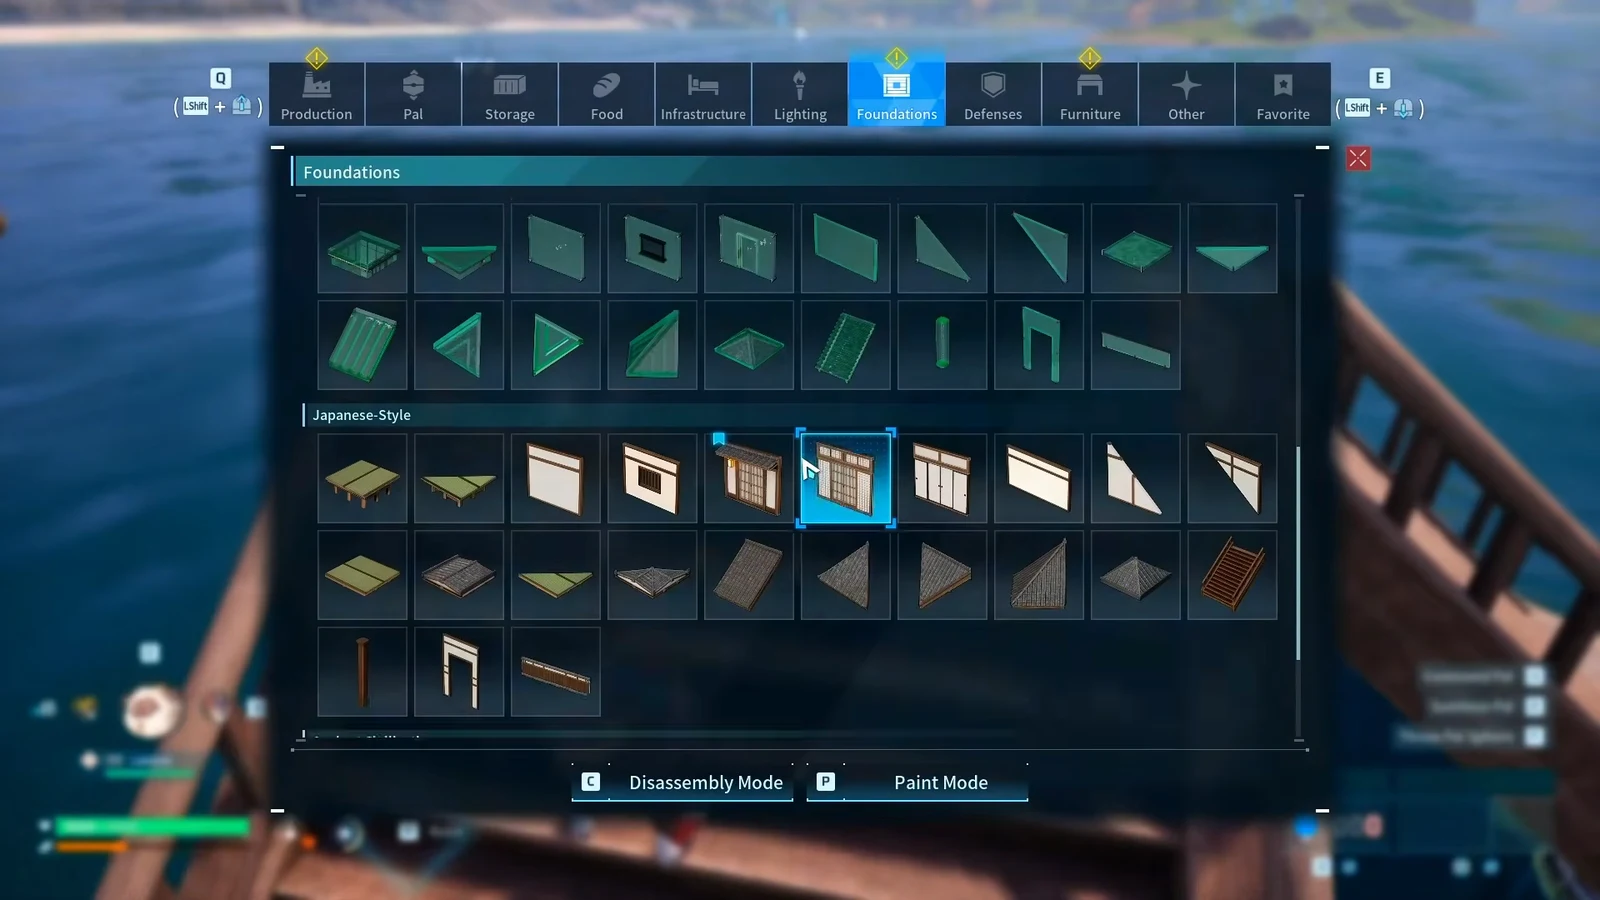
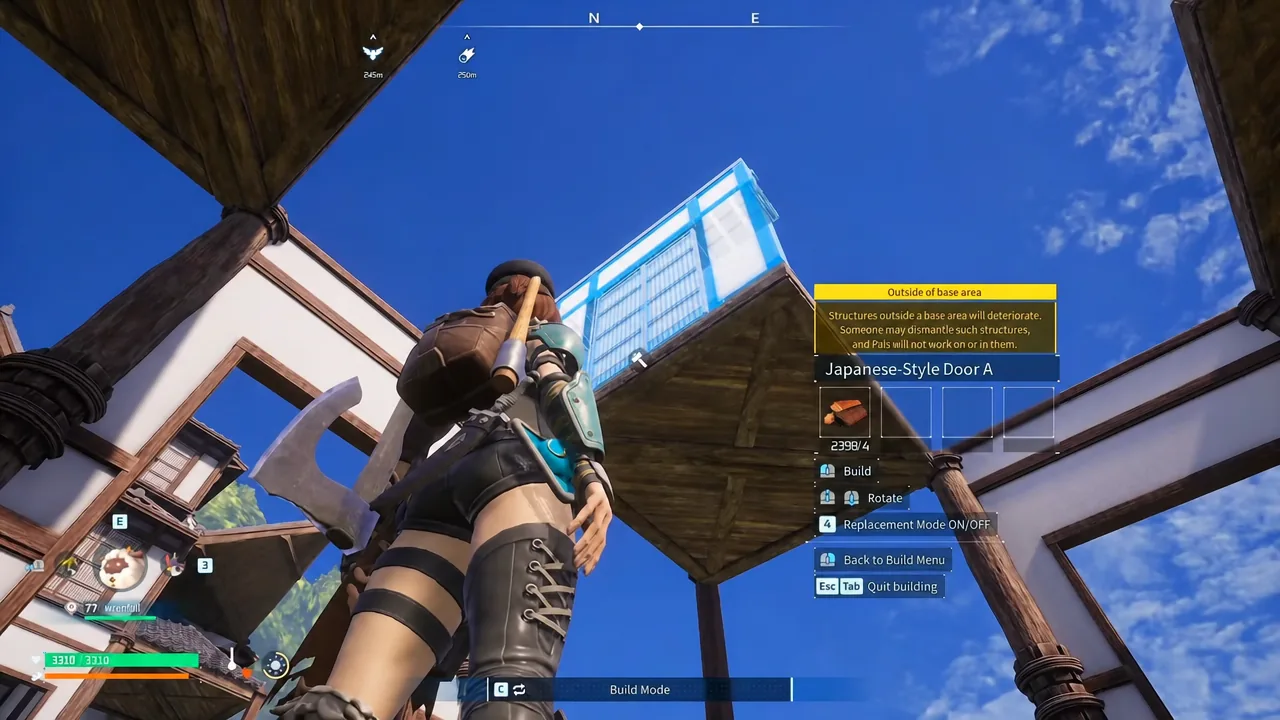
The center building is the tallest part of the base and the piece most likely to go wrong, because several Japanese-style roof parts are directional. Toggle on Replacement Mode when you are swapping a wall or roof segment in place, rather than tearing the surrounding pieces down.
Add the four outer villas and walkways
Build one villa completely, then repeat it on the other three sides. Because the center is a symmetrical octagon, the same piece placements work at each cardinal point without any adjustment.
Lighting, fences, and decoration
Decor is the fastest part of the build if you settle on one repeating pattern and copy it around the ring. Fences, a planter, and a lamp at fixed intervals reads as deliberate design rather than clutter, and it keeps walkway edges visible at night.
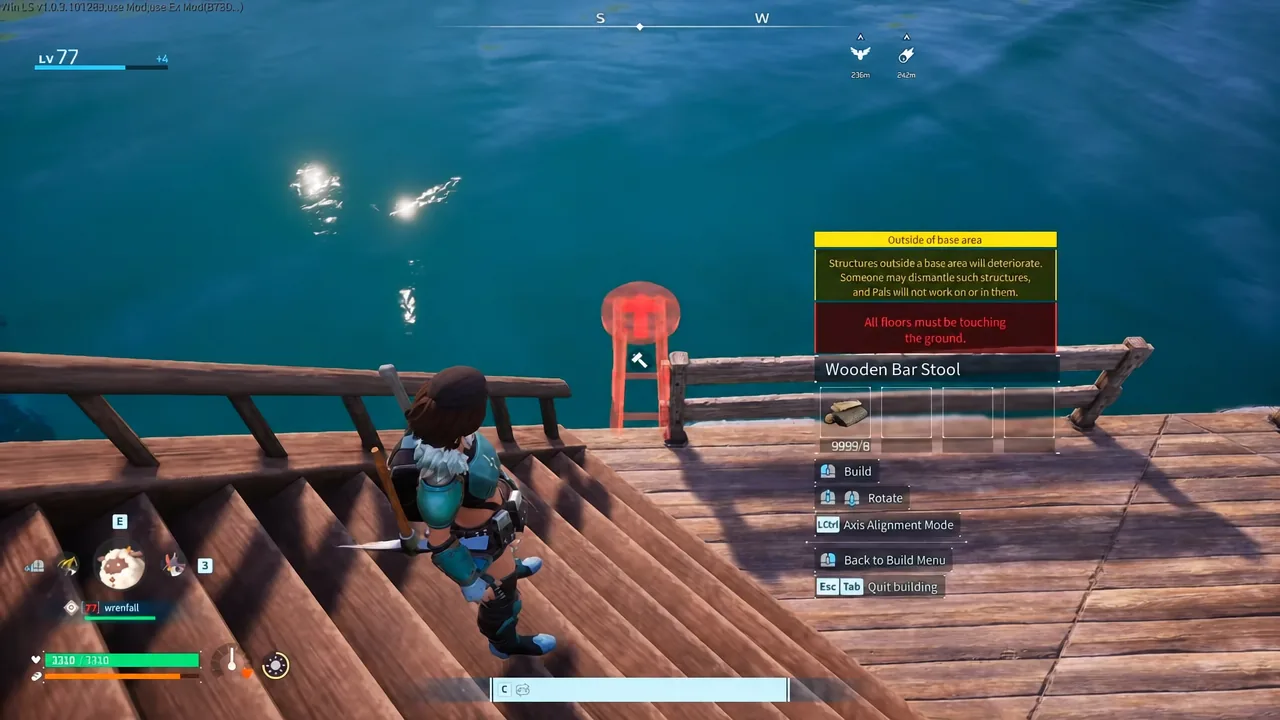
Along the walkways, place Wooden Bar Stools, Tabletop Houseplants, and Faux Flowering Bush A. Add Stylish Street Lamps at the fence line and Double Street Lamps near the center, then repeat that fence-planter-lamp sequence all the way around the base.
For greenery, drop Houseplants on the platforms and Faux Cherry Blossoms B on the wider decks. The cherry blossom trees are the main visual payoff of the Japanese theme, so give them space rather than crowding them against walls.
Palbox, power, and Pal beds
Put the Palbox in the center of the octagon. Placing it there means the build radius spreads evenly and all four villas fall inside the boundary, which is what keeps this a single-base build.
For power, set a Cable Reel down in the middle and build an Ancient Power Generator on top of it. Pal housing goes in the side rooms — Pal Pods if you have them unlocked, ordinary Pal beds if you do not.
Workbenches, chests, and similar stations still need something solid underneath them, but a Wooden Foundation on water counts as solid ground. Logging Sites and Stone Pits can be placed directly on water foundations as well.
How to confirm the base works
The build is done correctly when your assigned Pals move between the center and all four villas without stalling, and when large Pals can pass through the pavilion instead of circling it. Assign a large worker Pal and watch it complete a task on the far side of the base — if it routes there and back, pathing is fine.
| Problem | Cause |
|---|---|
| Foundations will not place on water | Aquatic Construction Kit has not been crafted yet |
| Workbench or chest is blocked | It is being placed on open water instead of on a foundation |
| Roof tiers refuse to line up | An A-frame or overhang is facing inward instead of outward |
| Large Pals get stuck outside a building | A Japanese-Style Pal Passage Entrance was replaced with a solid wall |
| Outer villas are not counted as base | The Palbox is off-center, pushing part of the build outside its radius |
Once the pavilion, villas, and lighting are in, the base runs like any land settlement — production stations, Pal beds, and generators all behave normally, just several hundred meters out to sea.