The Nameless Captive sits at the bottom of a pit in Prisoner’s Domain, and the path to reach him runs through a prison, a flooded sewer, and a stretch of mud caves before you ever see his arena. He is a mandatory gate boss, so the route matters as much as the fight.
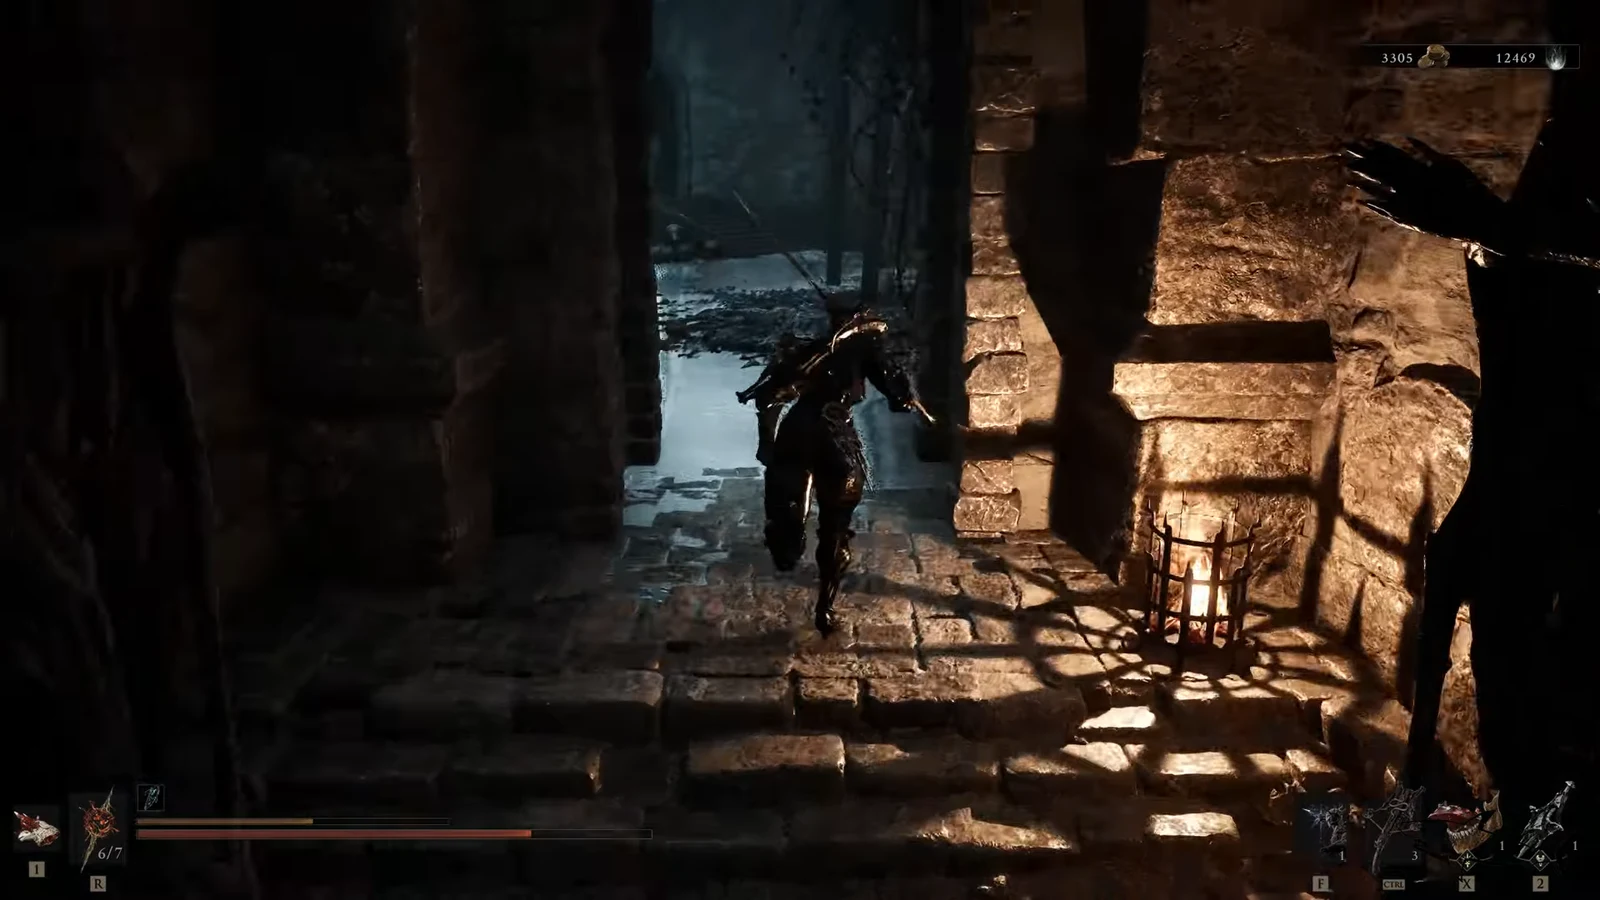
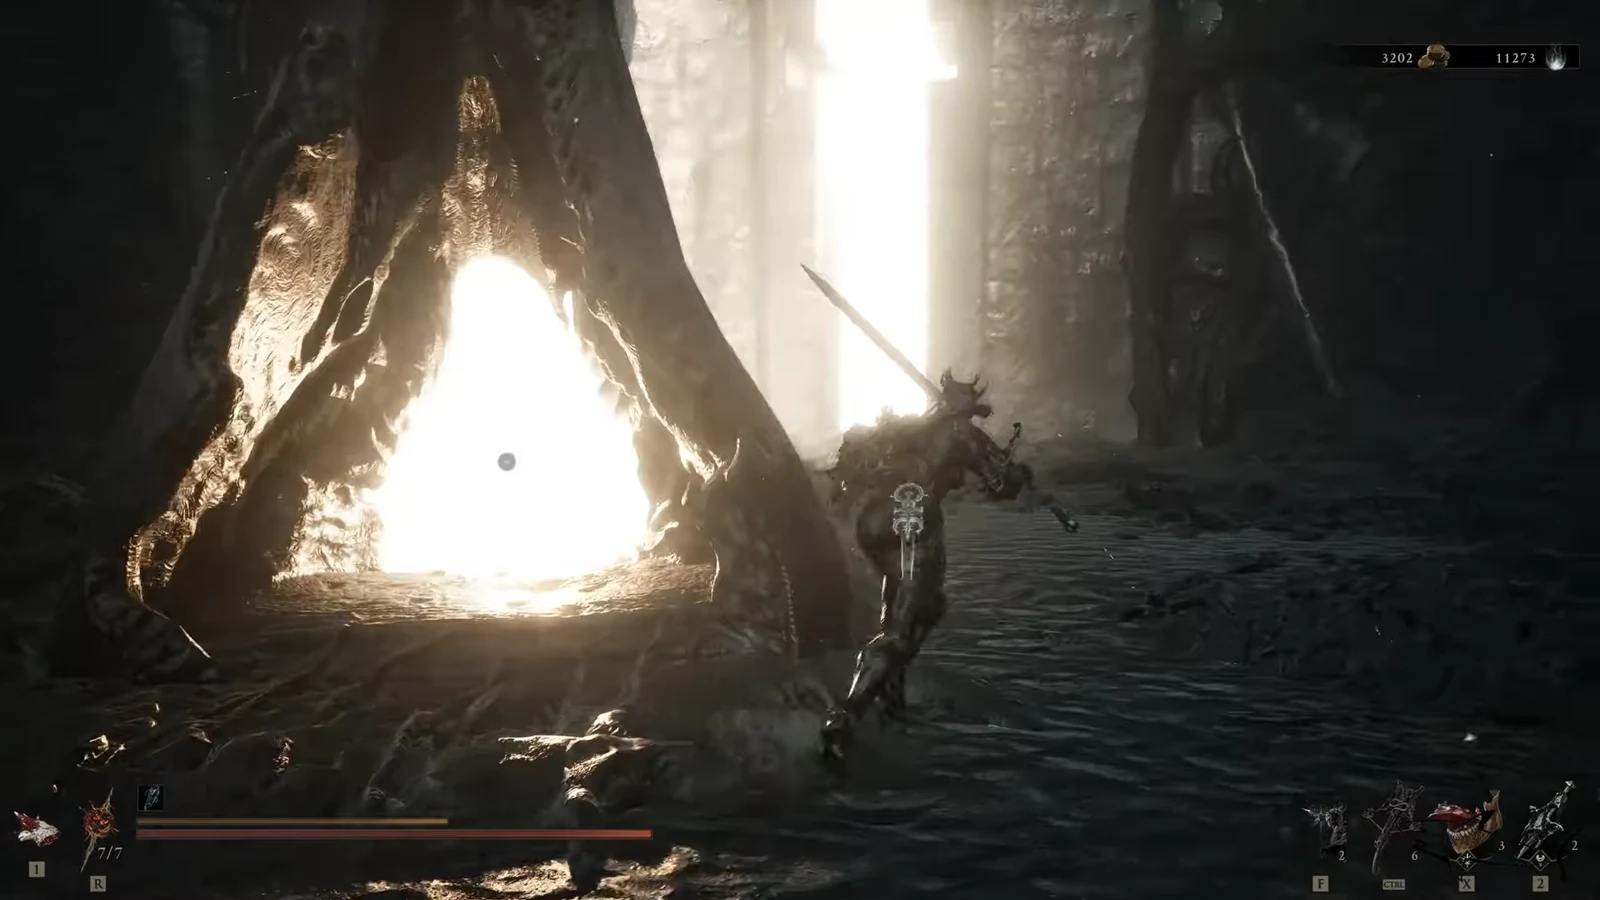
Quick answer: Start at the Nochtean Gate beacon, follow the linear path through Prisoner’s Way and the sewers to the Slumwater Drain beacon, cross the mud caves, ride the stone lift and kill Tishina’s Confessor, activate the Executioner’s Pulpit beacon, then walk out on the wooden crane beam and drop into the dark pit to trigger the fight.
Before you go: What unlocks the Prisoner’s Domain route
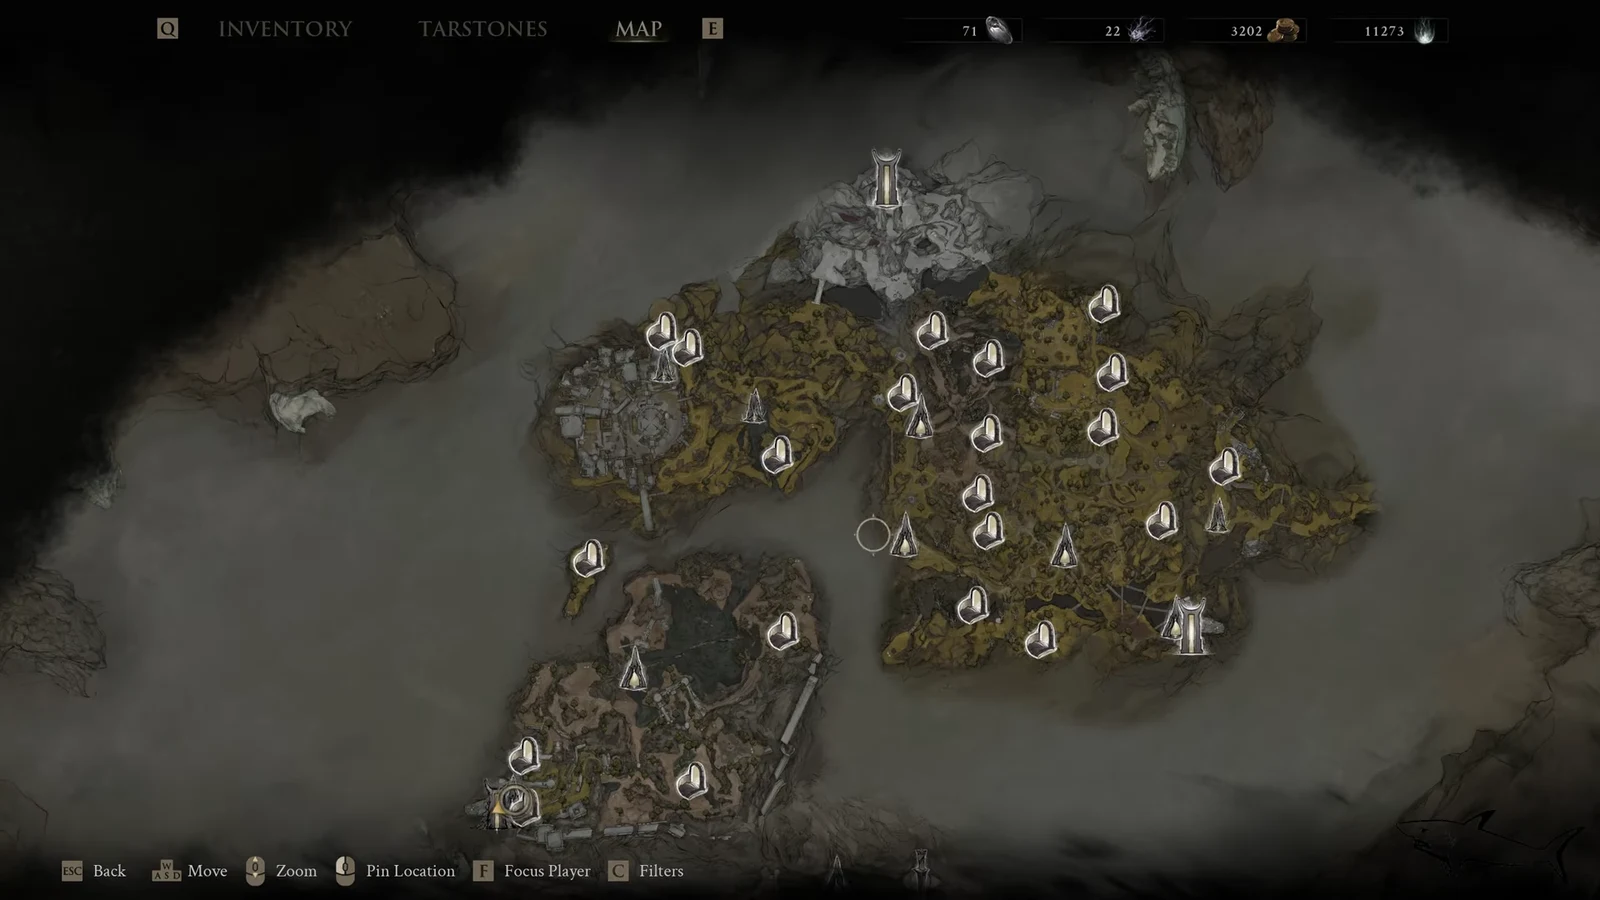
Prisoner’s Domain is one of the Corrupted Gates, and access runs through the Nochtean Gate beacon in Fainweald. Cleansing that beacon puts you in the Abandoned Shrine dungeon against Vrago, Solikar Champion, and beating him opens the way into the gate itself. If the white light portal at Nochtean Gate is not taking you anywhere, Vrago is still standing.
Two beacons sit on the path between the gate entrance and the boss, and both are worth lighting. The pit drop at the end is one-way, so anything you skip on the platform above stays skipped until you clear the fight.
| Checkpoint | Why it matters |
|---|---|
| Nochtean Gate | Entry point into the Corrupted Gate; the run starts here |
| Slumwater Drain | Mid-route beacon just past the sewers, behind a wooden barrier |
| Tishina’s Confessor | Mandatory sub-boss at the top of the stone lift |
| Executioner’s Pulpit | Last beacon before the arena; your respawn point for the fight |
Fastest route to the Nameless Captive boss arena
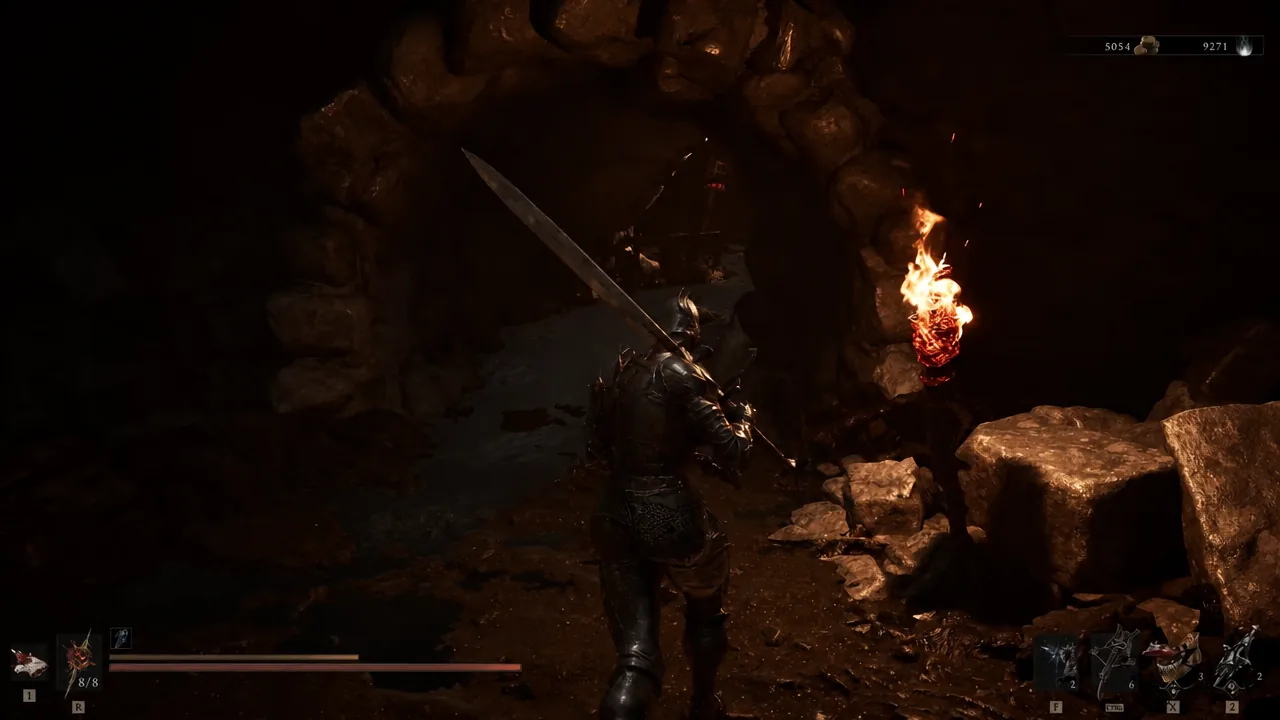
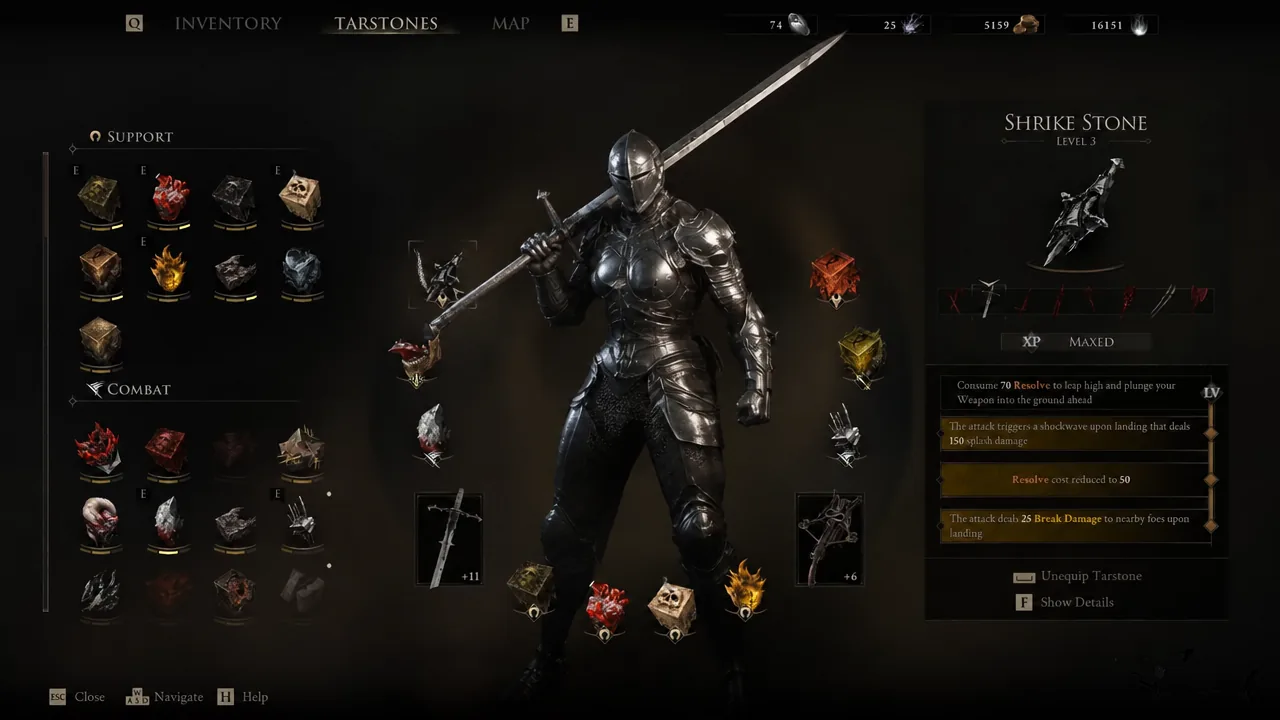
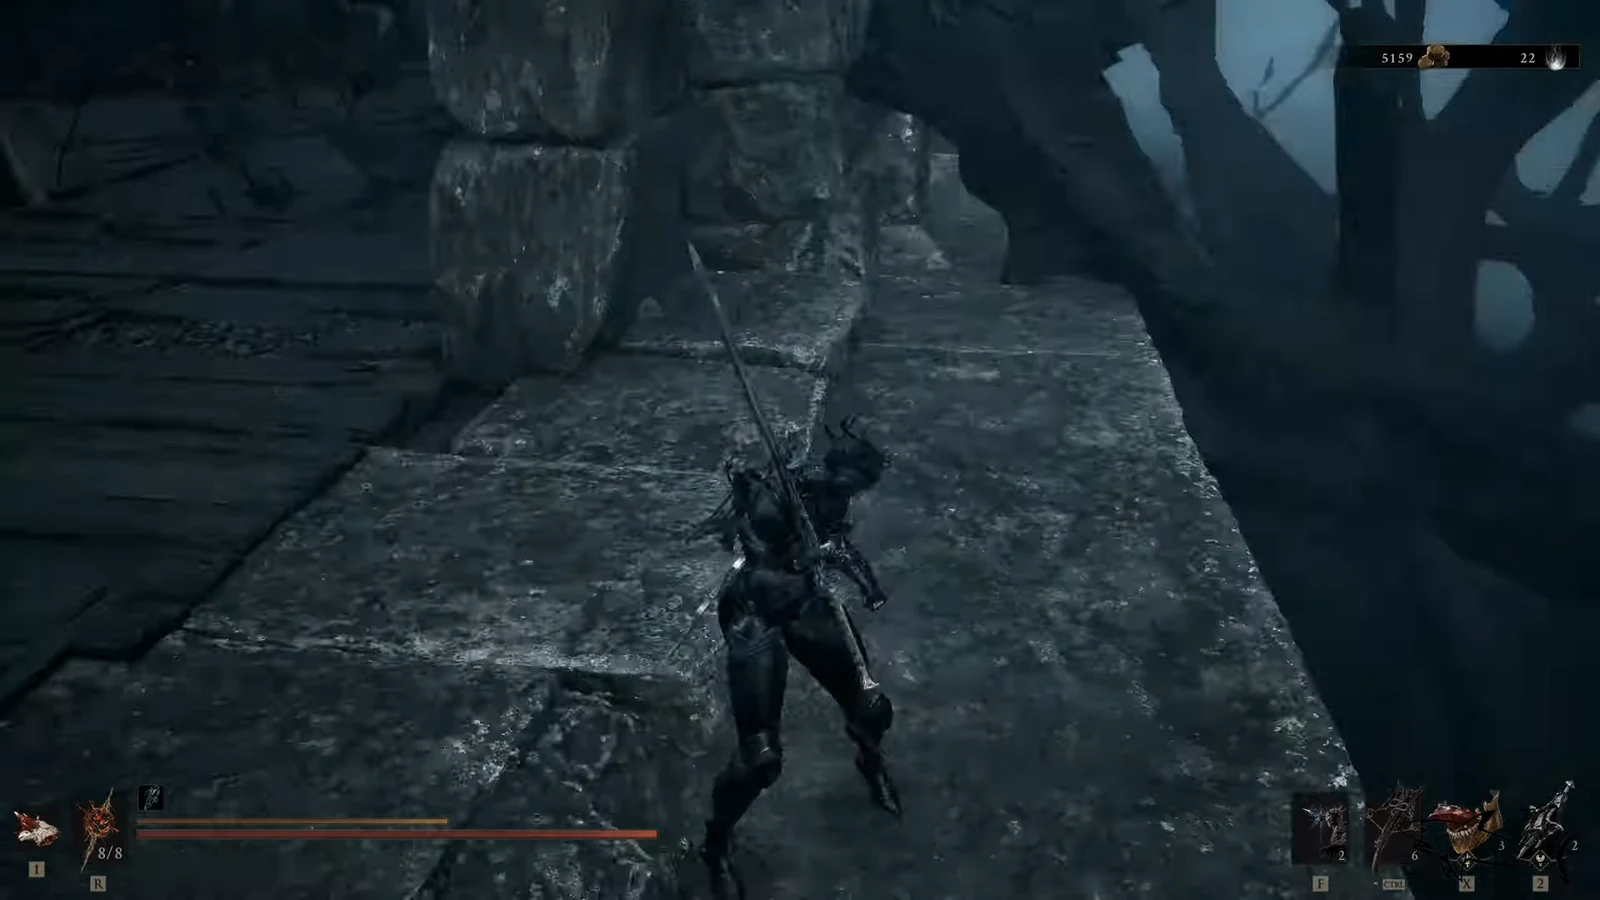
Do this on the platform before you drop
The beam drop is a commitment. Once you land, you are in a sealed arena with a boss that hits extremely hard, so handle the housekeeping while you are still above it.
- Light Executioner’s Pulpit first. Without it, a death sends you back much further along the route.
- Loot the Rupturing Stone chest. It sits at the end of the platform near Rok and is easy to walk past on the way to the beam.
- Summon Eredrim. The summon is set up at Rok, and having him pull aggro gives you room to heal and reposition once the fight starts.
Note: if the boss arena is nowhere to be found after clearing Tishina’s Confessor, you are almost certainly standing on the wrong side of the platform. The pillars on the left lead to the beacon, while the beam that drops you into the pit runs off the opposite end past the chest.
How to confirm the fight has started
Landing in the pit plays a cutscene introducing the Nameless Captive, a giant armless soldier with a sword driven through his skull and held in place by grown-over flesh. His health bar appears immediately afterward, and he uses that embedded sword as his weapon for the entire fight.
Bring him down and he drops the Captive’s Scabstone along with roughly 12,600 Gloom. The Scabstone spends 100 Resolve to swing your weapon in a wide arc against everything nearby. The kill also unlocks the Headcase achievement, with a second one, Peter’s Perfect Parry, tied to parrying every one of his headpin attacks in a single run.
With the Nameless Captive down, the Prisoner’s Domain gate is cleared and you are free to take on whichever remaining gate suits your build next.