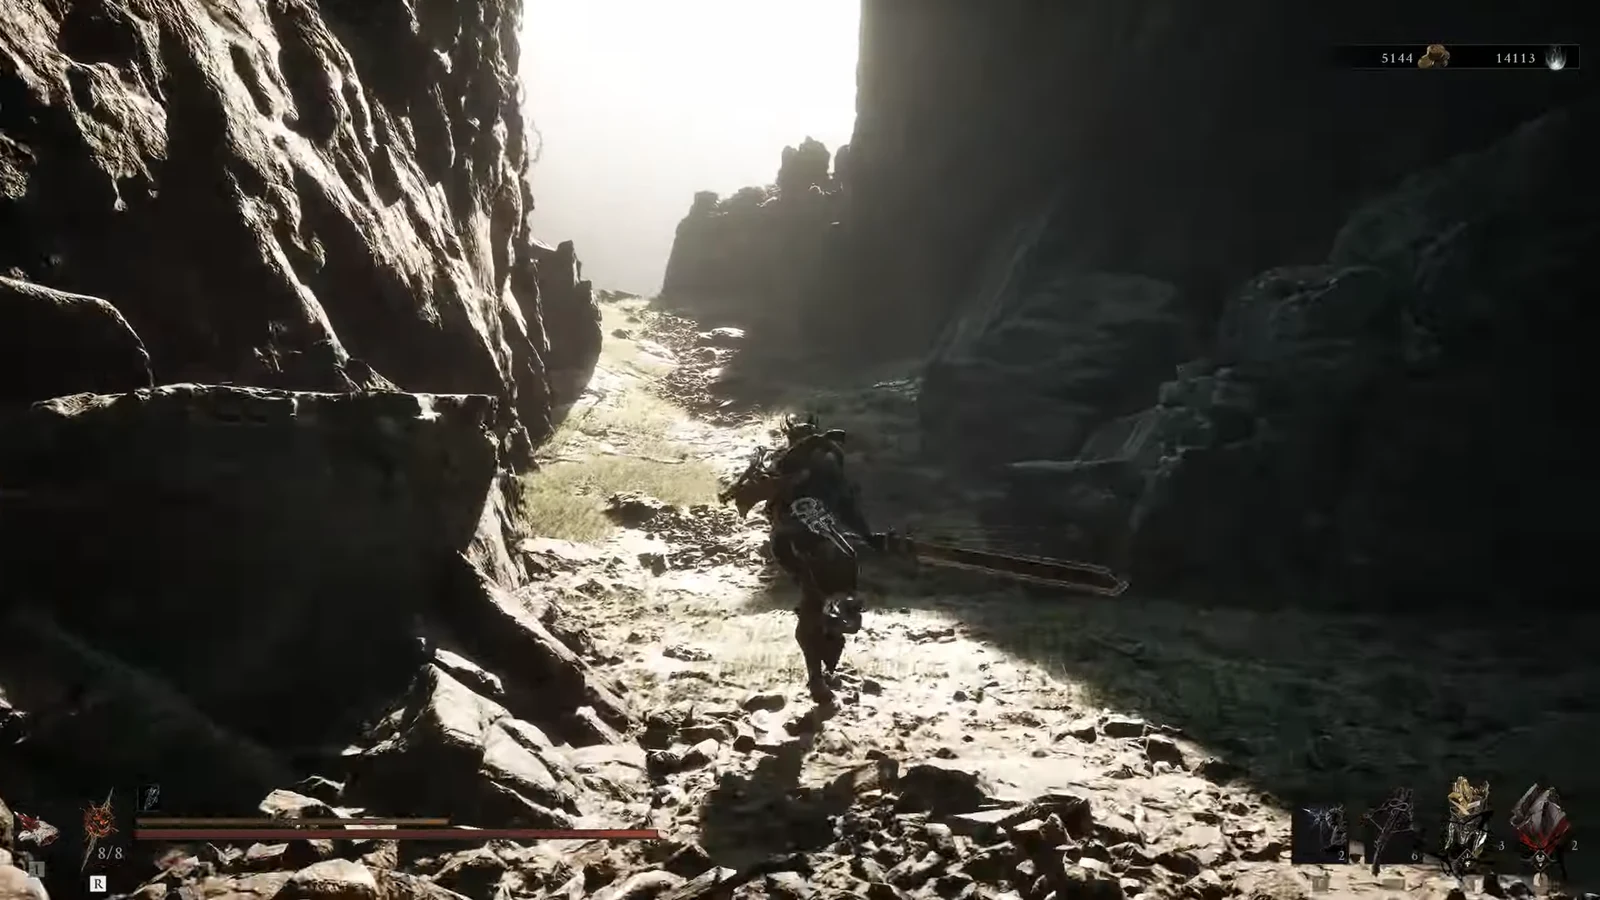
Confessor’s Keepsake is an Ability Tarstone that turns any compatible sidearm into a burst-damage tool. Slot it, spend Resolve, and the next shot lands far harder than a normal one. It comes from a single mini-boss inside the Prisoner’s Domain gate, and there is no alternate way to pick it up.
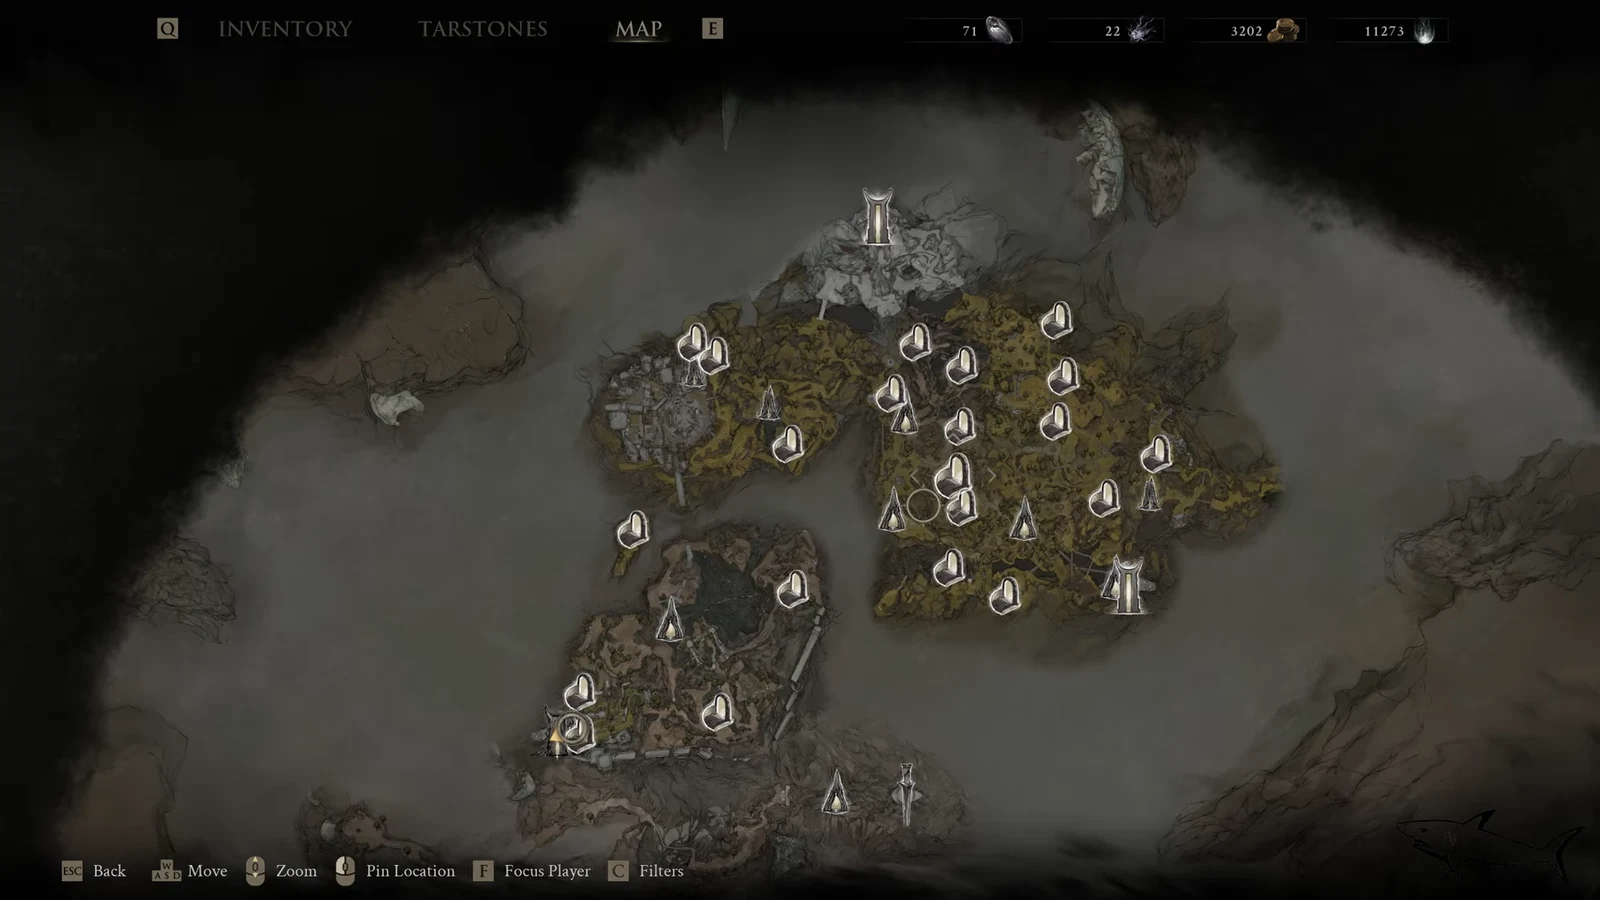
Quick answer: Cleanse the Nochtean Gate beacon in the Ruins of Nochte to open the gate, enter Prisoner’s Domain, and defeat the mini-boss Tishina’s Confessor near the Executioner’s Pulpit beacon. The Tarstone drops on his death.
What Confessor’s Keepsake does
The stone consumes 60 Resolve to charge your sidearm, then fires a single heavy shot. The damage multiplier scales as you level the Tarstone at the Tarforge, topping out at 350%.
| Property | Detail |
|---|---|
| Type | Ability Tarstone |
| Cost per use | 60 Resolve |
| Base effect | Charges the sidearm for one powerful shot |
| Max multiplier | 350% damage at full upgrade |
| Source | Tishina’s Confessor, Prisoner’s Domain |
Note: the intermediate damage tiers move between 200% and 350% as the stone levels up, so the number you see in the menu depends on how far you have taken it at the Tarforge. Only the level 1 behavior and the 350% ceiling are fixed.
Which sidearms can equip it
Confessor’s Keepsake is restricted to four sidearms. If your current weapon is not on the list, the stone will not appear as an option in the equip menu.
| Sidearm | Why it pairs well |
|---|---|
| Naylshotte | Short-range spread; the charged blast makes its point-blank burst far more lethal |
| Forgotten Crossbow | Long range and accuracy, so the expensive shot rarely misses |
| Ballistazooka | Already a heavy single shot; the multiplier stacks on top |
| Cursed Child | Close to medium range utility option |
How to reach Tishina’s Confessor in Prisoner’s Domain
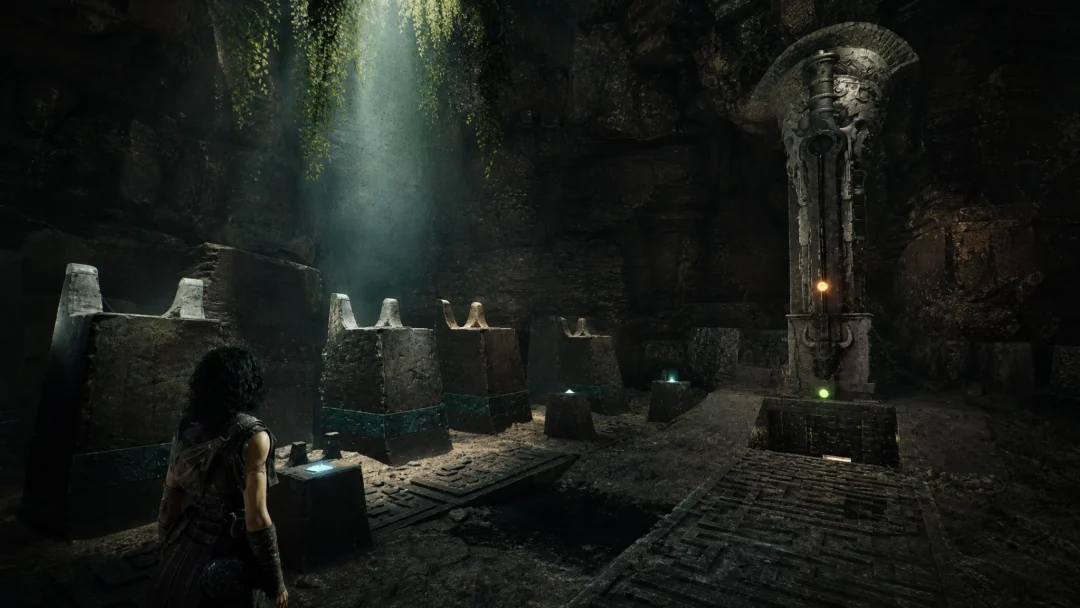
Prisoner’s Domain sits behind the northwest gate in Fainweald. Like every gate, it stays sealed until you cleanse the beacon that belongs to it, and the mini-boss lives deep enough inside that you will want a checkpoint on the way.
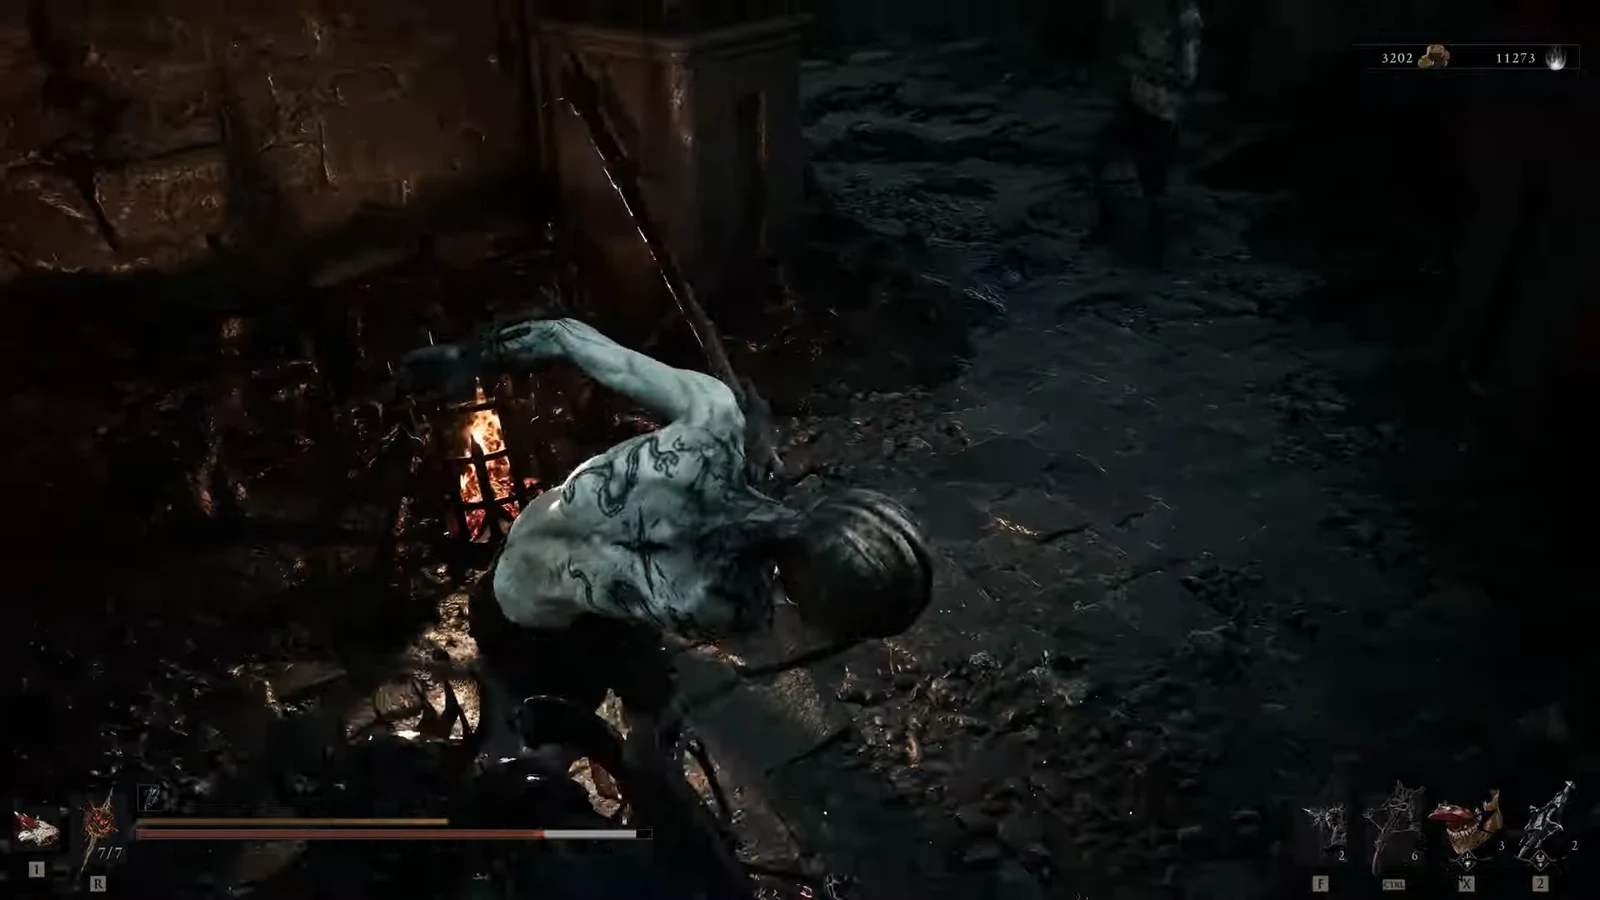
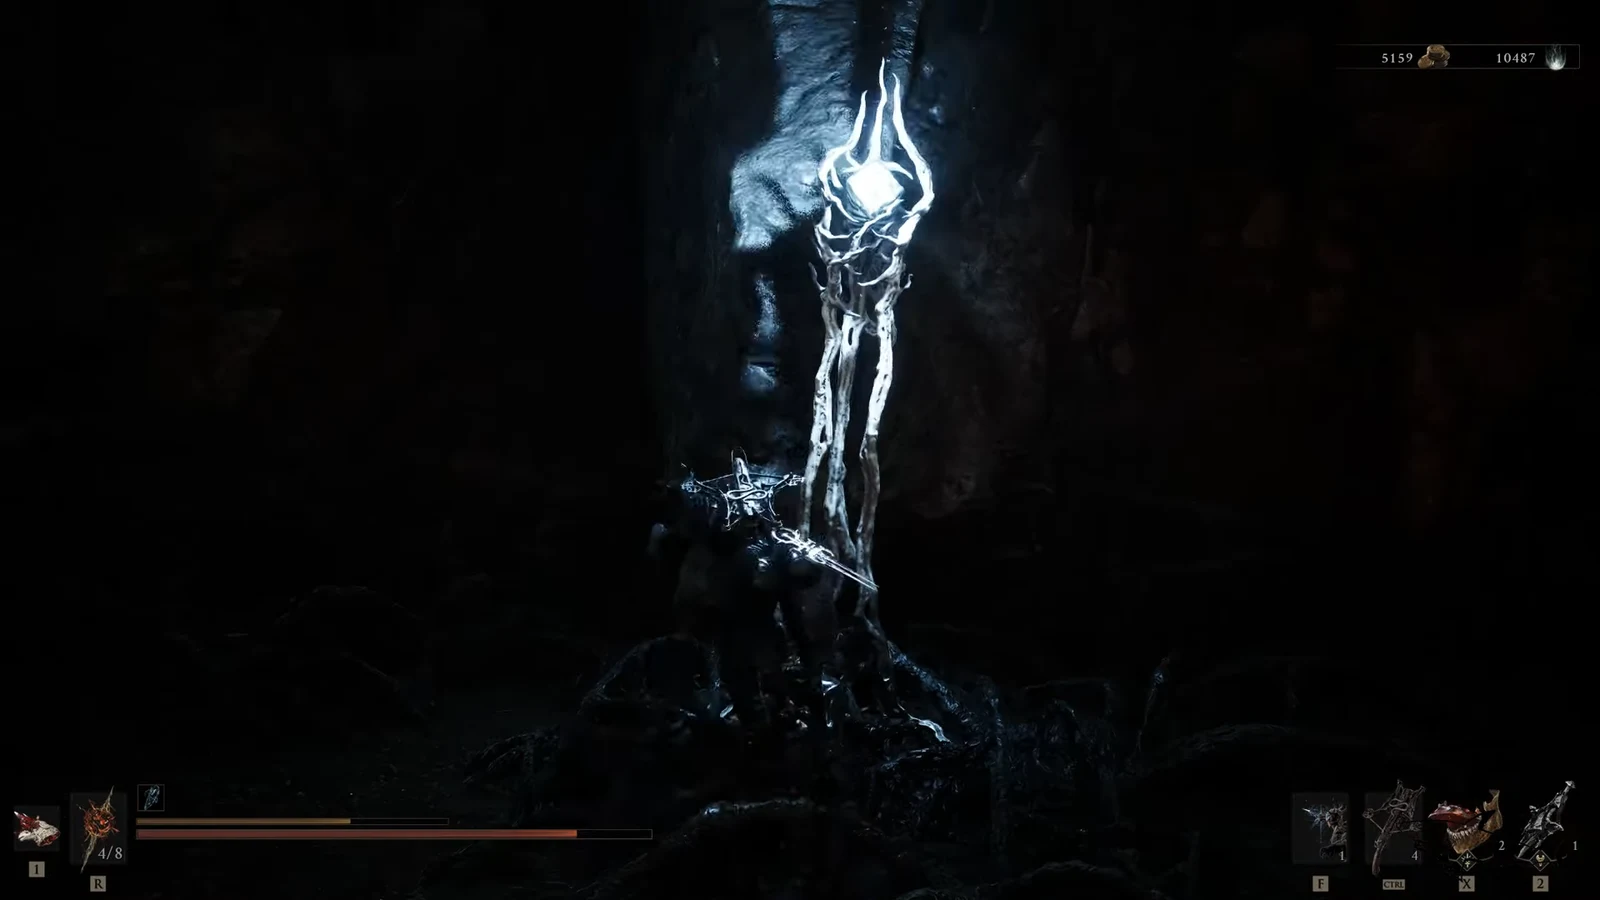
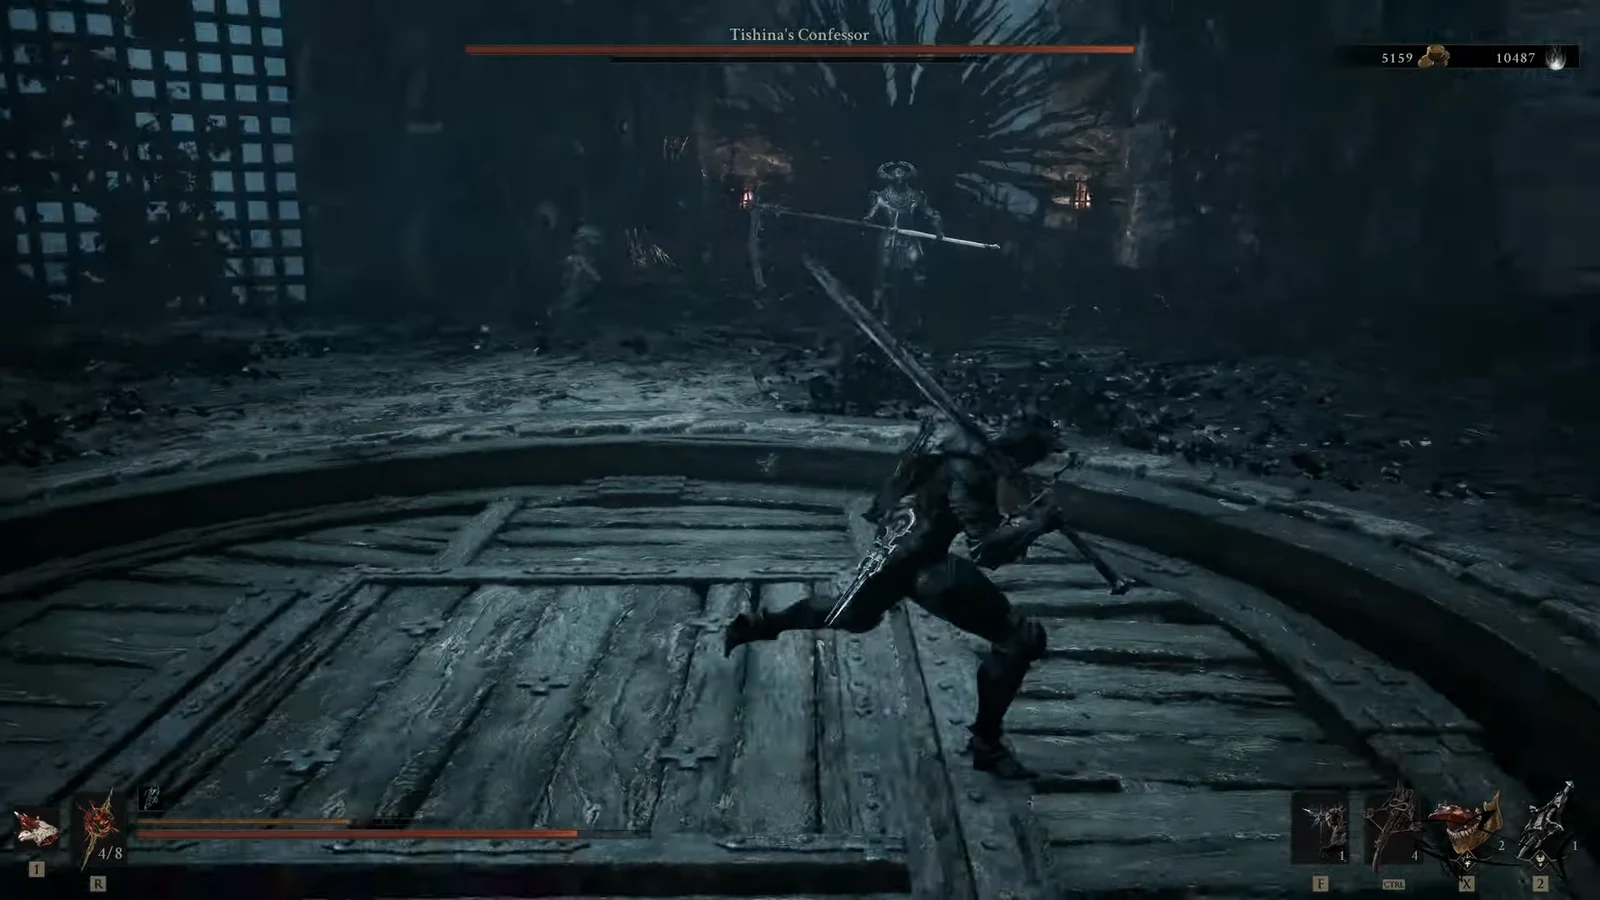
If you want the fight over quickly, bring a leveled Shrike Stone. At level 3 it burns the Confessor down in very few exchanges, which matters because the arena gives you little room to reset.
How to confirm you got the Tarstone
The drop is automatic on the Confessor’s death, with no chest to open and no follow-up interaction. Open your inventory and look under Tarstones, filtered to Ability. Confessor’s Keepsake will read “LEVEL 1” with the description line about consuming 60 Resolve to charge your sidearm.
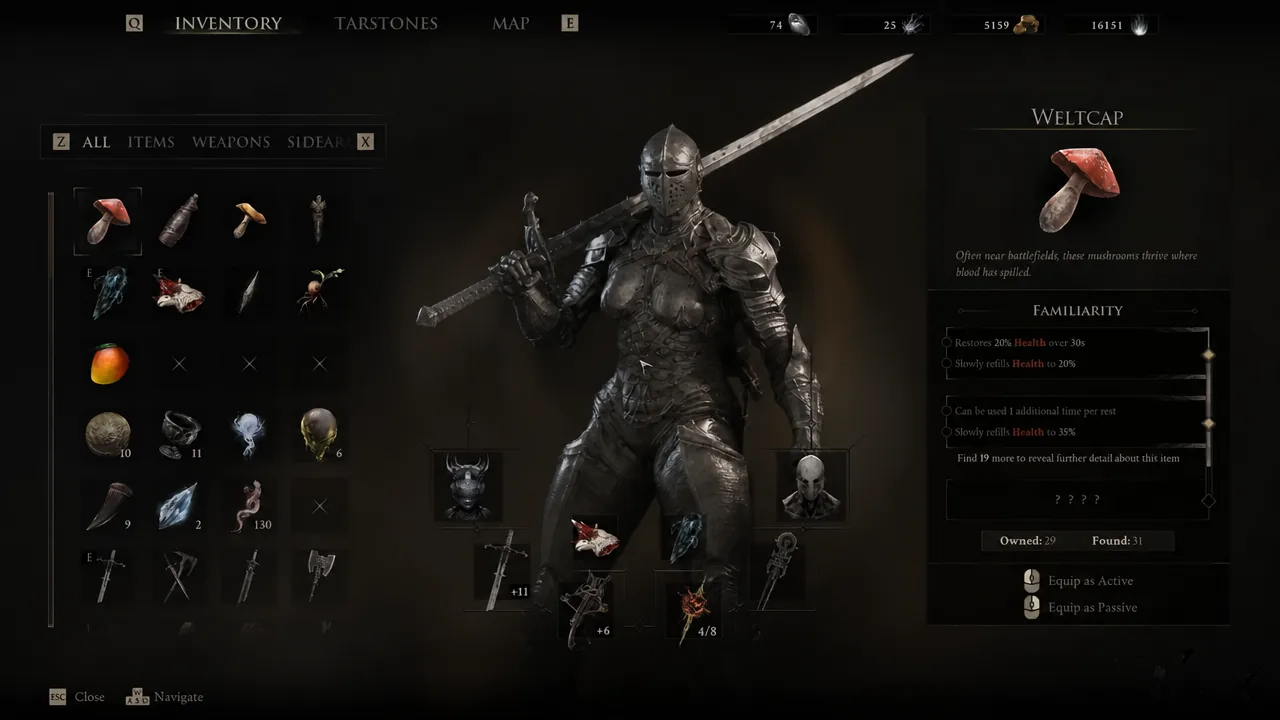
If it is not there, the fight was not finished. The only common reason the pickup fails is dying mid-encounter and fast-travelling away, which resets the mini-boss and leaves nothing behind.
Upgrading it to the 350% charged shot
The Tarstone arrives at level 1 and needs two things before it can climb: an unlocked upgrade bench and experience earned in combat.
At that point the shot is worth the 60 Resolve, but only if you can afford to spend it. The charge locks you in place for a moment, so it works best on a staggered boss or an enemy you have already opened up, rather than as an emergency button in the middle of a crowd.