The Ironpiercer’s Stone is one of the few Combat Tarstones in Mortal Shell 2 that changes how your Sidearm behaves rather than how much damage it does. Instead of stopping at the first body it hits, a projectile keeps travelling through a line of enemies, which turns corridors and choke points into free damage.
Quick answer: Cleanse the Nochtean Gate beacon to open the Corrupted Gate, cleanse the Slumwater Drain beacon on the other side, then work through the Central Sewers and the poison tunnels until you reach a broken bridge. Jump the gap and loot the stone from the altar at the end.
Ironpiercer’s Stone effects and pierce limits
This is a Combat-type Tarstone and it slots into a Sidearm only. The base effect is simple, with projectiles punching through enemies rather than stopping on impact. What upgrading changes is the number of bodies a single shot can pass through before it dies.
| Level | Effect |
|---|---|
| Level 1 | Projectiles pierce up to 3 foes before stopping |
| Level 2 | Projectiles pierce up to 4 foes before stopping |
| Level 3 | Projectiles pierce up to 5 foes before stopping |
It will not attach to every ranged weapon. The stone is limited to the Sidearms below, so check what you have equipped before you plan a build around it.
| Compatible Sidearms |
|---|
| Ballistazooka |
| Caged Hystrix |
| Forgotten Crossbow |
| Naylshotte |
| Salvaged Trebuchaxe |
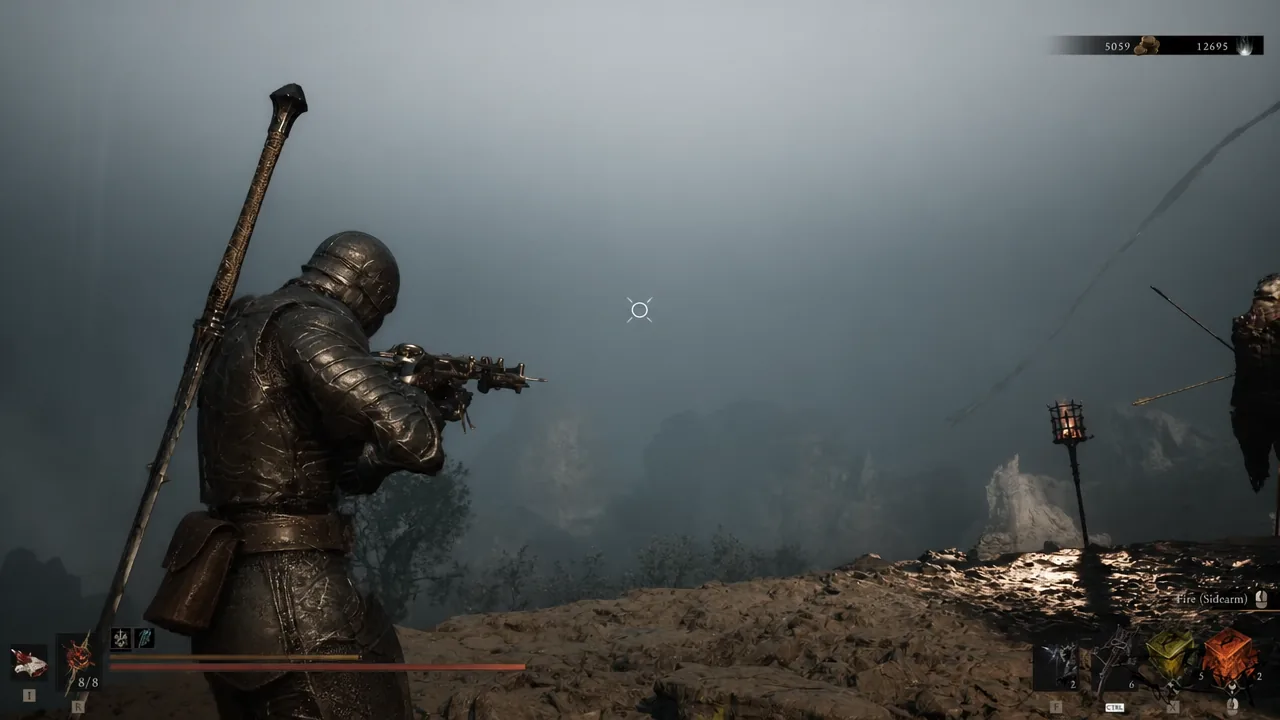
The value is highest when enemies stack up behind each other, which happens constantly in tunnels, doorways, and on bridges. Line the shot up along the group instead of firing at whoever is closest.
Opening the Corrupted Gate and reaching Slumwater Drain
You cannot walk into the dungeon that holds the stone straight away. The path runs through a Corrupted Gate, and that gate only opens once the beacon tied to it has been cleansed.
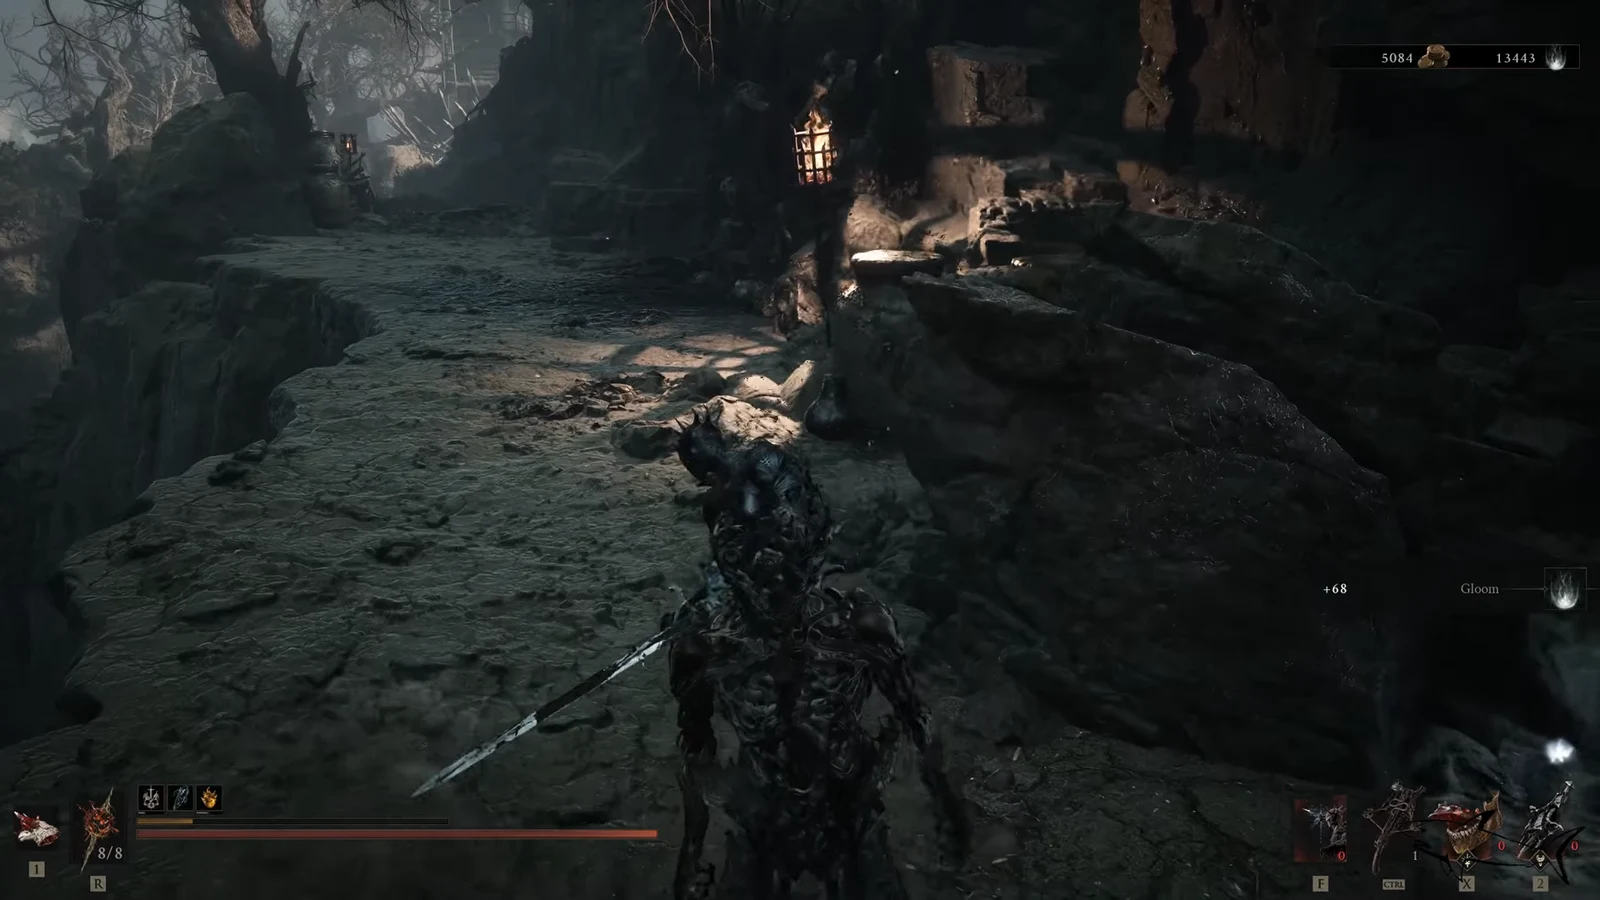
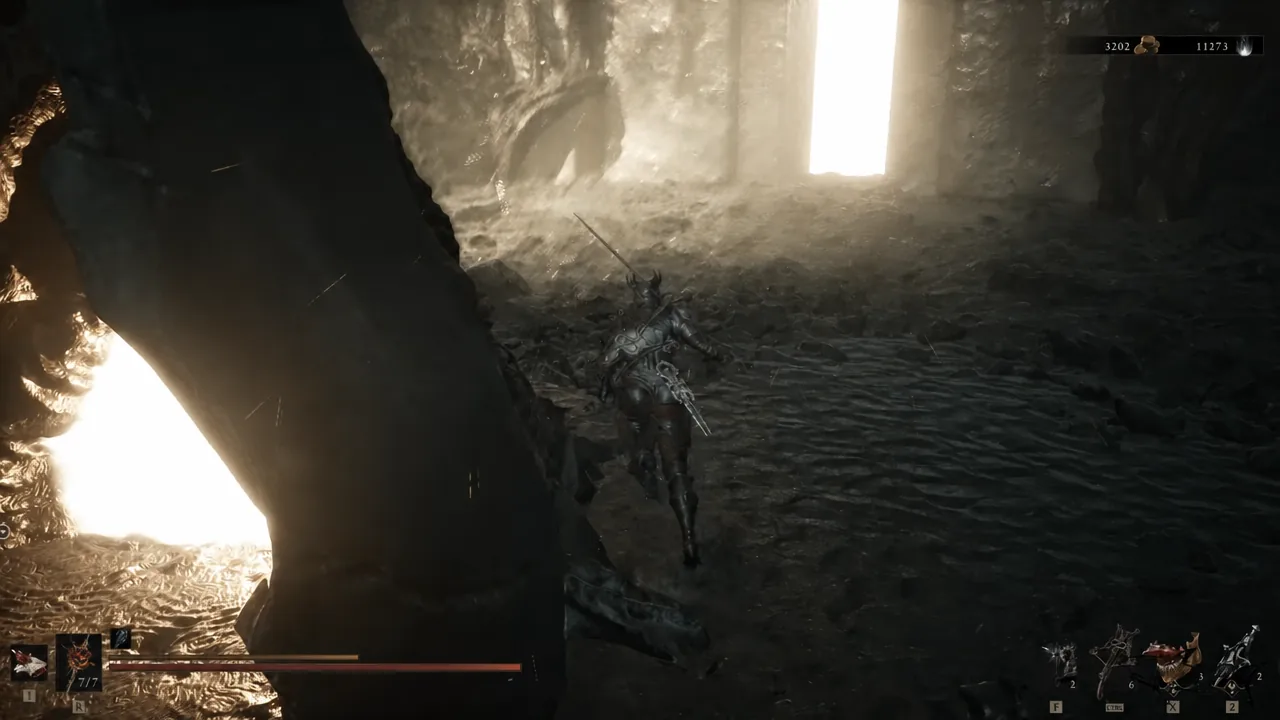
Central Sewers route to the Ironpiercer’s Stone altar
Inside, the dungeon opens into the Central Sewers. The layout hides a lot behind breakable surfaces, and the second half is flooded with poison, so treat the two halves differently.
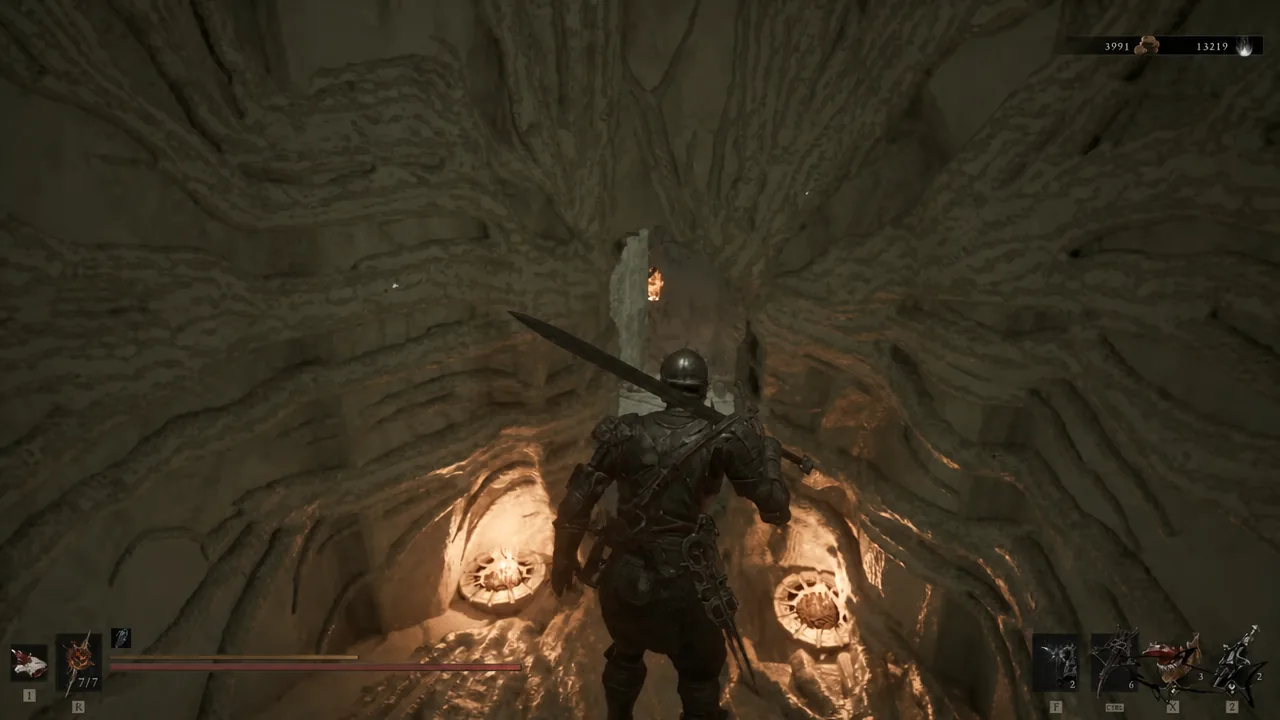
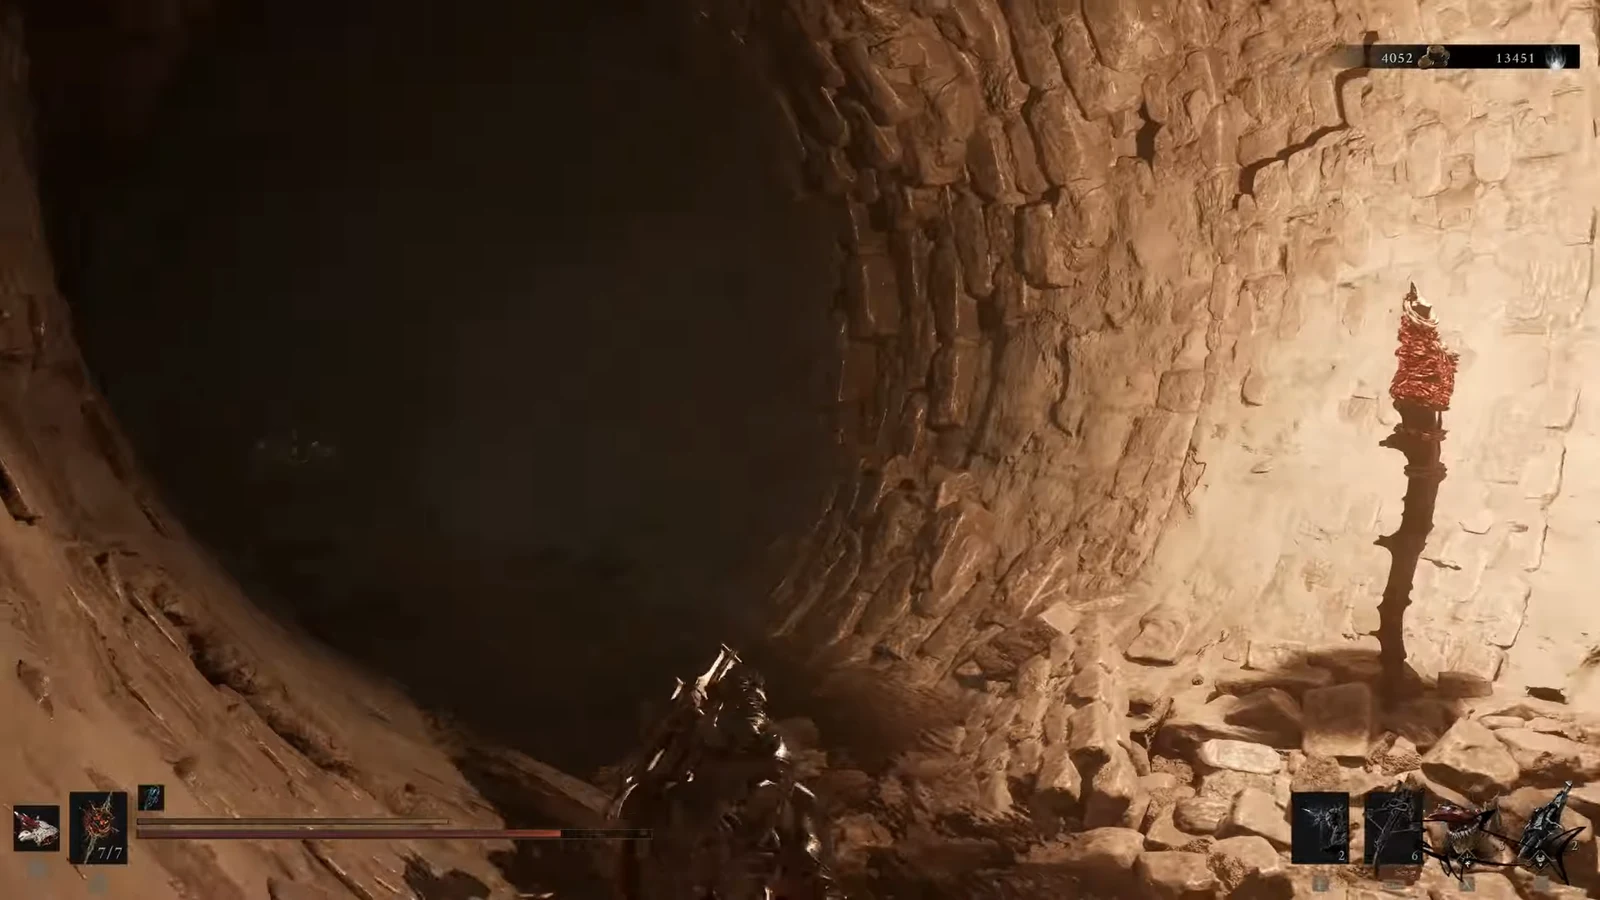
Optional pickups on the same run
There is a Synaptic Vessel tucked away in the same dungeon, and it is easy to walk past. A wooden bridge above the route can be shot down with your Sidearm, dropping it into place as a walkway. Cross it, grab the Vessel, and then rejoin the main path.
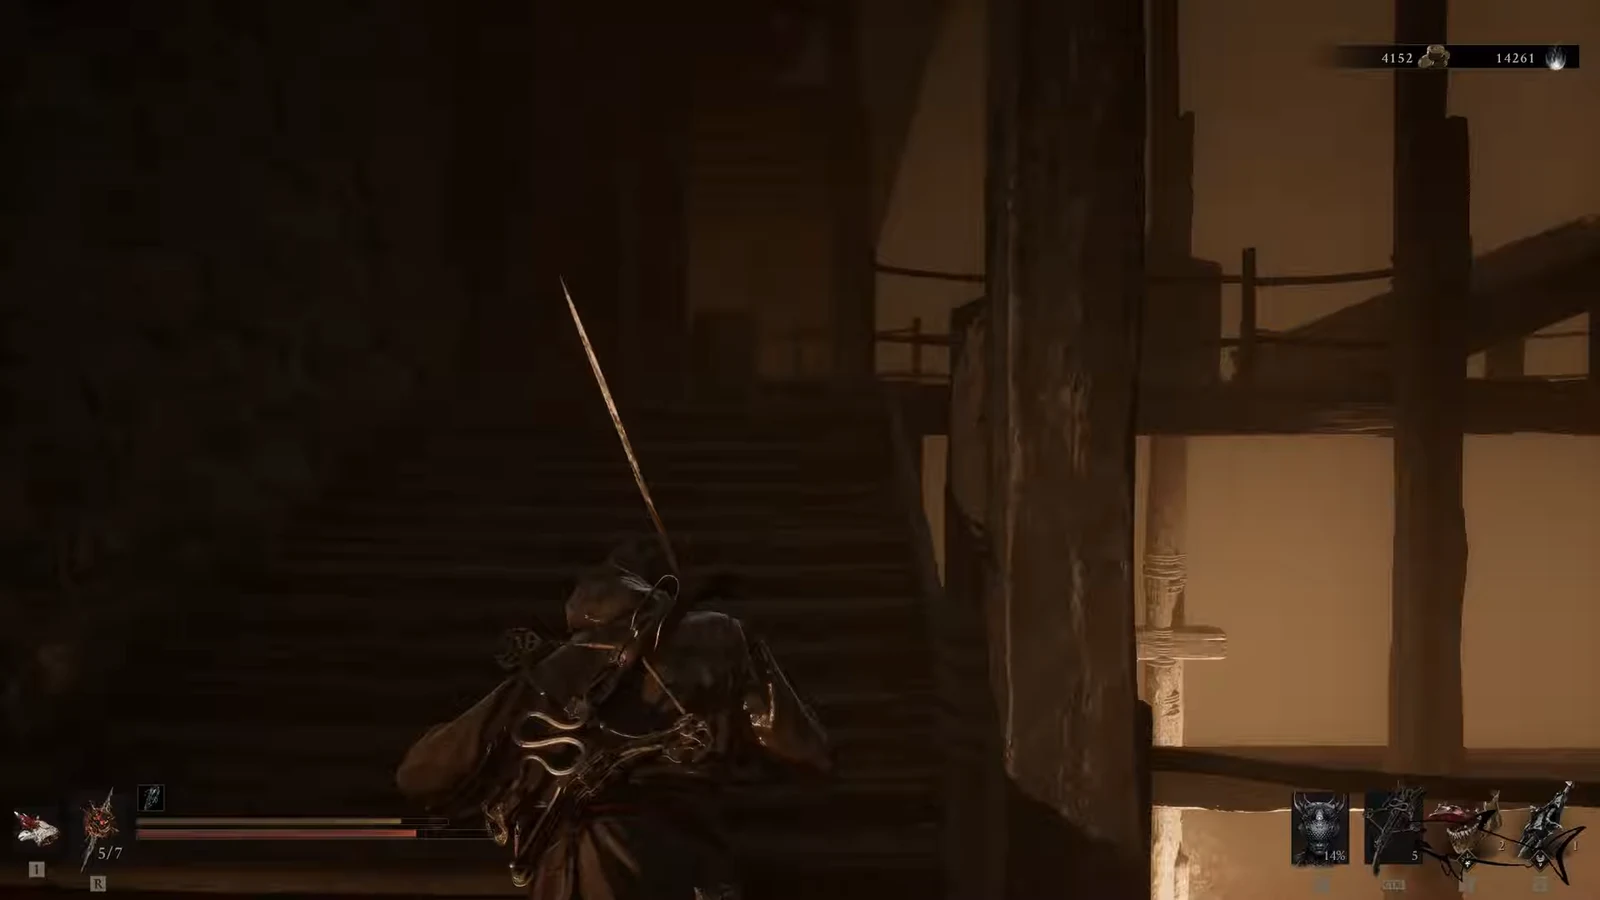
The Sheephead Totem sits behind one of the broken walls earlier in the Central Sewers. Neither pickup is required to reach the Tarstone, but both are on the same trip.
How to equip the Ironpiercer’s Stone and confirm it is active
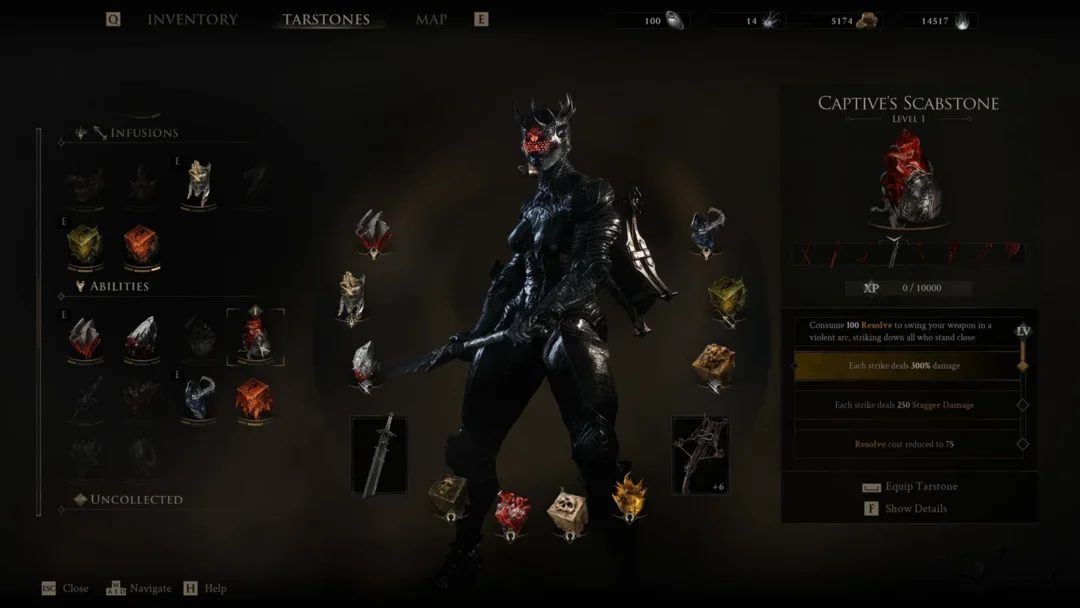
Picking the stone up does nothing on its own. Open the Tarstones menu, select a Combat slot, and infuse it into a compatible Sidearm. You have two Combat slots in total, so it competes with the other Sidearm-based Combat stones you are carrying.
You will know it worked from the item card, which reads Projectiles pierce through enemies along with the current pierce cap. In combat, the confirmation is visual. Fire into two or more enemies standing in a line and the shot should register on the ones behind the first.
Note: if the effect appears to do nothing, check that the stone is actually slotted into a compatible Sidearm rather than sitting in your inventory. It will not attach to your primary Weapon or shell.
Raising the pierce cap at the Tarforge
Upgrades run through Franz at the Tarforge in Marrow Keep, but the option is locked until you hand him the Etching Needle. That quest item sits in a bone chest just before the fight with Magdalena, the Lady of the Woods. When you spot Ruk past the bridge, turn right and check the small alcove.
After Franz has it, the stone still needs experience of its own. Keep it equipped and kill enemies until the XP bar fills, then return to the Tarforge and pay Coin to move it to the next level. Each level adds one more enemy to the pierce chain, topping out at five.
At Level 3, a single well-aimed shot from something like the Ballistazooka or the Forgotten Crossbow can clear a whole packed hallway, which is exactly the situation the Slumwater Drain tunnels keep throwing at you on the way back out.