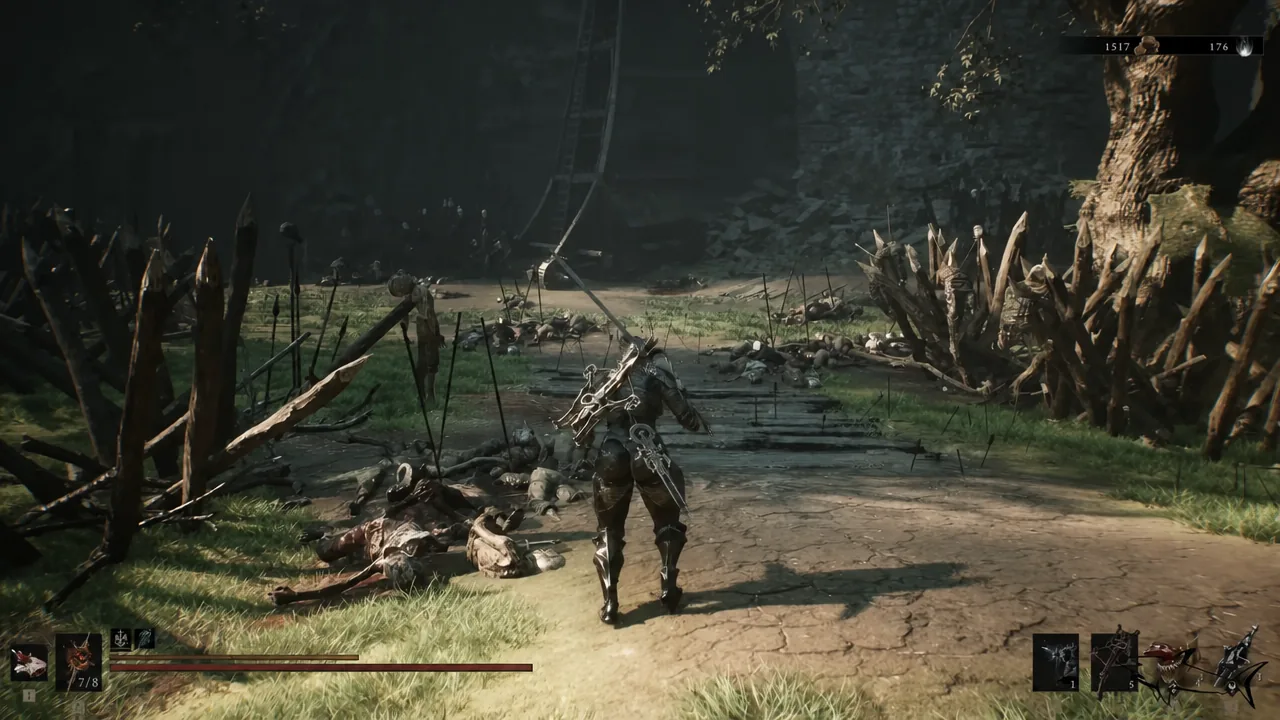
The stretch of Mammon that runs from the Outskirts through Sester’s Refuge and down into Revenant Graves hides more than it advertises. Three Tarstones, two bosses, a locked key item, a map pickup, and the eighth Shell all sit inside one loop that you can clear in a single trip if you know the order.
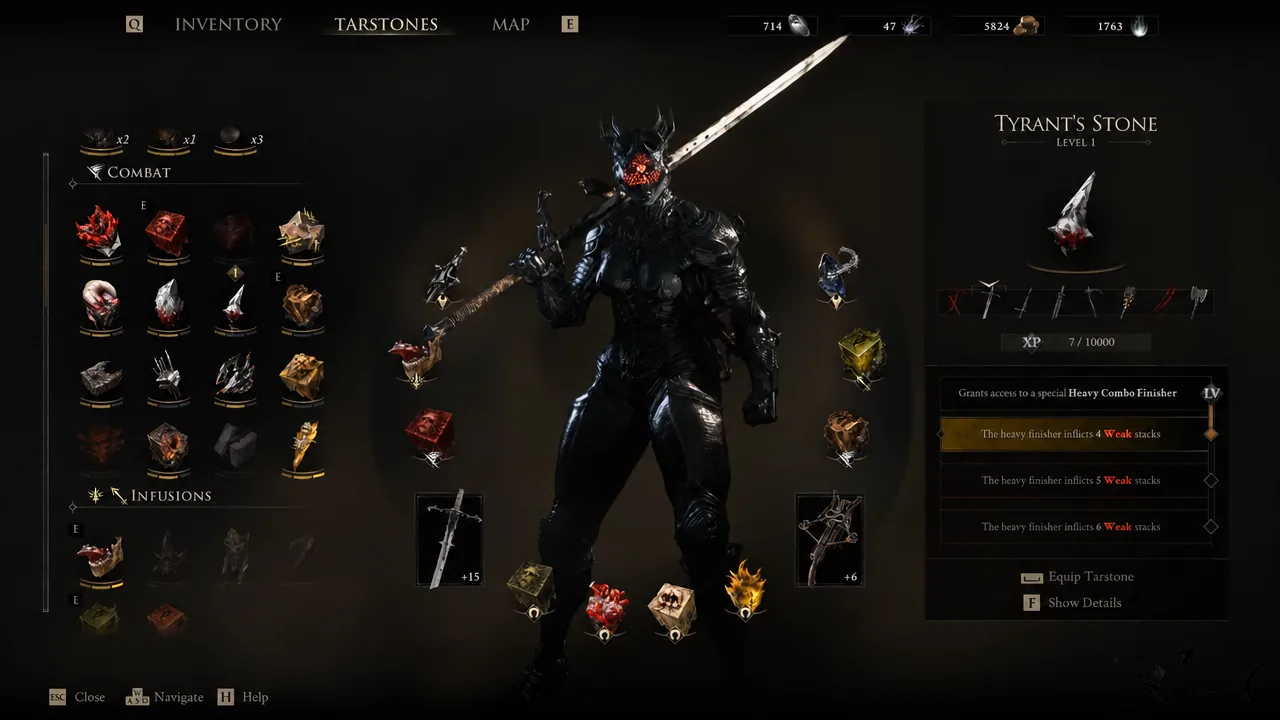
Quick answer: Break the hidden wall in the tombs past the Outskirts of Mammon beacon for the Tyrant’s Stone, take the Strange Village Key from the hanging cage in Kingdom of Fools and kill Bor, the Deluded Monarch for the Monarch’s Vestige, light the three candles in the Sester’s Refuge ruins for the Nightgrasp Stone, then touch the censer at the back of Revenant Graves, defeat Sester Secundus, and hand Sester’s Censer to Sester Genessa in Marrow Keep.
Everything you can collect in Revenant Graves and Sester’s Refuge
Nothing here is missable. Free roam continues after the final boss, so anything you skip on the first pass can be picked up later. Still, the pickups chain together neatly, and doing them in this order saves a lot of backtracking.
| Pickup | How you get it |
|---|---|
| Tyrant’s Stone | Tomb inside a hidden room behind a breakable wall in the stone tombs |
| Strange Village Key | Hanging cage in Kingdom of Fools, below the Abbey Entrance beacon |
| Monarch’s Vestige | Dropped by Bor, the Deluded Monarch |
| Map of Mammon [1] | Statue past the wooden bridge in Sester’s Refuge |
| Blackmarrow Key | Tomb reached by the wooden scaffolding near the Sester’s Refuge beacon |
| Nightgrasp Stone | Tomb that opens after all three ruin candles are lit |
| Sester’s Censer | Awarded automatically for beating Sester Secundus |
| Sester Genessa (Shell) | Offer Sester’s Censer to Genessa in Marrow Keep |
Tyrant’s Stone location: the breakable wall past the Outskirts of Mammon
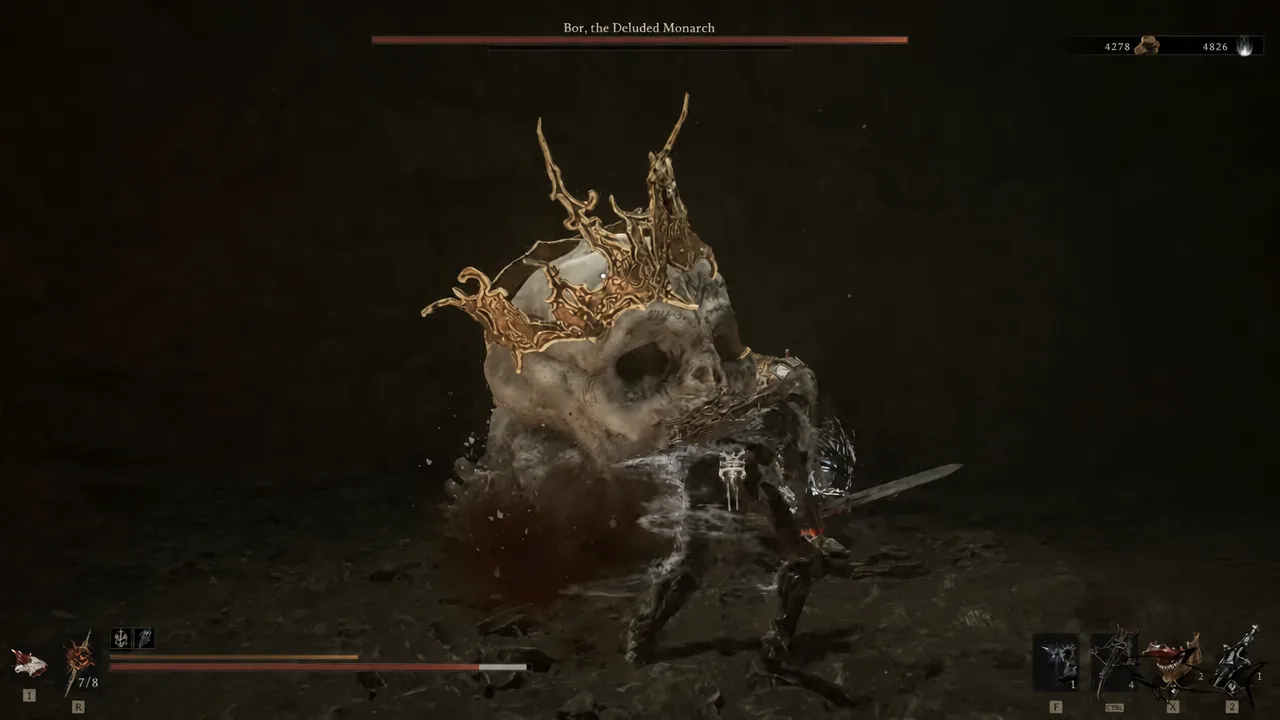
Strange Village Key and the Bor, the Deluded Monarch fight
Cleansing the Abbey Entrance beacon opens the way into it. Inside there’s a tomb worth opening and a lift that carries you down into Kingdom of Fools, a village pocket packed with hostile locals.
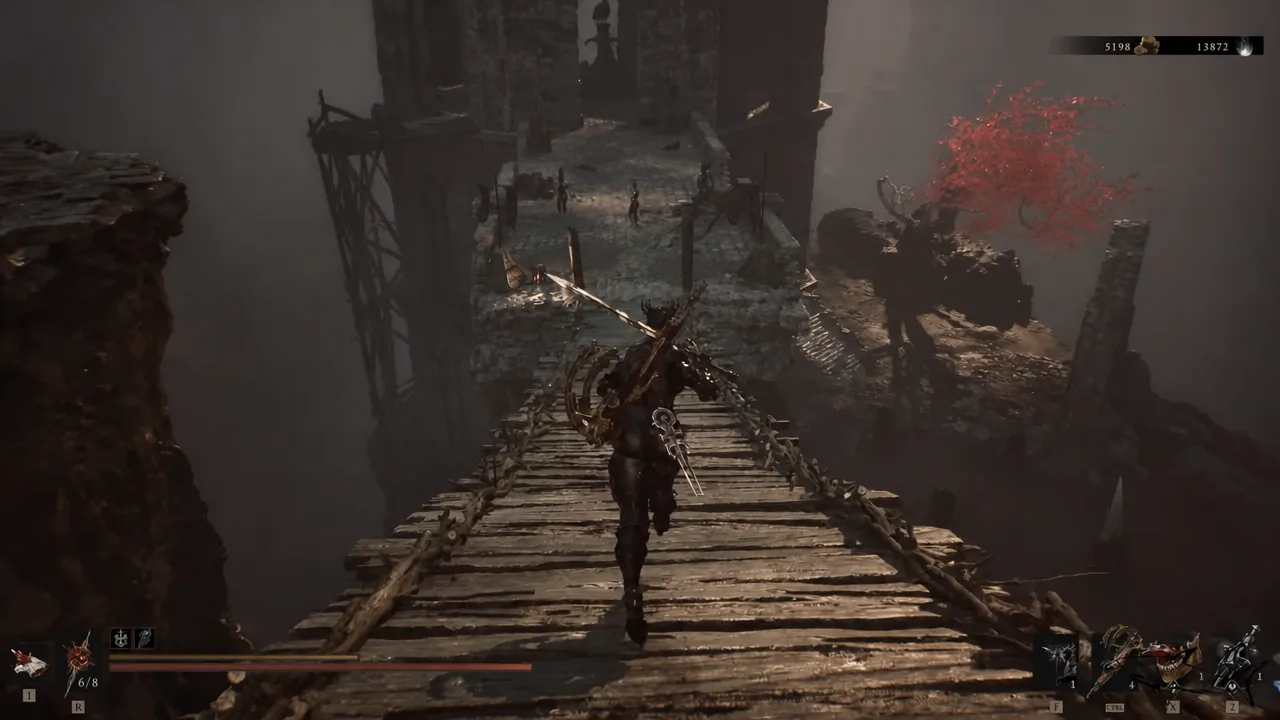
Sester’s Refuge: beacon, Map of Mammon [1], and the Blackmarrow Key
Sester’s Refuge is the red-leafed ruin district above the graves. Fight your way through the stone ruins until you find its beacon and cleanse it, because everything else in this area is easier to reach from that respawn point.
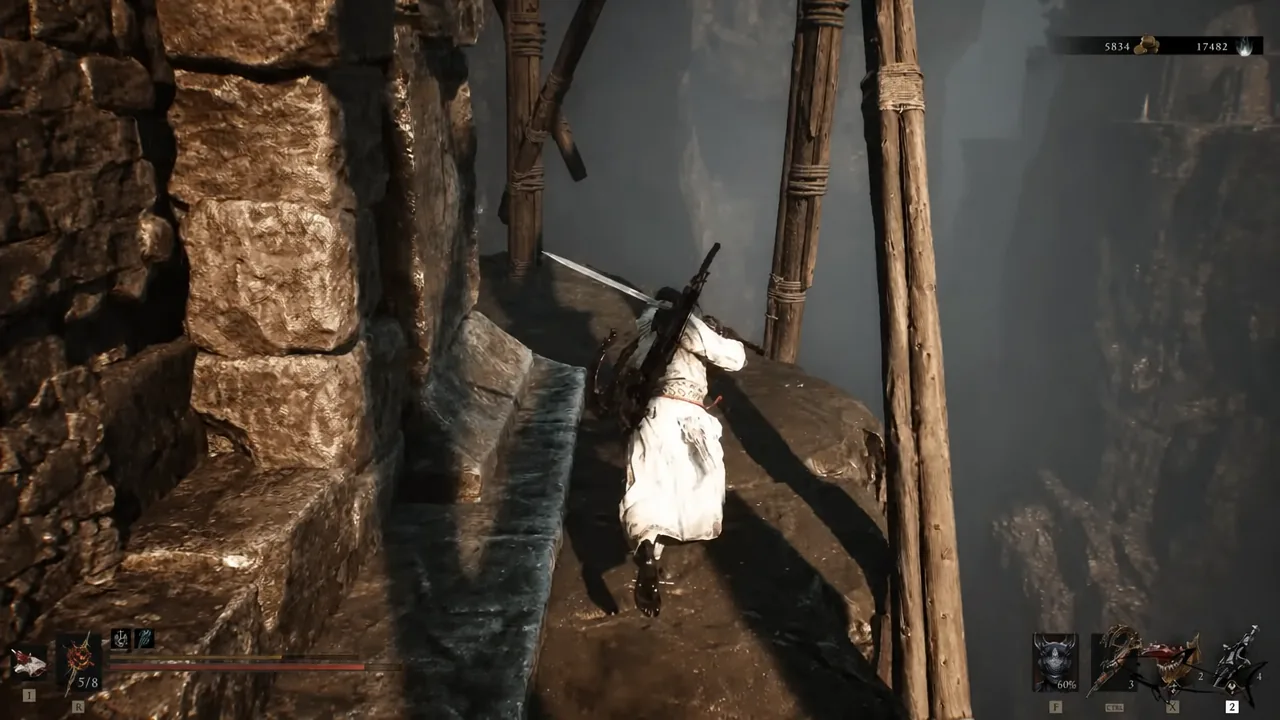
Nightgrasp Stone: light all three candles in the ruins
The last Tarstone in the area sits inside a tomb that stays sealed until a small candle puzzle is finished. The three candles are scattered around the same ruin complex, not clustered together, so sweep the upper walkways and the ground level rather than circling one building.
Once the third candle is lit, head into the building at the centre and open the tomb inside. That gives you the Nightgrasp Stone, and it appears in your Tarstones list the same way the other two did. If the tomb still refuses to open, one candle is unlit somewhere in the ruins.
Revenant Graves and the Sester Secundus fight
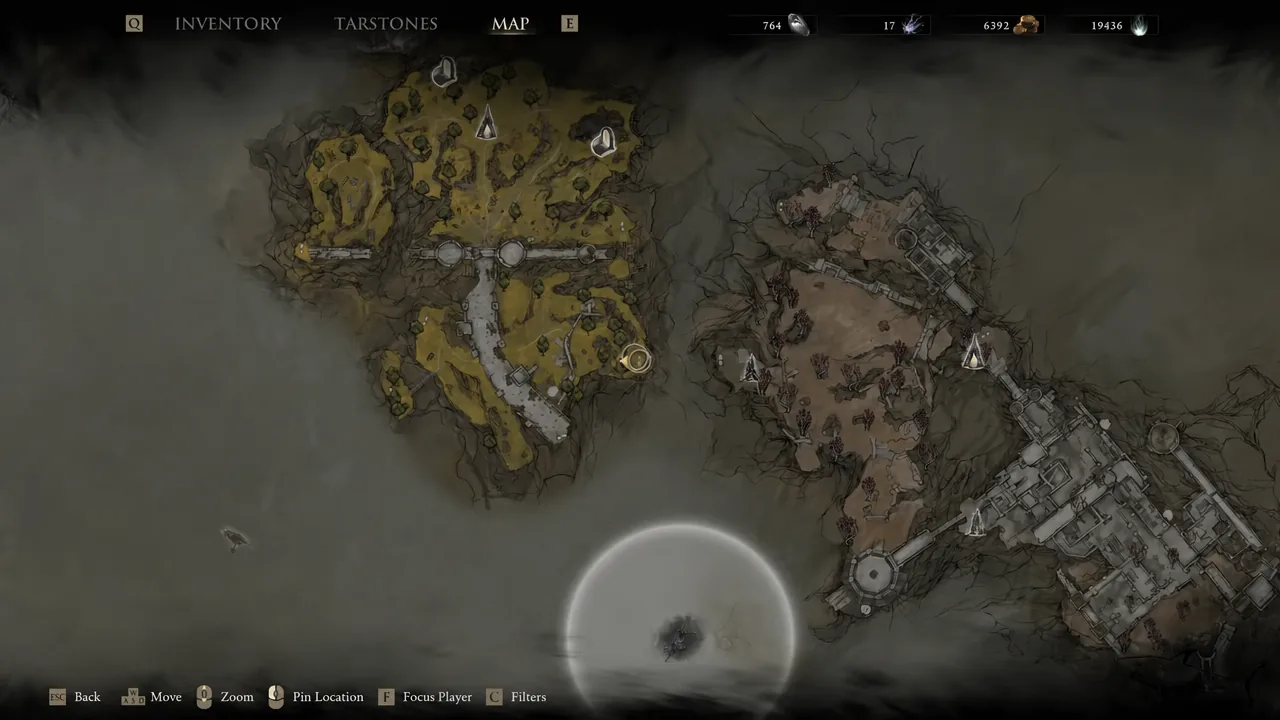
Revenant Graves is the burial field that extends off Sester’s Refuge, full of red trees and kneeling Sester spectres. Keep descending through it and check your map if you lose the thread, since the field runs downhill toward a red marsh clearing at the far end.
Sester’s Censer is granted automatically when she dies. There is no body to loot and no second trip to make, so if it isn’t in your inventory, the fight didn’t finish.
How to unlock the Genessa Shell in Marrow Keep
Genessa never appears as a marker on the Shell map, and paying the Shellkeeper does nothing for her. The censer is the only trigger.
Note: her Bond levels do not come from the Shellkeeper. Return to the training chamber, speak to the Sester standing in Genessa’s usual spot, and choose Look Within to spend Glimpse on her perk tiers. The NPC’s name changes to Stray Sester while Genessa is your active Shell, but both versions sell the same upgrades.
Genessa plays as a summoner, which nothing else in the roster does. Faithful Doubles sends out copies that perform a weapon attack before vanishing, and her Duality passive turns her into Stray when her health runs out instead of severing her from the Harbinger. Stray form hits harder through Stray Doubles, which mirror both your weapon and sidearm attacks, but she takes damage far more easily in that state, so building into more doubles and more attacks per double keeps her useful without putting her on the front line.