Star Wars Zero Company gives you 79 utility items to choose from, and the Black Market will happily sell you the expensive versions of things that do exactly what the cheap versions already do. Credits are tight for most of a campaign, so knowing which price jumps buy real power — and which buy a bigger number on a tooltip — is the difference between a squad that clears rooms and a squad that runs dry.
Quick answer: Buy Rank 1 Medpacs, Concussion Grenades, and Firebombs early; save your big purchases for the Rank 3 Targeting Visor, Rank 3 Rangefinder, Rank 4 Trauma Kit, Rank 4 Bacta Stim, and the two immunity underlays. Never buy a high-rank Medpac — every rank heals the same 30 percent.
How utility charges and restocking work
Utility items are not consumed permanently. Each one carries a limited number of charges for a single combat encounter, and once that fight ends, every charge refills automatically before the next one. The item also stays in your inventory between missions, so throwing a grenade never costs you the grenade.
The practical result is that hoarding is a mistake. If a grenade will kill or soften an enemy in the fight you are currently in, use it, because you get it back for the next room. Most Specializations hold one charge per utility item, while Medics and Astromechs hold two — stack your hardest-hitting explosives or your Medpacs on those two.
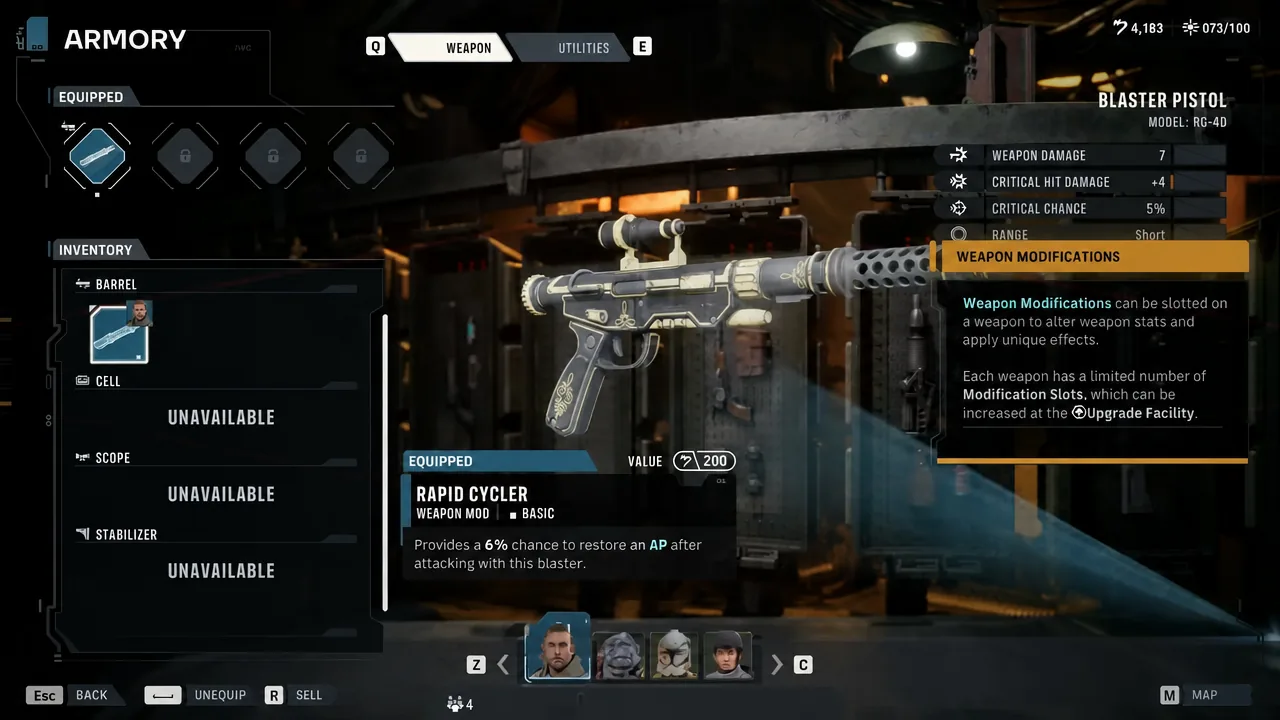
Utilities are also separate from weapon mods, which slot into the blaster itself rather than the operator’s utility slots. A Rapid Cycler, for example, gives a 6 percent chance to restore an AP after attacking with that blaster, and it competes for mod slots, not utility slots.
Rarity ranks are version numbers, not new effects
The Common, Uncommon, Rare, and Unique labels are the biggest credit trap in the game. They map directly onto version ranks — V1 through V4 — of the same item. A Unique-tier grenade is not a different grenade with a special property; it is the fourth revision of the one you already own.
Sometimes those revisions matter a great deal, as with the Trauma Kit and the Bacta Stim. Sometimes they change nothing at all. Check the tooltip numbers against the version you already have before you pay, because the shop will not stop you from buying a 5,000-credit reprint.
Utility items to skip and the credits they waste
The Medpac is the clearest example. Every rank of the standard Medpac heals 30 percent of the target ally’s Health. Rank 1 costs 1,100 credits and Rank 4 costs 5,000, and the healing output is identical. Medpacs also cannot be used on Droids at all — mechanical squadmates need repair actions instead, so an Astromech in the party does not benefit from a stack of them.
| Purchase | Why it is a waste |
|---|---|
| Rank 4 Medpac (5,000 credits) | Heals the same 30 percent as the 1,100-credit Rank 1 |
| Any Medpac for a droid operator | Medpacs cannot target Droids under any circumstance |
| High-rank items with unchanged tooltips | Rarity tier only marks the version number, not a new effect |
Tip: before any Black Market purchase, open the item you already own and compare the numbers line by line. If the values match, the higher tier is pure cost.
Best throwables: Concussion Grenades and Firebombs
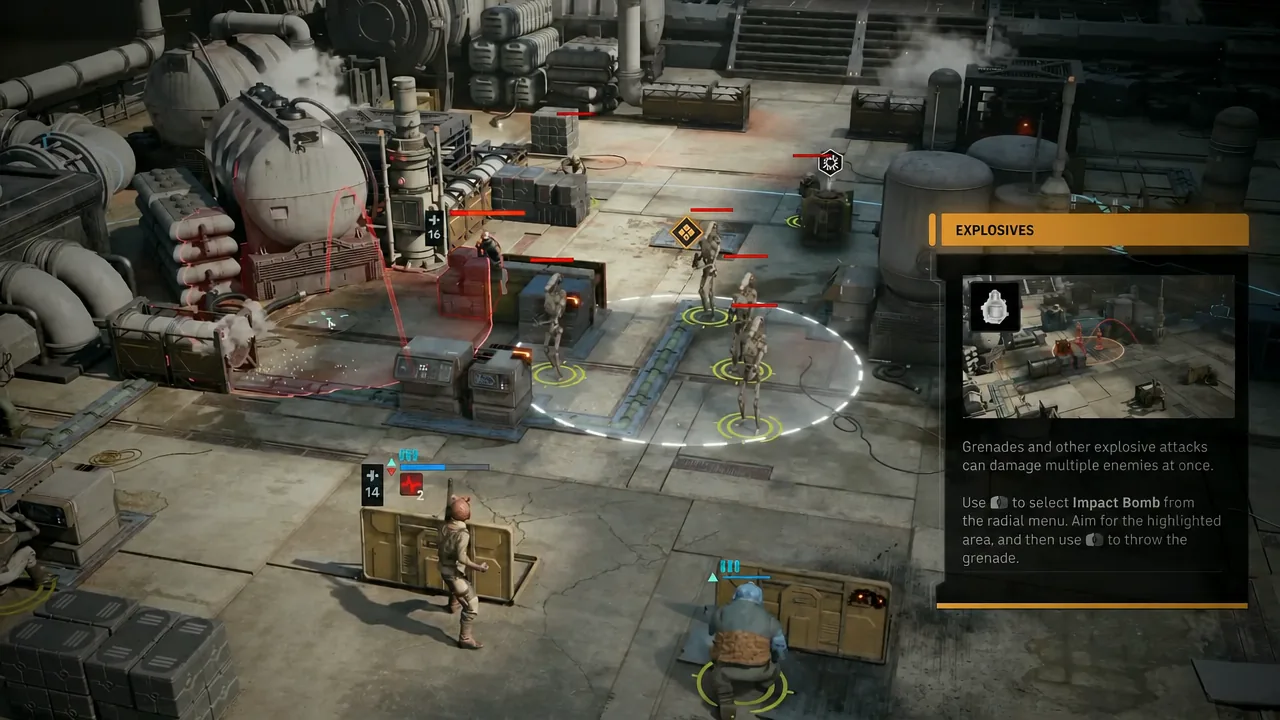
Concussion Grenades cost 800 credits and are the cheapest way to delete an enemy outright. They deal impact damage and push targets, and pushing an enemy off a ledge kills it instantly no matter how much health it had left. The forced movement also drags enemies through your teammates’ Overwatch cones, turning one grenade into several free shots.
Firebombs start at 900 credits for Rank 1 and solve a different problem. They strip enemy defense and apply Burning stacks, and Burning damage ignores defense entirely, ticking every time the target takes an action. Against armored targets that shrug off blaster fire, a Firebomb makes the rest of your squad’s attacks land properly.
Best anti-droid picks: Droid Poppers and the Ion Blaster
Droid Poppers run around 2,000 credits and exist for two specific problems. They daze mechanical units, and they drain ray shields, which otherwise block all incoming damage and regenerate 50 percent of their strength every turn. Without a Popper, a shielded enemy can stall an entire squad while it repairs itself.
The Ion Blaster is a secondary weapon rather than a grenade, and it is worth a utility slot during Separatist campaigns. Battle droid rosters are built for it — a B1 Battle Droid has 20 Health and 1 Defense, while a B2 Super Battle Droid has 40 Health and 3 Defense, and ion damage cuts through both far faster than standard fire.
Best accuracy gear: Targeting Visor and Rangefinder
Cover applies a harsh -35 percent penalty to your hit chance, which is why enemies behind crates feel unkillable. The Rank 3 Targeting Visor costs 3,100 credits and returns +15 percent hit chance along with +12 percent critical chance, clawing back a large slice of that penalty while making your hits hurt more.
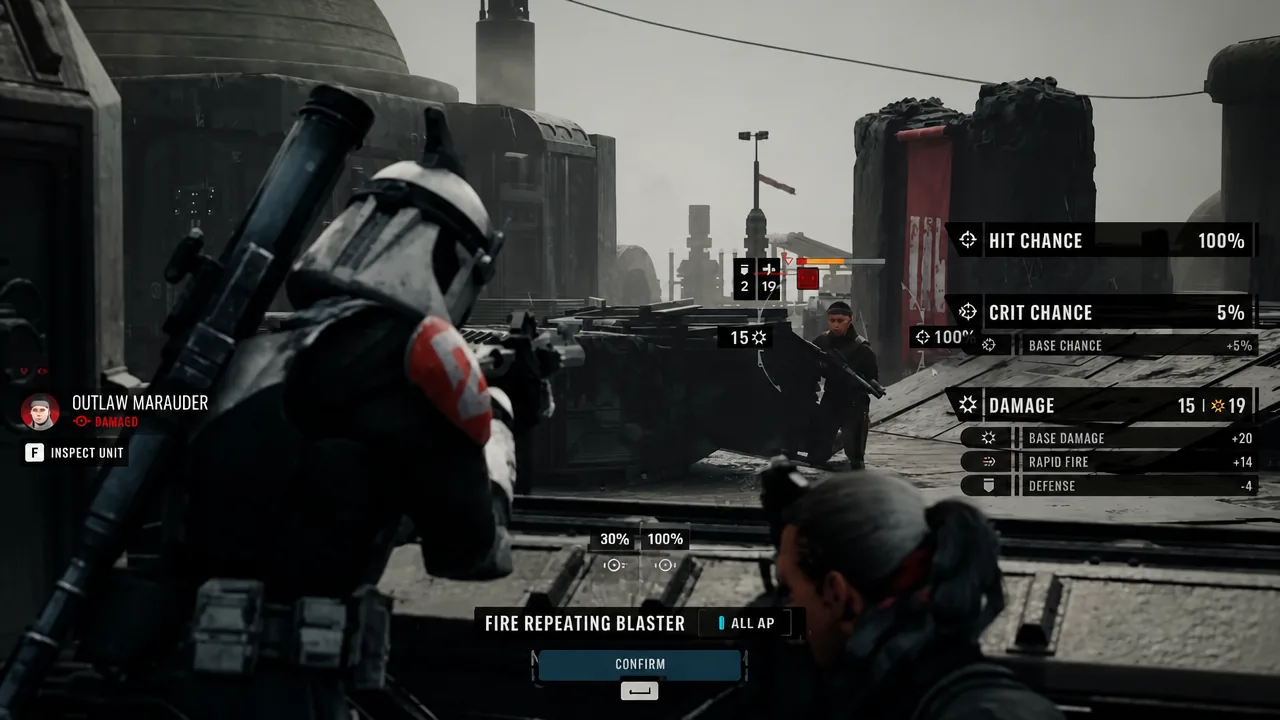
The Rank 3 Rangefinder costs 2,500 credits and is the pick for operators who reposition constantly. Its targeting bonus is permanent and does not expire when the operator moves, so scouts and flankers keep the accuracy boost after repositioning instead of losing it the moment they leave cover.
Best underlays: burning, shock, daze, and stun immunity
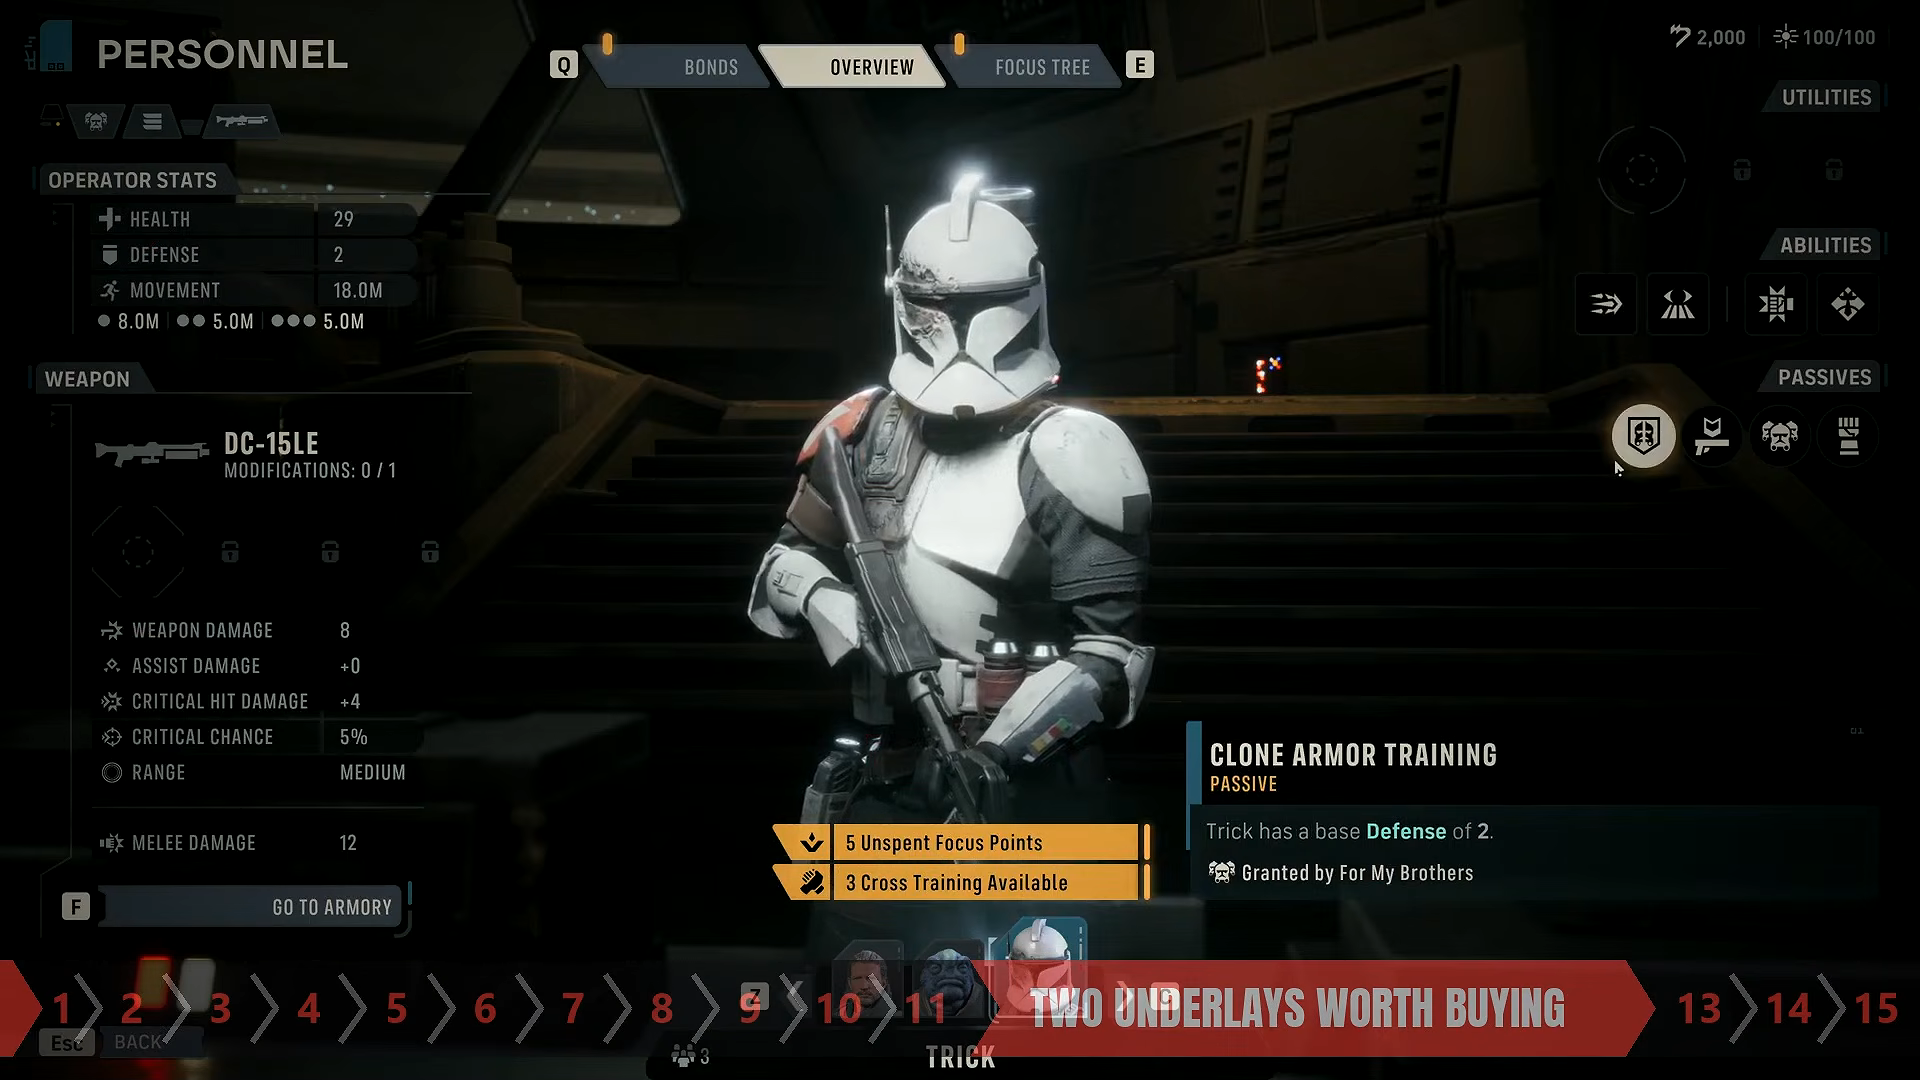
Two underlays justify their price, and both do it by removing an entire category of enemy answer rather than adding a stat.
| Underlay | Cost | Effect |
|---|---|---|
| Hyper-insulated Underlay | 1,500 credits | Immunity to Burning and Shock |
| Stabilizing Underlay | 1,900 credits | Immunity to Daze and Stun |
Stun and Daze cost you turns, which is the most expensive resource in a tactics game, so the Stabilizing Underlay tends to pay off on your frontline operator. The Hyper-insulated Underlay matters most in fights where enemies bring fire or ion weapons, since Burning damage bypasses defense the same way yours does.
Best survival items: Trauma Kits, Bacta Stims, and Smoke Bombs
The Rank 4 Trauma Kit costs 3,500 credits and is the one healing item where the top rank is worth it. It revives downed allies, and it carries a 33 percent chance to bring them back with zero injuries. In permadeath runs, that roll is the difference between a lightly bruised operator and a dead one.
The Rank 4 Bacta Stim costs 2,300 credits and works as a self-buff as much as a heal. It fully restores the user’s health and applies five stacks of stimulant, adding +2 ranged and melee damage and +8 maximum health. That makes it a strong fit for a melee operator who dives in and needs to survive the return fire.
Smoke Bombs round out the defensive picks. They are a cheap way to break enemy line of sight and blunt incoming fire when a squad gets caught out of position, which is usually how missions unravel.
Ability upgrade items: the only true unique utilities
There are 13 ability upgrade items, each priced at 1,500 credits, and these are the only items that genuinely do something no other item does. Instead of adding damage or healing, they rewrite how a specific character ability functions — one lets a lightsaber strike be used twice in a single turn, for example.
Because they modify abilities rather than stats, their value depends entirely on who is on your squad. Buy the ones that match operators you actually deploy, and ignore the rest until those characters are in rotation.
Where to buy utilities and how to unlock all three slots
The Black Market is the main store, and its stock refreshes each cycle with no guarantee of what appears. Missions and Operations hand out utilities as rewards, and Influence Zone rewards cover some of the strongest gear in the game — there are twelve zones, each of which levels up three times for a reward apiece. One such reward is the Wildfire Modulator, which applies four stacks of Burning on a successful hit.
Each operator starts with a single utility slot and can reach three. The first extra slot comes from upgrading the Den to Level 5 and then purchasing the Additional Utility Slot in the Crew tab, which costs a couple of thousand credits and finishes building after you complete a mission.
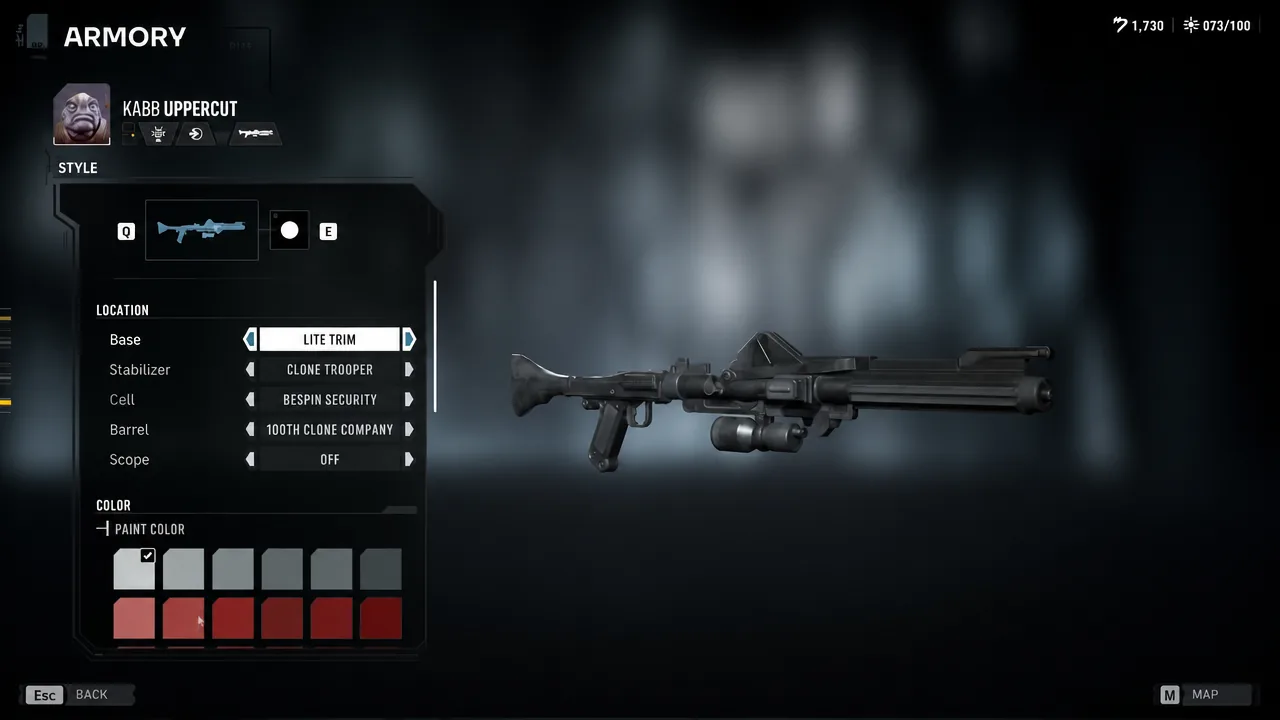
The third slot arrives through the Underworld Intel Operation, which triggers after enough campaign progress. It asks you to pick between an extra Utility Slot and an extra Weapon Mod Slot, and choosing one permanently locks out the other. There is no alternative route to that third utility slot, so decide based on your regular team — an Astromech carrying double charges gets more out of it than almost anyone.
Three rules cover most of the spending decisions you will face. Rank up only where the tooltip actually changes, spend on items that remove an enemy’s ability to act rather than items that heal after the fact, and remember that everything you throw comes back next encounter. Play by those, and the Black Market becomes a place you shop deliberately instead of a place your credits disappear.