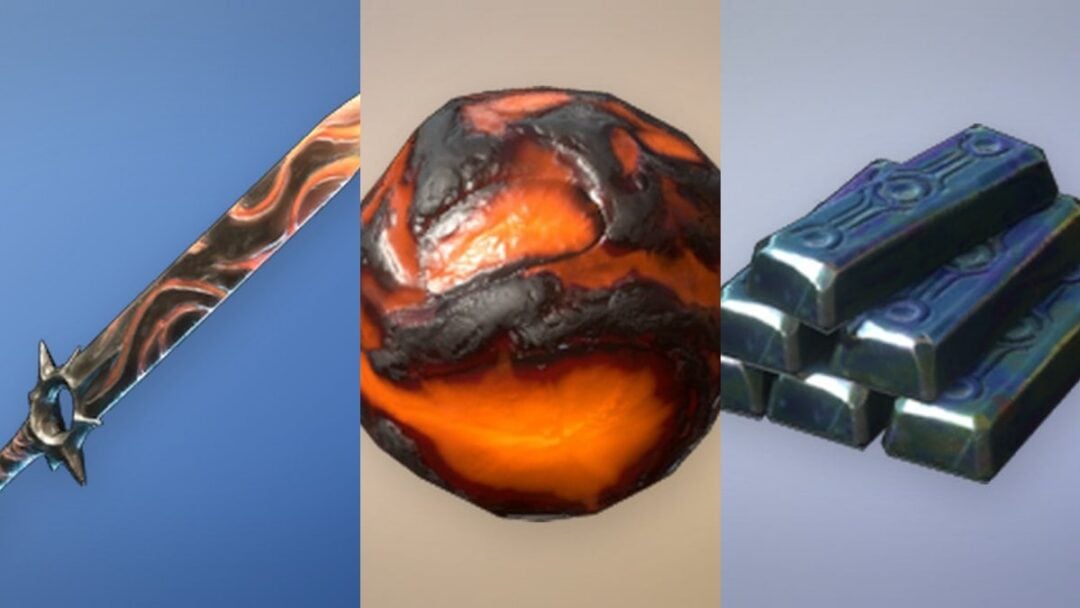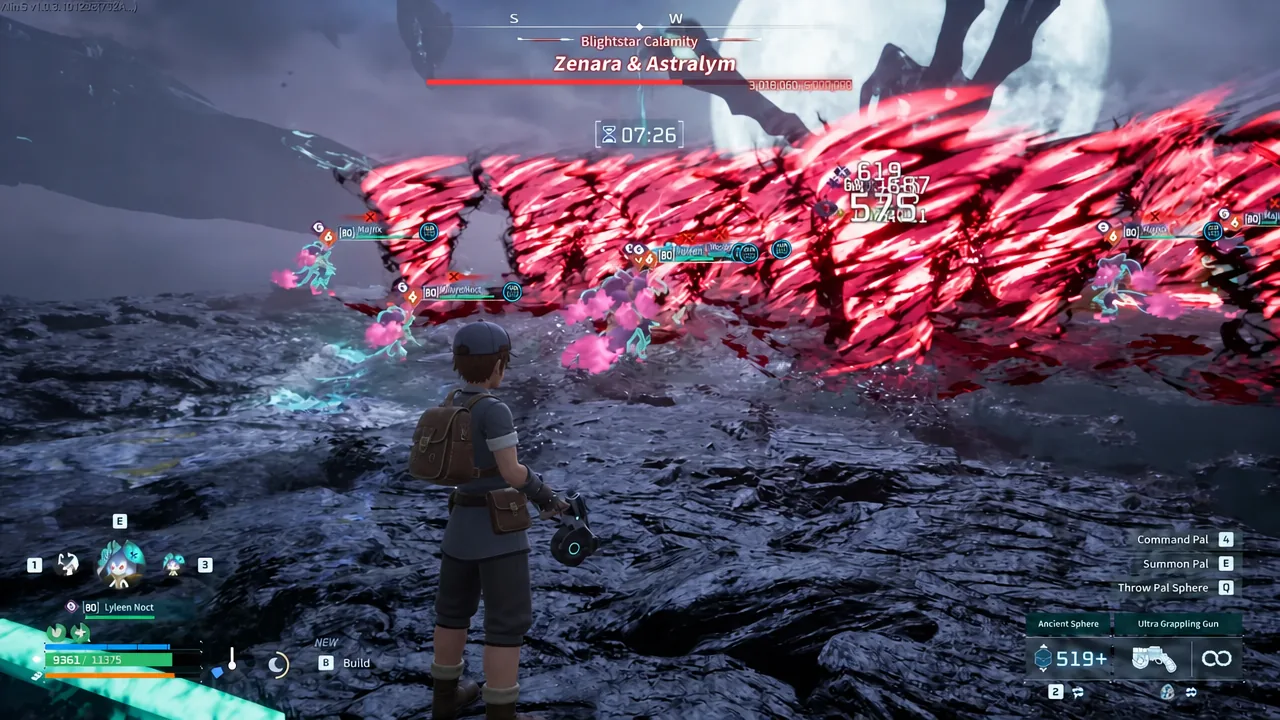
Hard Mode turns Zenara & Astralym into a raid-style fight where your own weapons barely scratch the boss. Player damage is cut to 0.5x while damage taken jumps to 1.5x, so your Pals have to do the work. The reliable way through is a stack of Level 80 Majex Pals loaded with defensive passives, kept alive long enough to break the final barrier.
Quick answer: Deploy Level 80 Majex Pals with Immortality, Legend, Serenity, and Diamond Body, keep yourself safe near the Palbox, and either revive fallen Pals with Lyleen Noct or swap low-health Pals into the Palbox so you have healthy Pals left to break the final barrier.
Why Majex is the Pal to use
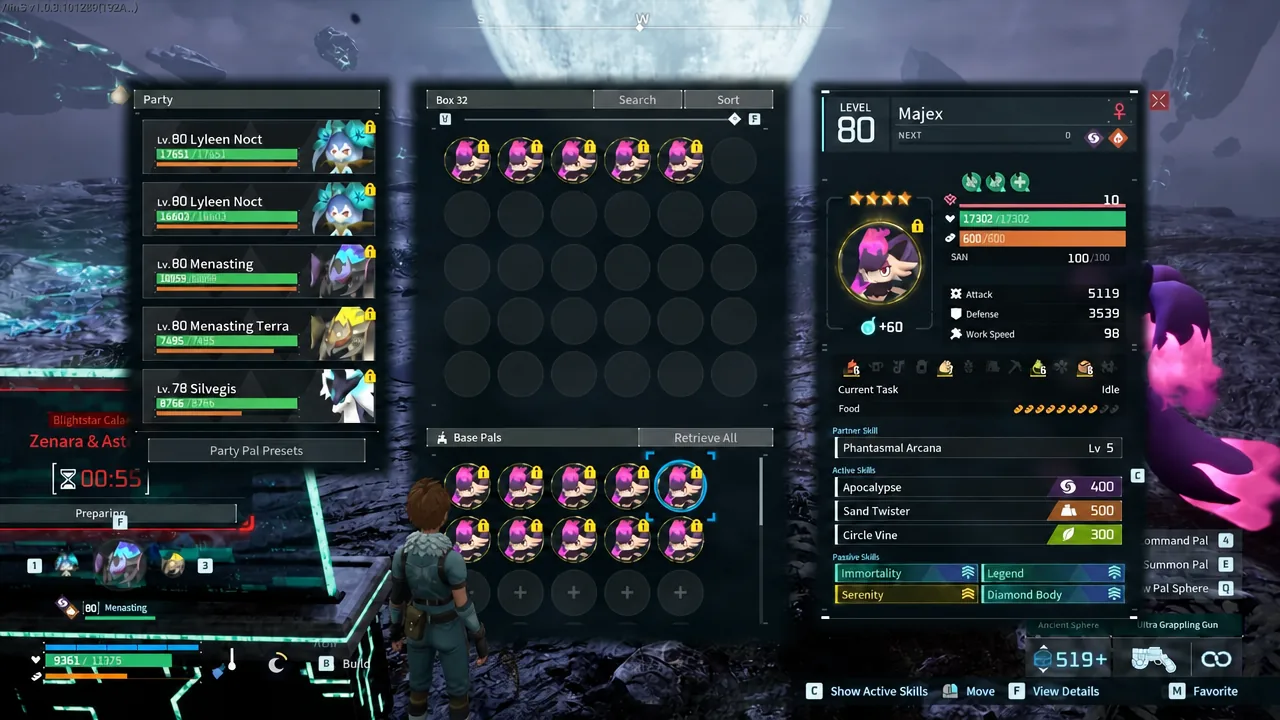
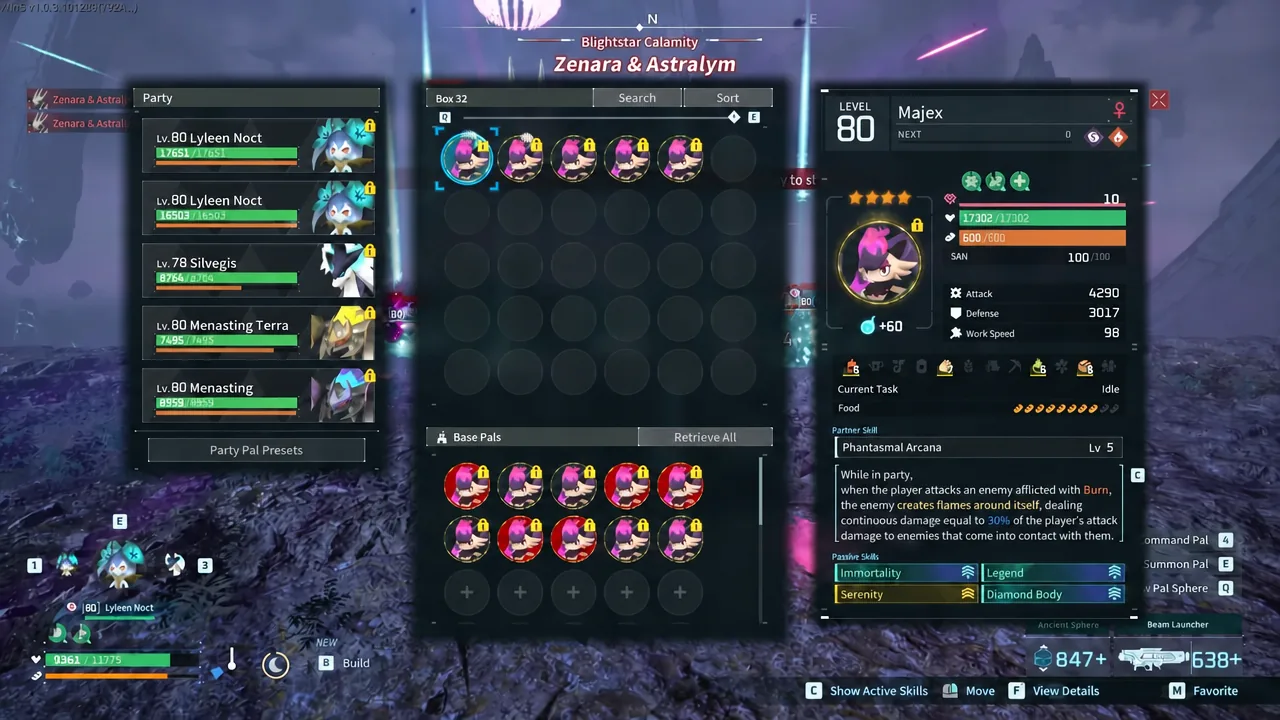
Majex works because it has a small body and pairs cleanly with the four strongest defensive passives in the game. A small hitbox means fewer of Astralym’s wide attacks land, and the passives keep the Pal alive through the beams and tornadoes that would delete anything else.
| Detail | Value |
|---|---|
| Pal | Majex (Level 80) |
| HP | 17,300 |
| Passives | Immortality, Legend, Serenity, Diamond Body |
| Skills | Phantasmal Arcana, Apocalypse, Sand Twister, Circle Vine |
Necromus is another strong pick for this fight. It normally phases through enemies, but Astralym’s giant hitbox stops that, so Twin Spears, Apocalypse, and Sand Twister all connect repeatedly. Give it the same defensive passives if you go that route.
Gear and party setup
Because your damage barely matters here, you can run Common gear and Common Beam Launchers. The Beam Launcher’s real job is to interrupt the boss, not to deal damage. The Phantom Ring rounds out the loadout.
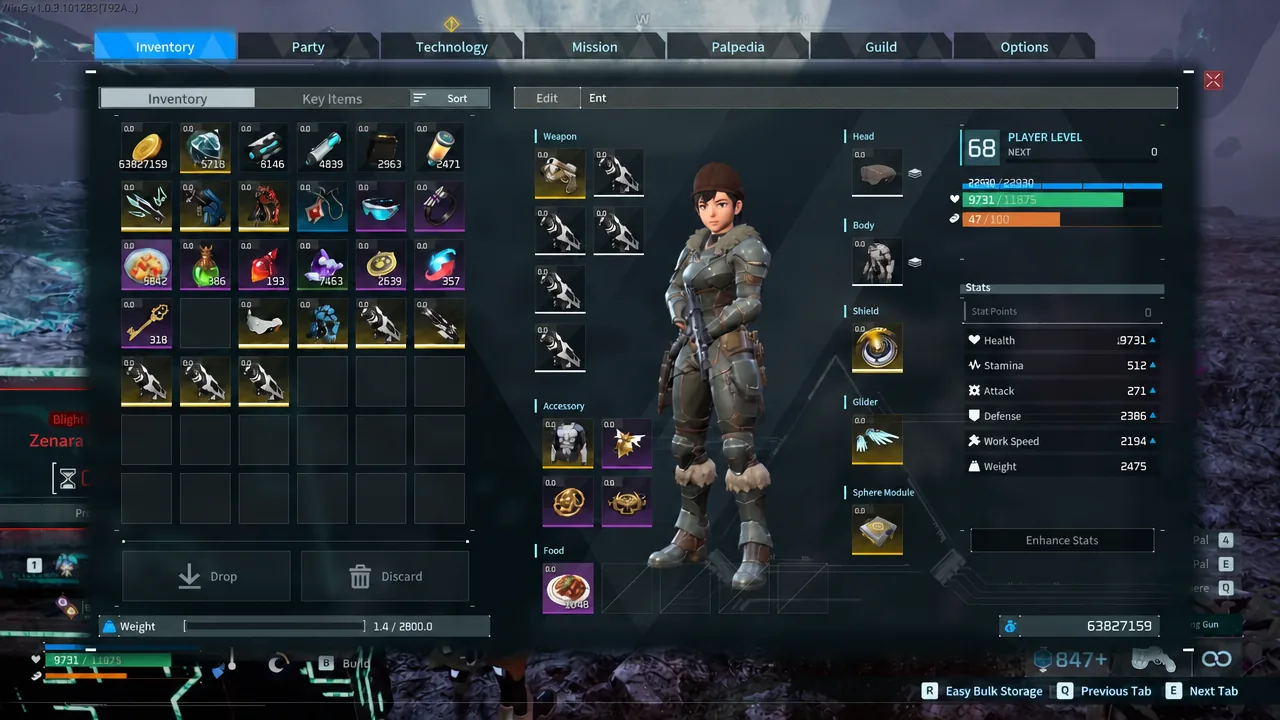
Your support Pals depend on which method you run. For the revive plan, bring Lyleen Noct to bring fallen Pals back, plus Silvegis for shields and Menasting and Menasting Terra for defense.
Method 1: Revive fallen Pals with Lyleen Noct
Method 2: Swap low-health Pals into the Palbox
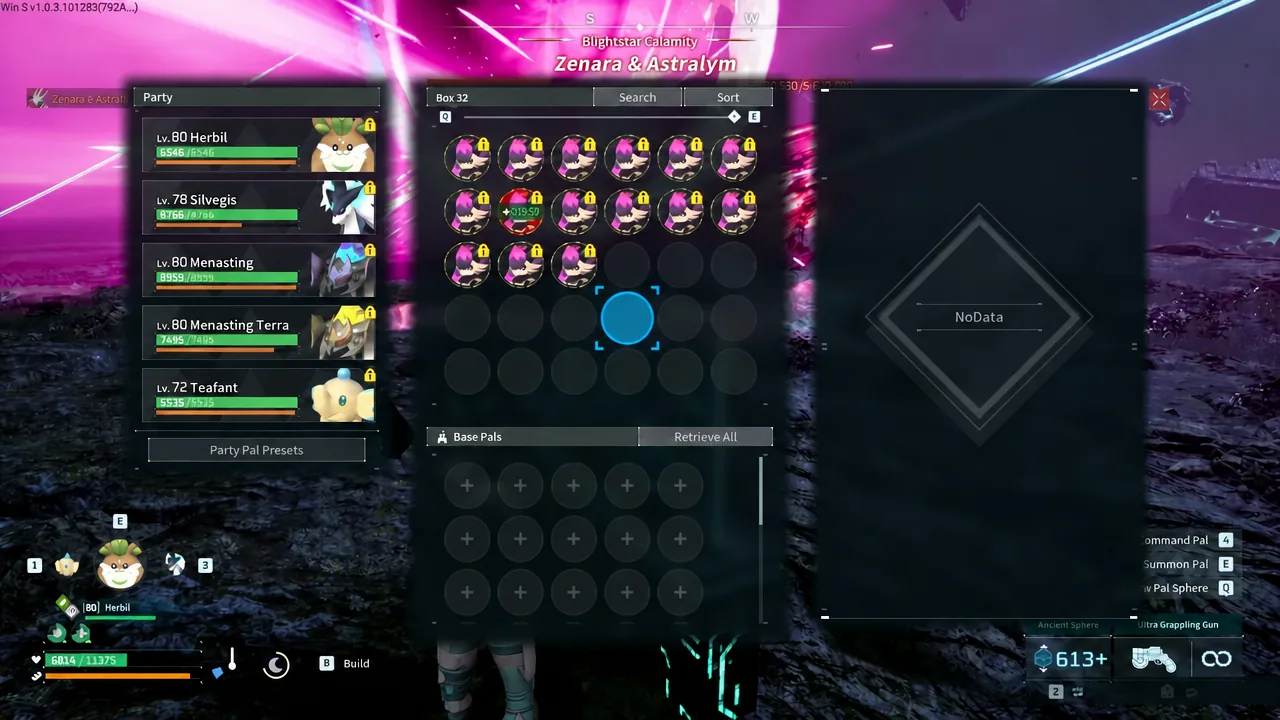
This version skips reviving and instead preserves Pals by pulling them out before they die. For support, swap in Herbil, Teafant, and Silvegis. The idea is to enter the final phase with a group of healthy Pals ready to go.
Watch out for the phase change
When Astralym drops to 60% HP, it surrounds itself with an explosive glowing light and shifts into its second phase. Its attacks gain extra effects and hit harder from that point. Keep an eye on the health bar so the transition doesn’t catch you standing in the open.
Throughout the fight the boss cycles between Rocky Impact, Holy Burst, Psycho Gravity, and Meteorain, all in the 600–700 power range. None of these are worth tanking, which is why the Palbox recall is so useful when a big one is about to land.
Confirming the clear and the reward
You know the fight is done when the final barrier breaks and the boss goes down. Clearing Hard Mode Zenara & Astralym gives you the Psycho Gravity Skill Fruit, a 700-power Dark skill that slams enemies into the ground using gravity.
Both methods fail the same way, which is losing all your active and backup Pals before the barrier phase. If that happens, you have nothing left to break the barrier and the run stalls out. Keep your revive timing tight in Method 1, or pull Pals out earlier in Method 2, and you’ll have enough survivors to close it out.