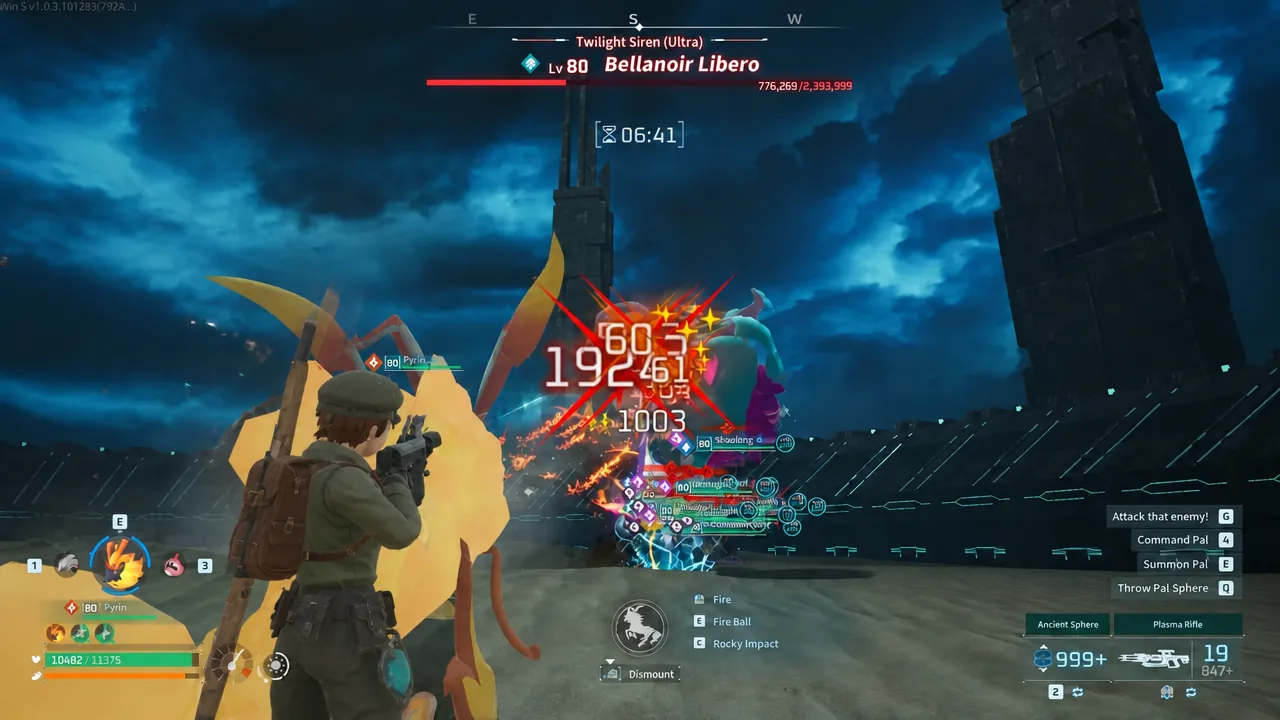
Ultra and Master raid bosses in Palworld punish the wrong roster before you land a single hit. Bosses like Bellanoir Libero, Hartalis, and Zenara & Astralym use wide-area attacks that shred large, winged, or slow Pals almost instantly, so the Pals that clear consistently share three traits: a small hitbox, the right elemental resistance, and enough attack power to interrupt the boss. The ranking below sorts the strongest raid Pals for version 1.0.3, all tested against level 80 encounters.
Quick answer: Build an army of Orserk and Necromus for the most reliable clears across every raid boss. Both have compact hitboxes, high attack, and the Dark or Dragon resistances that let them survive Phase 2 filter attacks.
Raid Pal tier list (v1.0.3)
The table groups the best raid Pals from S down to E. S-tier Pals clear every boss with the least effort, while lower tiers still work but demand better positioning, specific food buffs, or a backup team.
| Tier | Raid Pals |
|---|---|
| S | Orserk, Necromus |
| A | Bellanoir Libero, Bellanoir, Dandilord |
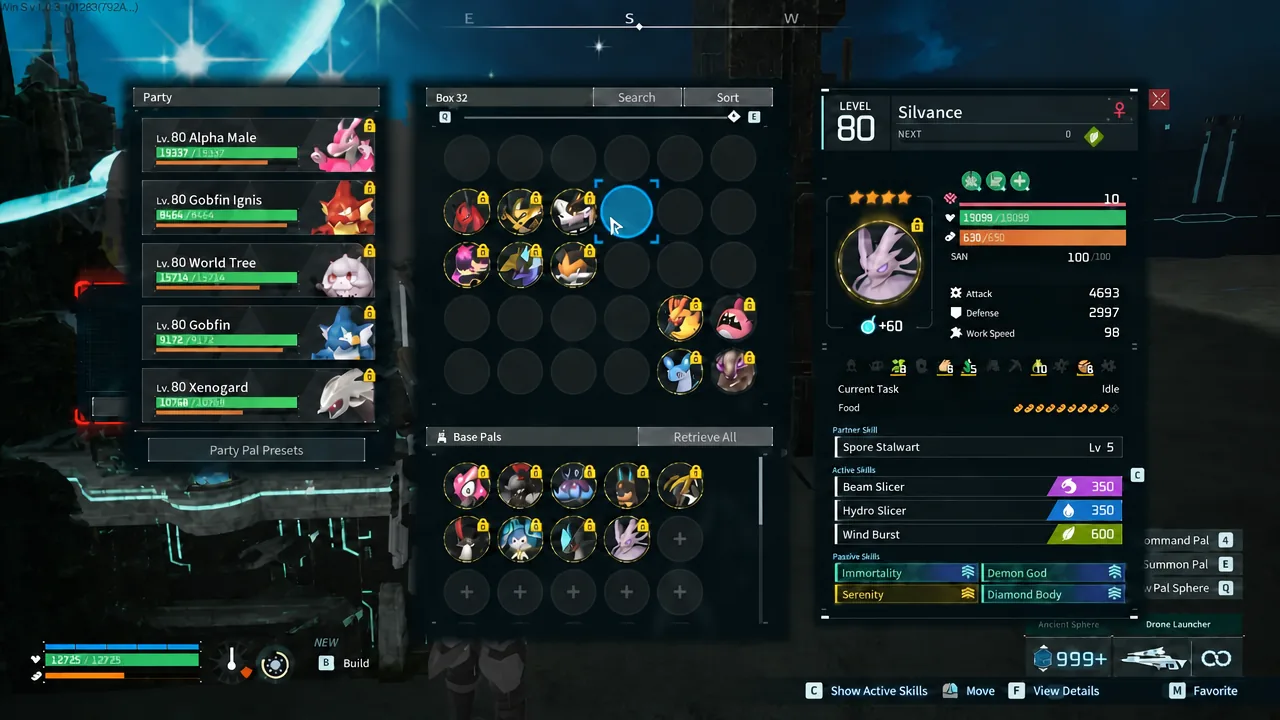
| B | Anubis, Flaracle, Xenolord, Silvance |
| C | Azurmane, Lyleen Noct, Gildra, Roujay, Majex |
| D | Splatterina, Dupin |
How this was ranked: Pals were scored on the raid criteria that decide clears, in this order of importance: size (hitbox) first, then resistance and defense, then attack power, then same-element damage bonus. This ranking reflects the Palworld 1.0.3 raid meta.
Why the S-tier Pals top the list
Orserk earns its spot on dual Dragon and Electric typing paired with a compact hitbox. It stays reliable across Xenolord, Hartalis, and Moon Lord because it dodges wide attacks that swallow bigger Pals and still puts out strong damage. Necromus matches it with high attack and a body small enough to slip past the Phase 2 filters that end most runs.
Attack power matters for more than a fast kill. High-attack Pals can animation-lock or stun a boss, cutting off its most dangerous attack phases before they start. That is why a squishy, low-attack Pal like Polapup fails against Bellanoir Libero’s Phase 2 Flame Waltz, while a hard-hitting small Pal survives the same fight.

The three boss filters that decide your roster
Three raid bosses actively eliminate the wrong Pals in their second phase. Blazamut Ryu, Xenolord, and Moon Lord have no strict filter, so almost any high-attack setup can win those. The others force specific traits.
| Boss | Filter attack | What survives |
|---|---|---|
| Bellanoir Libero | Flame Waltz, Nightmare Bloom (Phase 2) | Small Pals with high attack and Dark/Fire resistance |
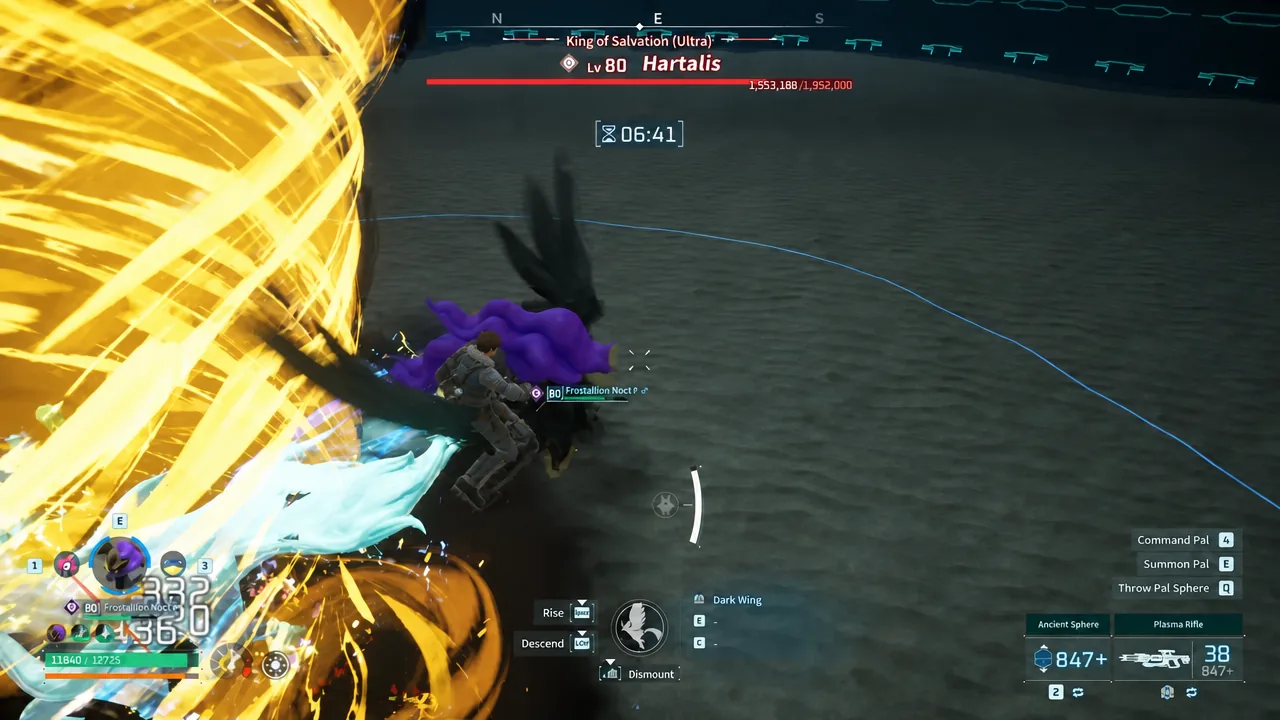
| Hartalis | Sacred Rain (Phase 2) | Pals that are not wide or winged |
| Zenara & Astralym | Psycho Gravity, giant laser sweep | Small Pals that can dodge the beam |
Boss-by-boss clear strategies
Each Ultra and Master boss has a repeatable approach. Match your roster to the fight and the filters stop mattering.
Zenara & Astralym (Ultra)
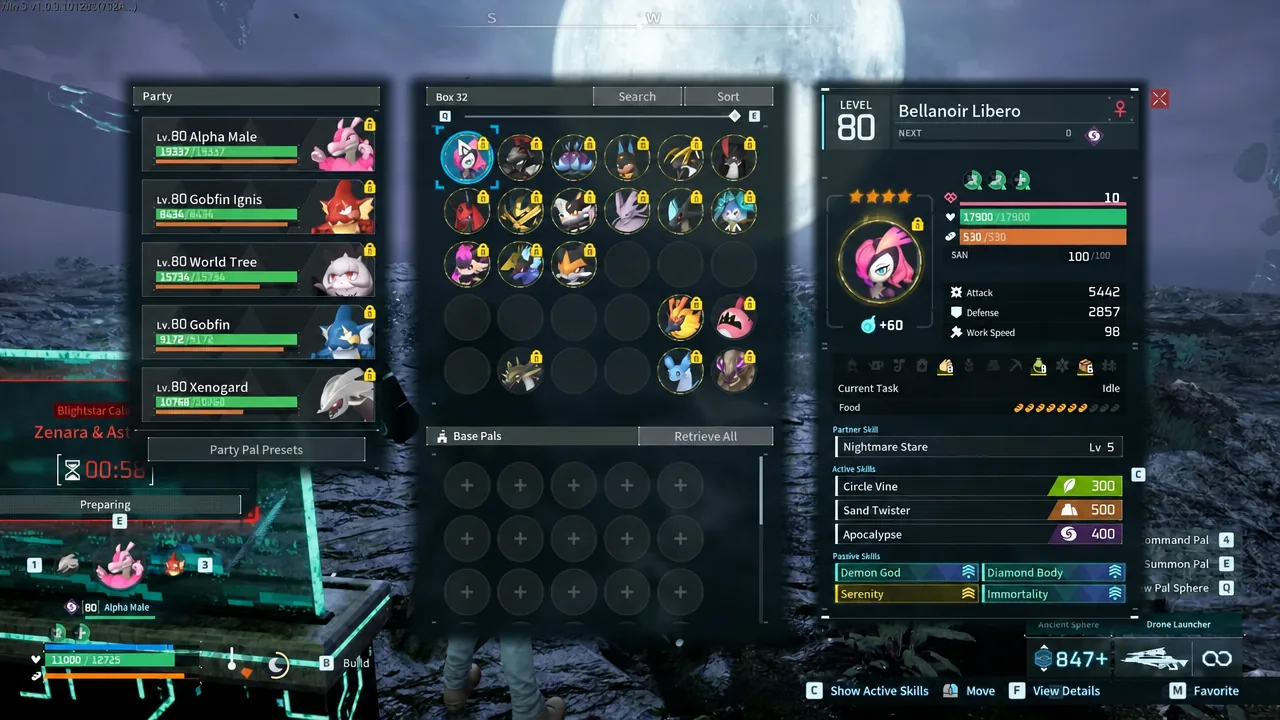
Keep five high-damage backup Pals in the Palbox. When the boss enters Phase 2 and starts charging the giant beam, swap them in to break the barrier fast, then dodge the sweep. This works even with weaker Pals like Dupin that still meet the size criteria, which proves the fight is mechanical rather than stat-gated.
Hartalis (Ultra)
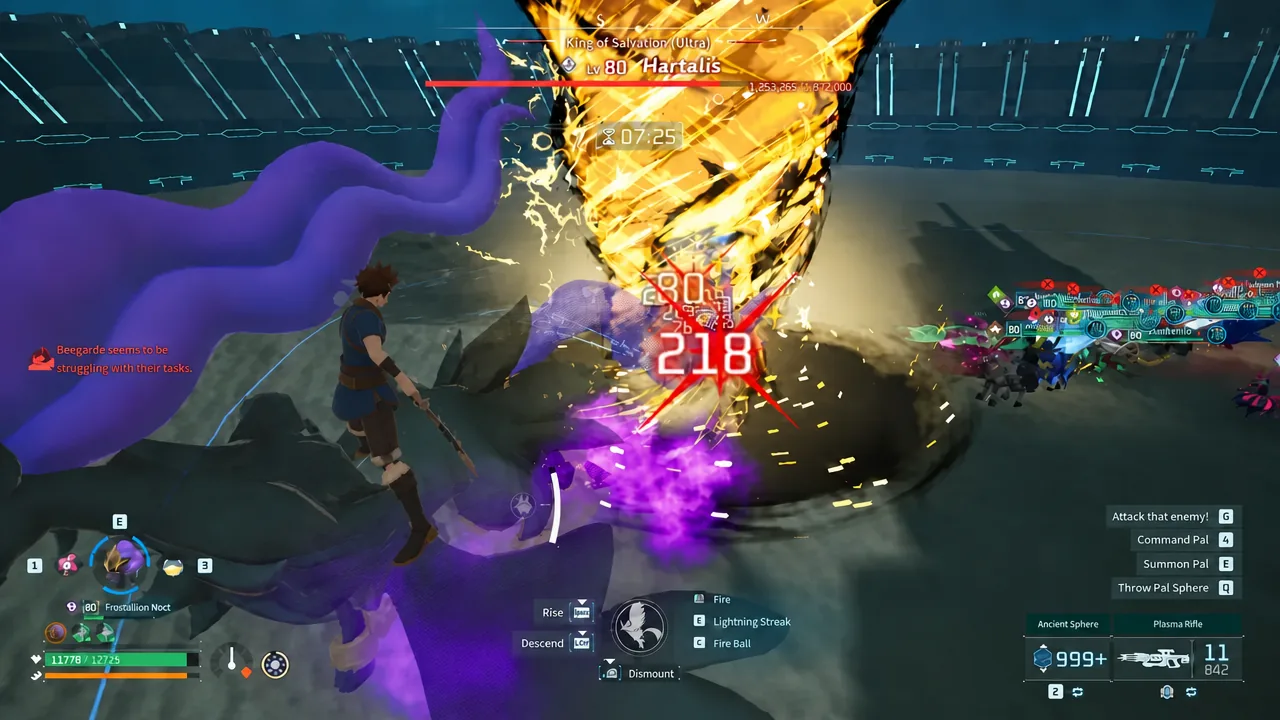
Interrupt Hartalis out of Wind Burst with an electric or stun attack. Use Bellanoir Libero’s partner skill, Nightmare Bloom, to break the barrier quickly during the barrier phase. Avoid clumping your Pals together, since Sacred Rain and Air Blade punish grouped-up armies.
Xenolord (Ultra)
Run a Frostallion-led party with active freeze skills like Comet Strike, Meteor Rain, Diamond Rain, and Ice Line. Keeping the boss frozen locks down its rotation and maximizes your damage window. Prioritize the summoned Xenovaders and Xenogards, and stay clear of Cosmic Meteor.
Blazamut Ryu (Ultra)
Feed your Pals Seafood Pasta to grant immunity to explosive damage. That removes the threat from Blazamut Ryu’s main attacks, turning an otherwise dangerous fight into a straightforward damage race.
Moon Lord (Master)
Moon Lord targets random Pals, so big bodies suffer and Dark Pals tend to clump under the boss and miss the weak point. It is one of the easier Master fights to heal through with Immortality, but keep attacking the weak points and dodge-roll the Phantasmal Death Ray.
How to confirm your army is raid-ready
You know the roster works when it clears the three filter bosses without a wipe. If a Pal keeps dying in Phase 2, the cause is almost always one of these: a hitbox too large to dodge Sacred Rain or the Zenara beam, missing Dark or Fire resistance against Bellanoir Libero, or attack power too low to stun the boss out of its dangerous phase.
Big-bodied nukers such as Jormuntide Ignis and Blazamut Ryu can still deal heavy damage, but their large hitboxes soak accidental AoE, which is why they land below the compact S and A picks. Prioritize a small profile and the correct resistances first, then push for the highest attack you can breed.