Dire is the sixth and hidden difficulty of Stygian Onslaught, unlocked once you finish Fearless. In Version 7.0’s Battle of the Starburst rotation it stacks three Level 110 bosses with tens of millions of HP behind hard shields, and each one has a defensive gimmick that raw damage cannot brute-force. The clear comes down to breaking those defenses fast enough to fit inside the timer.
Quick answer: Build three teams that share no characters, then beat each stage inside its 120-second timer with a Stellar-Conduct team against the Chimeric Winged Lion, a shielded Bond of Life team against the Veteran Wind Operative, and an Electro-Charged or Lunar-Charged team against Knuckle Duckle.
Dire rules: timers, team locks, and rewards
From difficulty 4 upward, a character can only be used once across the whole run, so Dire needs twelve built characters split into three independent teams. Each boss gets a 120-second timer of its own. Finishing all three battles inside 180 seconds total upgrades the weapon appearance rewards to their 5-star versions with extra visual effects, and Version 7.0 added a fresh set of those appearances for Dire clears.
Dire pays no Primogems. Everything worth farming — Dust of Enlightenment, artifact rewards, the 450 Primogems from the first three tiers — is already available lower down, so treat Dire as a build check rather than a resource run. The Exalted Ones list also matters here: a rotating group of 16 characters receives ATK, DEF, and HP buffs inside Stygian Onslaught, refreshed daily based on what other players use for Dire completions. The buff only applies to characters you already own.
The three bosses and what actually breaks them
| Boss | Dire HP | Defense to break |
|---|---|---|
| Chimeric Winged Lion | 23.35M | 40-gauge Electro Ward, stripped by elemental reactions |
| Veteran Wind Operative | 17.5M | White Damage Shield from Hunt Down, plus teamwide Bond of Life |
| Knuckle Duckle | 25.9M | White Damage Shield tied to its Stomping Devices |
All three use the same basic contract. While the shield is up, the boss stores the damage you deal to it, and when the shield breaks it takes a chunk of that stored damage and enters a vulnerable window. Your real DPS window is short, so the team that breaks shields fastest usually wins, not the one with the biggest single hit.
Chimeric Winged Lion: Stellar Glimmer strips the Electro Ward
A few seconds into the fight the Lion wraps itself in a 40-gauge Electro Ward. Every elemental reaction shaves gauge off it, but a Stellar reaction removes 16 units in one go, which is why this fight is built for Stellar teams. Because the Ward is Electro, a Stellar-Conduct setup has an easy aura to react into.
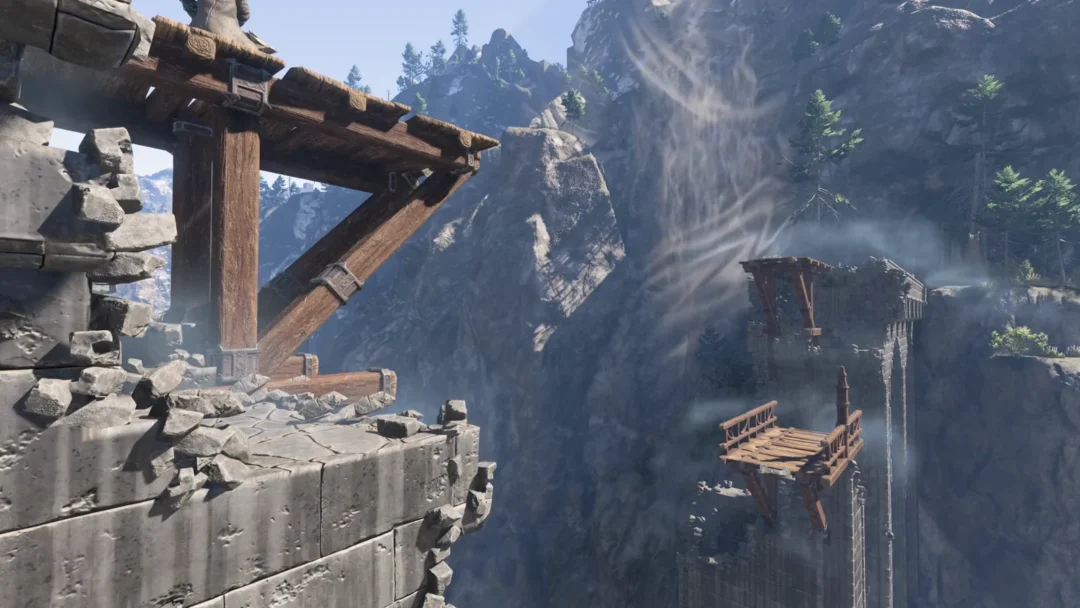
Once the Ward falls the boss takes the damage it absorbed, gets paralyzed, and drops its Cryo and Anemo RES for a short period. After it recovers it flies up for an attack phase, then spawns Anemo Orbs. Those orbs detonate if they touch Pyro, Hydro, Electro, or Cryo, and the boss returns to a down phase once they are gone. Landing Radiance: Stellar Glimmer damage skips ahead to that down phase and also interrupts the attack where it channels Anemo into its Electro greatsword.
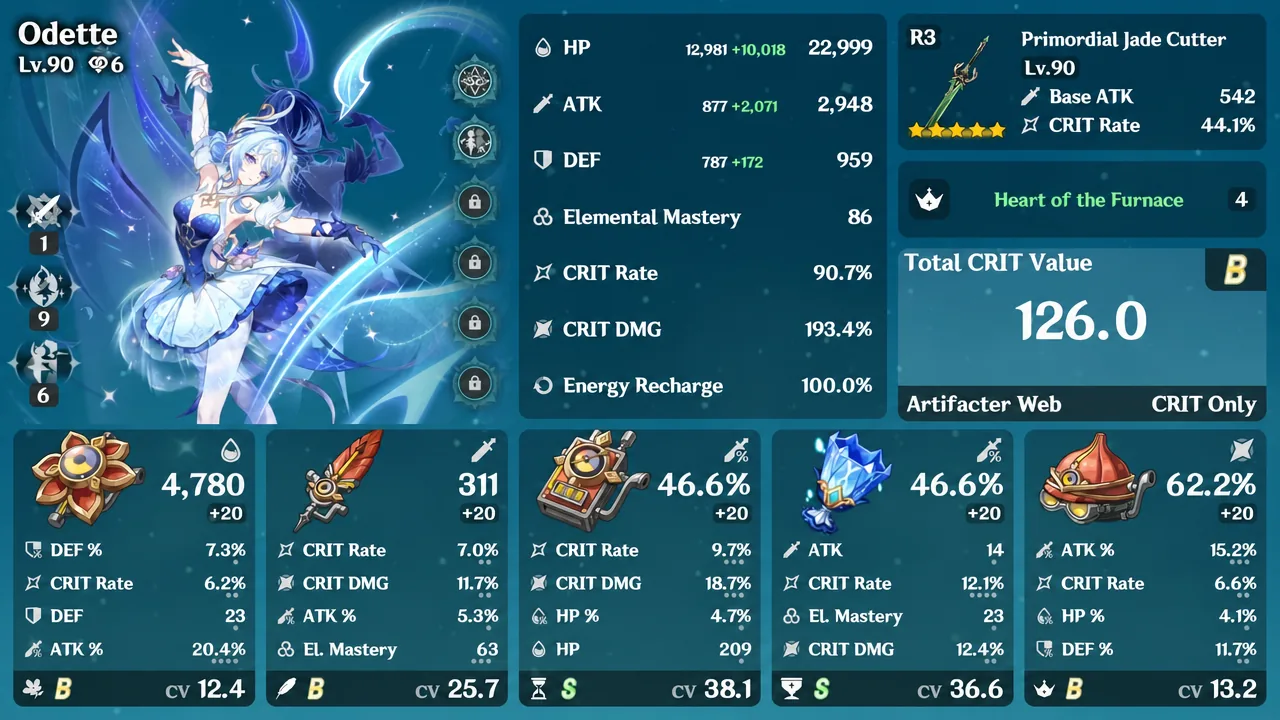
Sandrone, Wriothesley, or Cryo Traveler work as the Stellar Glimmer carry, with Odette as the core enabler and Yae Miko or a C6 Alyosha supplying Electro. Nicole, Bennett, or a Cryo healer such as Qiqi, Diona, or Escoffier can fill the last slot. If you cannot field a Stellar team, any comp that can chew through the Electro Ward works: Pyro damage from Mavuika, Arlecchino, or Varka, non-Stellar Cryo from Skirk or Lohen, or Dendro from Nefer.
Veteran Wind Operative: shield up or dodge Hunt Down
This is the Fatui Operative fight rebuilt around Anemo. She opens with Hunt Down, spending part of her own HP to gain a large White Damage Shield and launch an attack. That shield blocks the damage multipliers from Vaporize and Melt but otherwise behaves like a second health bar.
If Hunt Down connects with an unshielded character, she heals and plants a heavy damage-over-time debuff on your active unit. While her shield is up she also applies a very large Bond of Life to the whole party that cannot be healed off. So you either dodge the attack cleanly or bring your own shield. Break her shield and she eats the damage stored during that phase; a fast team can force the cycle around three times in one fight.
The Bond of Life is a gift for characters that want it. Arlecchino is the standout because his largest hit lands while he is carrying the full stack, with Clorinde as the other natural pick. A workable shell is Arlecchino with Nicole, Chevreuse, and Fischl, or Clorinde with Furina, Fischl, and Mona. Mavuika and Nefer slot in as alternate carries, while Iansan, Columbina, Citlali, Xilonen, and Lauma cover the buffer role. The switch from Cryo to Anemo damage is quietly helpful, since teams without Bennett no longer get slowed by a Cryo aura.
Knuckle Duckle: kill the Ducklings, not the boss
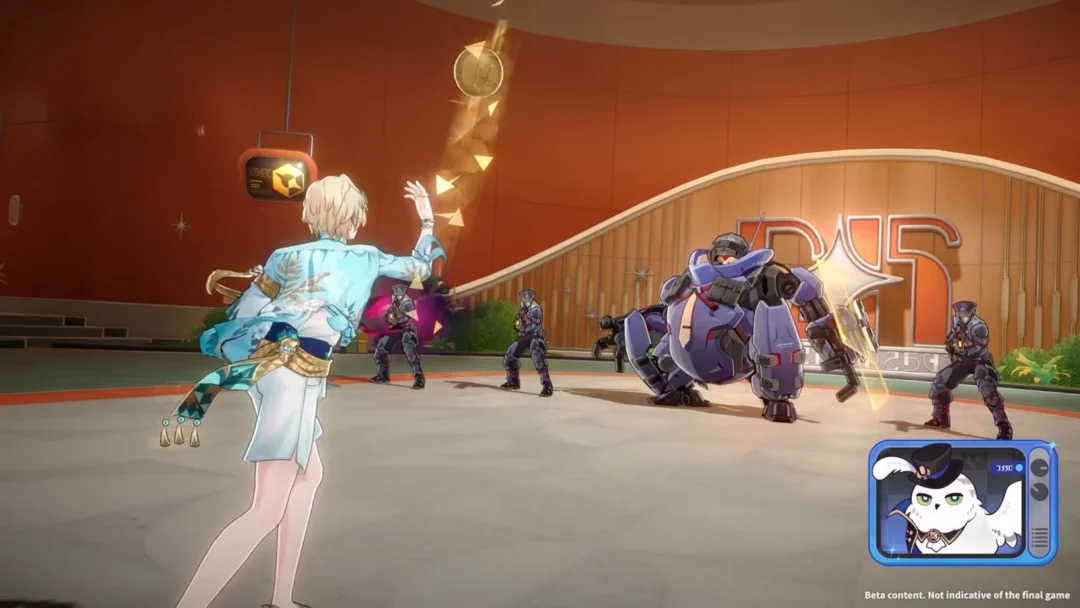
Knuckle Duckle returns unchanged and remains the most build-dependent stage. Shortly after the fight starts it raises a White Damage Shield and gives itself resistance high enough that hitting the shield directly is a waste of the timer. It also spawns small Stomping Devices, commonly called Ducklings, and each one you destroy carves a chunk out of the ward.
The Ducklings track instances of Electro-Charged and Lunar-Charged damage and dismantle themselves after enough hits, and they take extra damage from those reactions on top. Once all of them are gone the ward shatters, the extra resistance disappears, and its Electro RES drops further. It stays exposed for a while before shielding again, so plan your bursts around that window.
Flins with Sucrose, Ineffa, and Columbina is the standard Electro or Lunar-Charged answer, with Clorinde as the alternative carry and Raiden or Varesa as substitutes. Pure damage can also work here without Lunar-Charged, but it usually demands constellations or heavy vertical investment.
Reference clear times on Dire
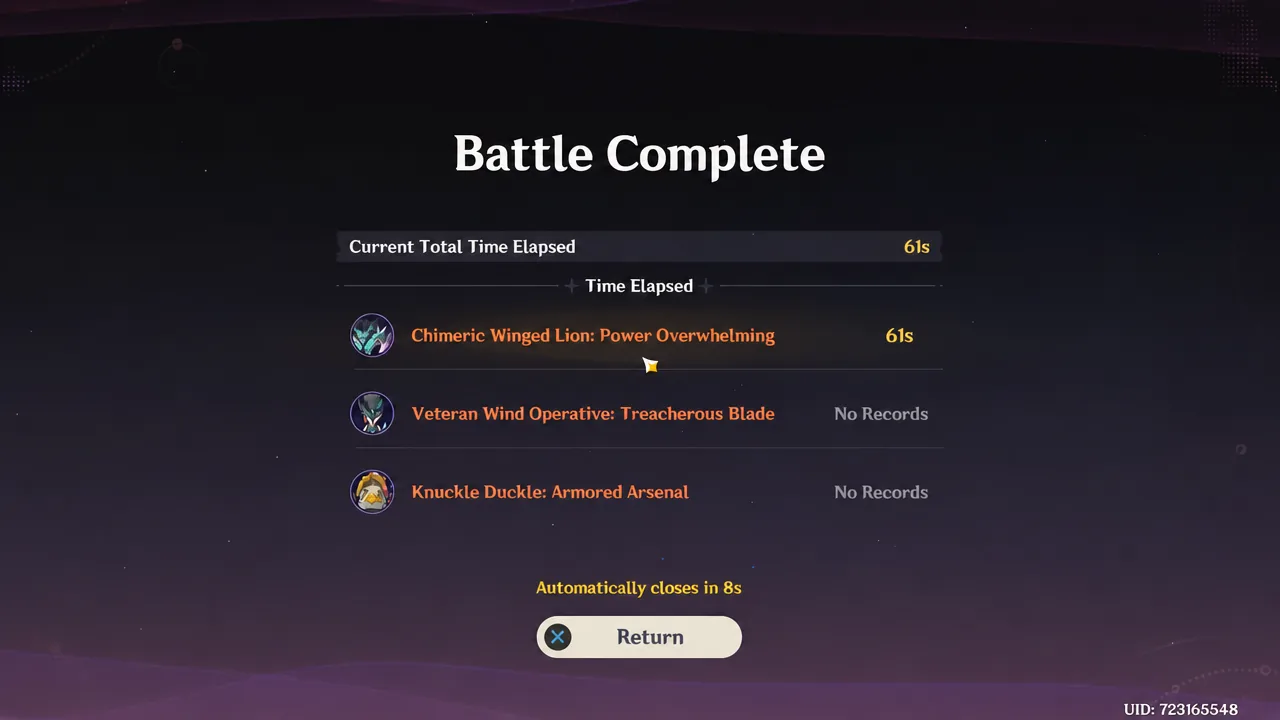
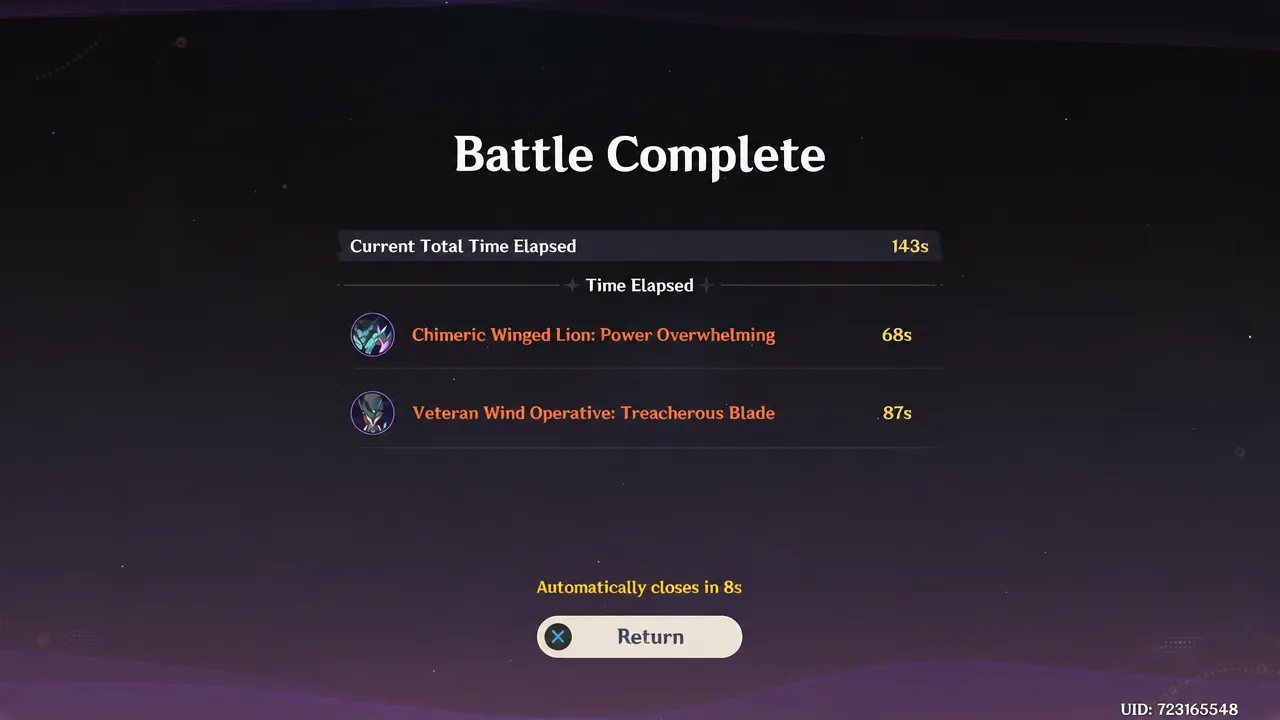
A showcase run of Battle of the Starburst on Dire, played with heavily customized builds and two characters per stage, put the Chimeric Winged Lion down in 81 seconds, the Veteran Wind Operative in 87 seconds, and Knuckle Duckle in 79 seconds, for 247 seconds total. Every individual fight stayed inside the 120-second cap, but the total sat well past the 180-second threshold for the upgraded rewards. Use those numbers as pacing markers: if a shield is still standing near the one-minute mark, the run is already out of contention for the bonus.
Why Dire runs fail
- Reused characters. Above difficulty 3 a unit cannot appear in two teams, so a single shared support invalidates the lineup.
- Hitting the shield instead of the mechanic. Knuckle Duckle’s resistance while warded is too high to power through, and the Lion’s Ward comes down through reactions, not raw hits.
- Taking Hunt Down unshielded. The Operative heals and the damage-over-time debuff usually costs more time than the shield break itself.
- Wrong reaction on the Ducklings. Only Electro-Charged and Lunar-Charged instances count toward their automatic dismantling.
- Missing the vulnerable window. Each break gives a limited period of reduced resistance before the shield returns, so bursts held back too long are wasted.
If your roster cannot cover all three defenses at once, Fearless is where the meaningful rewards live, and the same mechanics apply with far smaller health pools. Clear it solo, spend the first ten days of the burst period on artifact rewards, then come back to Dire once a second or third team is genuinely built rather than assembled from leftovers.