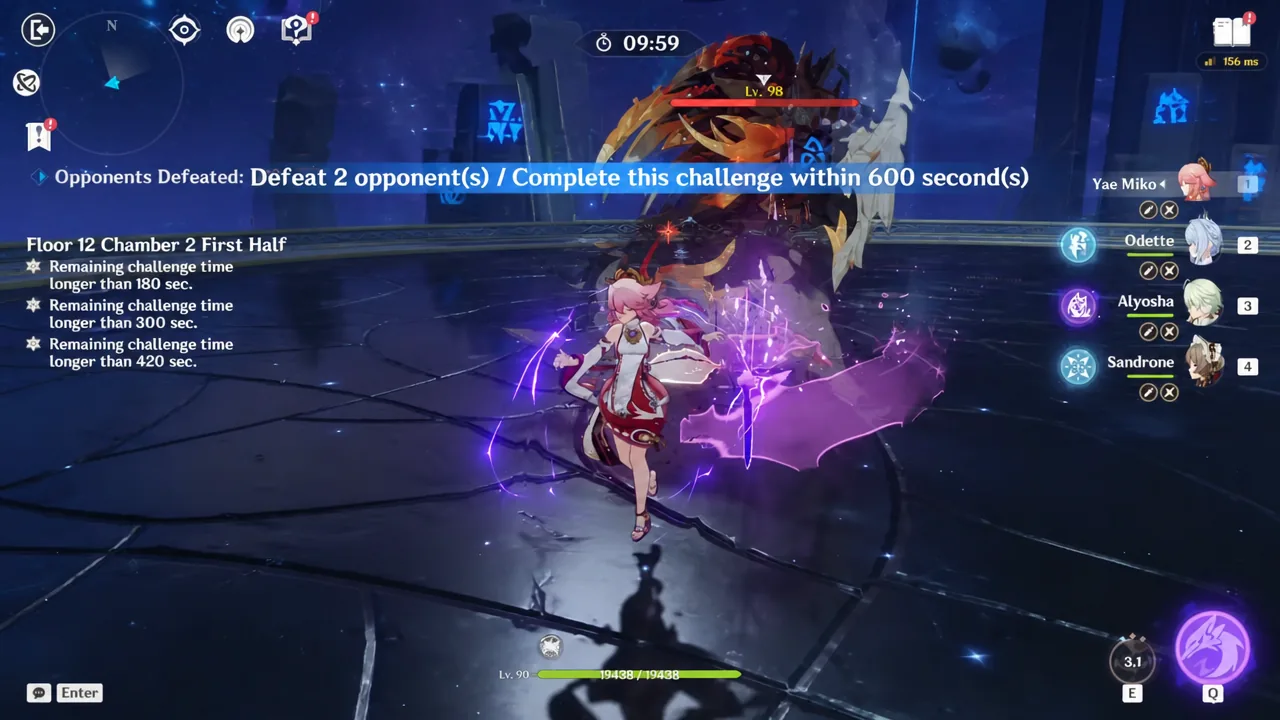
Odette is the 5-star Cryo Sword sub-DPS added in Genshin Impact’s 7.0 update, and almost everything about her play pattern is built around one short window. Her Elemental Burst hands her a damage buff and a Dance Double, and her Elemental Skill temporarily transforms into a much stronger version of itself. Cast those in the wrong order and you lose the largest hit in her kit.
Quick answer: Use Presto: Bluebird Finale first, then cast Adagio: Coda at Dawn’s Tolling inside the 6-second window the Burst opens, then swap off Odette immediately so her Marvelous Splendor stacks drain onto your on-field damage dealer.
Odette’s best rotation in a Sandrone team
Why the enhanced Skill has to come after the Burst
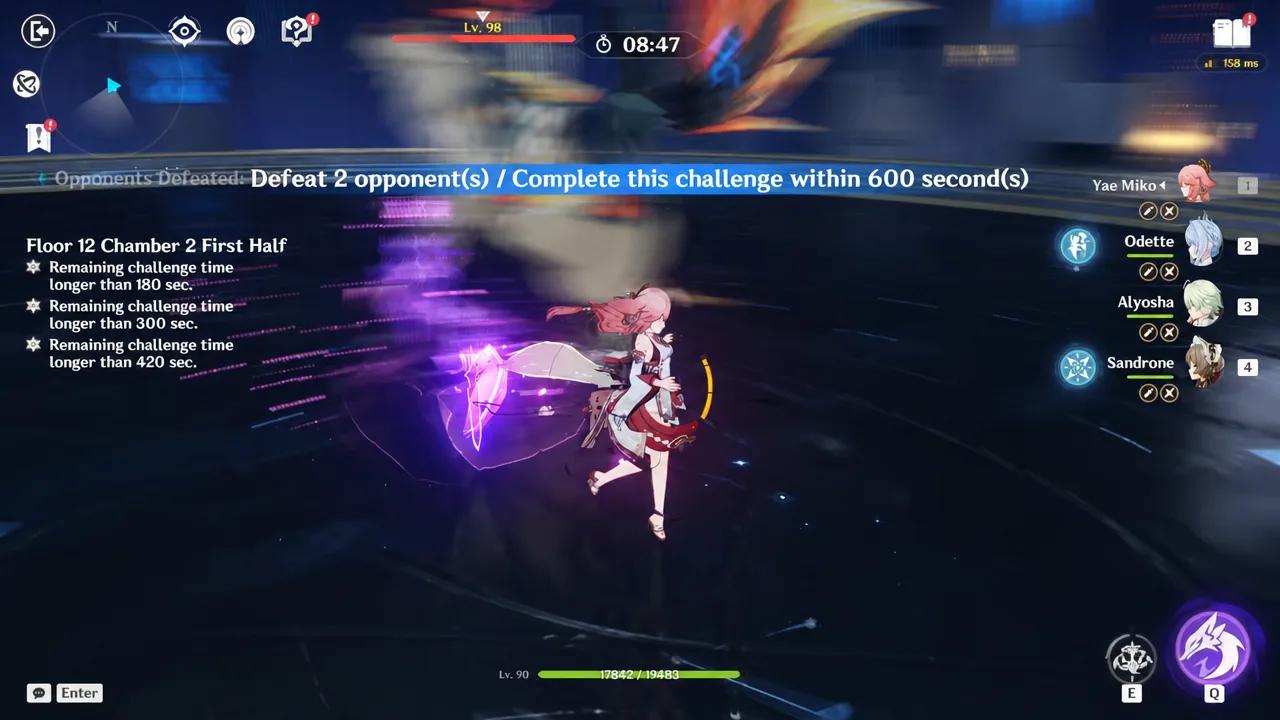
Coda at Dawn’s Tolling is available whenever Odette’s Dance Double is nearby, and both her Skill and her Burst open a 6-second window for it. The difference is what is buffing it. Casting the Skill first means the Coda hit lands before Snow Swan’s Dream exists, and you also waste a Double summon, since the Burst summons one anyway and refreshes any that is already out.
There is a second reason to keep this order. After Coda is used, if Odette is in a Radiance: Stellar Glimmer state with her Double still on the field, the Double’s Plume and Wing dance moves start adding Stellar reaction damage on top of their Cryo hits. That off-field damage runs for the rest of the Double’s duration while you are playing Sandrone.
| Instance (Talent Lv. 10) | Cryo DMG | Stellar-Conduct / Stellar Swirl |
|---|---|---|
| Coda duet end | — | 550% / 826% |
| Coda damage over time | 172.5% | — |
| Skill (Phantom Night Dancers) | 194.5% | — |
| “Plume” dance move | 77.5% | 49% / 73% |
| “Wing” dance move | 92.6% | 58% / 87% |
| Burst slashes | 198.3% ×3 + 306.5% | — |
Marvelous Splendor stacks and swap timing
Every time Odette summons her Solo Dance Double she gains 4 stacks of Marvelous Splendor, and each stack raises the holder’s Stellar Glimmer damage by 15%. The stacks last until the Double leaves the field or until she summons a new one.
The transfer rule is what makes the swap timing matter. While Odette is off-field she loses one stack per second, and nearby party members gain the same number of stacks at the same time. Four seconds of standing on another character is enough to move the full set onto Sandrone, so any extra time spent on Odette after her Coda simply delays that handoff.
Note: at C1 the summon grants 2 extra stacks and the off-field drain doubles to 2 stacks per second, which shortens the handoff further. At C6 her own stacks stop decreasing once the team has been buffed.
Funneling energy for two 60-cost Bursts
Odette and Sandrone both need 60 Energy, and both want their Burst every rotation. Whichever character is on-field when particles drop collects them, so the fix is to be on the character that is short on energy when your Electro unit’s particles appear, rather than picking them up on whoever happens to be out.
A rotation that skips this ends up longer, because one of the two has to wait for a Burst that is not ready. Sandrone’s usual Energy Recharge target sits between 125% and 145% for consistent Bursts, and a Favonius weapon on the Electro support adds particles for the whole party to help cover the gap.
Radiance states: Stellar-Conduct and Stellar Swirl
Odette’s ascension passive, Stellar Jubilee: Dance of Aurore, converts any Superconduct or Cryo Swirl triggered by a party member into Stellar-Conduct or Stellar Swirl, and raises that reaction’s base damage by 0.7% per 100 of her ATK, capped at 14%. She enters Radiance: Stellar-Conduct while inside a Polestar Field, or Radiance: Stellar Swirl for 8 seconds after a nearby ally triggers a Stellar Swirl.
Only one Radiance state can be active at a time, and Stellar-Conduct takes priority when both could apply. That is worth knowing before mixing an Anemo unit into a Stellar-Conduct team, since the Swirl variant carries the higher multipliers on Coda’s finisher.
Best Odette teams
| Team | Why it works |
|---|---|
| Sandrone, Odette, Yae Miko, Nicole | Sandrone’s premium Stellar-Conduct lineup. Odette’s Stellar damage buff benefits Sandrone and Yae Miko at once. |
| Wriothesley Stellar-Conduct | Wriothesley can act as an on-field Stellar-Conduct DPS after his Witch’s Revelation adjustments, and Odette supplies the off-field reaction enabler he was missing. |
| Cyno Stellar-Conduct | Cyno deals direct Stellar-Conduct damage after his Witch’s Revelation quest but has no off-field enabler of his own. |
| Sandrone, Beidou, Sucrose, Qiqi | Free-to-play Sandrone option. Sucrose needs two swaps to keep her buffs running. |
Artifacts and stats that support the rotation
Odette is the natural holder of Heart of the Furnace in a Stellar team. The 2-piece gives 18% ATK, and the 4-piece adds 12% ATK for 12 seconds whenever she triggers or deals Stellar Glimmer reaction damage, plus a 50% Stellar Glimmer reaction damage bonus for all nearby party members. Both effects work off-field, and the damage bonus does not stack with another copy of the same set, so a second Stellar support runs Noblesse Oblige instead.
ATK is the stat that scales her most directly. Pathetique of Pateticheskaya adds 1.5% Stellar Glimmer damage for every 100 ATK above 1,000, up to 30%, and her Stellar Jubilee bonus also reads off ATK. Beyond that, take enough Energy Recharge to fire her 60-cost Burst on every rotation, because the Burst is the trigger for everything else in her kit.
How to tell the rotation landed
The clearest confirmation is the Skill icon itself. If it still reads Adagio: Phantom Night Dancers, the enhanced Coda is not available and the finishing Stellar hit will not go out. The usual causes are the Dance Double having expired after its 20 seconds, the 6-second window after the Burst having closed, or Coda’s own 15-second cooldown still running.
The other thing to watch is the reaction type on the numbers. If the Coda finisher and the Dance Double’s attacks are landing as ordinary Cryo damage, Odette is not in a Radiance state, which means no Polestar Field is active and your Electro unit needs to go earlier in the rotation.
Played this way, Odette spends roughly four seconds on the field per rotation and leaves behind a Dance Double, a 50% Stellar damage buff on herself, and up to four stacks of Marvelous Splendor for whoever is holding the field. Everything else is Sandrone’s Charged Attack loop.