Sandrone does not need constellations to handle the current Stygian Onslaught rotation. A single-refinement signature weapon and a properly stacked Stellar-Conduct team are enough to push all three Fearless bosses down inside a minute or so each, with the slowest fight still finishing well under the timer.
Quick answer: Run Sandrone (C0, A Teaspoon of Transcendence R1, 4-piece Disenchantment in Deep Shadow) with Odette, Yae Miko, and Alyosha, set up your Cryo and Electro off-field damage first, then hold Sandrone’s charged attack for three beams and tap her Elemental Skill to clear the overload bar. Repeat that loop three times per rotation.
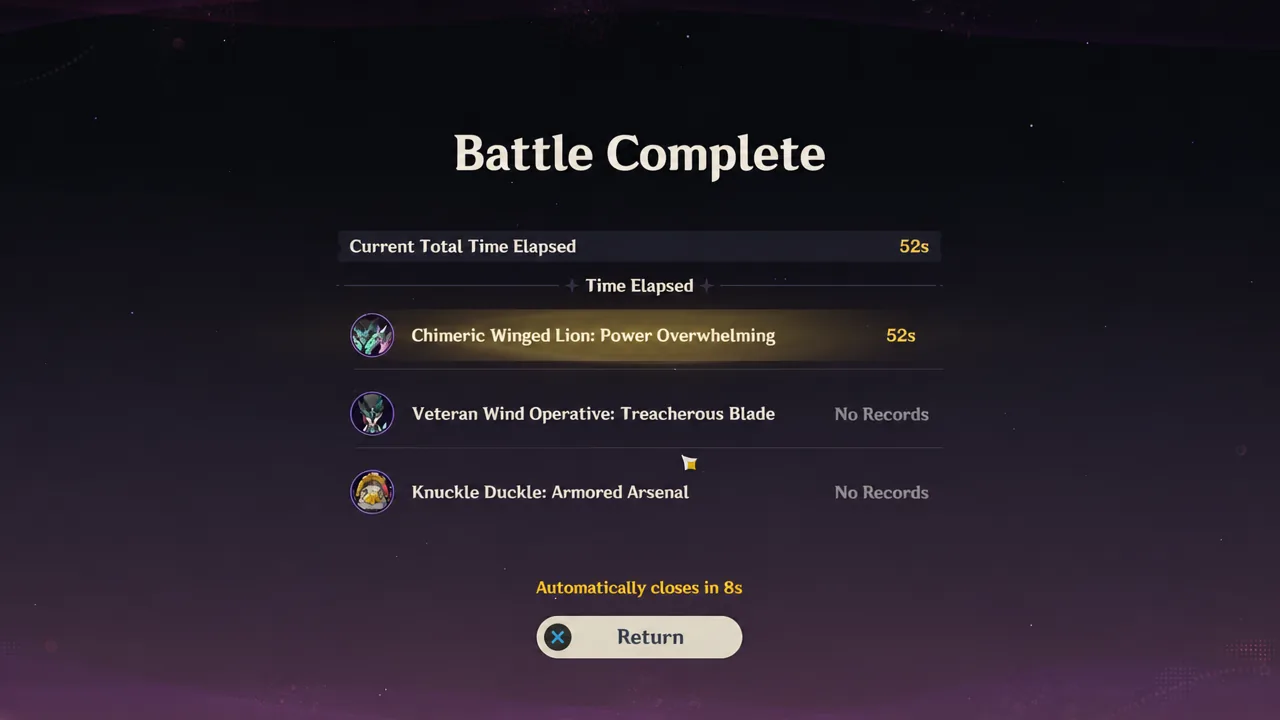
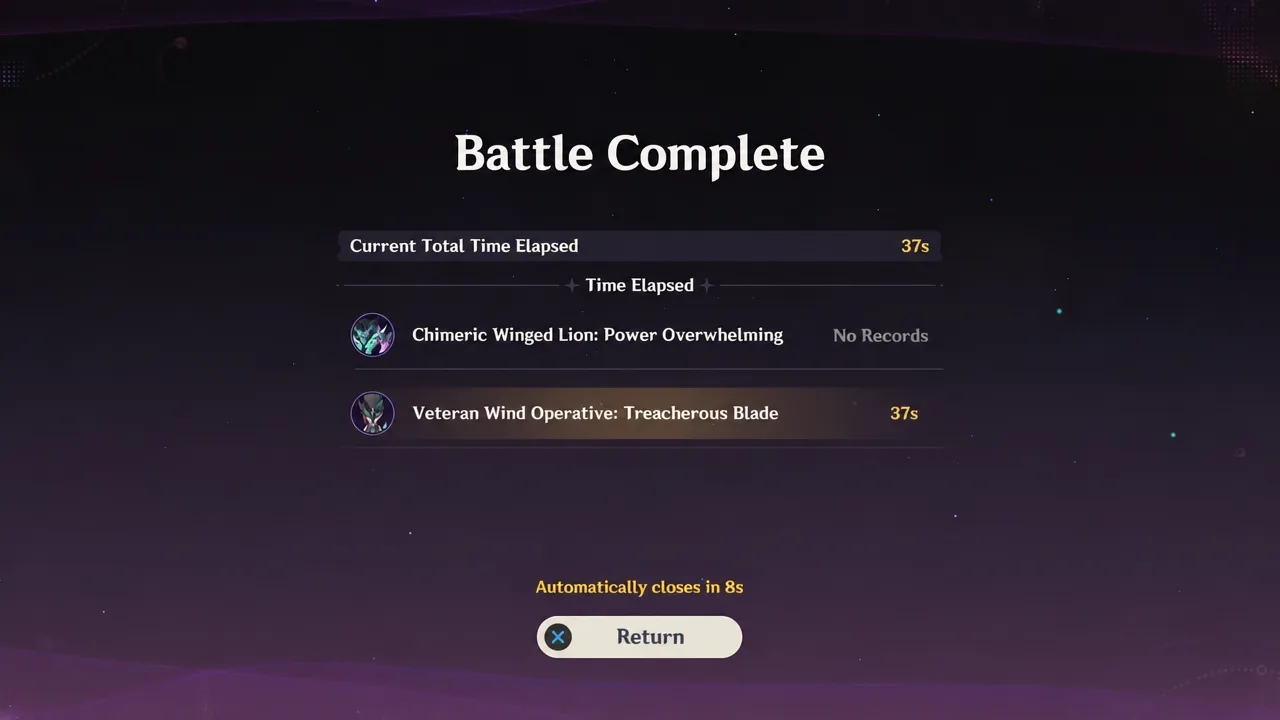
Fearless clear times with the C0R1 Sandrone team
All three encounters are fought at Lv. 105 on Fearless difficulty. The same four characters handle every stage without a swap, which matters because Sandrone’s buffs come from her own teammates rather than from a boss-specific tech pick.
| Boss | Clear time |
|---|---|
| Chimeric Winged Lion | 45 seconds |
| Veteran Wind Operative: Treacherous Blade | 41 seconds |
| Knuckle Duckle: Armored Arsenal | 66 seconds |
Knuckle Duckle is the outlier, and that is expected. Its ward and the Stamping Devices it summons eat a chunk of the clock before the boss itself takes meaningful damage.
Why Stellar-Conduct is doing the heavy lifting
With Sandrone on the field, Superconduct is replaced by Stellar-Conduct. The reaction itself deals no damage. Instead it drops a Polestar field on the ground, and that field is what turns a normal Cryo and Electro lineup into a boss deleter.
The field does three things. It raises the Stellar-Conduct base multiplier, it adds Cryo and Electro DMG Bonus, and it shreds enemy Physical resistance. Those effects scale with stacks, and stacks come from landing Cryo and Electro hits. That is the entire reason the team is built around off-field damage rather than a second on-field carry.
Note: the big Stellar-Conduct numbers you see popping off are direct damage from character kits, not reaction damage. Yae Miko in particular now contributes her own Stellar-Conduct hits instead of just applying Electro.
Sandrone build: weapon, artifacts, and stat targets
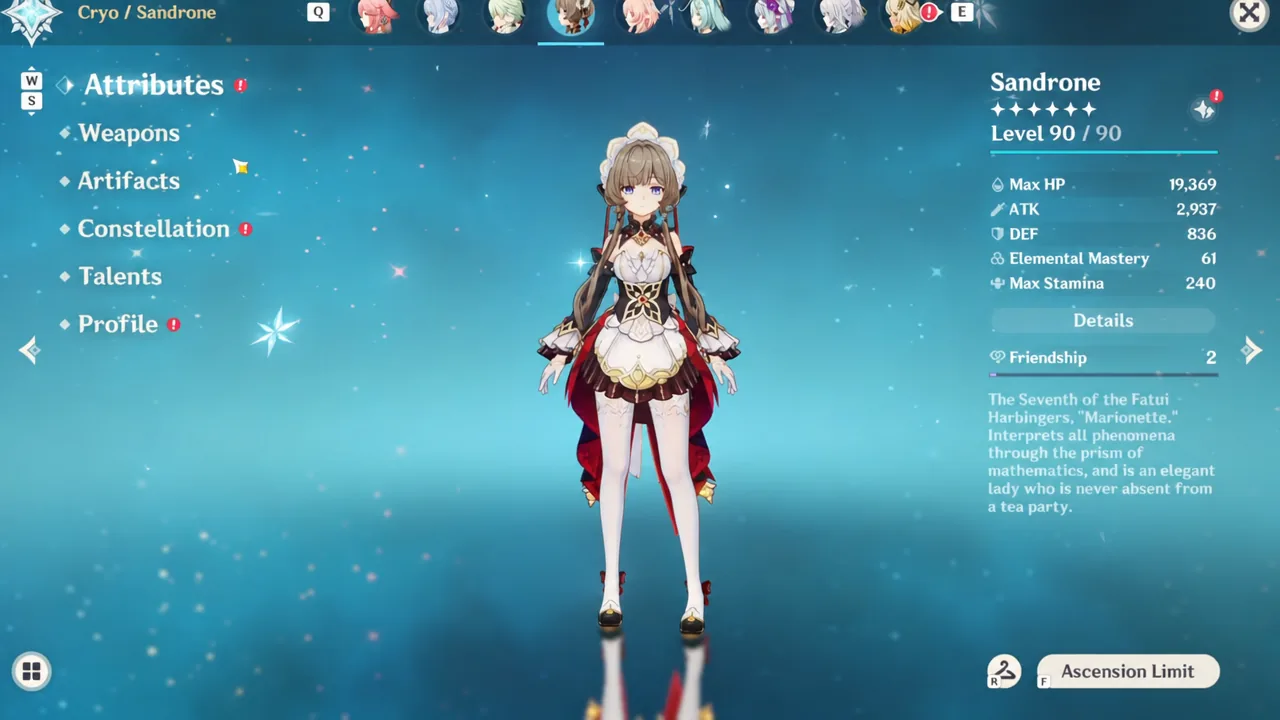
Sandrone runs A Teaspoon of Transcendence at R1 and a 4-piece Disenchantment in Deep Shadow set. The set is not a close call. It hands out 18% ATK, 80% Superconduct DMG, 40% Stellar-Conduct DMG, and 16% CRIT Rate, which lines up exactly with what her damage profile wants. Gilded Dreams is the fallback, and it loses noticeably.
She scales off ATK but benefits from nearly every offensive stat, so crit substats and Elemental Mastery both pull weight. The showcased build sits at Lv. 90 with 64.6% CRIT Rate and 234.0% CRIT DMG, which is comfortable rather than exceptional once you count the 16% CRIT Rate from the set and the bonus crit from Cryo resonance.
Aim for at least 120% Energy Recharge. Her Burst is the single biggest hit in the rotation, and with two or three Cryo teammates feeding particles you should be able to fire it every cycle without sacrificing much offense.
Sandrone rotation: charged attack into skill
There is no animation cancel worth chasing here. You can move and dodge while holding charged attack without losing damage, so the only real skill expression is not getting knocked out of the hold.
Odette, Yae Miko, and Alyosha builds
Every support in this lineup is either generating Polestar field stacks, buffing Sandrone, or both. None of them are running an off-meta gimmick set.
| Character | Weapon | Artifact set |
|---|---|---|
| Sandrone | A Teaspoon of Transcendence (R1) | 4-piece Disenchantment in Deep Shadow |
| Odette | Whitelake Frostfeather (R1) | 4-piece Heart of the Furnace |
| Yae Miko | Kagura’s Verity (R1) | 4-piece Disenchantment in Deep Shadow |
| Alyosha | Favonius Lance (R5) | 4-piece Noblesse Oblige |
Yae Miko is the Electro core, and she is here over Beidou mainly for energy reasons. She only needs her Elemental Skill to keep dealing off-field damage, while Beidou can stall the rotation waiting on Burst uptime. In a Stygian Onslaught run, where you start from zero, that difference is significant. Build Yae as a sub-DPS with an ATK sands, ATK goblet, and crit circlet.
Alyosha on Favonius Lance is a battery pick as much as a damage one. R5 Favonius means frequent particle generation, which is what keeps Sandrone’s Burst online at 120% Energy Recharge instead of forcing you higher.
Boss mechanics that decide the clear
Each stage has one gate you have to open before your damage means anything.
Chimeric Winged Lion opens with an Electro shield. Stellar-Conduct chews through it faster than almost anything else, which is why this team posts its second-fastest time here. Once the shield drops, the Lion is temporarily vulnerable and its Cryo and Anemo resistance falls, so dump Sandrone’s Burst inside that window.
Veteran Wind Operative: Treacherous Blade applies a Bond of Life to the whole party during its shield phase. Damage you deal while the shield is up is banked and released when the shield breaks, so a fast team gets a huge delayed payout. Avoid its signature attack, since getting hit lets it recover HP and stacks a damaging debuff on you.
Knuckle Duckle: Armored Arsenal is the strictest of the three. It starts warded and summons Stamping Devices that have to be cleared first. Only after the devices are gone does the ward fall and its resistances drop. Sandrone’s charged attack range helps here, since airborne adds can be deleted without repositioning.
Substitutes if you are missing a slot
The Sandrone plus Yae Miko core is close to mandatory, because you need an Electro off-fielder to trigger the reaction at all. The remaining two slots are flexible.
- Qiqi works as a battery, buffer, stack generator, and light sub-DPS off her Elemental Skill alone, which suits a mode where you start with no energy.
- Diona or Beidou add a shield, which matters because Sandrone can be staggered out of a held charged attack even while moving.
- Escoffier contributes 15% Cryo resistance shred plus Cryo hits and particles from her skill in a triple-Cryo setup.
- Cryo Traveler can stand in as the on-field damage dealer against the Chimeric Winged Lion if you skipped Sandrone entirely, with Odette and Yae Miko keeping the reaction rolling.
Xilonen and Sucrose offer more resistance shred than Escoffier, but they generate no Polestar field stacks, so the trade rarely favors them in this team.
Why the run stalls
When a Fearless attempt goes long, it is usually one of a short list of causes. You entered Sandrone before a Polestar field existed, so her opening charged attacks landed with zero stacks. You skipped the skill tap after the third beam, leaving her passive damage bonus inactive for the rest of the loop. Or you got interrupted mid-hold and lost a full beam set, which is the most common failure without a shielder in the team.
You will know the rotation is working the moment the numbers change. At C0R1 with a properly stacked field, individual Stellar-Conduct hits from Sandrone’s charged attack should clear 100k, her skill should land in the same range, and her Burst can range from roughly 600k to over a million depending on how many buffs are live when it goes off. If your charged attacks are landing well below that, the field is understacked and the fix is more Cryo and Electro application before you swap in, not more Sandrone uptime.