The occult ward blocking the door beside the Abandoned Office on the second floor of the Arkham Fish Market is the one lock in Chapter 4 that no gadget will touch. Leyden Jars do nothing to it, and neither does brute force. The barrier only reacts to a single hidden object tucked behind a wall painting one floor down.
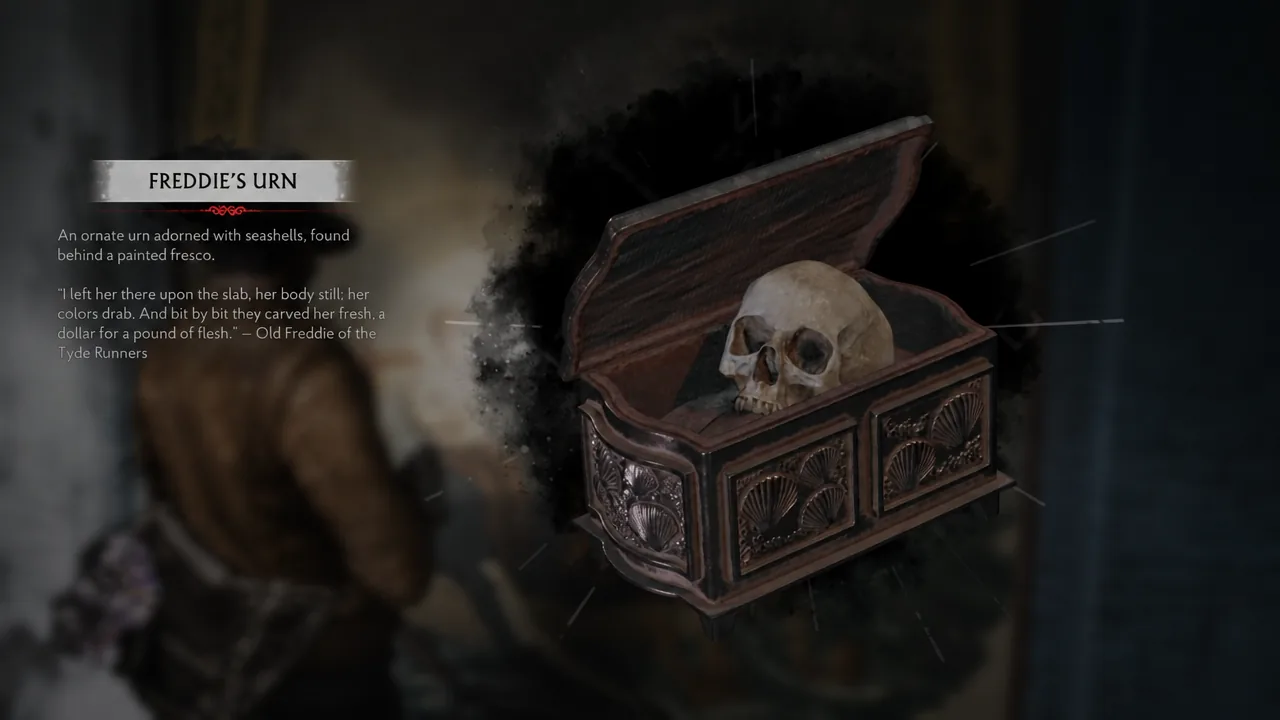
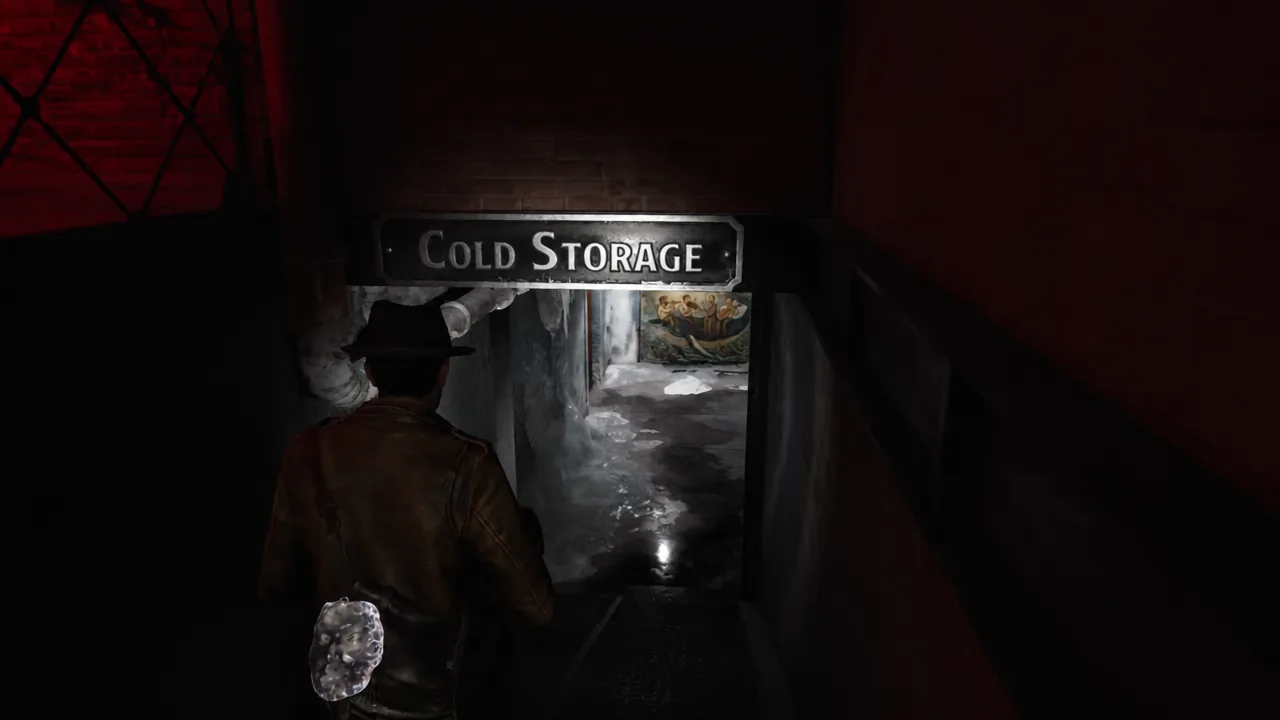
Quick answer: Go to the painting beside the Cold Storage exit door on 1F, hit the head of the second figure from the right — the only one not holding an instrument — take Freddie’s Urn from the hole, then use it on the magic ward on 2F.
Why the ward needs Freddie’s Urn and nothing else
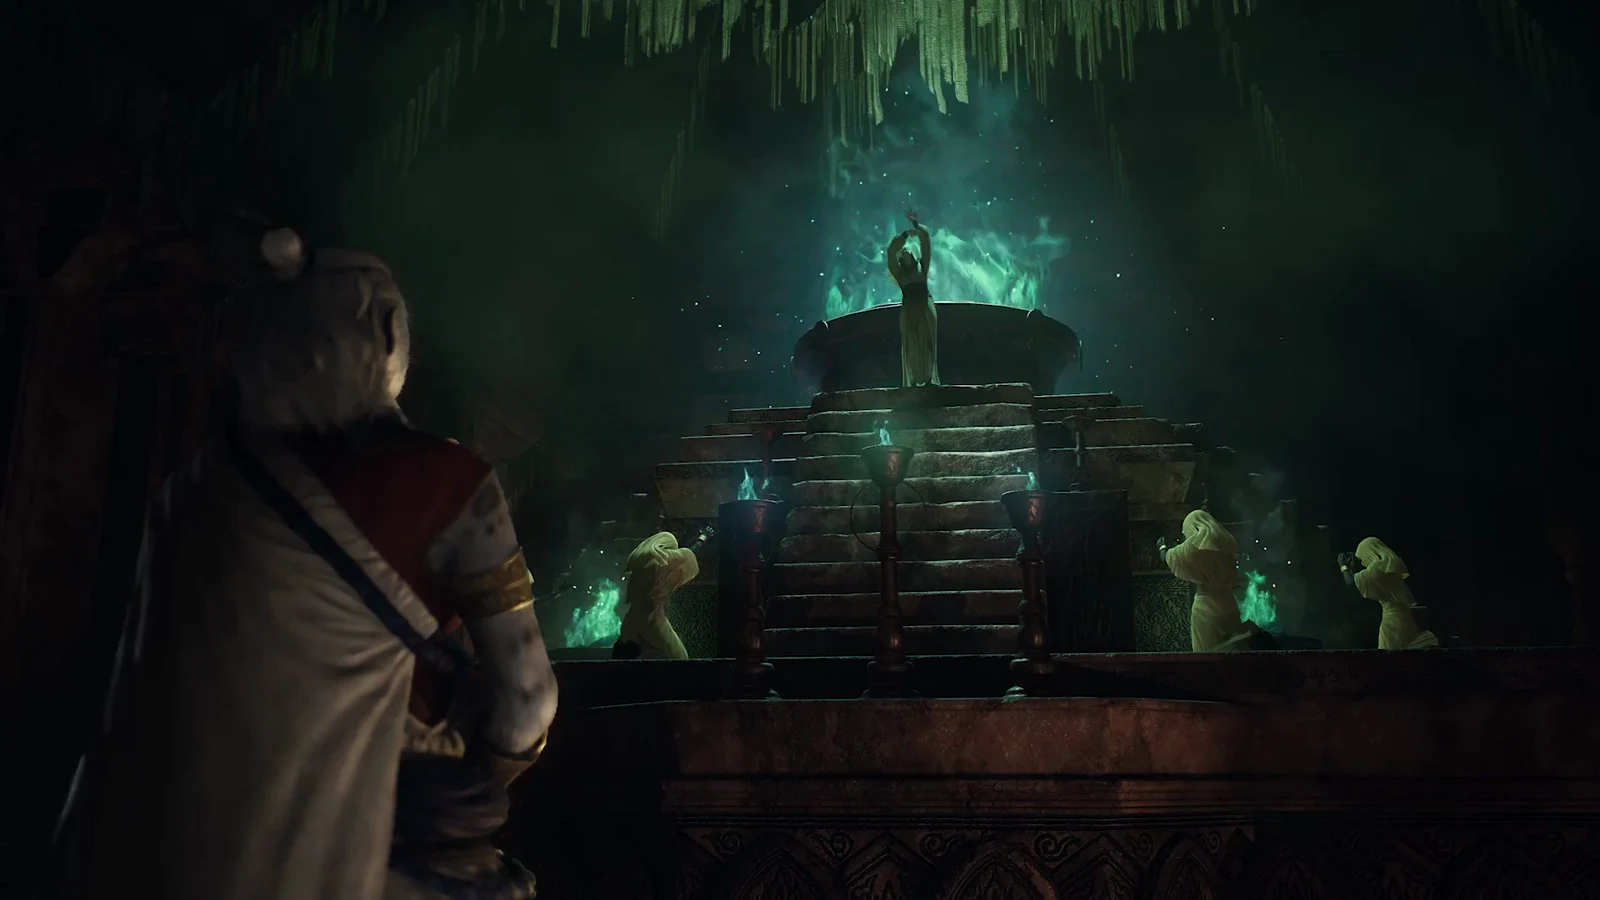
The seal on Ma Fishface’s Shop is held together by a melody, not a mechanism. Faye can only break it once she hears the tune, and the urn is what carries it. That is why players burn through their Leyden Jars here for nothing — those jars belong to the starfish growths guarding the Workshop and the Antikythera, a completely separate puzzle chain.
Two pieces of writing set this up. The Eulogy for Old Freddie sits on the bar on the pub’s second floor and identifies him as the singer everyone remembers. Down in the basement off Cold Storage, the Tide Runners note adds that those sailors were more than sailors. Neither goes into your inventory as an item, but together they point at the painting.
| What you need | Where it is |
|---|---|
| Eulogy for Old Freddie | On the bar, second floor of the pub |
| Tide Runners note | Basement, just off Cold Storage |
| Freddie’s Urn | Behind the wall painting near the Cold Storage exit door (1F) |
| The ward itself | 2F Market, between Ma Fishface’s Shop and the Abandoned Office |
Getting Freddie’s Urn out of the painting
Note: The urn arrives alongside Old Freddie’s Shanty, a lore entry containing the full text of “The Fisherman’s Love.” It is the same song Faye will need, and it is worth reading if you want the ward to make narrative sense.
Using the urn on the magic ward (2F)
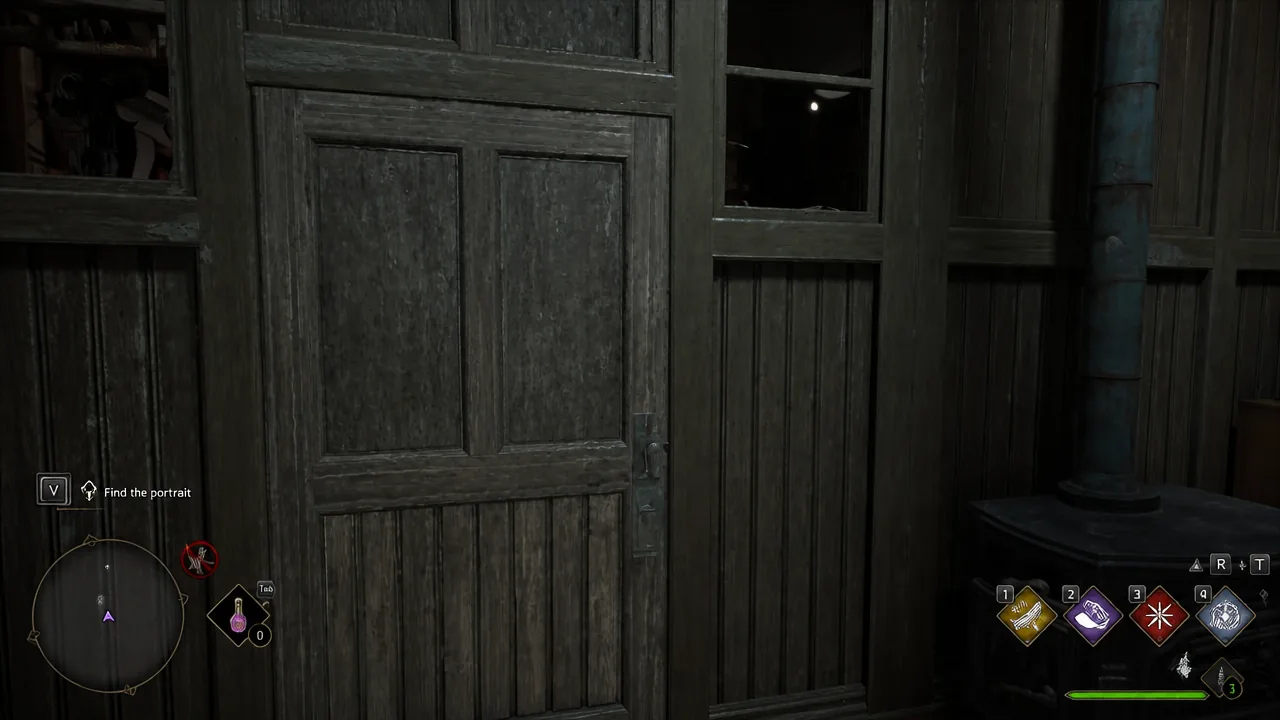
Common reasons the ward will not break
- You are presenting a Leyden Jar. The jars have no effect on this barrier under any circumstances.
- You hit the wrong figure in the painting. Only the man without an instrument, second from the right, opens the compartment.
- You broke the plaster but never collected the item. The urn still needs a separate interact once the hole is exposed.
What comes immediately after the door opens
Stepping inside triggers a cutscene where Ma Fishface introduces herself. Once the conversation ends, the shop holds the second Leyden Jar for the chapter, and you should grab it before leaving through the far door. That jar feeds the starfish doors ahead, including the one at the Weighing Station that hides the grenade launcher.
Chapter 4 has no chapter select and no way back once you move on, so sweep the Fish Market map for anything still unmarked before you head toward the Broken Hold.