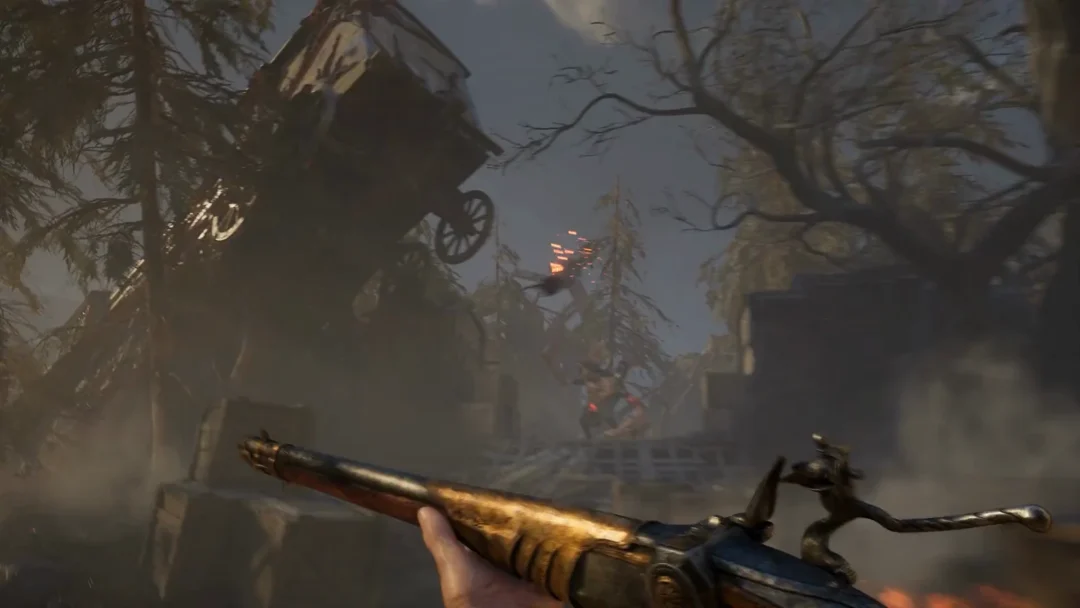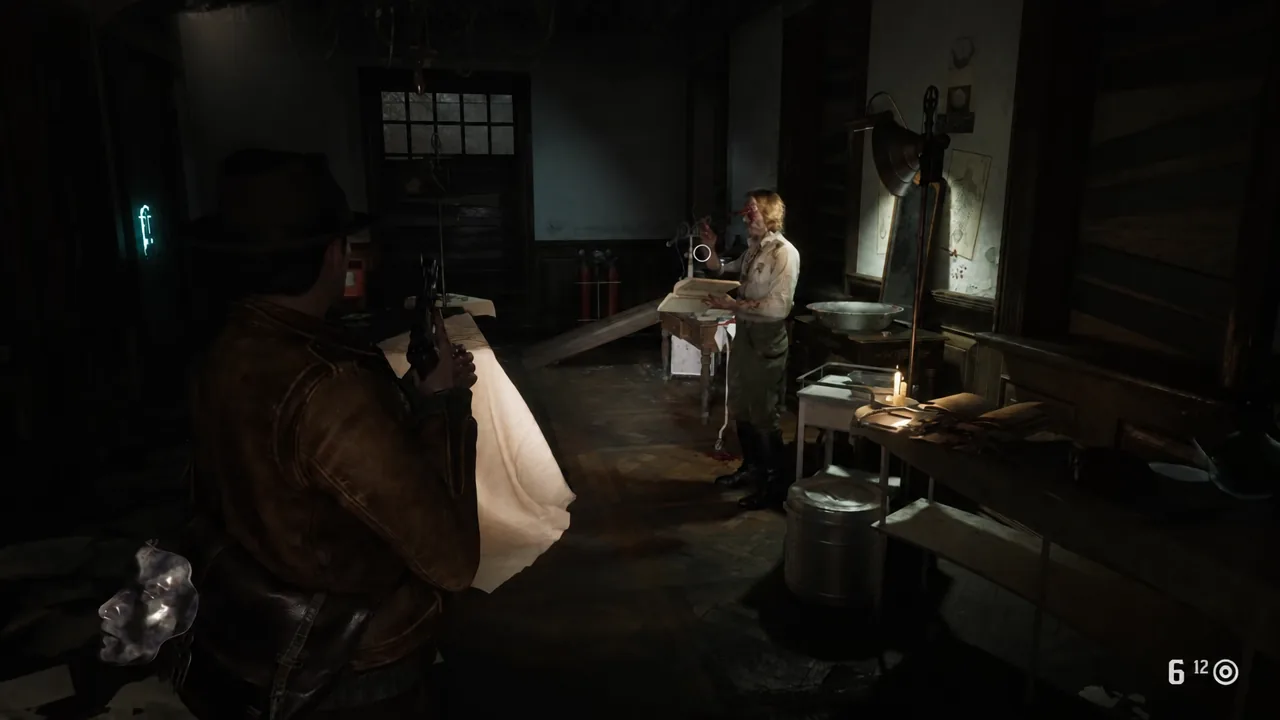
Flooded Arkham hands you a pistol and expects you to make do. Everything else — the shotgun, the Tommy gun, the rifle, the grenade launcher and the ten attachments that make them worth carrying — is bolted to specific rooms, specific safes and specific consumable pens. None of the five weapons are missable, but plenty of the parts are easy to walk past, because half of them sit inside locked crates you cannot open at the moment you first see them.
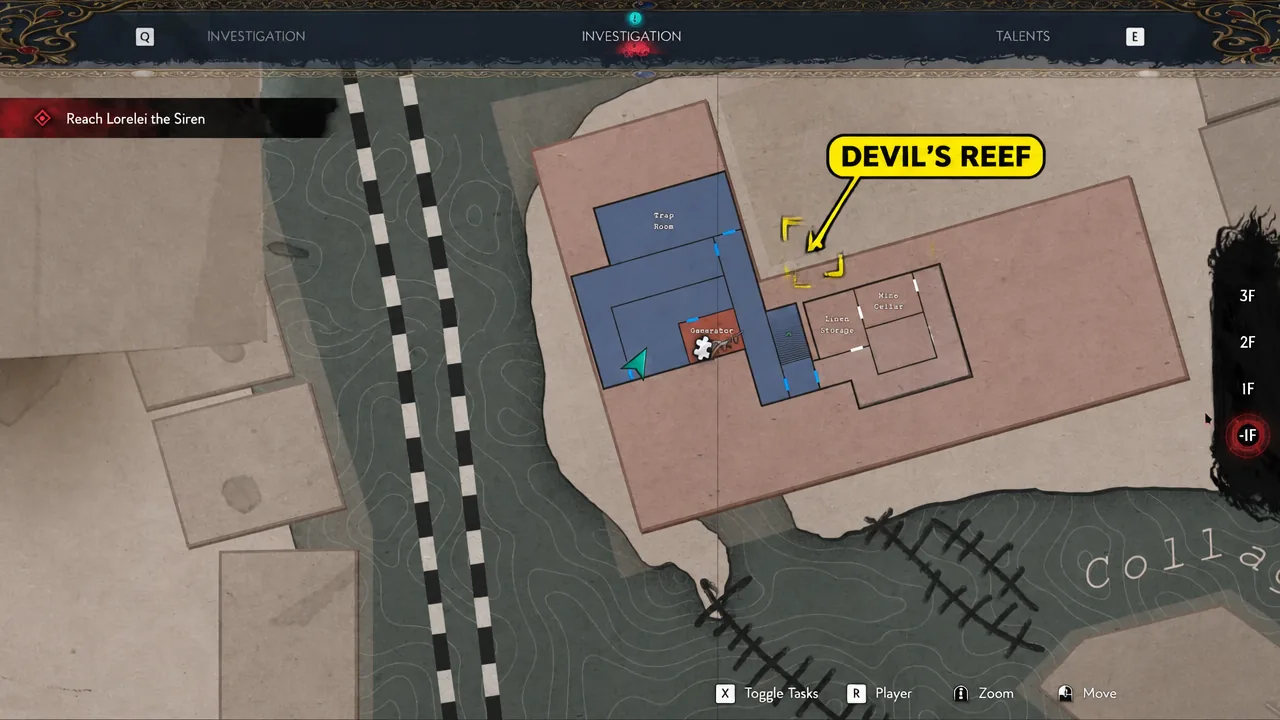
Quick answer: There are five weapons. You start with the Equalizer Mk. II pistol; the Field Surgeon shotgun is in the saloon on Sentinel St, The Minuteman submachine gun is on the basement table in Devil’s Reef Hotel, the Black Reef Longshot rifle is past the Prosthetics Workshop in Akeley Memorial Hospital, and Linguist’s Folly is behind the starfish-locked door at the Fish Market Weighing Station. Each weapon takes two attachments, found in E.R.C. crates, safes and puzzle rooms.
All 5 weapon locations in The Sinking City 2
| Weapon | Type | Where to find it |
|---|---|---|
| Equalizer Mk. II | Pistol | Starting weapon |
| Field Surgeon | Pump-action shotgun | Saloon on Sentinel St, past the safe room (Ch. 2) |
| The Minuteman | Submachine gun | Devil’s Reef Hotel basement, -1F, by the ventilation machine (Ch. 2) |
| Black Reef Longshot | Rifle | Akeley Memorial Hospital, room past the Prosthetics Workshop |
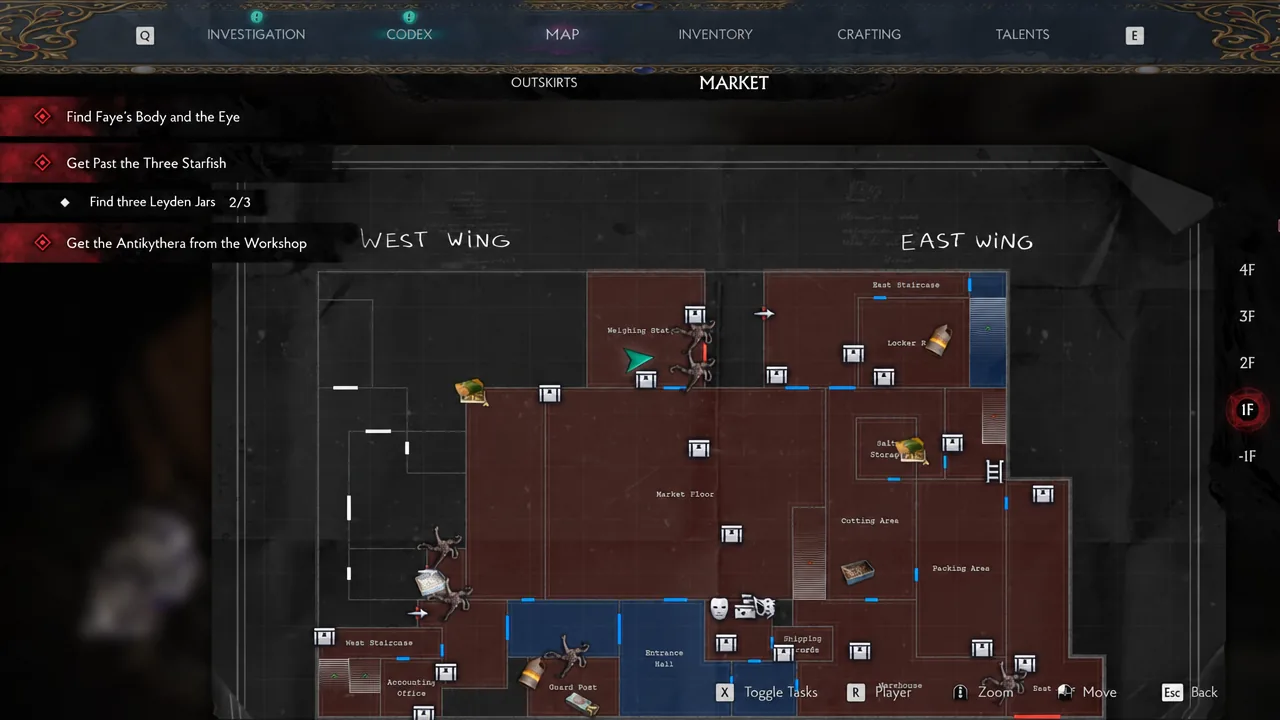
| Linguist’s Folly | Grenade launcher | Arkham Fish Market, Weighing Station, 1F (Ch. 4) |
The saloon does not open on your first pass. Wait for the creature to smash the door in, follow it inside, then head through the safe room and out the far door — the Field Surgeon is sitting on a display behind the bar area. It eats two inventory slots and its shells are expensive to craft, so treat it as a close-range answer rather than a default.
The Minuteman is not a lobby pickup. You reach it only after the Staff and Lorelei routes send you into the ventilation side of Devil’s Reef Hotel, when the objective points you at shutting off the gas. Wade through the flooded corridor, open the gate, and the submachine gun is on the table right before the Generator Room section.
The rifle needs the Old Man’s Face Mask first. With it equipped, use the door in the southern part of the Prosthetics Workshop, then take the door on your left — the Black Reef Longshot is on a table beside a corpse. Chapter labels for the hospital stretch vary depending on where a given chapter list draws the break, but the route through the building is the same either way.
Linguist’s Folly is the last gun. On 1F of the Fish Market, head north to the Weighing Station and look at the east side for a door held by two starfish locks. Feed them Leyden Jars, open up, and the grenade launcher is on the shelf directly ahead.
E.R.C. crates and Activator Pens: How the locked parts work
Half the attachments live inside white-and-gold E.R.C. crates, and a crate only opens with an E.R.C. Activator Pen. The pen is a one-use consumable, so one pen equals one crate. If a crate refuses to open, you are not missing a key item or a story flag — you simply do not have a pen on you.
Pens are almost always stashed within a room or two of the crate they belong to, frequently on a desk, a table or a shelf next to an already-opened crate. The pattern repeats through the whole game: spot the crate, note the room, keep exploring, grab the pen, backtrack. Crates also hold inventory expansions, ammo, Dream Essence and Frag Grenades, so none of them are worth skipping.
Note: the pen you find can be carried between areas, so if you leave a crate behind you can return with a spare pen later rather than hunting for a second one nearby.
All 10 weapon part locations
| Part | Fits | Where it is | Effect |
|---|---|---|---|
| Voss’s Compensator | Equalizer Mk. II | E.R.C. crate in the Registry, Library Annex (pen in Study 1) | Steadier aim under pressure |
| Voss’s Target Grip | Equalizer Mk. II | Safe in Room 301, Devil’s Reef Hotel | Perfect-shot timing marker |
| Cutter’s Sturdy Stock | Field Surgeon | Printing House press puzzle, gold solution | Bonus damage to enemy backs |
| Cutter’s Tomahawk | Field Surgeon | E.R.C. crate at hospital Reception (pen in the Wireless Room) | Adds a melee slash |
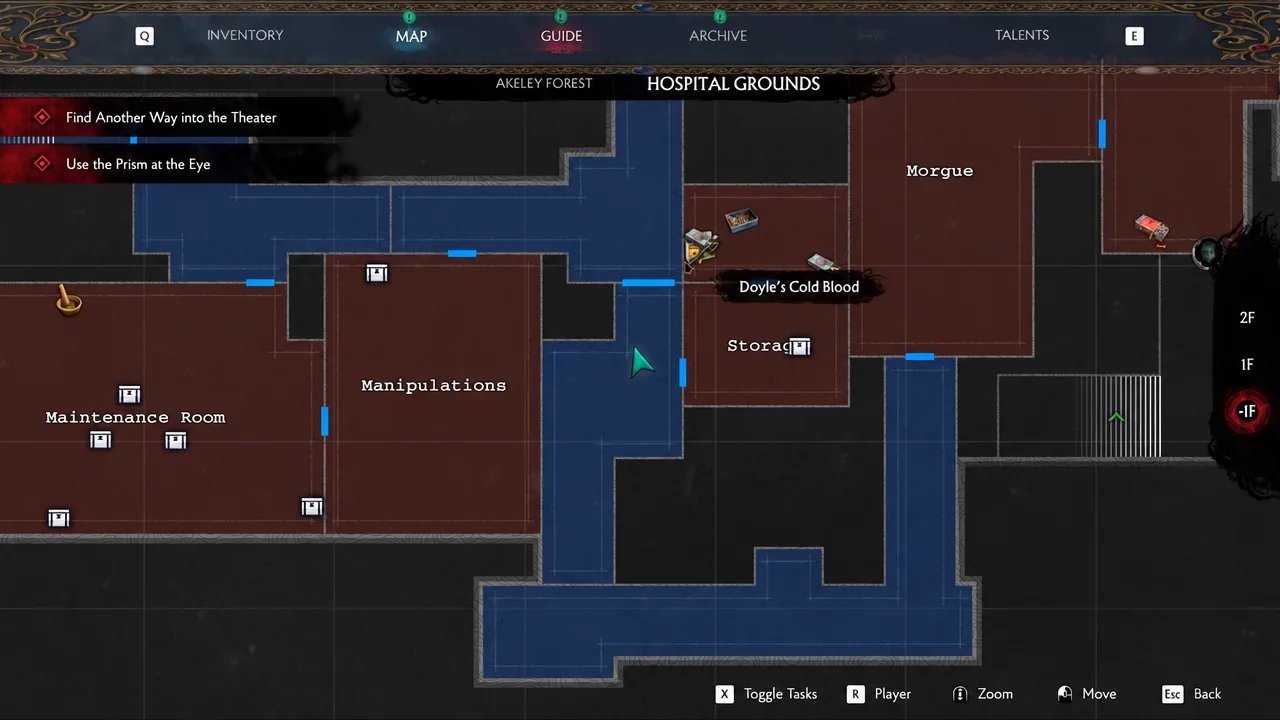
| Doyle’s Cold Blood | The Minuteman | Cabinet in the hospital Storage Room, -1F | Shots slow enemies |
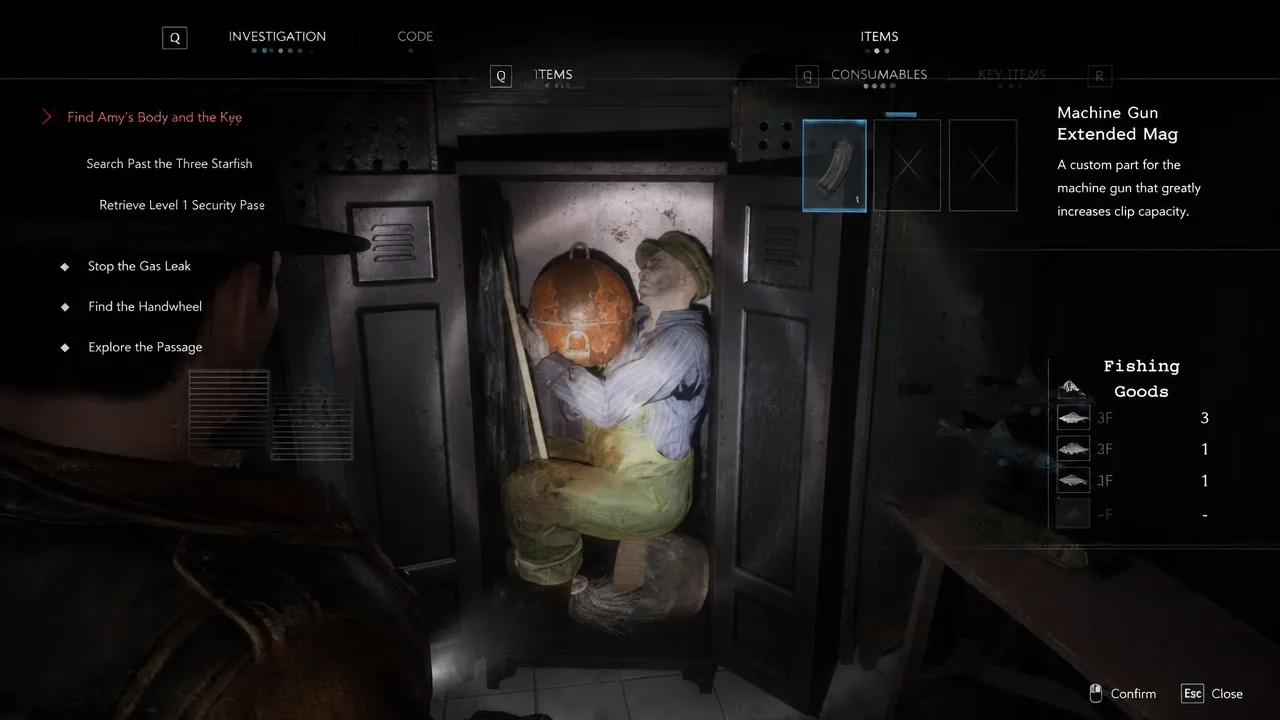
| Doyle’s Hot Streak | The Minuteman | Buoy locker, Fishing Shop, Fish Market 2F | Extended magazine |
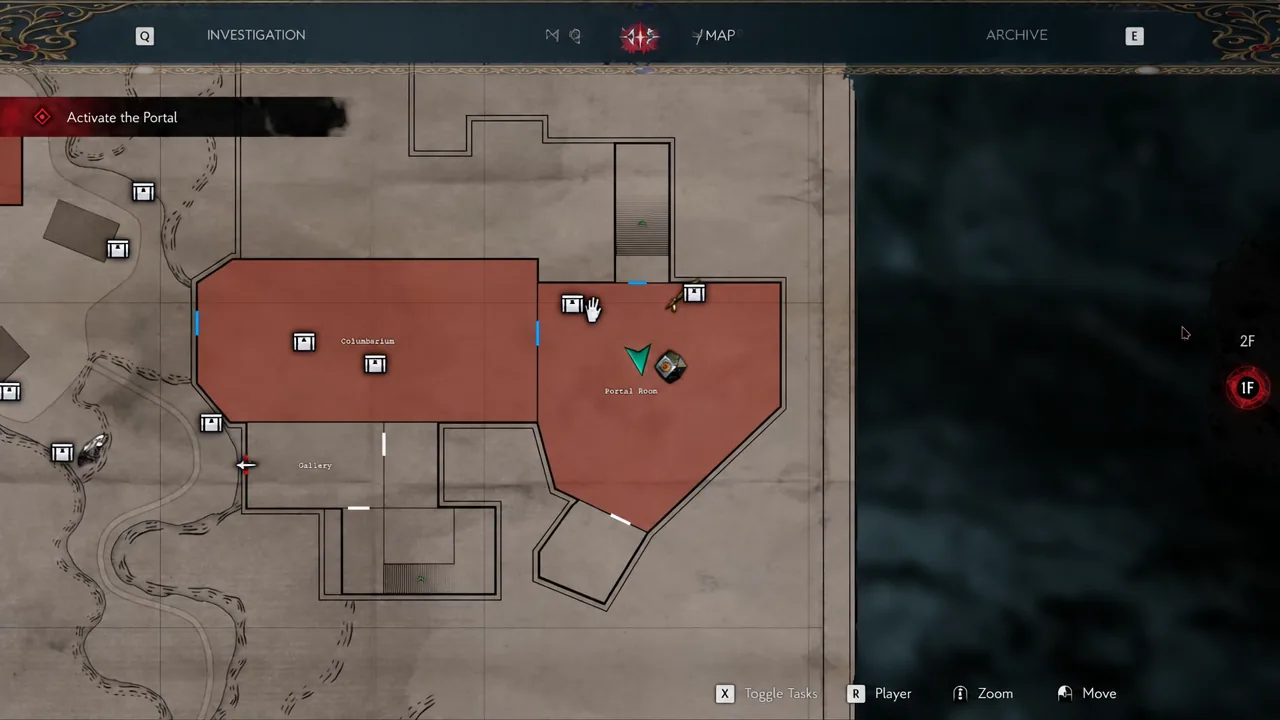
| Keene’s Timeglass | Black Reef Longshot | E.R.C. crate at the Camp / cliffside tent (pen in the Portal Room) | Rifle scope |
| Keene’s Widowmaker | Black Reef Longshot | E.R.C. crate up the stairs in the Portal Room cave (pen in Upper Storage) | Recoil pad, better stability |
| Pyre’s Squid Barrel | Linguist’s Folly | Box on a table in Salt Storage, past the 16-button door | New launcher barrel |
| Pyre’s Ocularum | Linguist’s Folly | Safe in the Locker Room, Fish Market 1F | Launcher sight, better accuracy |
Pyre’s Ocularum is reachable before you own the grenade launcher, so grab it when you pass the Locker Room even if the weapon is still sitting behind the starfish door.
Every safe code and lock combination
| Lock | Location | Input |
|---|---|---|
| Room 301 safe | Devil’s Reef Hotel, 3F | 2137 |
| Storage Room padlock | Akeley Memorial Hospital, -1F | 1308 |
| Locker Room safe | Arkham Fish Market, 1F | 1496 |
| 16-button door | Cutting Area, leads to Salt Storage | I, IV, IX, XVI (order does not matter) |
| Cursed press | Printing House | Slots 7-9-5-6-3-9 for the all-gold result |
| Buoy lock | Fishing Shop, Fish Market 2F | Four symbols in sequence (see below) |
The four parts with extra conditions
Doyle’s Cold Blood needs acid before the code
Pick up the Anti-Rust Acid in the Prosthetics Workshop first. Take it down to -1F and pour it on the rusted door to the Storage Room. Behind that door is a second gate with a combination lock — the notes scattered nearby each fix the position of one digit, and the answer is 1308. The submachine gun barrel is in the cabinet inside.
Doyle’s Hot Streak is behind a chain and a symbol lock
You cannot reach it until you have the Bolt Cutters from the Fish Market. Come back to the Fishing Shop, cut the chain on the room connected to Ezekiel, and you will find a body next to a locked buoy. The buoy takes four picture symbols in order — lighthouse, rope, star and octopus shapes, with the icons on the dial matching clues found in the same area. Match the shapes on your buoy rather than the names, because the artwork on the lock is easy to read two ways.
Cutter’s Sturdy Stock is a one-shot puzzle choice
The Printing House press wants three Printing Plates — A, B and C — before it will run. Slot all three, then work the mechanism until every element turns gold; the stock appears on the table beside the press. The puzzle also has a silver solution that pays out two Dream Essence instead, and once you commit to it the press cannot be solved again. Pick gold if you want the shotgun part.
Voss’s Target Grip is hidden in a song
The Room 301 safe on the third floor of Devil’s Reef Hotel opens with 2137. The code comes from the lyrics to “Baby, One More Tide” in your Investigation menu, where four highlighted words each stand for a number — a bat’s two wings, one tail, an octopus’s three hearts, and the seven deadly sins, read in the order they appear. The grip adds a marker to the crosshair that shows when a perfectly timed shot will land for extra damage.
Chapter 5 rifle parts: Pen first, crate second
Both rifle attachments follow the same loop. Grab the E.R.C. Activator Pen on the ground floor of the Portal Room, then take it out to the Camp area and open the crate there for Keene’s Timeglass, the scope. The second pen is in Upper Storage; carry it back into the Portal Room cave and climb the stairs to the crate holding Keene’s Widowmaker, the recoil pad.
How to confirm you picked everything up
Each of the four world-found weapons fires an achievement the moment you take it, which is the fastest way to audit your collection.
| Weapon | Achievement |
|---|---|
| Field Surgeon | Out Of Your Shell |
| The Minuteman | Fast Friends |
| Black Reef Longshot | We Aim To Please |
| Linguist’s Folly | A Blast From The Past |
If one of those never popped, the pickup itself was skipped rather than the achievement failing — go back to the room listed for that gun. Attachments do not award achievements individually; they show up in your items list with their description and can be slotted onto the matching weapon from the weapon menu.
There are only two reliable failure points across the whole set. A crate that will not open means no pen in your inventory, and a door or gate that will not budge means you are missing the tool that goes with it — the Anti-Rust Acid for the hospital basement, the Bolt Cutters for the Fishing Shop, the Old Man’s Face Mask for the rifle room, or Leyden Jars for the starfish locks at the Weighing Station. Solve the tool first and every remaining part is just a code away.